
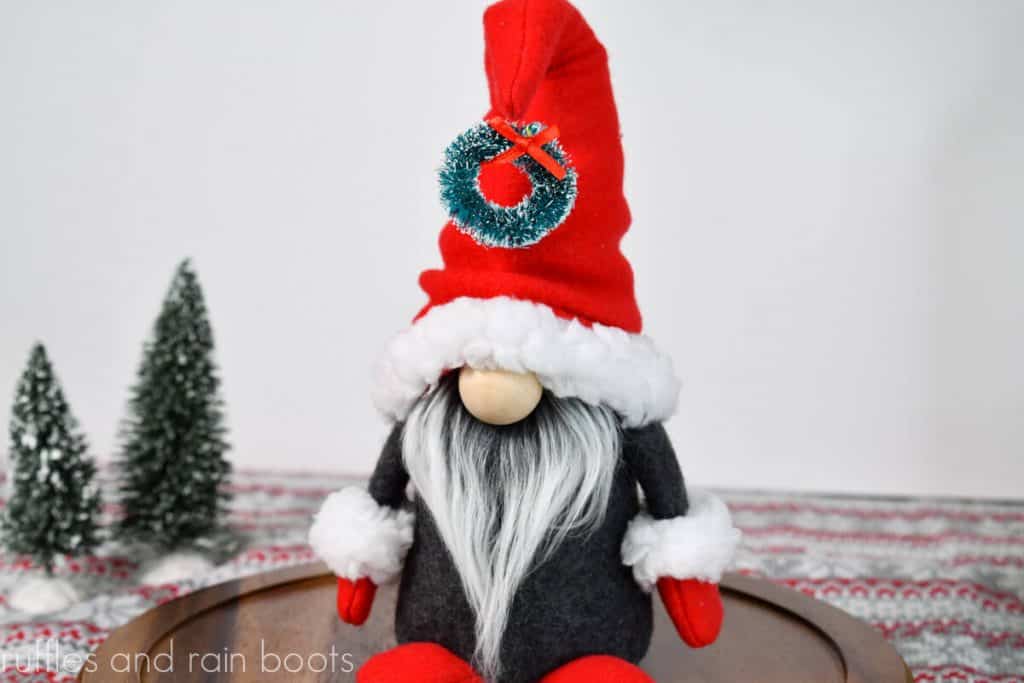
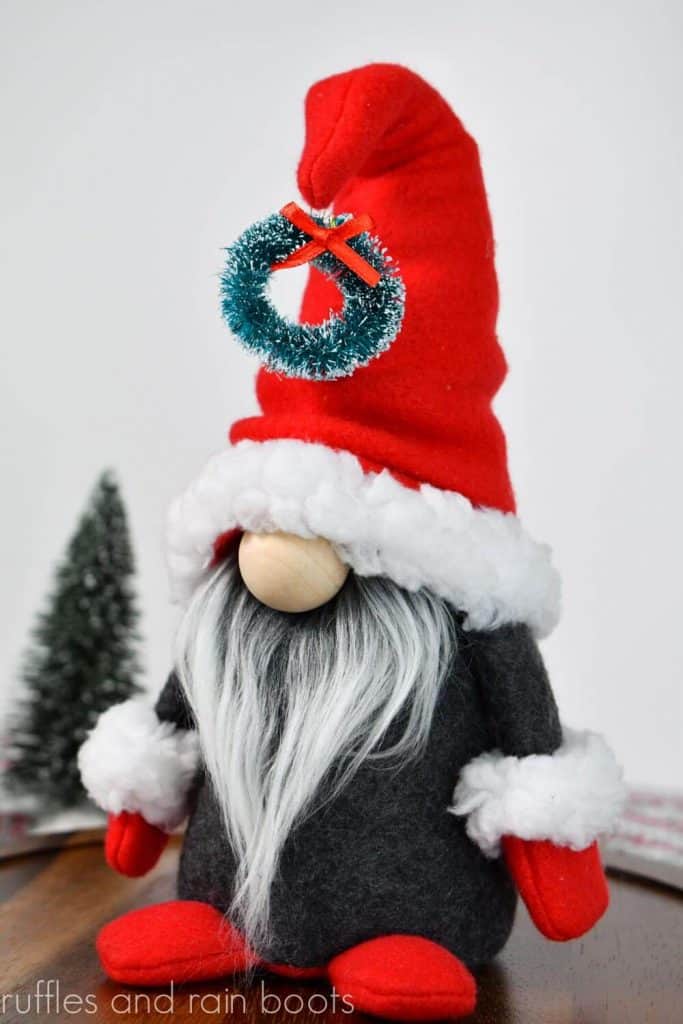
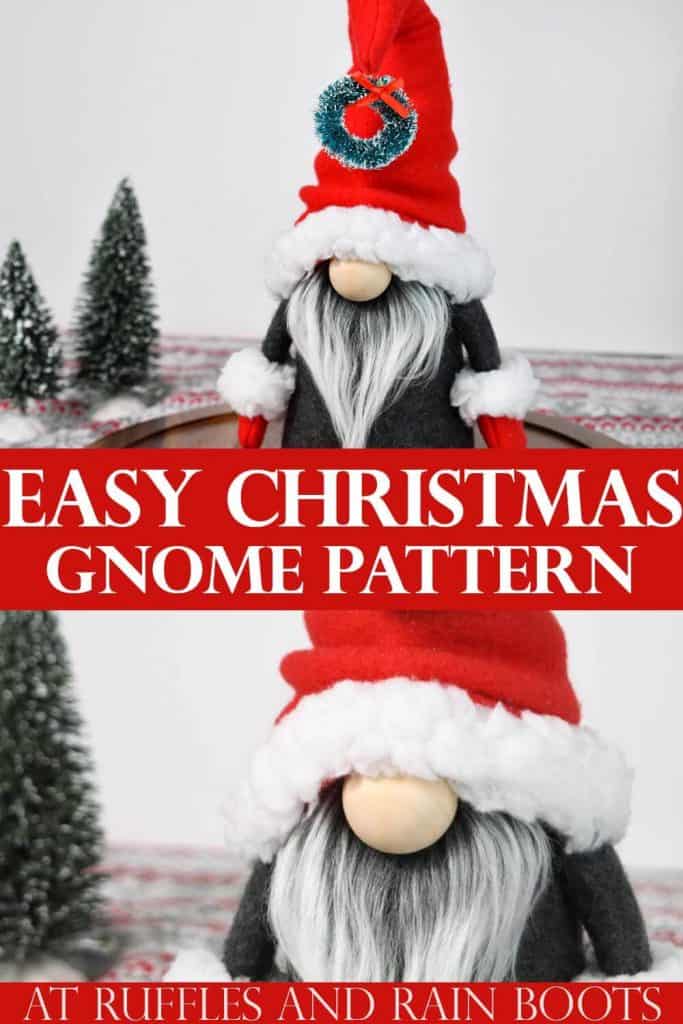
Make a Christmas Gnome with Arms and Legs
Using this hugely popular pattern, you can make a Christmas gnome with arms and legs for the holidays. Decorate them, gift them, keep them for yourself – the possibilities are endless!
What You'll Find On This Page
Christmas Gnome Pattern
Here at Ruffles and Rain Boots, I’m known for making gnomes. A lot of gnomes. But one of my hands-down, all-time favorite patterns is the Scandinavian Sweeties pattern because it is SO easy to make a Christmas gnome with arms and legs.
If you’re a beginner to gnome making, don’t worry – I provide full patterns with step-by-step instructions AND a full video tutorial you can find on the Ruffles and Rain Boots channel here. If you’re ready to make this guy, let’s get started.
RELATED READING: Gnome Toilet Paper Roll Cover Free Pattern (No Sewing)
No Time to Make Him But Too Cute to Click Away?
If you want to save this to make later, just share it to your favorite Facebook craft group or onto a crafty board on Pinterest.
RELATED READING: Scandinavian Sweeties Gnomes Created with This Gnome Pattern
As an Amazon Associate, I could earn from qualifying purchases.

Get the Gnome Pattern Here
Click below to add this easy gnome pattern to your cart. Have fun with this!
Tips to Make This Holiday Gnome Pattern
Friends, I’ve made about 15 gnomes using this exact gnome pattern and let me assure you, it was made for a beginner!
- Can you sew this pattern? Yes, this is designed as a beginner gnome sewing pattern to produce a 10-12 inch tall gnome with arms and legs.
- Can you hot glue this pattern? Yes, however, there are some reinforcements you might need to make around the feet to ensure that the glue holds. Note: ONLY use fabric hot glue with this assembly.
- The trim options are endless. I get asked a lot about this trim and it’s called a couple of things: lamb’s wool fleece or Sherpa fleece. You can find it at craft stores where they sell fabric on the bolt (you only need about 1/8th of a yard and will have a lot left over).
- Can you make this gnome without the feet? Yes, they are 100% optional!
- Can you make this Christmas gnome without the arms? Again, 100% optional. When you see all that is offered in the Scandinavian Sweeties gnome pattern, you will be thrilled with all of the options you get!
How Do I Make This Christmas Gnome?
I’m so glad you asked. Below is the written tutorial (please note that many people use their computer to follow along, but you can also print it). If you’re a visual learner and want to follow along, I have the full Christmas Gnome Video Tutorial here.
Scandi Sweeties Christmas Gnome Pattern

This is a best-selling pattern for a reason - it's easy, produces a quality gnome, and well, he's just adorable! Download the pattern and follow along this easy tutorial to make a Christmas gnome with arms and legs.
Materials
- Scandinavian Sweeties Pattern
- fleece in two colors (body and hat)
- faux fur (this is the one I use)
- Poly Beads
- Poly Fill
- nose (wood round, bead, pompom, nylon stuffed with Poly-Fill, etc.)
- optional: 12-14 gauge floral wire for bendable hat/body
- optional: trim (I am using lamb's wool fleece in white)
Tools
- sewing machine, coordinating threads
- hot glue gun and glue sticks
- scissors, straight blade (razor or Exacto knife) and pins
Instructions
- Cut all pattern pieces. For this version, I used the body, base, hat, mittens, and shoes.

- Pin all pattern pieces and take them to the sewing machine. Use a narrower stitch on the smaller items (mittens and shoes) than the pattern calls out for the body and hat. Sew all pieces you're using (see note about shoes below).
- If using shoes, do not attach the base to the body. After sewing up the body piece per the pattern instructions, pull back the body side with the seam in the center (facing up). Stuff the sewn shoes slightly with fill and place (facing into the body) them along the edge without the seam. Sew these in place using a top stitch.
- Continue with the body assembly per the pattern, adding on the base. Flip everything right-sides out.
- Place the weight into the base of the body, adding fill and a wire (if using). If using a wire, before adding fill, bend down both ends and turn one (which will be at the bottom) 90 degrees so it sits flat. Place wire into the body, tucking it into the base and tip of the hat.
- Sew or stitch up the back opening, taking care to 'catch' the wire in the back seam.
- Place arms into mittens - they should go all the way in. Hot glue or sew the mittens to the unfilled arm.
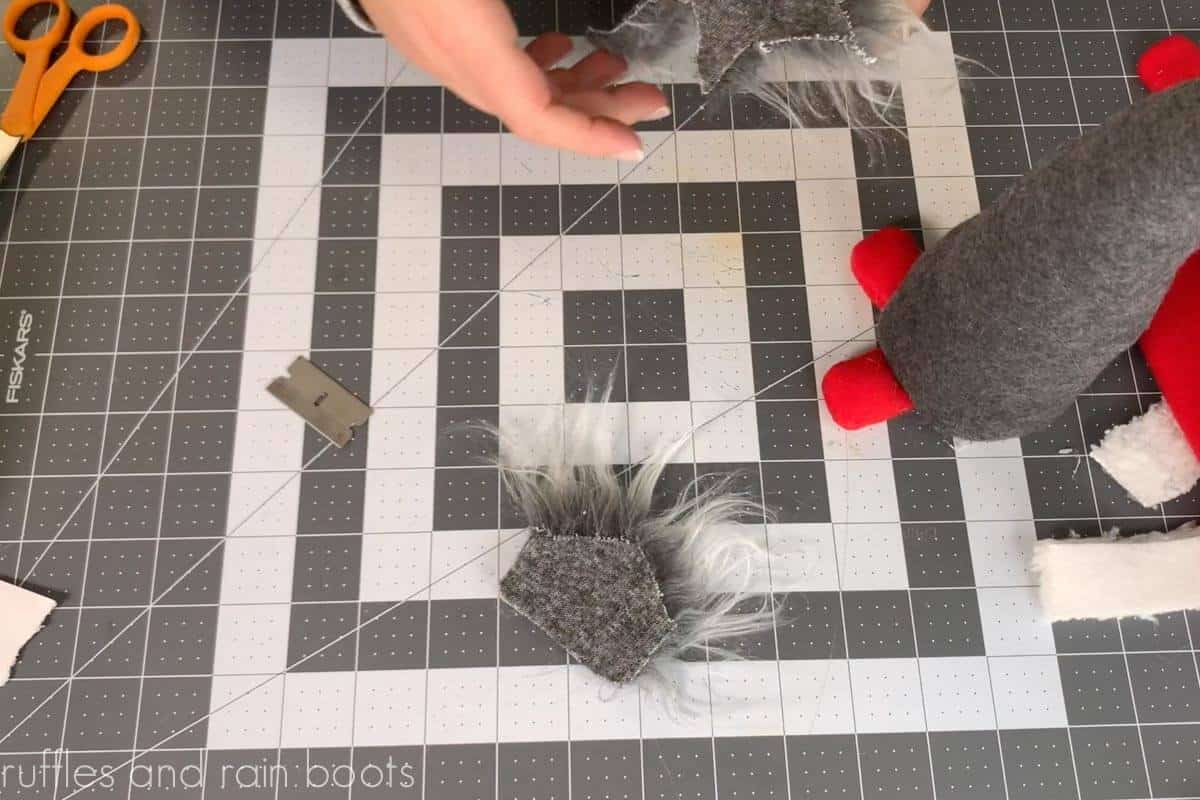
- Cut and prepare trim, if using. Cut beard from the faux fur (cut backing only).
- Glue beard into position. Be sure to check the placement of hat and arms. Glue arms to the body and the hat to the arms.
- Split the fur to the fabric backing, add a generous portion of hot glue, and secure the nose. Glue down the hat all the way around the gnome body.


Notes
Download the Scandinavian Sweeties pattern from https://shop.rufflesandrainboots.com
Share your creations in the Facebook group here: https://www.facebook.com/groups/diygnomesandcrafts
More Gnomes Made with This Pattern
As I mentioned, this is one of the most popular gnome patterns I have ever made. Take a look below for a few other ways to use this same pattern!
- Farmhouse Gnome – This fuzzy guy is so simple and lovable.
- Fall Shelf Sitter Gnome with LONG Legs – Oh my word, this guy is TOO cute!
- 4th of July Gnome – Grab a few details and you can whip up this guy in no time.
- Easter Gnomes – These bunny gnomes are going to steal the show!
Please Save or Share This
Your shares are how this site grows and I am sincerely grateful. Please consider sharing this into your favorite Facebook group or save it to Pinterest.
Meet the Creator
Hi there, I’m Sarah Nenni-Daher. I’m a crafty gal and always have at least 14 projects going at once. I am a crafter, designer, DIYer, and pattern maker. I share my creations here and in the Ruffles and Rain Boots® Shop.
Here at Ruffles and Rain Boots®, you’ll find DIY gnomes, crafts, gifts, cupcakes, laser crafts, and so much more. I love sharing video tutorials over on YouTube and chatting with other crafters in my Facebook groups. We’d love to have you!