
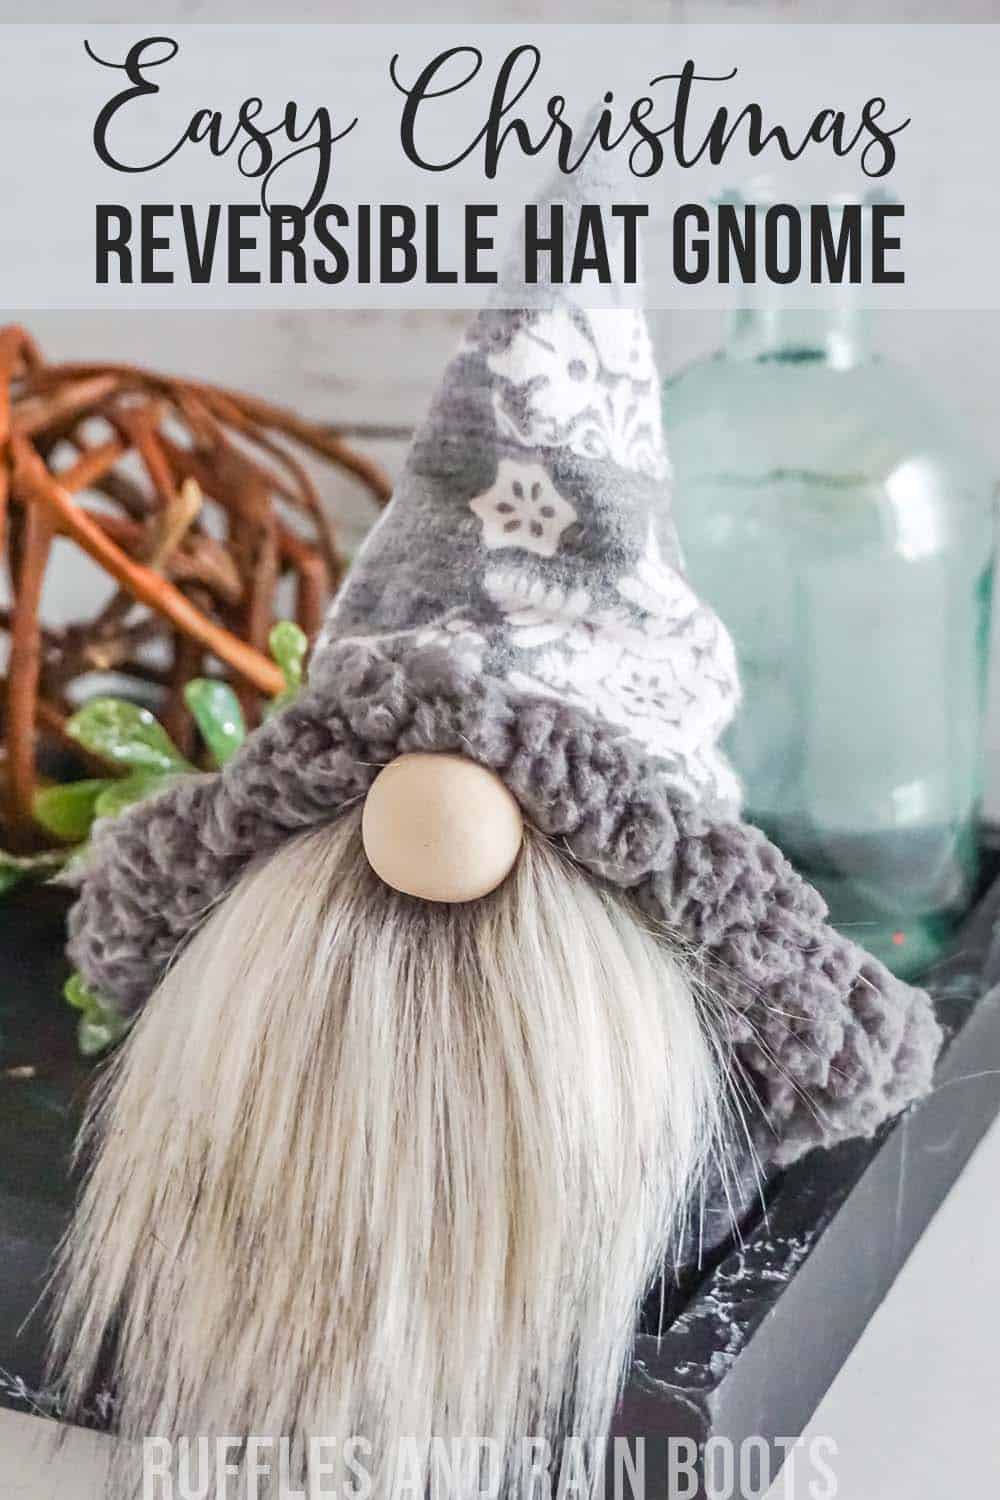
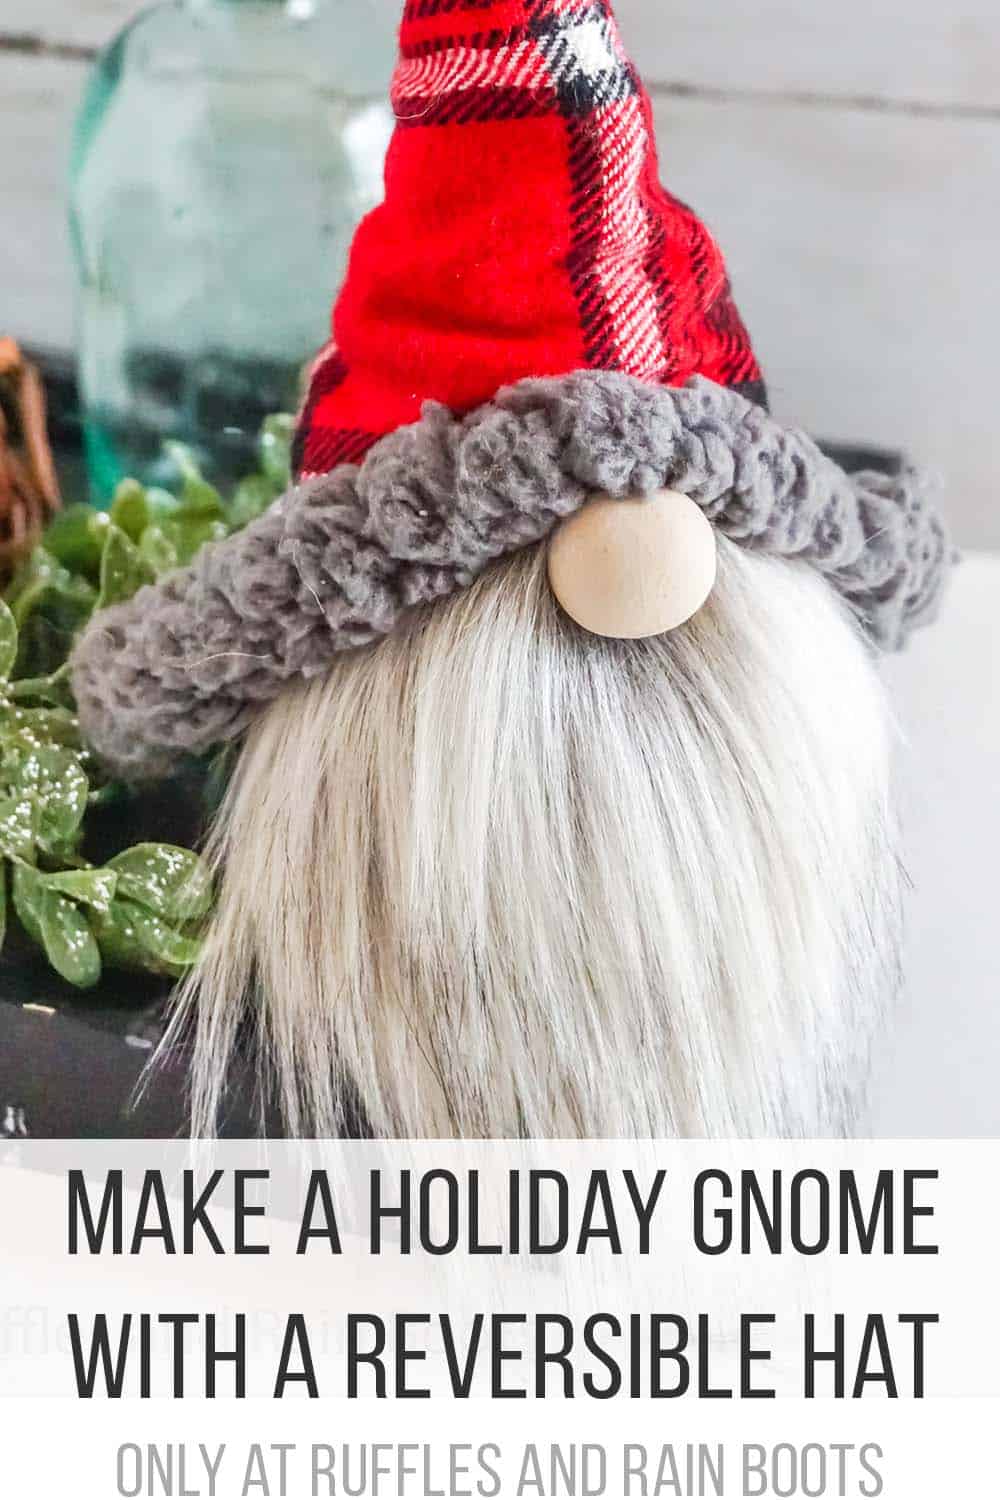
DIY Reversible Hat Gnome Pattern
Did you know that you can make a perfectly-sized reversible hat gnome using this pattern? The sky is the limit with this easy tutorial – you’ll have the perfect tiered tray gnome in about 30 minutes.

What You'll Find On This Page
Gnome with a Reversible Hat
Here at Ruffles and Rain Boots, I work hard on the gnome patterns, digital designs, and well, just about everything that gets published here. I am known for my Type A personality with a dash of perfectionism and tend to over deliver.
And this gnome pattern absolutely over delivers! Included in the pattern are 4 different ways to make a tiered tray gnome with both methods for sewing and for using a glue gun. If you’d like to make one, keep reading.
No Time to Make Him Now? Save This Gnome Pattern for Later!
If you need to gather supplies or cut your materials, grab the pattern below and share this to your favorite Pinterest board or Facebook group so it will be easily found again.
As an Amazon Associate, I could earn from qualifying purchases.
Tips to Make This Reversible Hat Gnome
- Get the Icelandic Lovey gnome pattern here. If you already have it, access your downloads in your account.
- You can add the optional arms or legs and boots (included in the pattern) to the body. I just chose to leave them off of this guy.
- Choose two coordinating fabrics that can share a trim color. You can make two separate trims, but trust me when I say it’s a bit difficult to get them lined up. :)
- The fluffier the trim, the easier it is to hide any alignment issues. If you are new to sewing or want to make this with a hot glue gun, I do recommend a wider than 1/4 inch trim so that it covers the join and any mishaps.
- If you are new to gnome-making or cutting fur, watch this quick video tutorial on how to cut faux fur. Trust me – this stuff is easy to work with when you know the tricks.

Get the Gnome Pattern
Click below to add this fun pattern to your cart. Check out the other styles and extras!

How Do I Make a Reversible Gnome Hat?
Below is our written tutorial. If you have any questions after reading through the tutorial and the pattern, please let me know. The reversible hat gnome video tutorial is on the Ruffles and Rain Boots YouTube channel here.
Reversible Hat Gnome - Lovey Gnome Pattern

It is SO easy to make a gnome with a reversible hat with the Icelandic Lovey gnome pattern. This tiered tray size gnome is adorable with details in both the front and back, making him adorable from all sides!
Materials
- Icelandic Lovey Gnome Pattern
- 1/8th yard of two flannel or cotton fabrics (one for each side of the hat)
- body fabric (I used fleece in dark gray)
- faux fur or other beard material
- trim fabric, optional (I used sherpa fleece, aka lamb's wool fleece)
- wood round or bead for gnome nose (can also use polymer clay round, pompom, or nylon stuffed with Poly Fill)
- Poly-Fill
- Poly Pellets
- optional, wire to put in the body for a bendable "hat"
Tools
- sewing machine, coordinating threads, and pins
- hot glue gun and glue sticks
- Exacto knife or razor blade
- funnel
Instructions
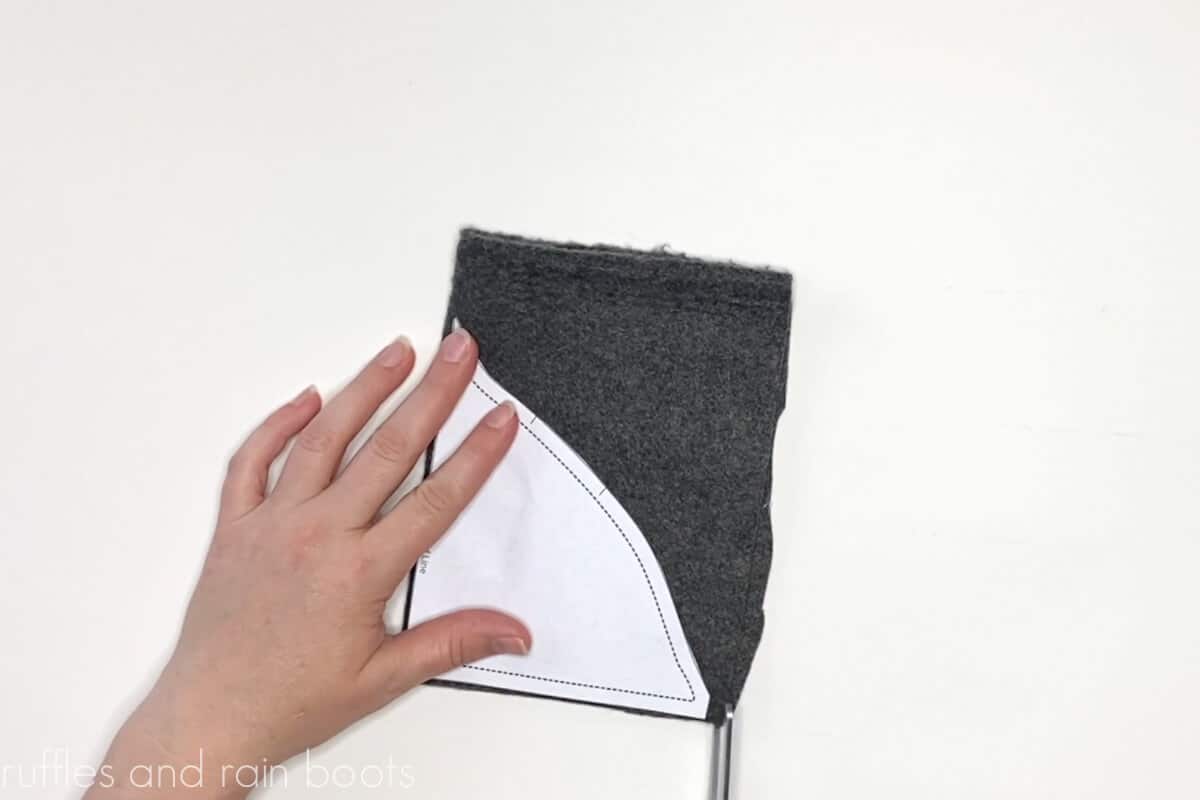
- Cut pattern pieces for body, base, and TWO hats (use the same pattern, different fabrics).

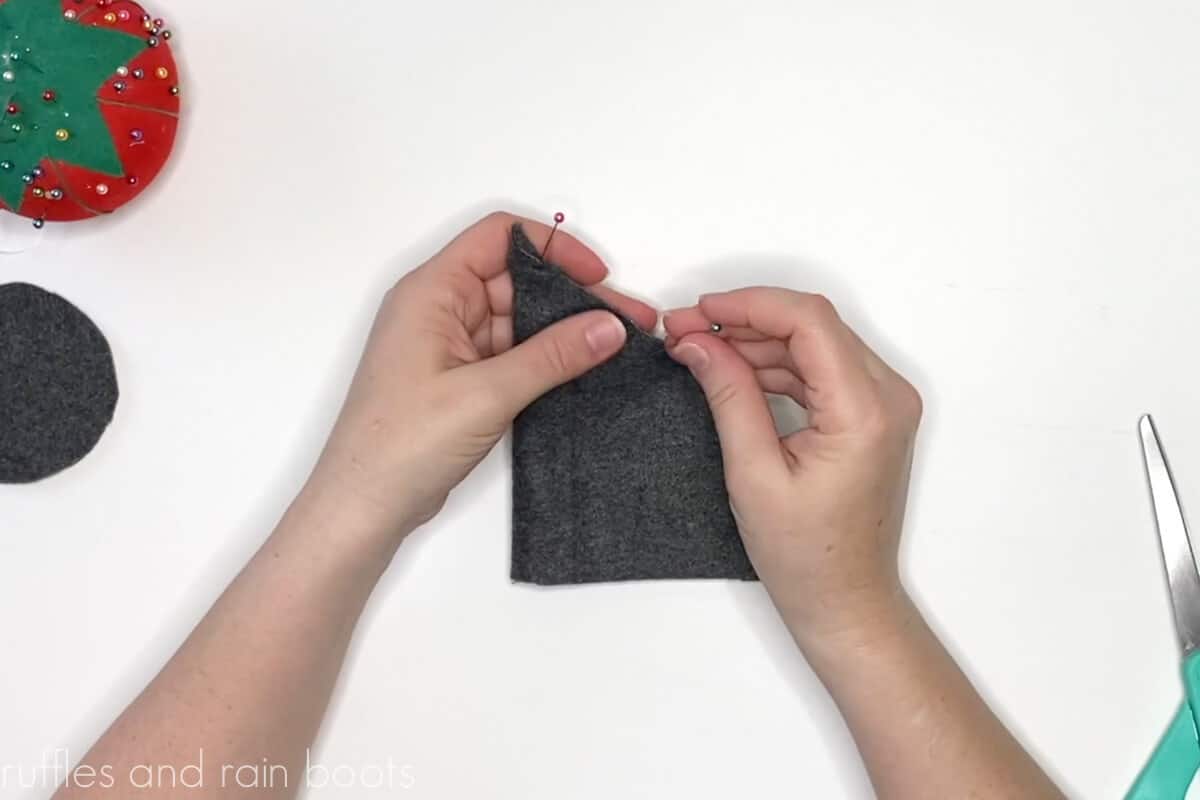
- Pin the right sides of the body and hats together. If adding a brim, pin that first and sew before putting the right sides together.
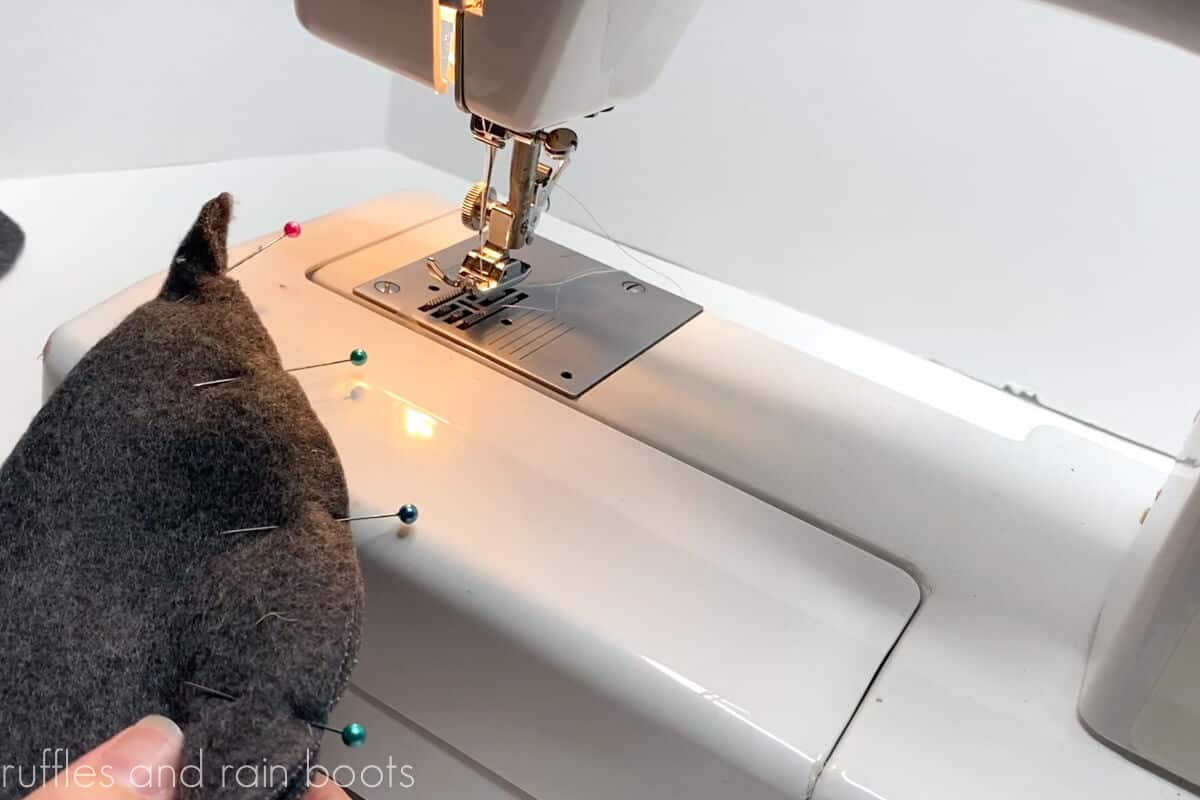
- Follow the pattern instructions to sew the body, add the base, and sew the hats.
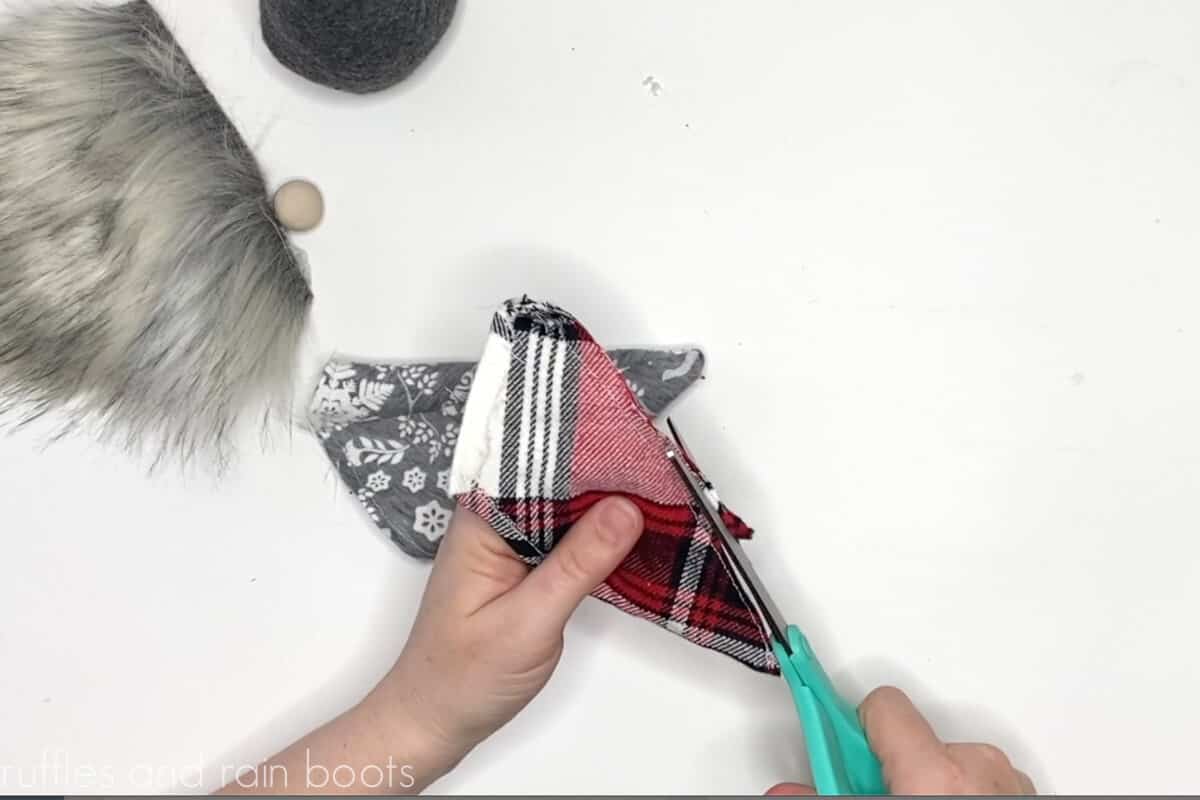
- Turn one hat right-sides out and leave one inside out. On that one, trim the back seam close to the stitching (take care not to clip it).
- Turn the body right-side out. Fill the body with weight and stuffing per the pattern. If using wire, bend over the bottom and top edges and slide into the body near the back seam. Secure the back of the body with either glue or hand sewing it closed, taking care to catch the wire, if using.
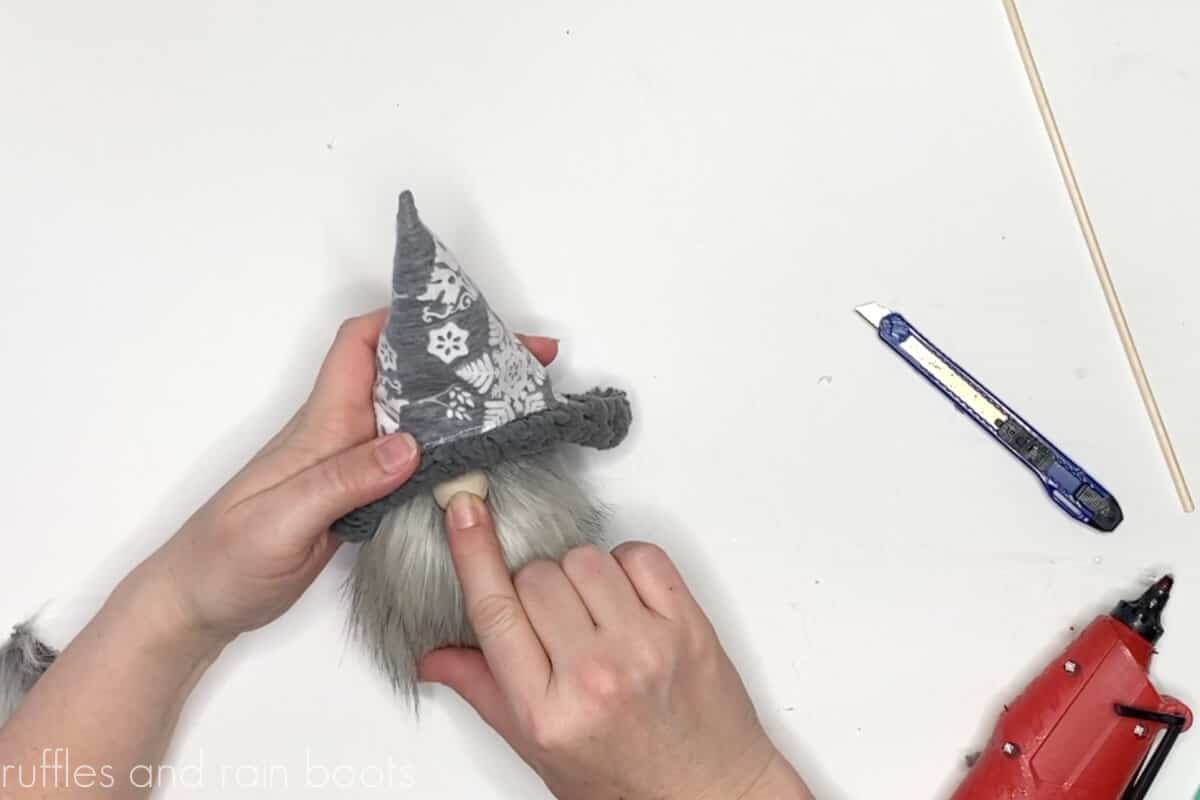
- Cut the faux for the beard and affix to the body. Split the fur to the fabric backing, add a generous portion of glue, and press the nose into the fur.
- Slip the unturned hat into the right-sides out hat and secure by sewing or hot glue around the base.
- Add trim and slide on the hat but do not secure it down for a fully reversible hat gnome!


Notes
This is a perfect tiered tray gnome who looks as adorable from the front as he does in the back.
More Gnomes Made with This Pattern
If you want to check out some more gnomes made with the Icelandic Lovey tiered tray gnome pattern, here are a few:
- Scarecrow Gnome – This one was a breakout hit on YouTube – just look at those booties!
- Farmhouse Gnome – Everyone’s got a little “awww” for this guy when they see him.
- Patriotic Lovey Gnome – This guy is toting quite the firework on his little hunchback. Check him out.
Please Share This Fun Craft
Your shares are how this site grows and I am sincerely grateful. Please consider sharing this to your favorite crafting group or board.

What is the point of the darts? Is this where you add the feet or legs?
The darts are optional but it raises the body up a bit – so it’s like a little stand. The feet/booties are separate and can be used with or without the darts in the Lovey Gnome Pattern