
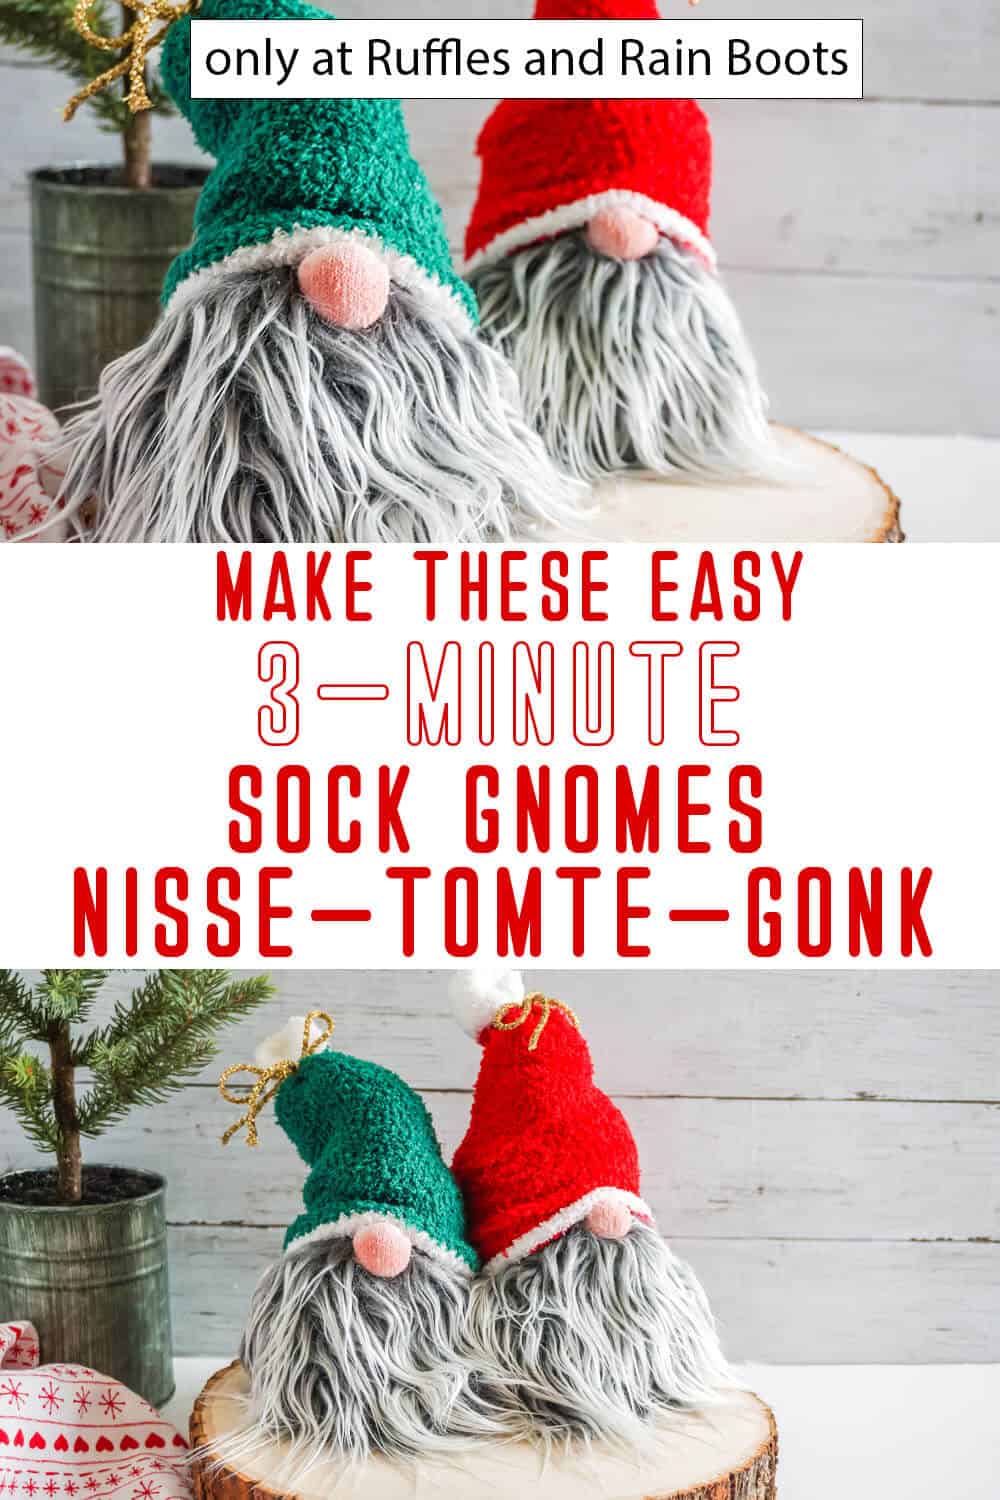
How to Make a Sock Gnome in 3 Minutes
If you want to know how to make a sock gnome in 3-minutes, this tutorial is going to take you from zero to done just that fast. The gnome video tutorial proves it can be done (and they couldn’t be cuter).
Head to the dollar store for some regular and decorative socks and let’s get started with this quick Christmas gnome DIY.

RELATED READING: Sock Gnome Tips and Tricks – High-End Hacks
What You'll Find On This Page
How to Make a Sock Gnome In 3-Minutes
Here at Ruffles and Rain Boots, I love making gnomes. They’re an easy and fun distraction, but more than that, they’re great gifts, easy Christmas decor, and they bring a sense of accomplishment.
For years, I’ve been sharing DIY Gnome tutorials, how to make gnome ornaments, and even have the best-selling gnome pattern on the Internet! All this to say, I know gnomes.
I made this 10-minute Christmas gnome and a reader asked if I could make one even faster. Make a gnome in 3 minutes, I asked? Sure, I’ll try.

Need to head to the dollar store for some supplies? Save this easy Christmas sock gnome tutorial to you a DIY gnomes pin board or share it to Facebook. Either way will make this easy to find when you’re ready to begin.
As an Amazon Associate, I can earn from qualifying purchases. There could be affiliate links within this article.
Tips to Make a Fast Sock Gnome
- If you want to make a 3 minute sock gnome, you’ve got to have ALL of your supplies ready and on hand. I’ll detail what I used, but check your supplies before heading to the store – you likely have items that will work.
- Let’s talk about gnome noses. While I typically use wood beads like these, I decided to do something different this time, making the nose from the sock. I know this is absolutely unorthodox for my typical, but it’s a good method and perfect for a first time gnome-maker.
- If you’re a bit concerned about trying to make a sock gnome because of the beard’s material, don’t worry, I know fluffy faux fur can be intimidating. If you’re new to this, watch this how to cut faux fur video tutorial. Just put the fur face-down on your cutting surface and, using either a razor or craft knife, cut just the fabric backing. Then you just pull the cut beard away, separating the fur gently. From there, it’s just a matter of gluing it on your gnome!

3-Minute Sock Gnome for Christmas Video Tutorial
If you’re a visual learner, watch the easy and quick sock gnome video tutorial. It’s a step by step process and gives a few tips and tricks to make these look great.
While you’re there, be sure to subscribe. We have a lot of fun on the channel and I often share exclusive content there.

How to Make a 3-Minute Gnome (Easy Sock Gnome Tutorial)
Below is the written, step by step tutorial to make this quick sock gnome. Keep this page open and follow along. For a printable version, scroll down and select print. You can save it as a PDF or print it off locally.
First, fit the white sock over the container of the poly pellets and pour them into the toe of the sock. Remove the sock from the container.
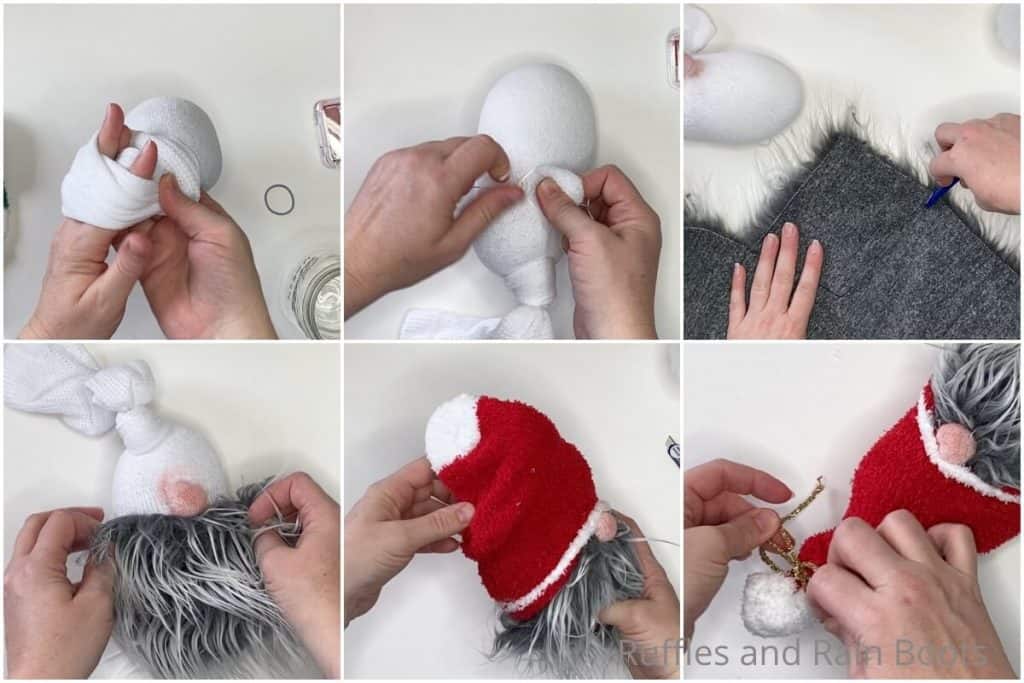
Stuff 2 cups of Poly-Fil into the white sock on top of the poly pellets and tie tight knot to close the sock.
Pinch a bit of the sock and fill between your thumb and forefinger, tying off this pinched up area to make a nose. Dust the nose with a little blush.
Cut a beard shape from the faux fur by flipping it over and cutting a large ‘u’ shape. Hot glue this on below the nose.
Tuck the fuzzy sock over the top of the gnome, pulling it down low over the nose and hot glue this in place. To cover the heel of the sock if it’s a different color than the rest, you can pull the sock down and hot glue a wrinkle in place.
Then tie a ribbon around the base of the sock’s toe where the color changes to make it look like a pom pom.
More Ways to Make a Sock Gnomes You Might Like
- Fluffy Sock Gnome Holding a Coffee Cup – This is one of my very favorite gnomes I’ve ever made. He’s simple, fun and really enjoys his latte.
- Sock Gnome Wearing Boots – Just and adorable little guy, enjoying his cup of joe wearing simple and easy boots in the spring rain!
- Standing Sock Gnome with Legs – If you’ve ever wondered if you can make a gnome that has legs and boots, this is it!
Please Save or Share This Fun Christmas Sock Gnome Tutorial
Your shares are how this site grows and I am sincerely grateful. Know a friend who’d like this? Please share it on Facebook or save it to your favorite easy DIY crafts pin board.

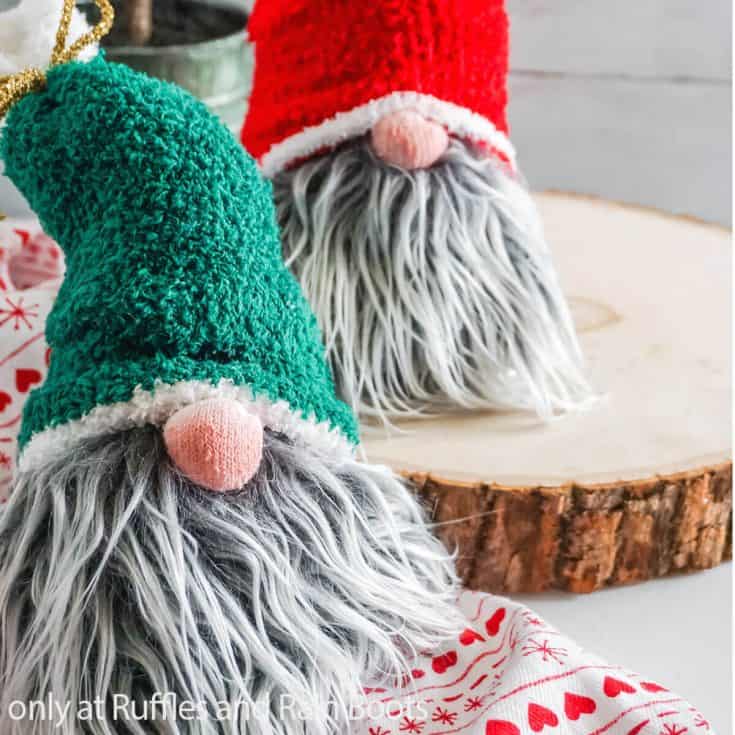
Fastest Way to Make a Sock Gnome (3 Minutes)
Below is the written tutorial for this cute Christmas gnome but don’t be limited by this style – you can change up the socks and decorations to fit any holiday, decor, or occasion.
Click to view the tutorial on how to make a gnome in 3 minutes here on YouTube. While you’re there, go ahead and subscribe – we have a lot of fun over there.
How to Make a Sock Gnome in 3-Minutes
Learn how to make a sock gnome in just 3 minutes. Head to your craft stash or a discount store for the inexpensive supplies to create a cute Christmas gnome in no time. This holiday gnome DIY idea makes for a perfect fund raiser for the Christmas season because they come together fast.
Materials
- 1 White Men's Sock
- 1 Fluffy Men's Sock
- Rubber Band
- Embroidery Thread
- Ribbon
- Small Amount of Polyfill
- 1-2 cups Polybeads
- Blush
- Small Amount of Mongolian Fur
Tools
- Scissors
- Hot Glue Gun & Glue
- Razor Blade or Craft Knife
Instructions
- Fill the gnome: Fit your white sock over the container of the polybeads and pour them into the toe of the sock. Remove the sock from the container. Stuff 2 cups of polyfill into the white sock on top of the polybeads and tie tight knot to close the sock.
- Make the nose: Pinch a bit of the sock and fill between your thumb and forefinger, tying off this pinched up area to make a nose. Dust the nose with a little blush.
- Give the gnome a beard: Cut a beard shape from the faux fur by flipping it over and cutting a large 'u' shape. Hot glue this on below the nose.
- Give the gnome a hat: Tuck the fuzzy sock over the top of the gnome, pulling it down low over the nose and hot glue this in place. To cover the heel of the sock if it's a different color than the rest, you can pull the sock down and hot glue a wrinkle in place. Then tie a ribbon around the base of the sock's toe where the color changes to make it look like a pom pom.
Notes
For more fun DIY gnomes you can make fast, visit Ruffles and Rain Boots!
Recommended Products
As an Amazon Associate and member of other affiliate programs, I earn from qualifying purchases.


love the gnomes. Made some from a wooden broom handle they turned out better then I thought they would .Think I’ll put on my tree . J.T.