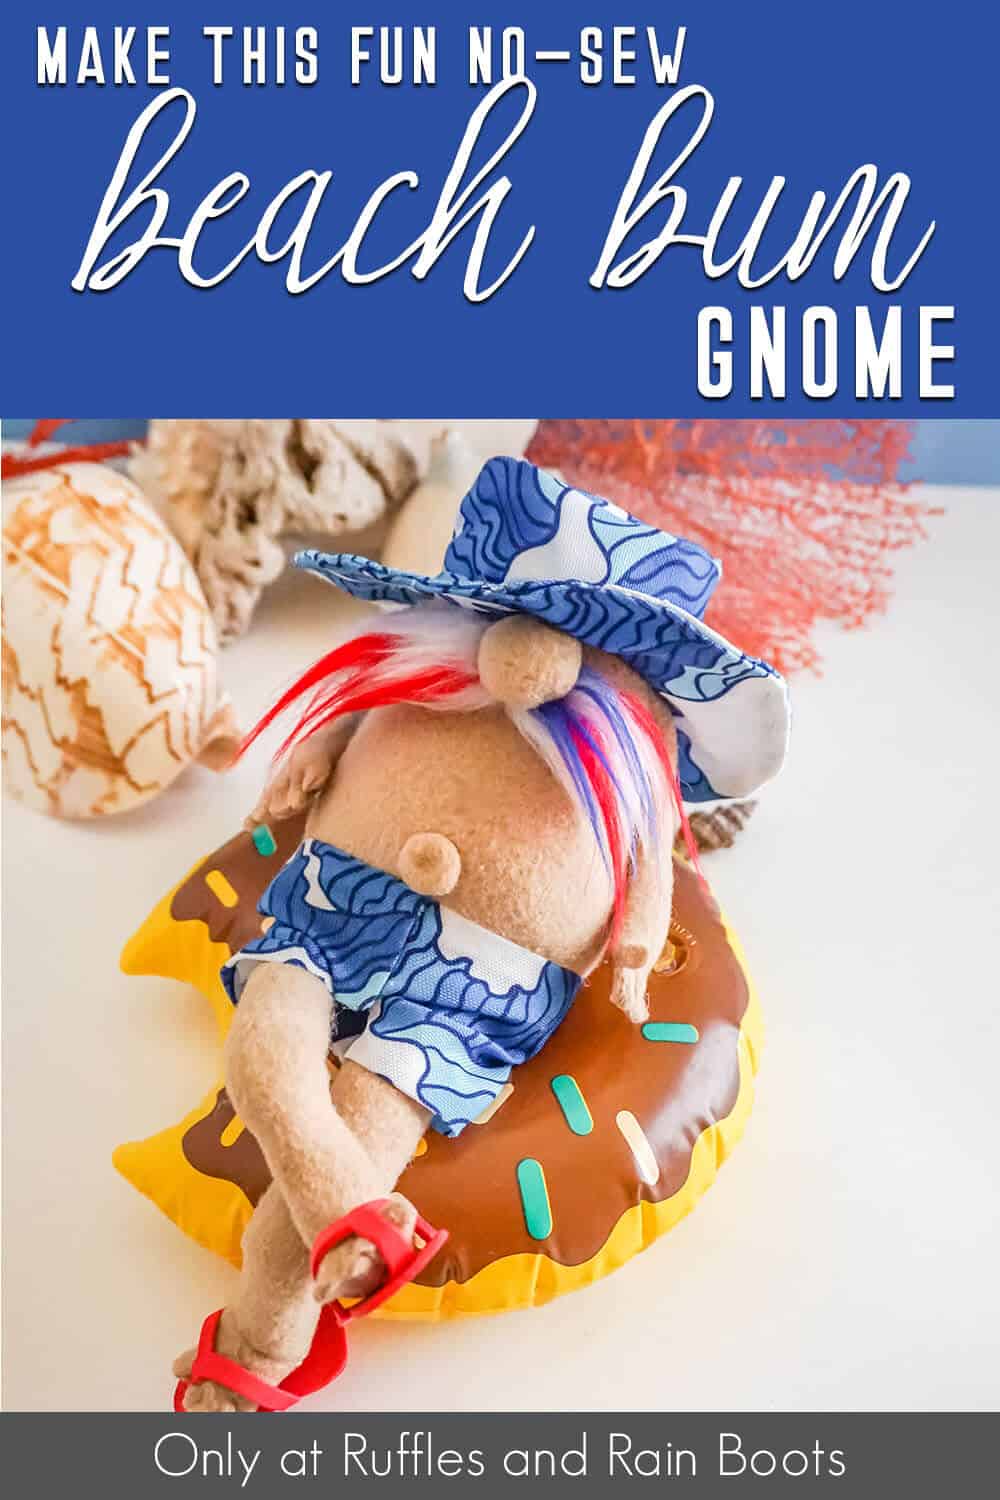
Make this No-Sew Beach Gnome Pattern for a Fun Summer Gnome!
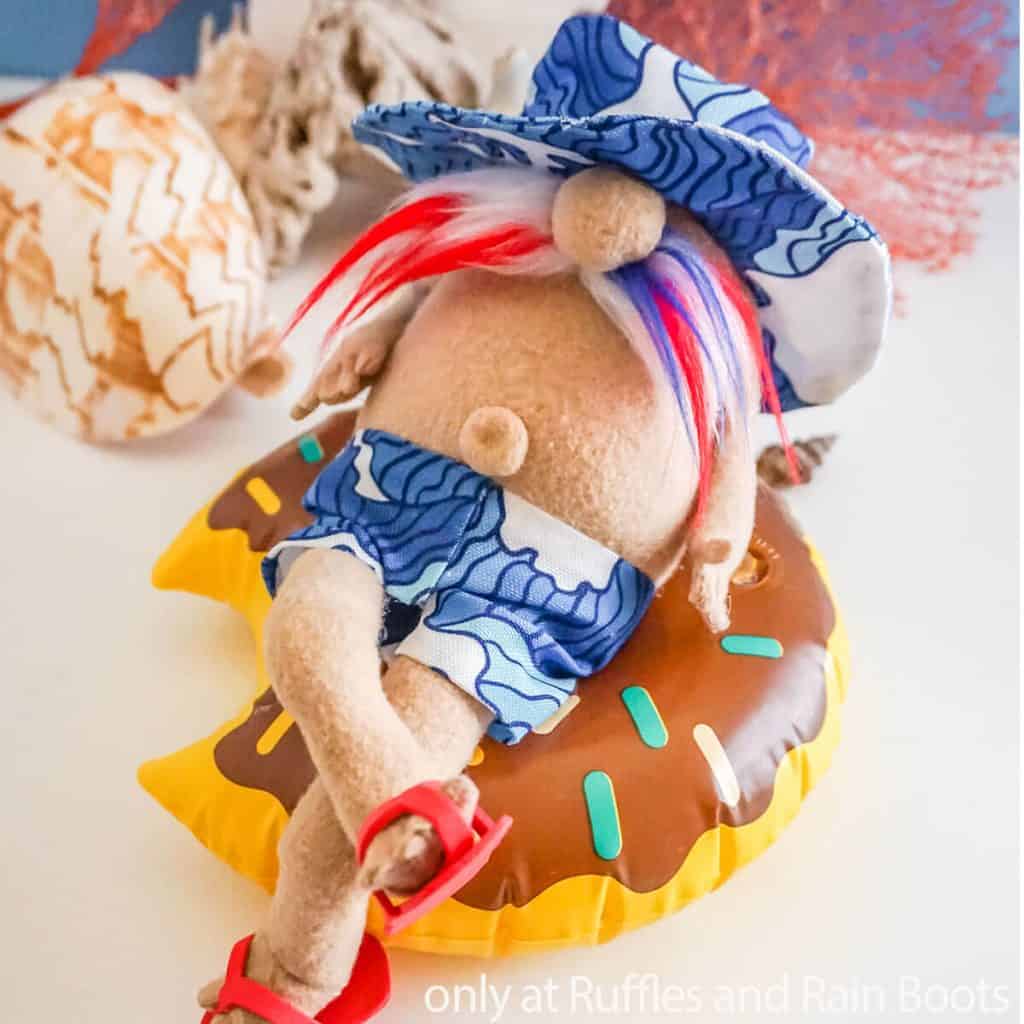
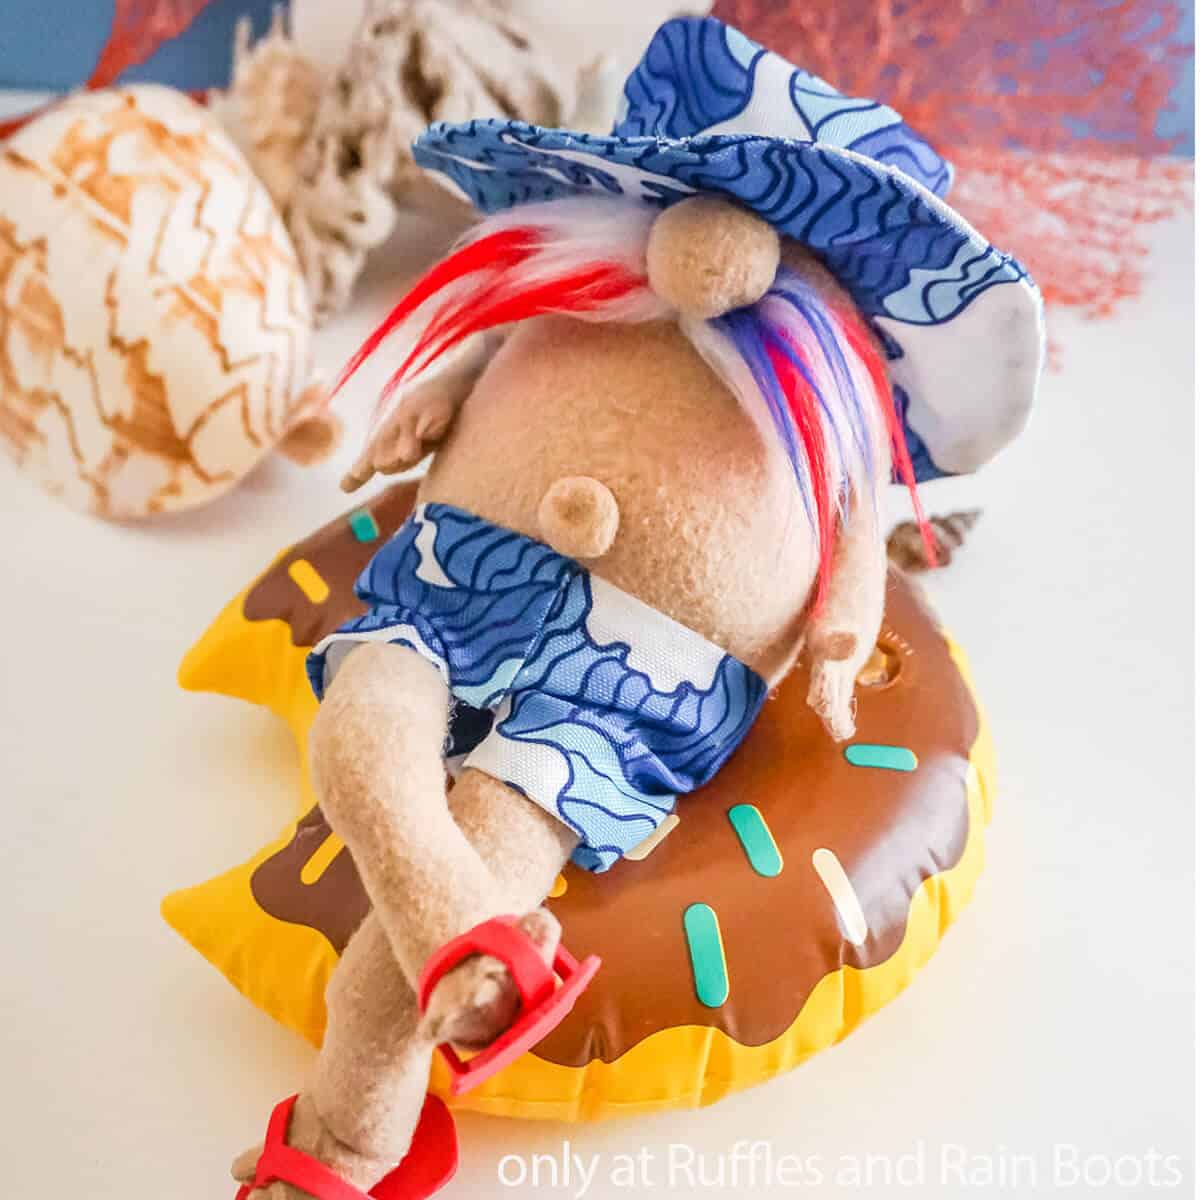
I decided to make a summer gnome with this no-sew beach gnome pattern to bring a bit of the fun-in-the-sun element to life!
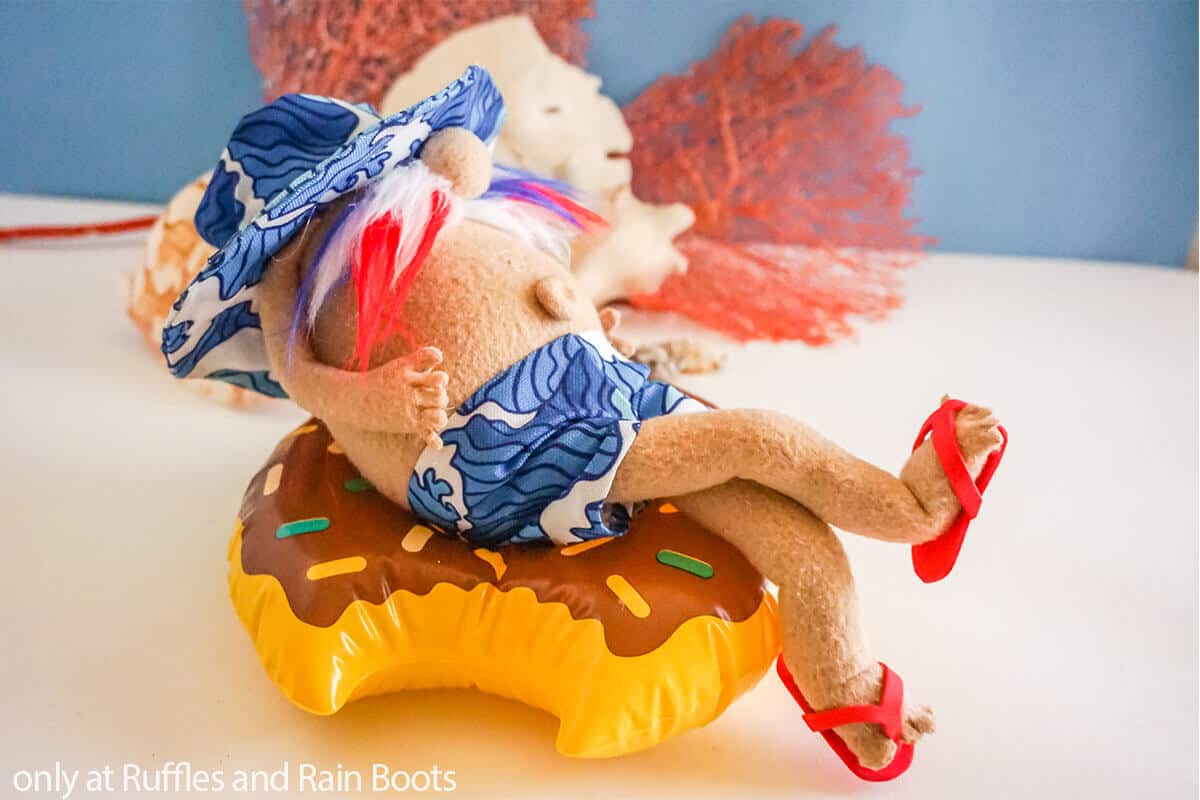
No-Sew Beach Gnome Pattern
Here at Ruffles and Rain Boots, we have some serious whimsy built-up and no good creative outlet – except gnome-making! Seriously, I have had this wild streak recently, making some of the funniest gnomes and this beach bum gnome is no exception.
RELATED READING: HOW TO MAKE A NO-SEW GNOME
Super quick and a treat to make, this no-sew beach gnome pattern is definitely one of my more silly gnomes. If you’re in need of a summer gnome that’s definitely a “looker”, let’s get started.
Get Secret Gnomes, Tips, & Freebies Delivered!
What is the best pattern to use when you don’t want to sew? Do you know the secrets to a properly-proportioned gnome? Do you know where to get the best-priced fur?
Get all of this (and exclusive content just for you) delivered right to your inbox with the gnome-making series, free of charge. Sign up to get the once-weekly newsletter (and a jaw-dropping special offer)!

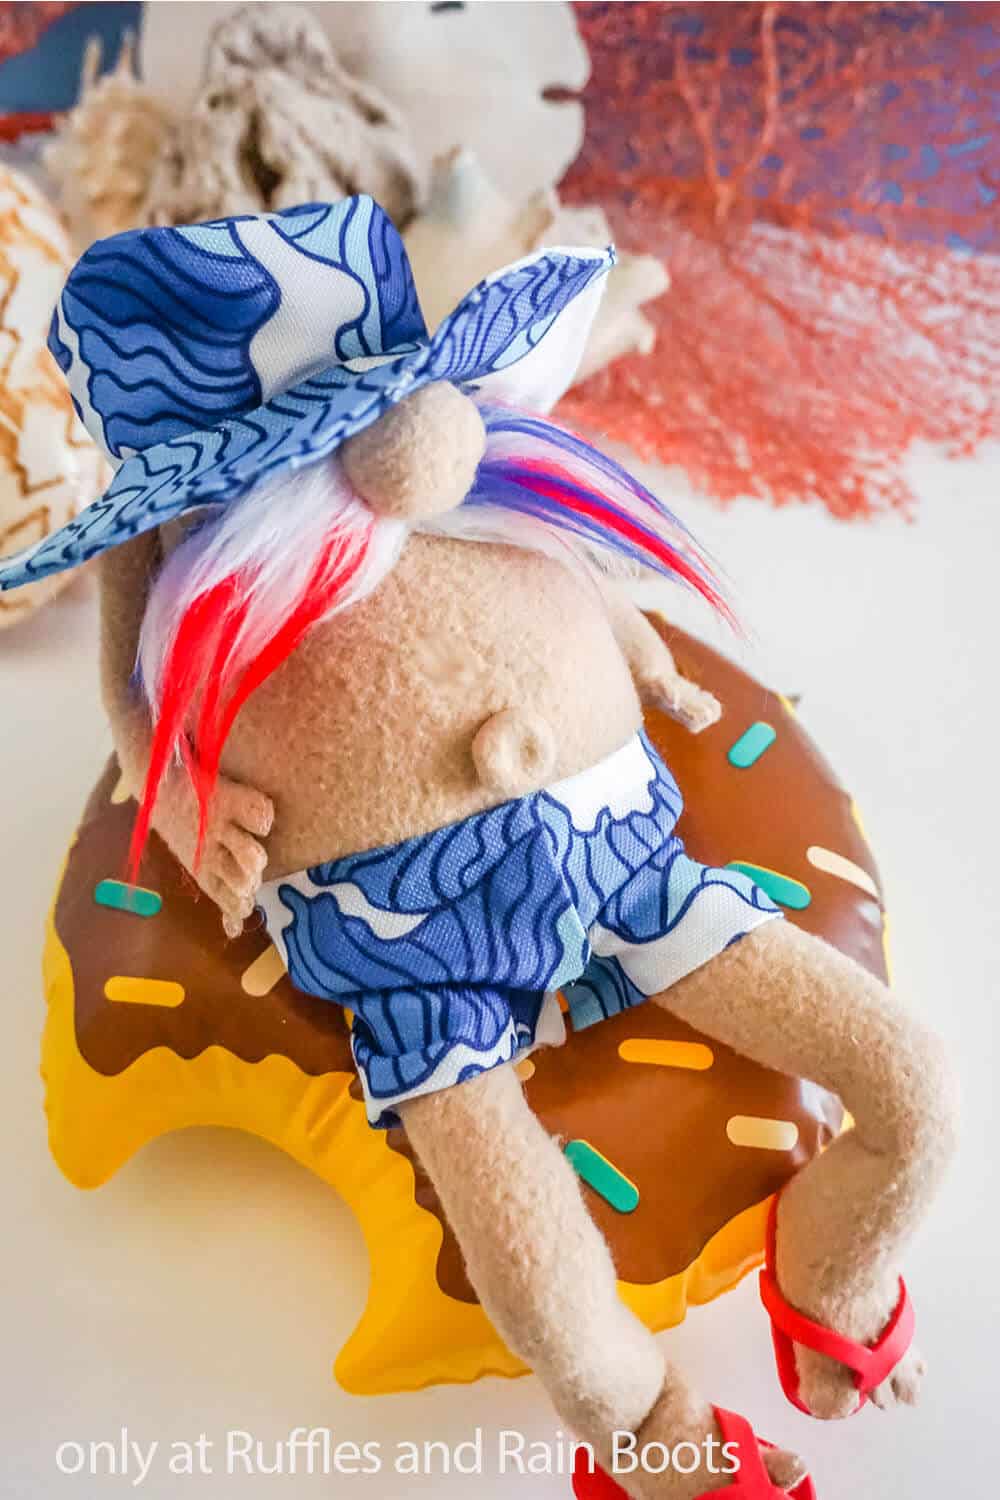
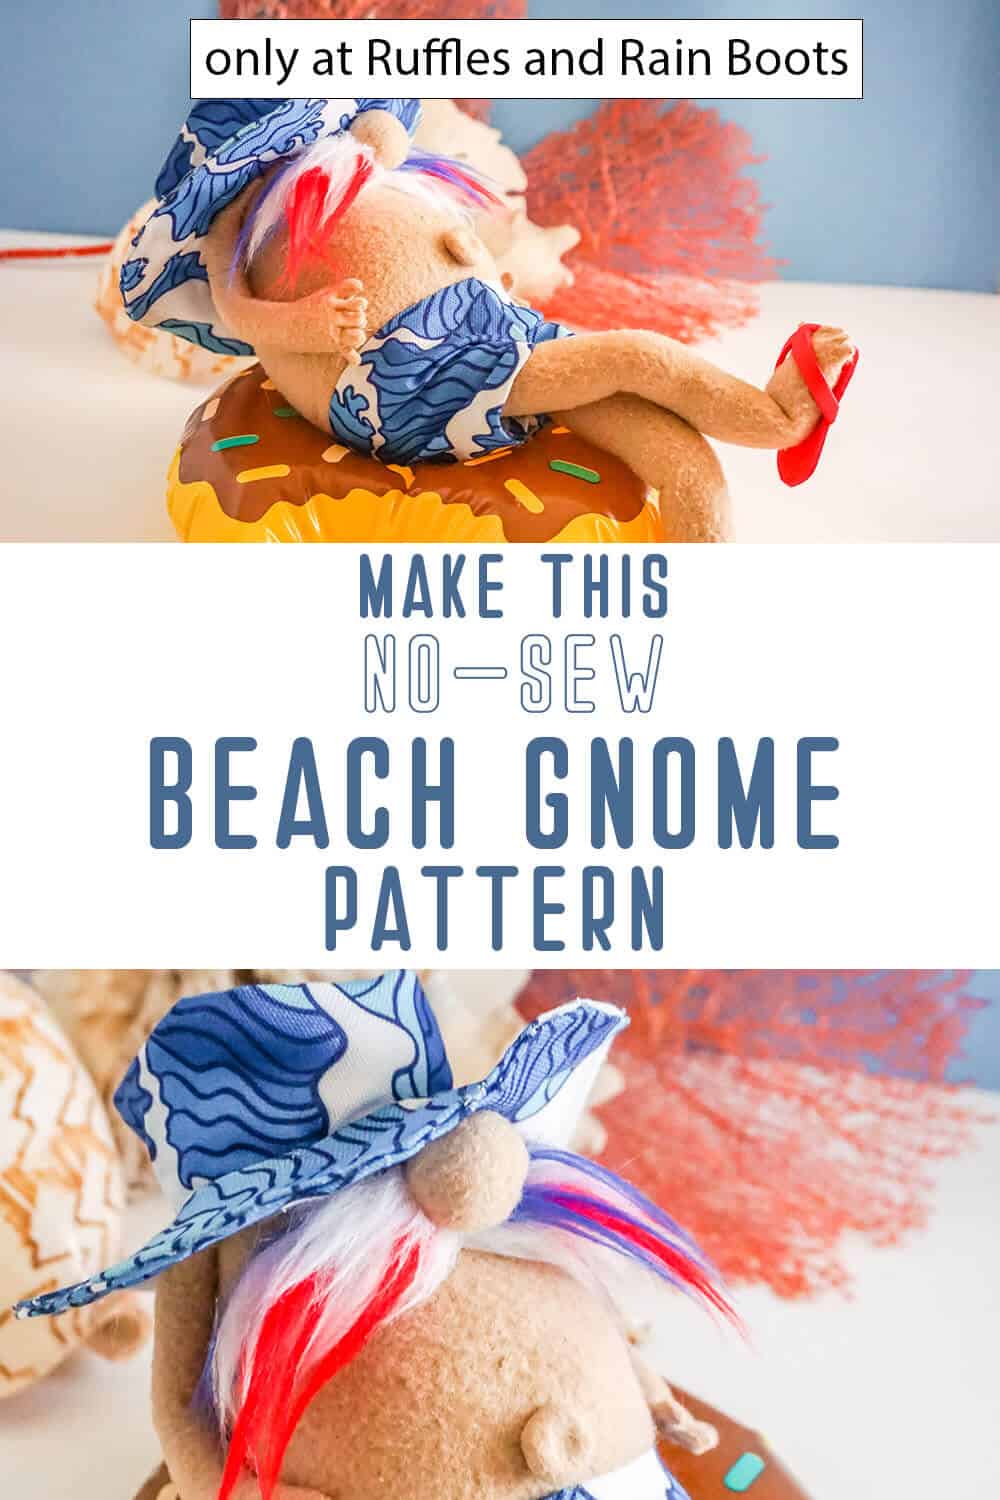
No Time to Make This Now? Pin it for Later
You’re busy, I get it. Pin this to your favorite gnome patterns board on Pinterest and it’ll be here when you’re ready.
As an Amazon Associate, I can earn from qualifying purchases.
Tips to Make a Summer Gnome
- To make this gnome, I made the body from my Bubble Body Gnome pattern here. You’ll also need the beach accessories pattern set here. You do not HAVE to use the bubble body gnome pattern, but it is very handy. Really, you just need the beach accessories to make that fun hat, board shorts and the flip flops (and also the hands/feet and the belly button – but who’s counting?!).
- I usually turn to wood beads or polymer clay balls for my gnome noses. But this pattern called for a “seamless” look, in my mind. So, I made my nose for this pattern with a quick beige fleece ball. Included in the tutorial below, you can make this ball in just a minute or two, it’s so easy.
- Because this is a no-sew gnome pattern, I used hot glue to do all the hemming. To make sure you have a little give in your seams, I recommend you use a fabric hot glue stick like these.
- I used a fun red, white, and blue faux fur here to make this gnome’s mustache (no beard because I wanted to show off that belly button). If you’ve never been happy with results when cutting faux fur before, I made a quick video tutorial on how to cut faux fur here to help you get started. It’s all about that craft knife or razor blade – no scissors necessary.
Get the Bubble Gnome Pattern
Click below to add this fun pattern to your cart. So many gnomes can be made with this!
How Do I Make this No-Sew Beach Gnome Pattern?
I’m so glad you asked. Below is our written tutorial and you can find the full beach gnome tutorial here on YouTube.
No-Sew Beach Gnome Pattern
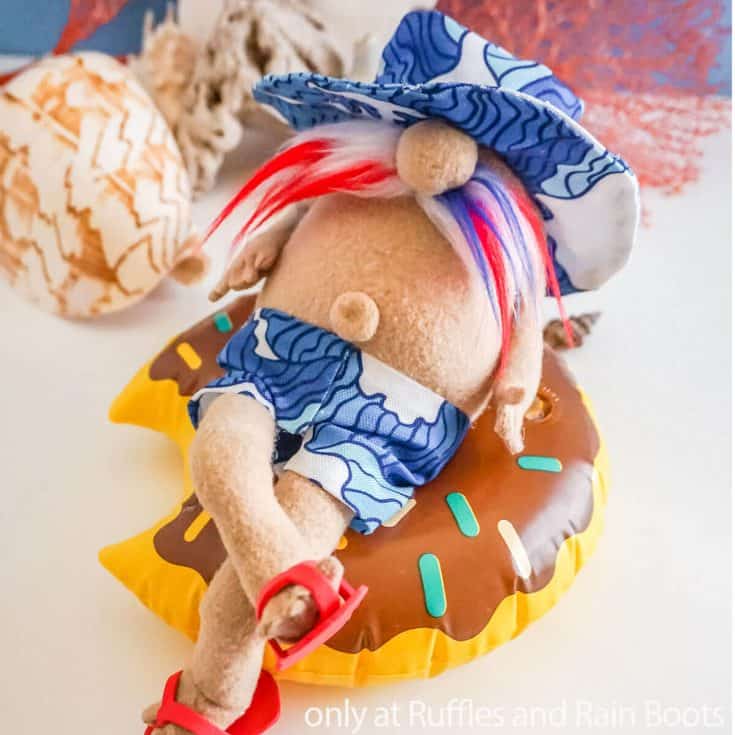
One of my most "casual" gnomes, this easy no-sew beach gnome pattern is a fun summer gnome that really kicks-up the whimsy!
Materials
- Bubble Body Gnome Pattern
- Beach Gnome Accessories Pattern
- 1/4 yard Beige Fleece Fabric
- Red, White, and Blue Faux Fur
- Poly Fill
- 2 cups Poly Beads
- 1- Drink Pool Floatie (I used a donut one)
- Red Craft Foam
- 1/8 yard Stiff Cotton Fabric (I used waterproof upholstery fabric)
- 1 - 2-inch Styrofoam Ball
- 1 - 1/2-inch Button with a Concave Center
Tools
- Hot Glue Gun & Glue
- Scissors
- Razor Blade or Craft Knife
Instructions
- Trace and cut out one gnome body shape, two arm shapes (add about 1 inch longer than you typically would cut), two leg shapes (add about 2 inches longer than you typically would cut), and a circle of the beige fleece about 1/4-inch in diameter larger than your button (this will make the belly button) from the beige fleece fabric. From the stiff cotton fabric, cut out 2 hat brim shapes, 1 hat top shape, 1 hat base shape, and 1 board shorts shape. Cut out 2 flip flop thong shapes and 2 flip flop sole shapes from the red craft foam.
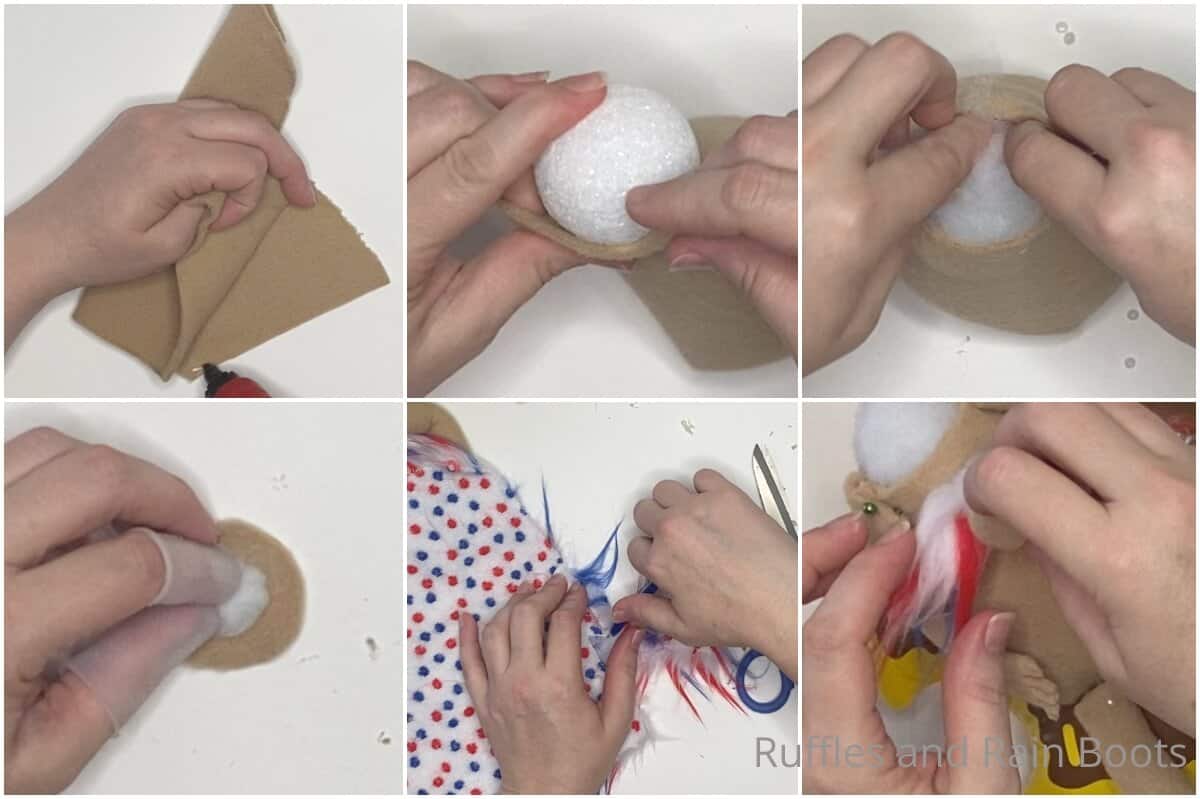
- Fold the gnome body shape in half and run a hot glue hem along the open side. Cut slits in the flap about 1/2 inches long and 1 inch apart, then fold the flap of the gnome body shape over and close the bottom of the gnome with hot glue. Allow the glue to dry fully.
- Turn the body of the gnome right side out. Fill the gnome body with 1-2 cups of Poly Beads. Stuff the 2-inch styrofoam ball into the gnome, using the ball's shape to create a bit of a pot-belly on your gnome. Tuck a generous portion of Poly Fill into the top of the gnome body to hold the poly beads inside and push the foam ball outward, creating that pot-belly look.
- Make the nose by cutting a 2-2 1/2 -inch circle of beige fleece and placing a small portion of Poly Fill in the center. Hot glue the edges of the circle together, creating a ball of fleece.
- Cut out the mustache shape from the faux fur by turning the fur over and cutting only the fabric with the razor blade or craft knife. I cut a piece about 3 inches long by 2 inches wide.
- Affix the mustache to the gnome by hot gluing the mustache to the body, about 2 inches below the top edge of the gnome body. Hot glue the nose in place in the center of the mustache.
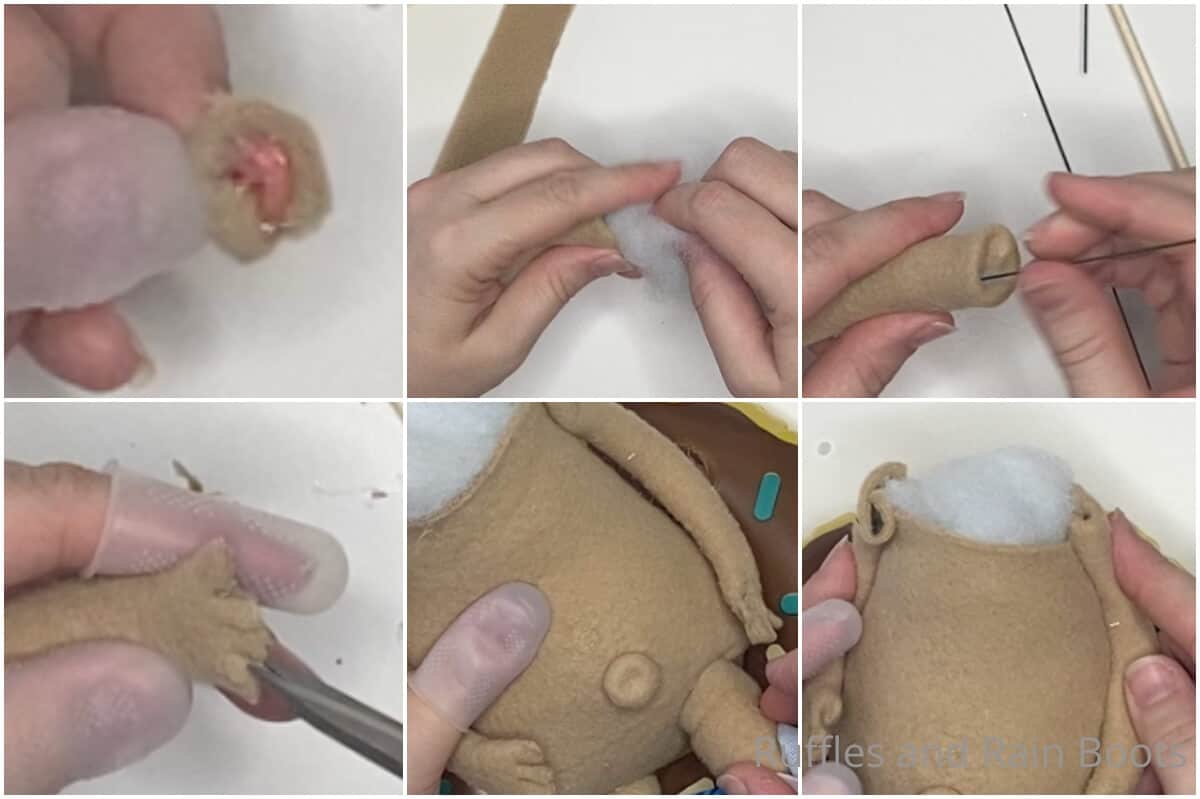
- Make the belly button by cutting small slits in the outer edge of the belly button circle of beige fleece. Hot glue button in the middle of the fleece circle, covering the button completely. Hot glue the belly button in the middle of the gnome’s belly.
- Hot glue hem each of the arm and leg rectangles, turn right-side out and stuff with Poly Fill, adding a floral wire to make the legs and arms posable, if desired.
- Fold the end of the arm flat and cut 4 slits into the end, through both sides of the fabric. Hot glue the two sides of each slitted section together, then trim into rounded finger or toe shapes. Repeat for remaining arms and legs. Conversely, you can cut the arm and leg shapes in your pattern to rounded off ends for less detail (and work).
- Place an arm on either side of the gnome's head, lined-up with the top of the gnome and hot glue them in place.
- Hot glue each leg onto the bottom of the gnome, on either side of the front. This will allow him to lounge in the floatie.
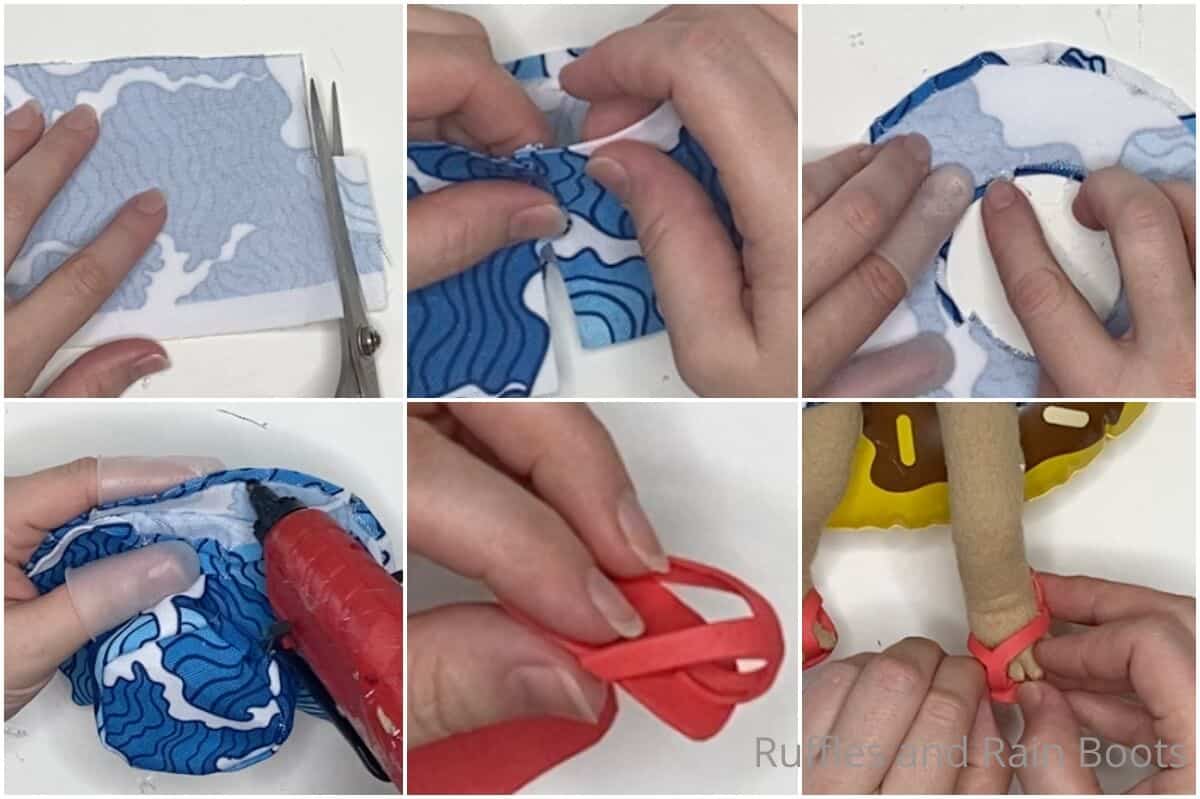
- Make the hat by cutting slits in or hot glue hemming the outer edges of the hat shape pieces, where noted in the pattern. Assemble the base piece by gluing together the base shape where the ends come together when folded. Then fit the base piece of the hat into one of the brim centers, folding the flaps out and hot gluing them in place. Hot glue the top of the hat onto the base, using the tabs, then fit the second brim piece onto the bottom and hot glue the two pieces together.
- Make the board shorts by hot glue hemming the edges all the way around. Fold the board shorts shape in half, wrong sides together. Hot glue them together, then fit the shorts onto the gnome body and hot glue the inner hems of the short’s legs together.
- Place the hat on top of the gnome's head, tucking it down over the top of the nose. Hot glue the hat in place in the back and sides, then one little dot on the nose.
- Make the flip flops by hot gluing the leg of the "y" thong shape to the sole, then folding over the "y" and gluing the two arms of the "y" on either side of the sole. Repeat with the second flip flop, then slip the flip-flops onto your gnome’s feet.
- Plop your gnome in a relaxing position on the floatie and display!
Notes
For more fun summer gnome patterns, visit Ruffles and Rain Boots!
Recommended Products
As an Amazon Associate and member of other affiliate programs, I earn from qualifying purchases.
More No-Sew Gnome Patterns You Might Like
- No-Sew Bee Gnome Pattern – Busy buzzing into summer with it’s own little set of DIY wings and everything!
- Patriotic Gnome Pattern – One of my favorite gnomes I’ve made recently, this one is all about that rustic patriotic fun!
- DIY Garden Gnome – You can seriously make your own garden gnome with this quick and fun summer tutorial.
Please Save This to Pinterest
Your shares are how this site grows and I am sincerely grateful. Know a friend who’d like this? Please share it on Facebook or save it to your favorite summer crafts board on Pinterest.
