
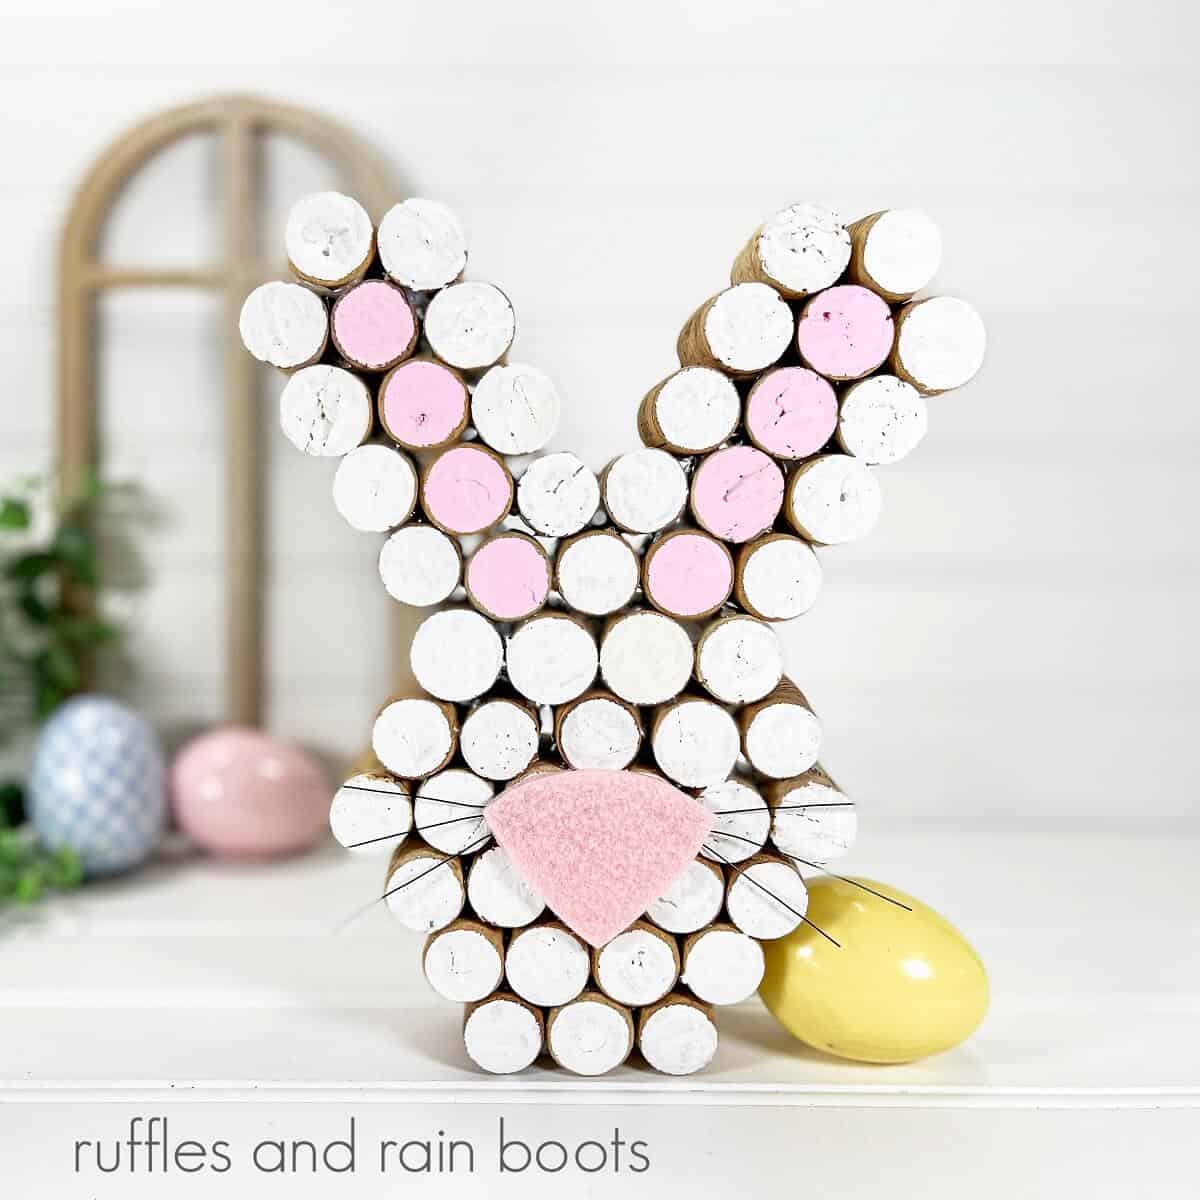
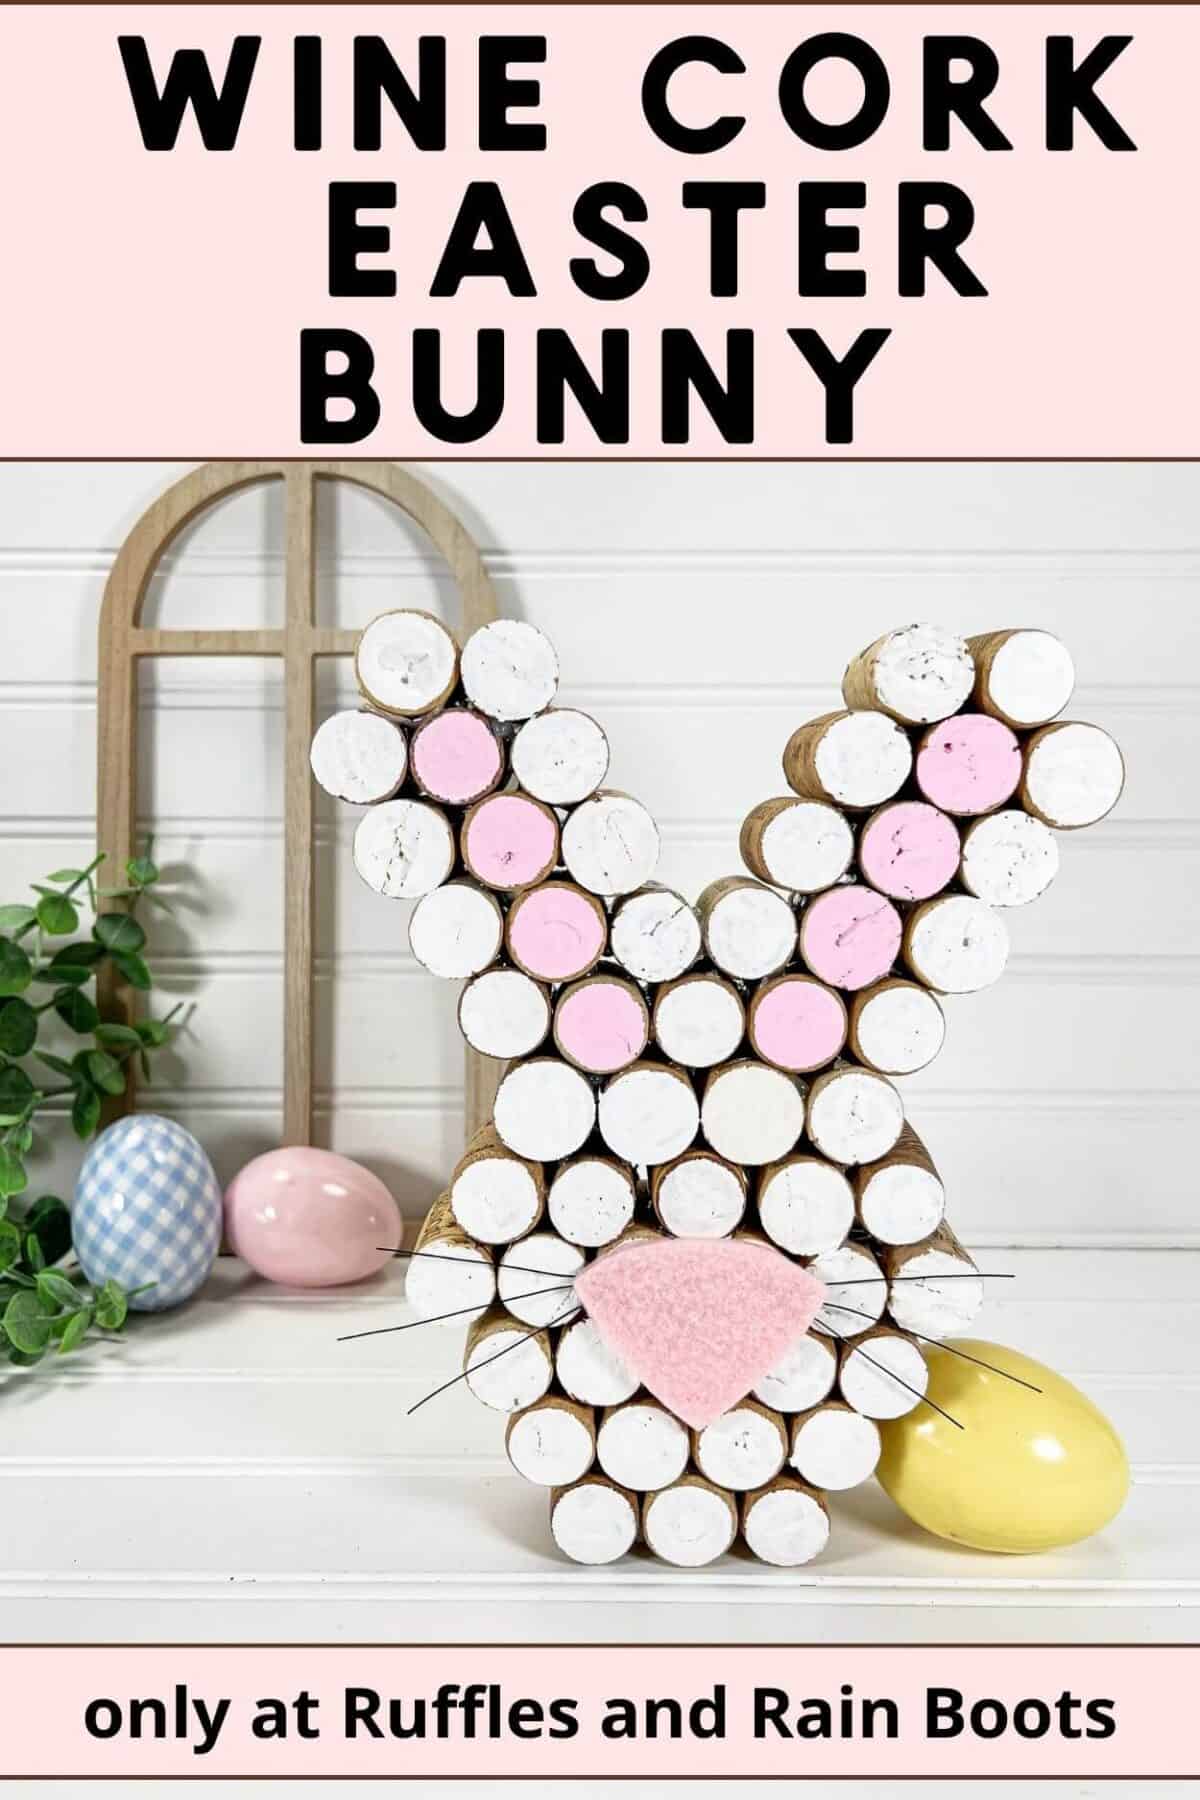
Recycled Wine Cork Bunny Craft
With Easter around the corner, it is the perfect time to collect your old wine corks and make this absolutely adorable recycled wine cork bunny craft. This is perfect for all decor but can be left unpainted for farmhouse Easter decor.
Using recycled materials and a few simple craft supplies, you can whip up this cute DIY for under $1. Add a picture hanging kit and you can move your tabletop decor to the wall for display.

RELATED READING: DIY Cork Apple Craft for Fall – So Cute
What You'll Find On This Page
Recycled Easter Bunny Craft
Here at Ruffles and Rain Boots, we are crazy about holidays. We love to celebrate, so give me any holiday to whoop it up and we are up for the challenge. Easter is a favorite, so this cute DIY bunny is going to fit right into our holiday decor.
It is no secret that we love a primitive farmhouse vibe, and that is what this recycled cork bunny feels. It is simple and minimalistic, with a hint of color to brighten any room.
If you’re gathering ideas, save this easy Easter craft to your favorite craft pin boar or share it on Facebook.

As an Amazon Associate, I could earn from qualifying purchases. There may be affiliate links within this article.
Tips For Making A Wine Cork Bunny
- You do not have to paint the cork rabbit at all. I have one side painted and one side plain so I can turn it to fit my theme each year.
- When painting cork (which is super absorbent), paint a minimum of two coats.
- If you or your friends or family are not wine drinkers, you can order crafting corks online here (I’ve used these).
- If airing out the corks, do not leave them in direct sunlight as they can turn quite dry and brittle.
RELATED READING: 4th of July Cork Crafts: Make This US Flag Using Corks!
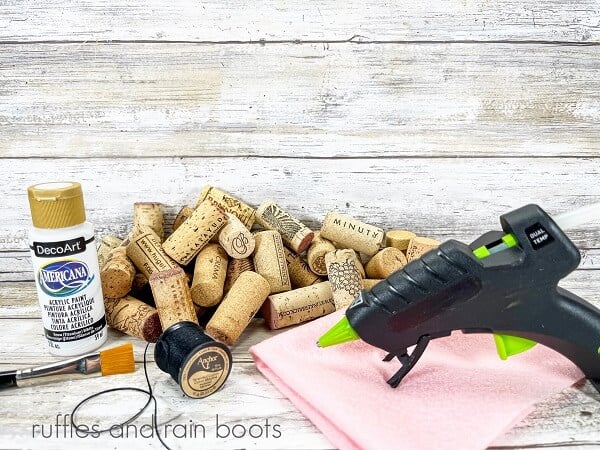
Supplies for the Wine Cork Bunny Craft
Below are the items I used to crate this DIY Easter craft idea. It’s basically just stacking corks in rows and the painting is entirely optional.
- Recycled Wine Corks
- Acrylic Craft Paint
- Craft Felt
- Black Wire
- Glue Gun and Glue Sticks
- Scissors
- Paintbrush
- Wire Cutters
- Cork Bunny NOSE Template
How to Make a Recycled Cork Bunny with Ears
Each step of this recycled wine cork Easter bunny craft is detailed below so it’s easy to follow. Keep this page open while you are creating your Easter bunny craft project. If you would rather have a printable how-to, just scroll down and select the print button.
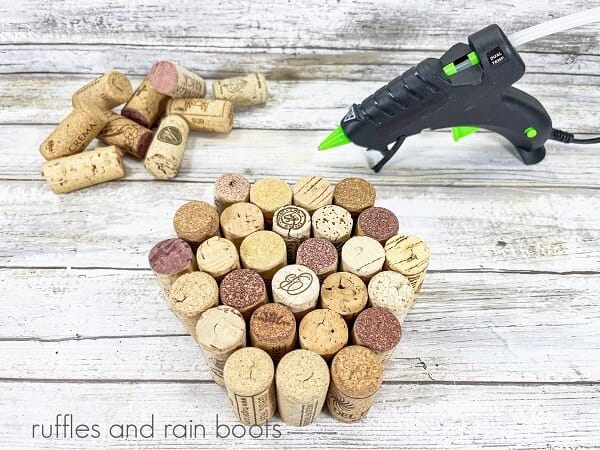
Lay out 27 corks on the work surface.
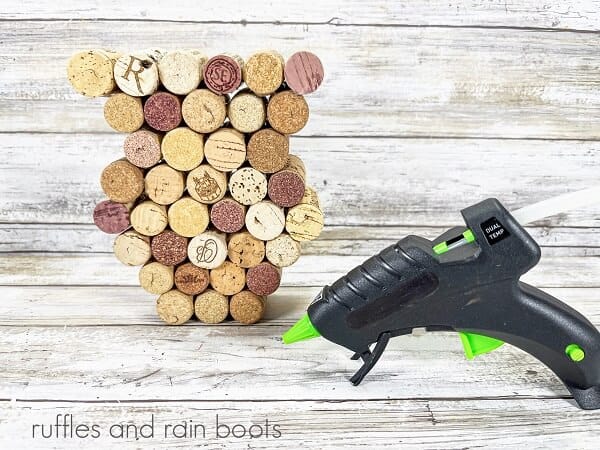
Attach the corks in this configuration of rows using a hot glue gun.
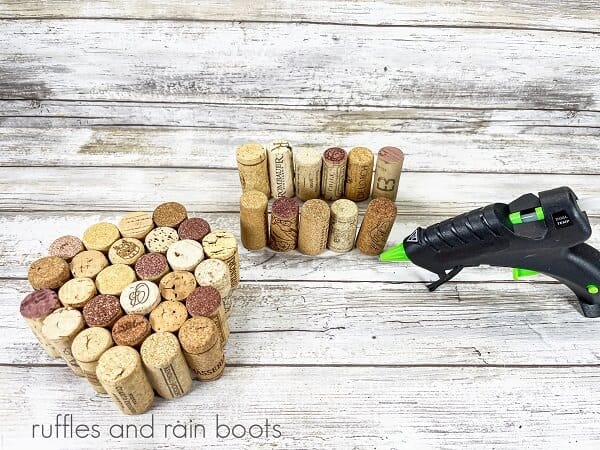
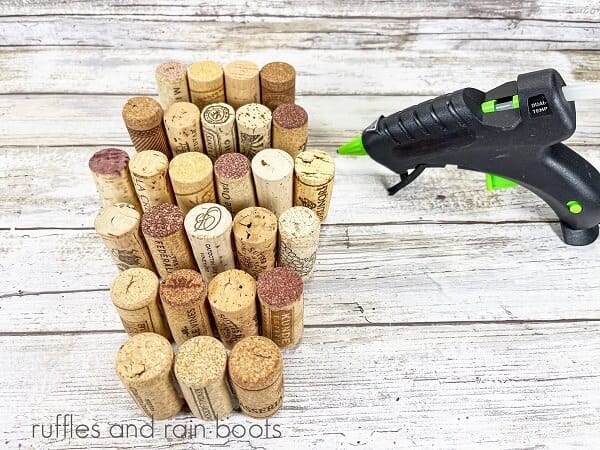
For the top of the rabbit’s head, lay out two more rows of corks on the work surface.
Attach the corks together in 2 rows using a glue gun.
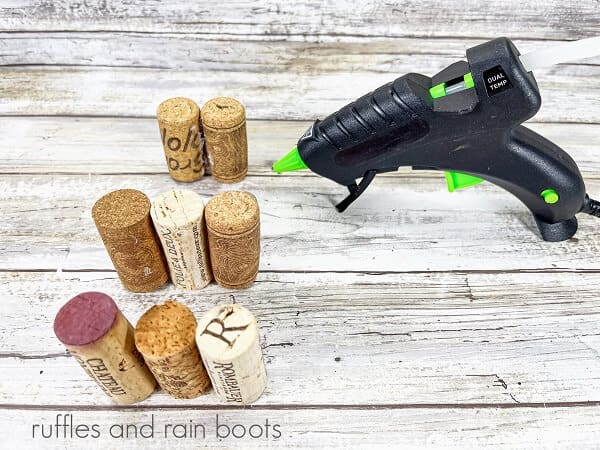
For the rabbit’s ears, lay out eight corks on the work surface.
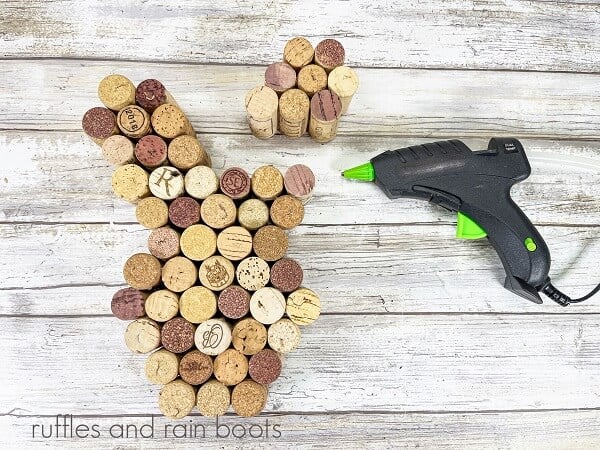
Using the hot glue gun, attach the 8 corks in rows, and then attach to the bunny’s head.
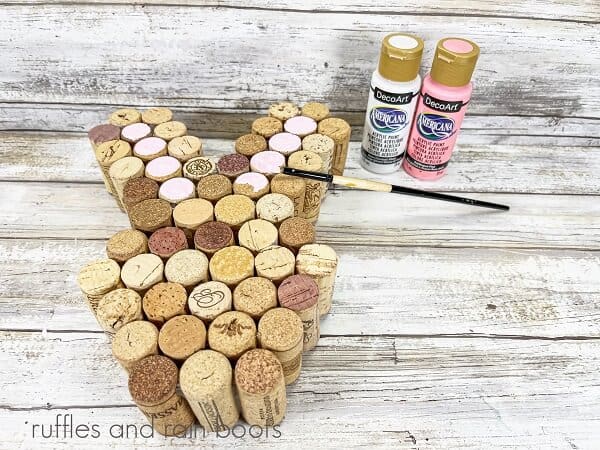
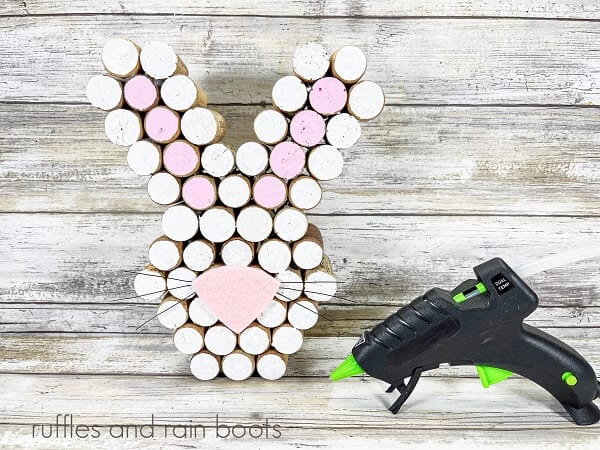
Using a paintbrush, paint eight of the ends of the corks in the center of the ears with light pink acrylic craft paint.
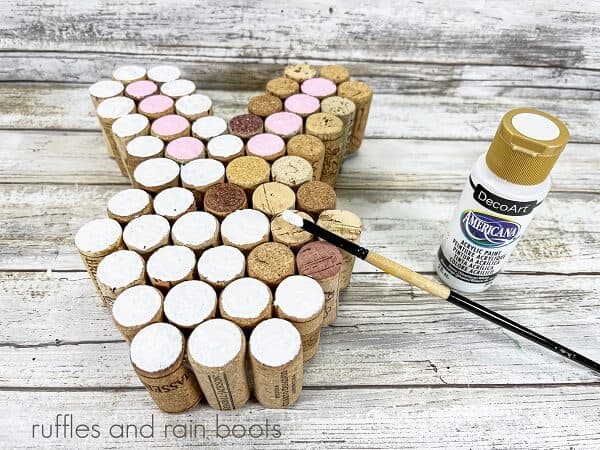
Paint the remaining ends of the corks with white acrylic craft paint.
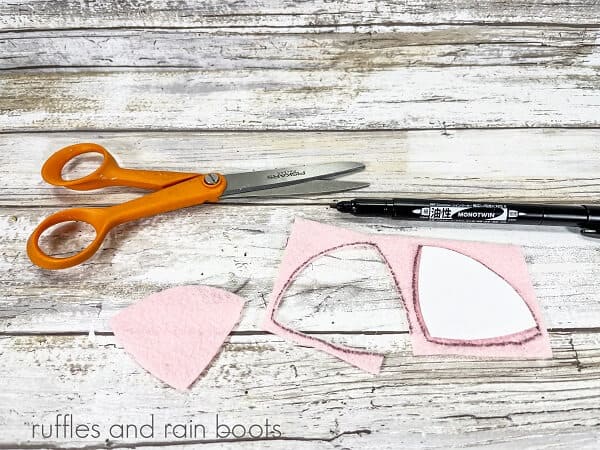
Using a marker, trace and cut one nose shape on a baby pink craft felt.
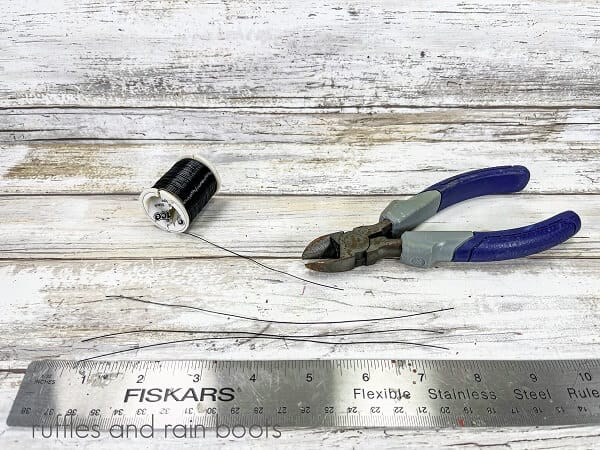
Measure three 6” long pieces of black wire and cut them with wire cutters.
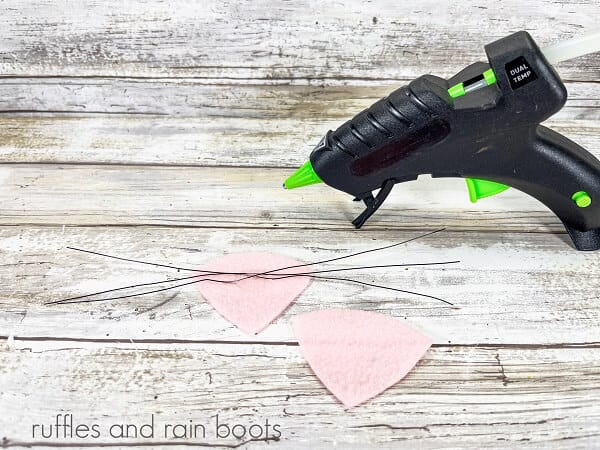
Flip the nose over and using a glue gun, attach the wires in a crisscross pattern.
Using the glue gun, attach the pink felt nose and whiskers. You are ready to display your recycled wine cork Easter bunny!
Notes for Making Farmhouse Easter Craft Bunnies
- When looking for the 22 gauge wire in the craft store, it’s either in the jewelry or floral section. Wire cutters can be found next to the wire in either section.
- Make a wall hanging of your DIY cork Easter bunny by using a picture hanging kit from the craft or hardware store.
- If you can see the wire through the felt on your bunny’s nose, just add a layer to the felt.
More Easter and Spring Content You May Like
- Fun and Easy Easter Bunny Hot Cocoa Bombs: I am in love with how easy and fast these Easter bunny hot cocoa bombs were to make – truly a fast Easter treat for anyone who loves a good bunny!
- Spring Wood Gnome: These Spring wood gnomes are so elegant and beyond easy. Use a Dollar Tree craft supply to make these in a fun floral, a Buffalo check, glitter, rainbow, and other styles and colors!
- DIY Cork Pumpkins: Make some simple cork pumpkins for easy farmhouse decor.
- Cute DIY Spring Book Stack: Such a fun and easy craft, this simple DIY spring book stack is made from a Dollar Tree wood crate, which is so customizable!
Please Save or Share This Cork Easter Craft
Your shares are how this site grows and I sincerely appreciate it. Please save this easy Easter craft to your favorite holiday craft pin board or share it on Facebook.
Recycled Wine Cork Easter Bunny Craft
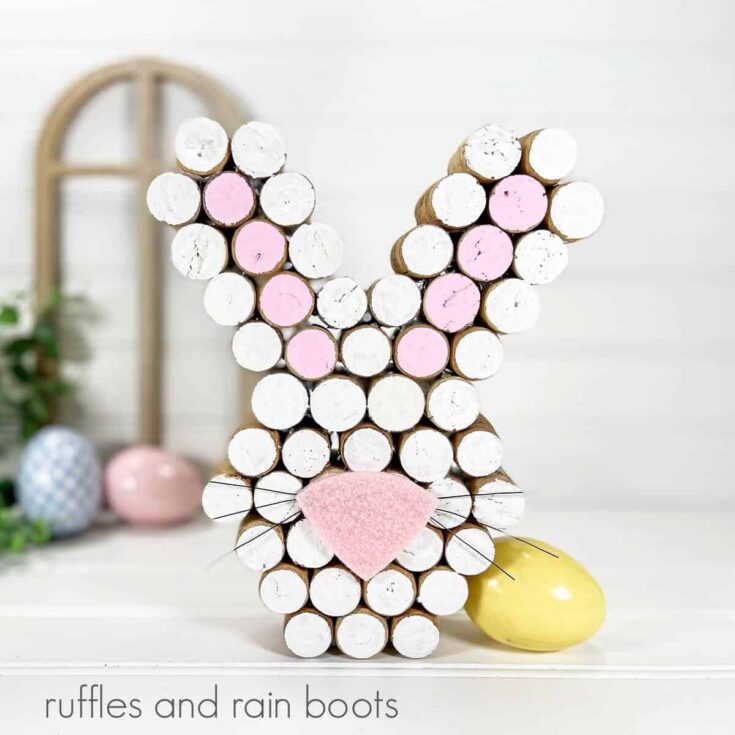
This cute Recycled Wine Cork Easter Bunny Craft is an easy keepsake to make and comes together in about 30 minutes and under $1.
Materials
- 54 Recycled Wine Corks
- White and Light Pink Acrylic Craft Paint
- Baby Pink Craft Felt
- Black 22 Gauge Wire
- Cork Bunny Nose Template
Tools
- Paintbrush
- Scissors
- Wire Cutters
- Hot Glue Gun and Glue Sticks
Instructions
- Attach the corks in rows using a glue gun.
- For the top of the rabbit’s head, lay out two more rows of corks on your work surface: The first with five corks and the second with six.
- Attach the corks together in rows using a glue gun, stacking and gluing the row of five on top of the row of four, and the row of six on top of the row of five.
- For the rabbit’s ears, lay out eight corks on your work surface: Three corks, three corks, and two corks.
- Attach the corks together in rows using a glue gun.
- Attach the ears, offset and angled to the left and the right.
- Using a paintbrush, paint eight of the ends of the corks with light pink acrylic craft paint.
- Paint the remaining ends of the corks with white acrylic craft paint. Let all paint dry, and apply a second coat, if necessary.
- Using a marker, trace and cut one nose shape on baby pink craft felt.
- Measure three 6” long pieces of black wire and cut them with wire cutters.
- Flip the nose over and using a glue gun, attach the wires in a crisscross pattern.
- Using the glue gun, attach the pink felt nose and whiskers.
Meet the Creator
Hi there, I’m Sarah Nenni-Daher. I’m a crafty gal and always have at least 14 projects going at once. I am a crafter, designer, DIYer, and pattern maker. I share my creations here and in the Ruffles and Rain Boots® Shop.
Here at Ruffles and Rain Boots®, you’ll find DIY gnomes, crafts, gifts, cupcakes, laser crafts, and so much more. I love sharing video tutorials over on YouTube and chatting with other crafters in my Facebook groups. We’d love to have you!