
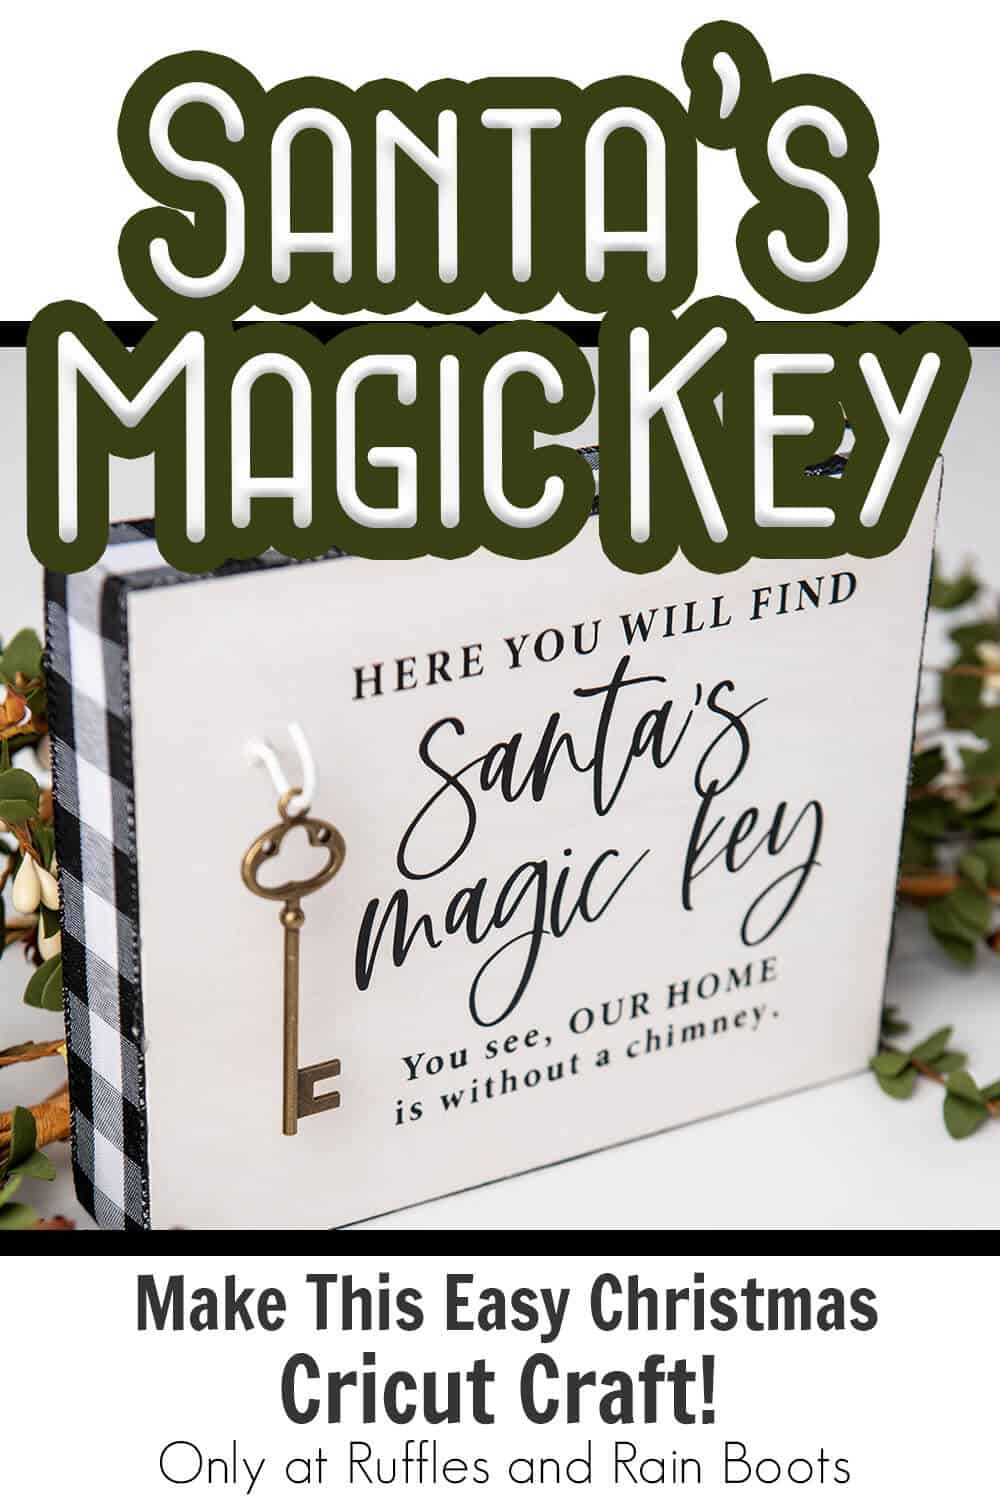
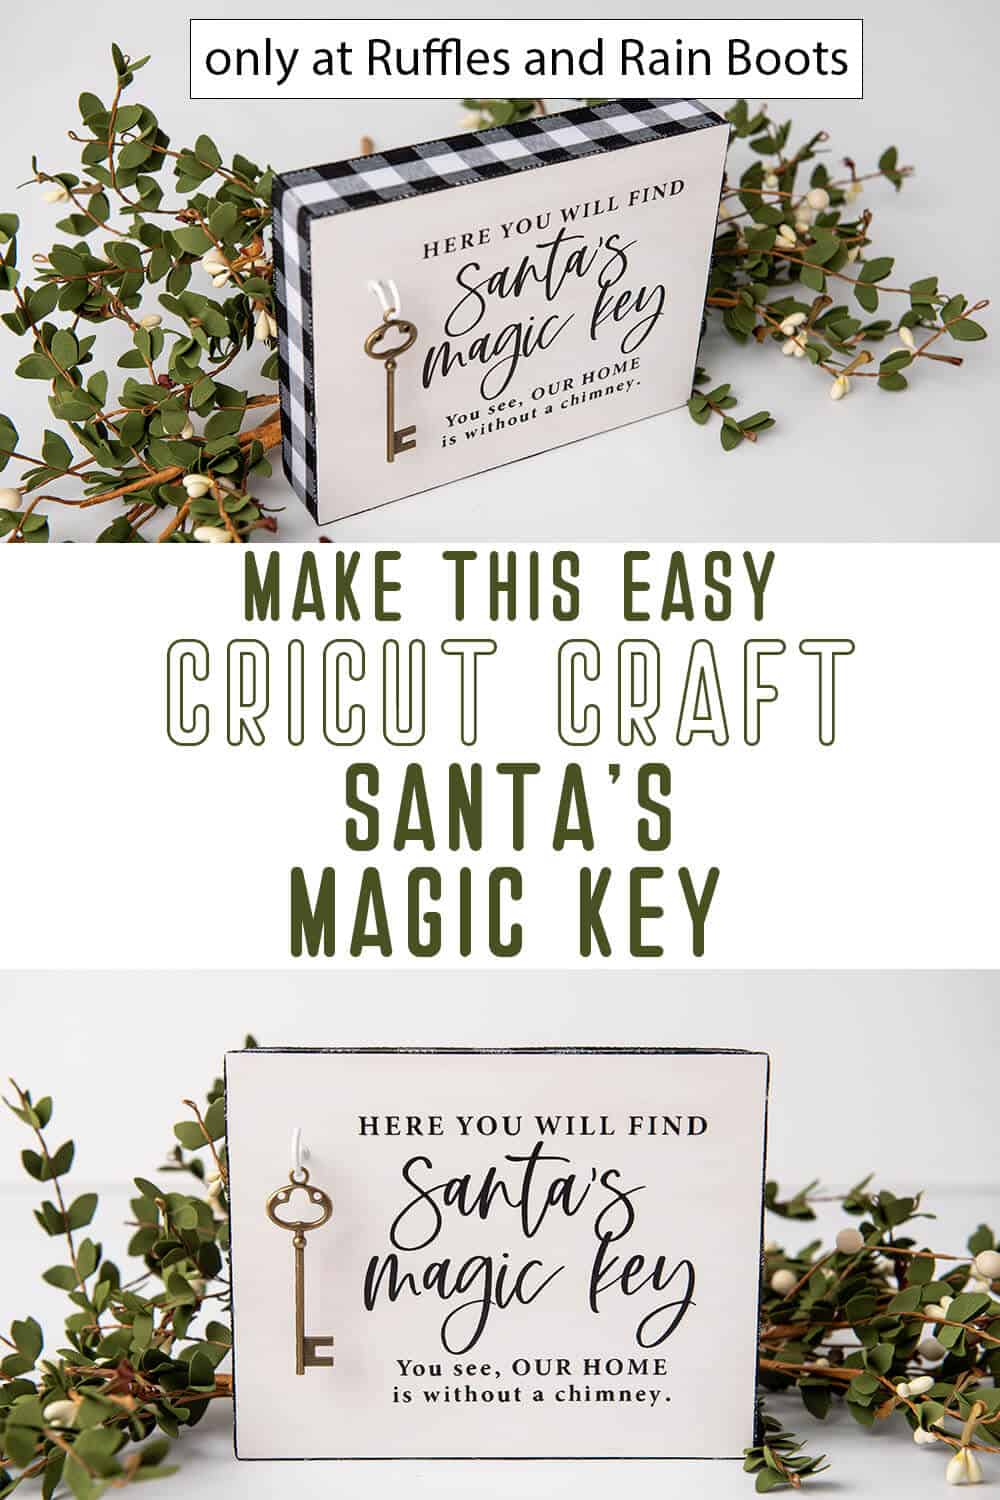
Make This Easy Santa’s Magic Key Sign Cricut Craft for Christmas
Making this easy and fun Santa’s magic key sign Cricut craft is a fast and fun way to bring a bit of magic to a home with no chimney!
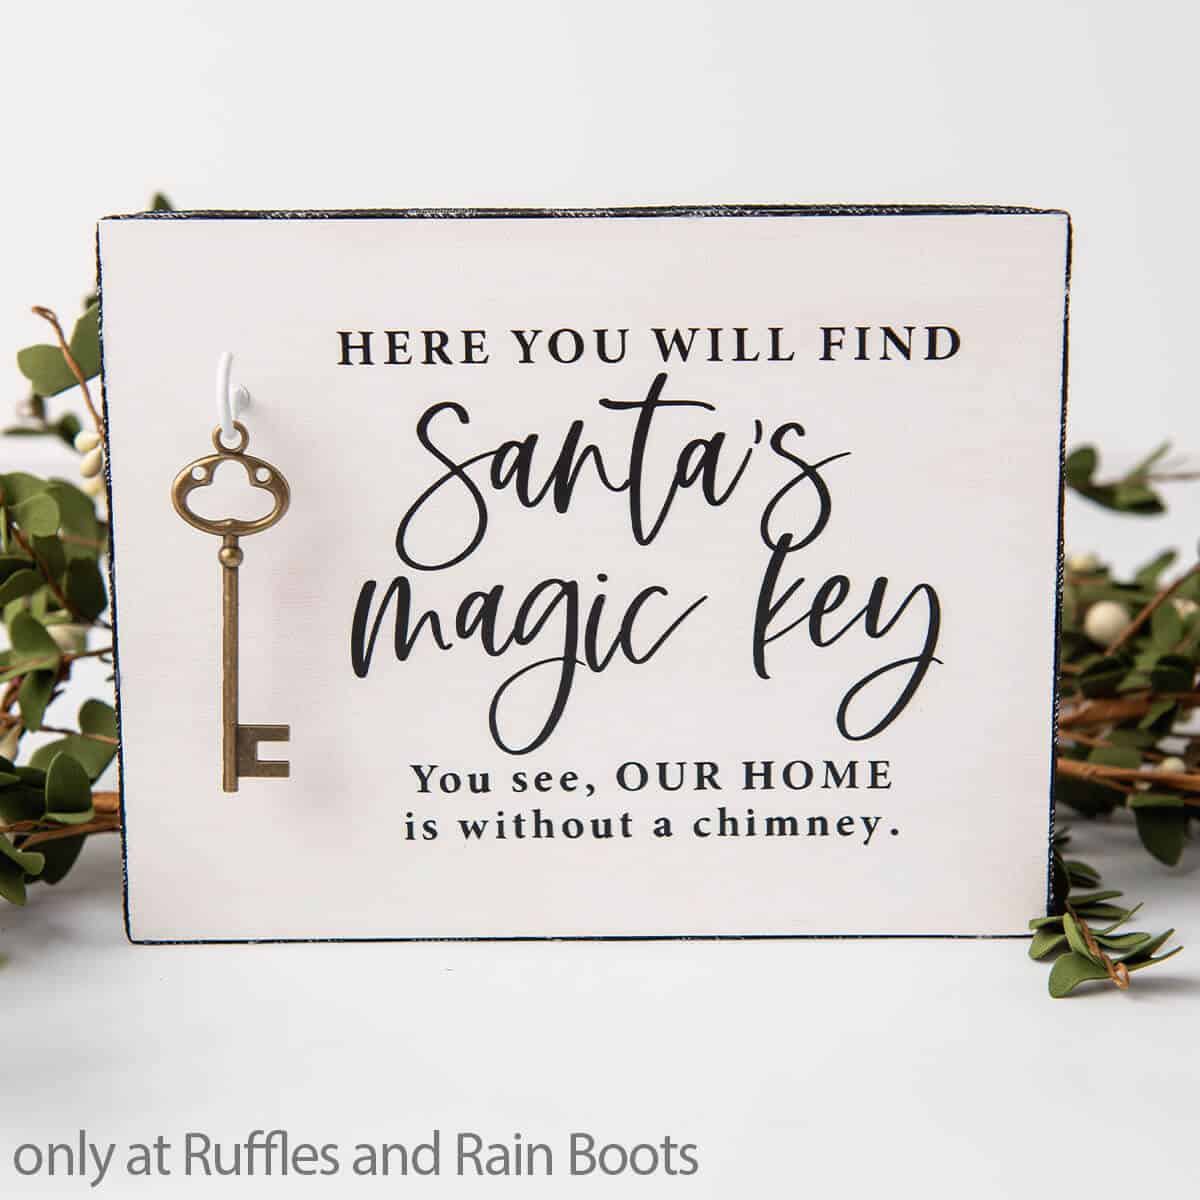
Santa’s Magic Key Sign Cricut Craft
Here at Ruffles and Rain Boots, I love making easy DIY crafts. There’s nothing more fun that decorating for the holidays. But one thing that missing that a friend of mine mentioned she “needed”? A way to get Santa into her house, because they don’t have a chimney!
RELATED READING: MINI LOG GNOME CENTERPIECE
So, I offered to help out and made this simple Santa’s magic key sign Cricut craft to give her. Now all she has to do is hang it and let the magic begin! If you’re ready to make a great Santa craft, let’s get started.
No Time to Make This Now? Pin it for Later
You’re busy, I get it. Pin this to your favorite Cricut or Silhouette board on Pinterest and it’ll be here when you’re ready.
As an Amazon Associate, I can earn from qualifying purchases.
Tips to Make a Santa’s Key Craft with Cricut
- First, let’s chat about that adorable skeleton key. I only had the one laying around for crafting, but I found some here that are on my crafting-supply list now!
- Grab the cut file to pop the text on with vinyl here. If you prefer a different font or whatever, go for it, but to make it easy, I put that Santa’s Magic Key SVG out for you.
- I built a little box to make this sign, but it later occurred to me that you could just cut a 2×6 into a rectangle shape and add a hanger. Might make this a little bit simpler, but you know, you don’t know until you’re finished with a project what might have been easier. LOL!
- Using the plain hook was basically a decision made in a moment of “what do I have on hand”. But you can use any kind of hook. Or even a little nail (those little gold ones are so cute). So, don’t feel like you have to abandon this project if you don’t have a hanger. Be creative. You’ve got this.
How Do I Make this Santa’s Magic Key Sign Cricut Craft?
I’m so glad you asked. Below is our written tutorial.
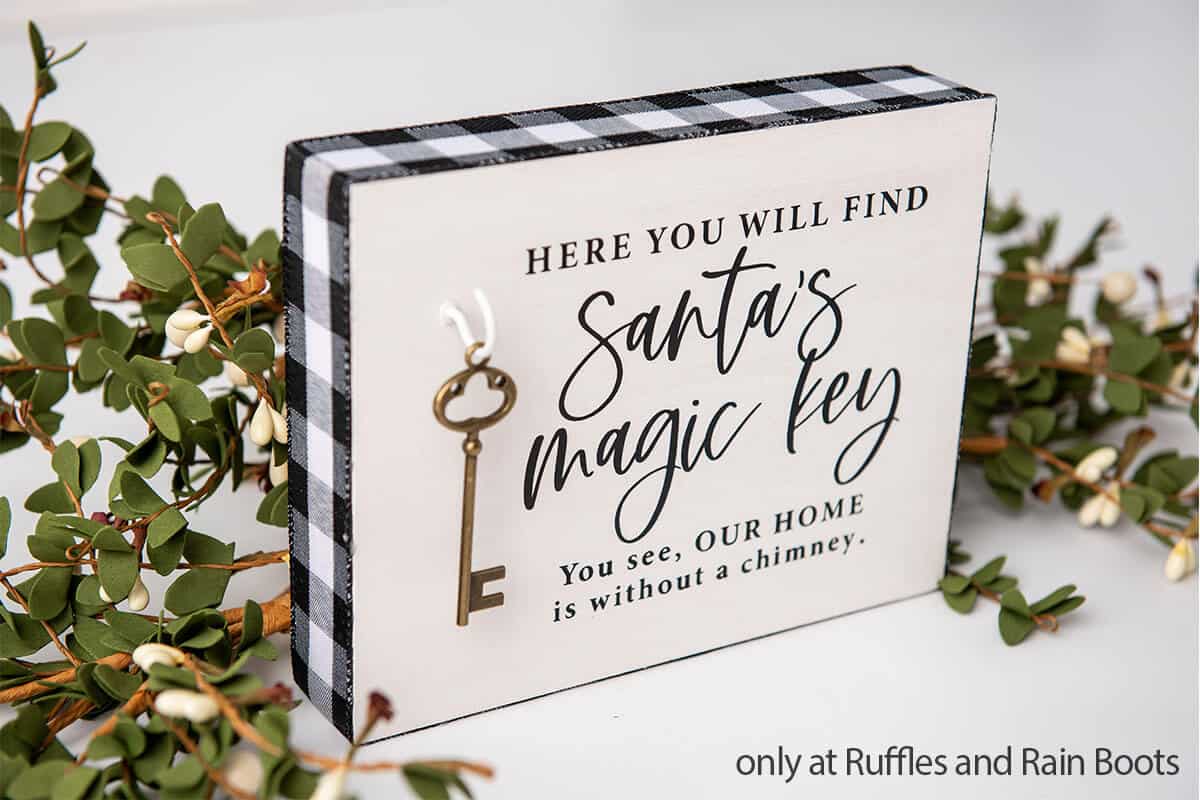
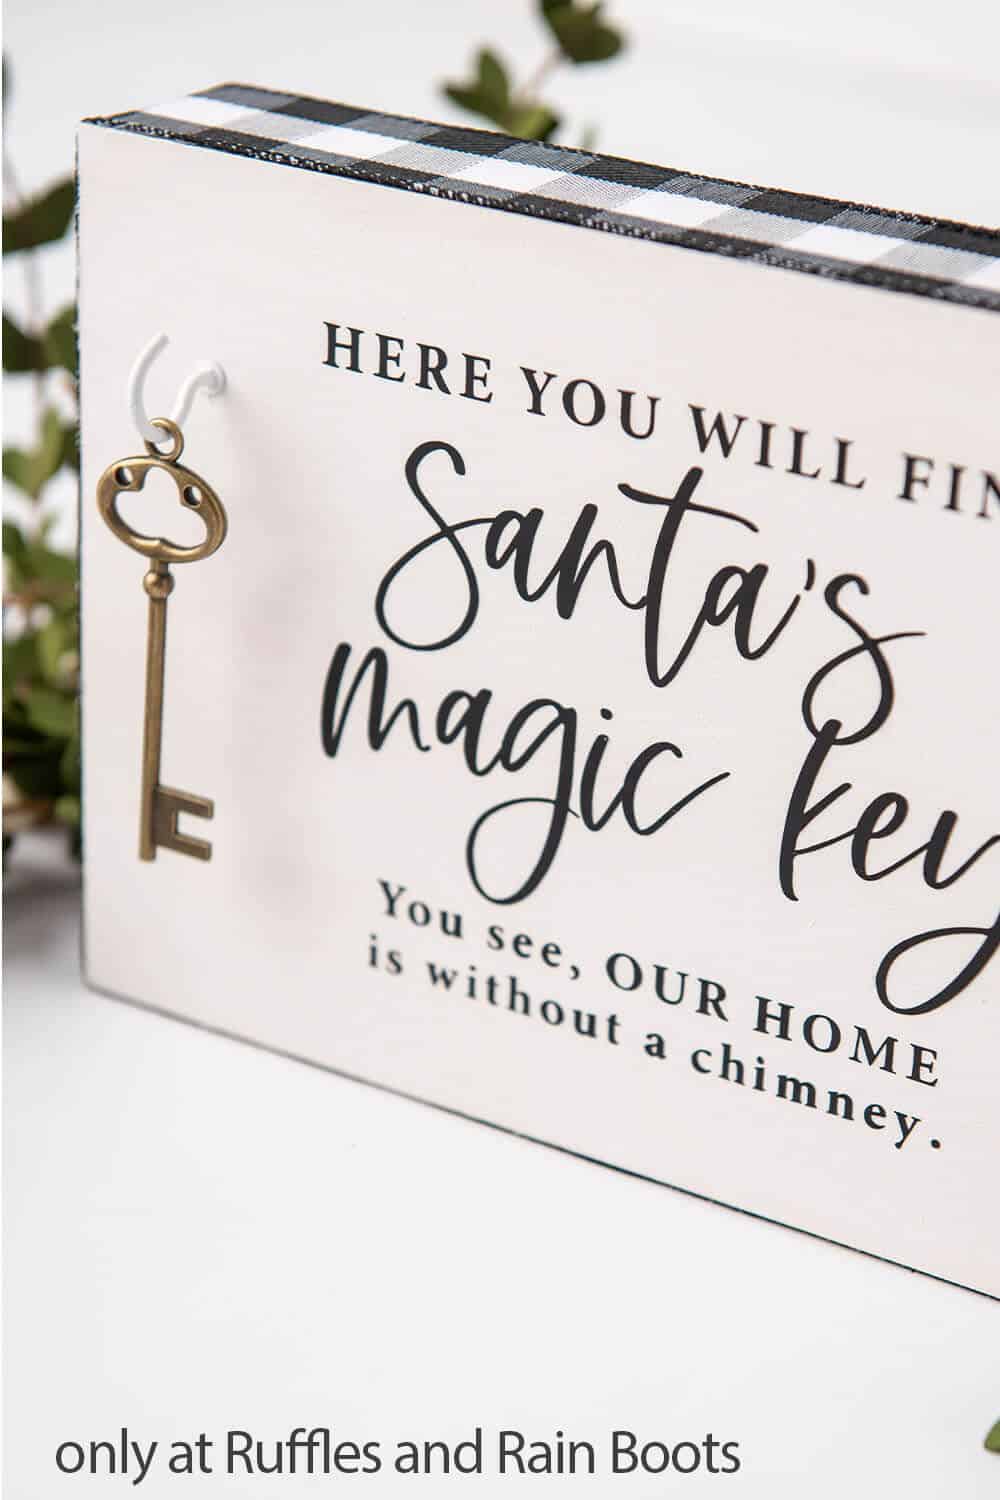
Santa's Magic Key Sign Cricut Craft
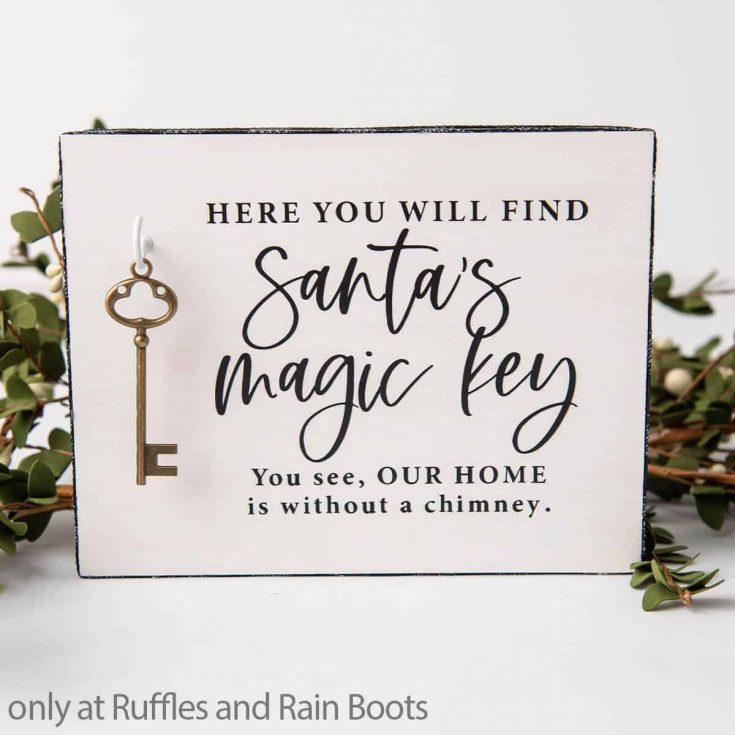
So easy and fast to make, this Santa's magic key sign Cricut craft is a great way to bring a little bit of magic of Christmas to your home when there's no chimney for Santa.
Materials
- 1 Skelton Key
- Wood Rectangle or Square (I used some thin wood craft panels from the craft store)
- Acrylic Paint in White
- Permanent Vinyl in Black
- Small Screw Hook
- Buffalo Check Ribbon about 1 1/2-inch wide
- Santa's Magic Key SVG Cut File
Tools
- Paint brushes and sponge brushes
- Hot Glue Gun
- Cricut or other cutting machine
- Blue or Green Grip Mat
- Weeding Tool
- Scraper Tool
- Transfer Tape
- Wood Craft Knife or Utility Knife
Instructions
- Cut your wood pieces to the following: (2) ⅜” x 1 ½” x 7 ¾” (Sides), (2) ⅜” x 1 ½” x 5 ½” (Sides), (1) ⅜” x 7 ¾” x 6” (Face).
- Paint the wood on one side for each piece and allow it to dry completely.
- Place the face piece of wood on a flat surface with the paint side down then glue the side pieces to the back of the face piece edge to edge with the painted sides out. Glue each of the side pieces together as well.
- Glue the ribbon to the sides of the sign starting the ribbon at any corner and gluing firmly as you work your way to each corner, following the edge.
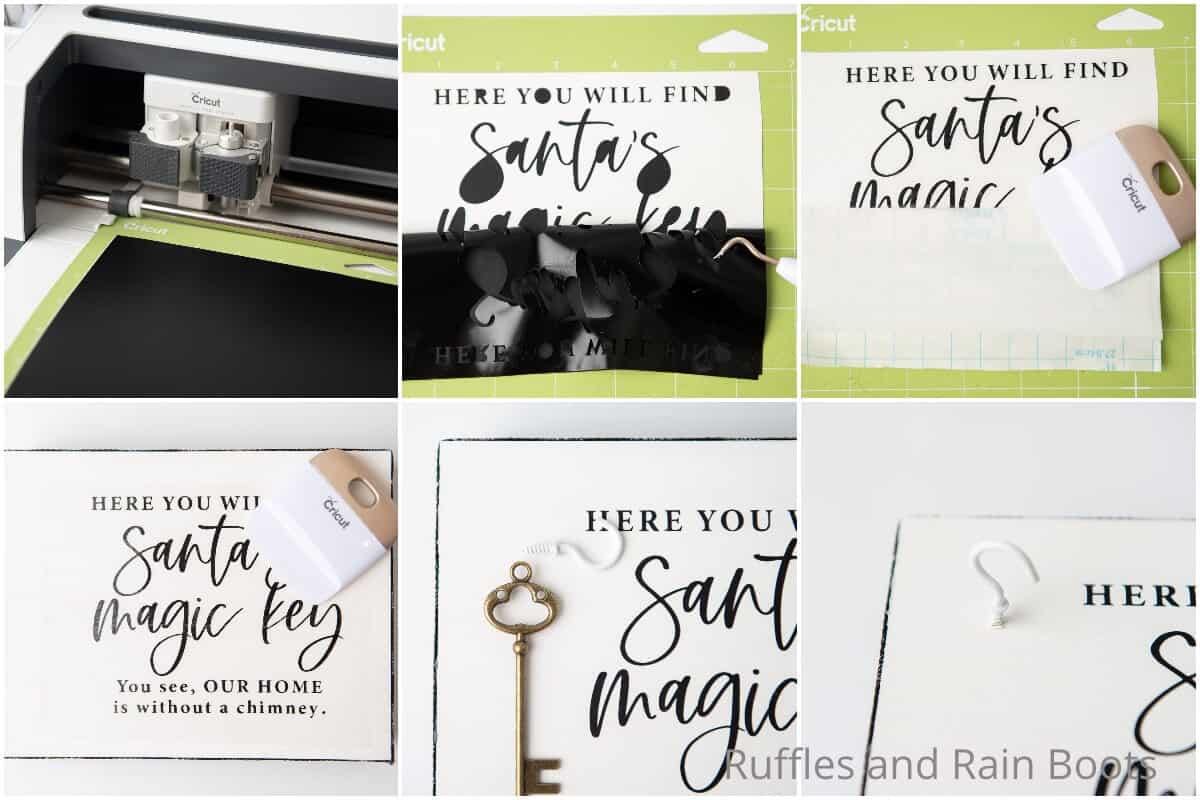
- Download the cut file for the text and upload it into Design Space. Alternatively, type your text into Design Space and size it to fit within the face of the sign, including at least a 2-inch wide area on one side for the key to hang.
- Hit the "make it" button then place the vinyl onto the cutting mat and load the mat into the cutting machine.
- Adjust the material setting to vinyl and hit “go”.
- Remove the negative vinyl from the lettering design and discard.
- Cut a piece of transfer paper about the size of your vinyl design and place the transfer paper on top of the vinyl. With the scraper tool, rub the vinyl design to ensure that the vinyl affixes will to the transfer paper.
- Flip the vinyl and transfer paper face-down and begin to gently remove the vinyl backing off, leaving the vinyl design on the transfer paper.
- Position the vinyl design and transfer tape on the right side of the face of your sign. Take care to position it lightly on top of the wood sign and do not smooth down. Make sure you leave enough room for your key on the left side.
- Once you are happy with the location of the design, begin to apply pressure and smooth the design onto the wood using a scraper tool or old gift card.
- Slowly peel the transfer paper away starting at a corner and very carefully rolling it up and away from the wood. The vinyl will stay on the sign.
- Screw the hanger hook to the left side of the sign, centered in the space you left for the key, placing it where the key will hang centered in the space horizontally.
- Hang the Magic Key on the hook and display!

Notes
For m ore fun Cricut craft inspiration, visit Ruffles and Rain Boots!
Recommended Products
As an Amazon Associate and member of other affiliate programs, I earn from qualifying purchases.


More Easy Christmas Crafts You Might Like
- Gnome Mug Topper Holiday Themed – This easy DIY holiday craft is so simple, but it really makes a statement.
- Scandinavian Dala Horse Ornament – I love making handmade Christmas ornaments and this little horse is one of my favorites from this year!
- Buffalo Check DIY Christmas Tree – So fast, this easy holiday craft is a fun way to bring some farmhouse vibes to your holiday decor!
Please Save This to Pinterest
Your shares are how this site grows and I am sincerely grateful. Know a friend who’d like this? Please share it on Facebook or save it to your favorite easy holiday crafts board on Pinterest.
Meet the Creator
Hi there, I’m Sarah Nenni-Daher. I’m a crafty gal and always have at least 14 projects going at once. I am a crafter, designer, DIYer, and pattern maker. I share my creations here and in the Ruffles and Rain Boots® Shop.
Here at Ruffles and Rain Boots®, you’ll find DIY gnomes, crafts, gifts, cupcakes, laser crafts, and so much more. I love sharing video tutorials over on YouTube and chatting with other crafters in my Facebook groups. We’d love to have you!