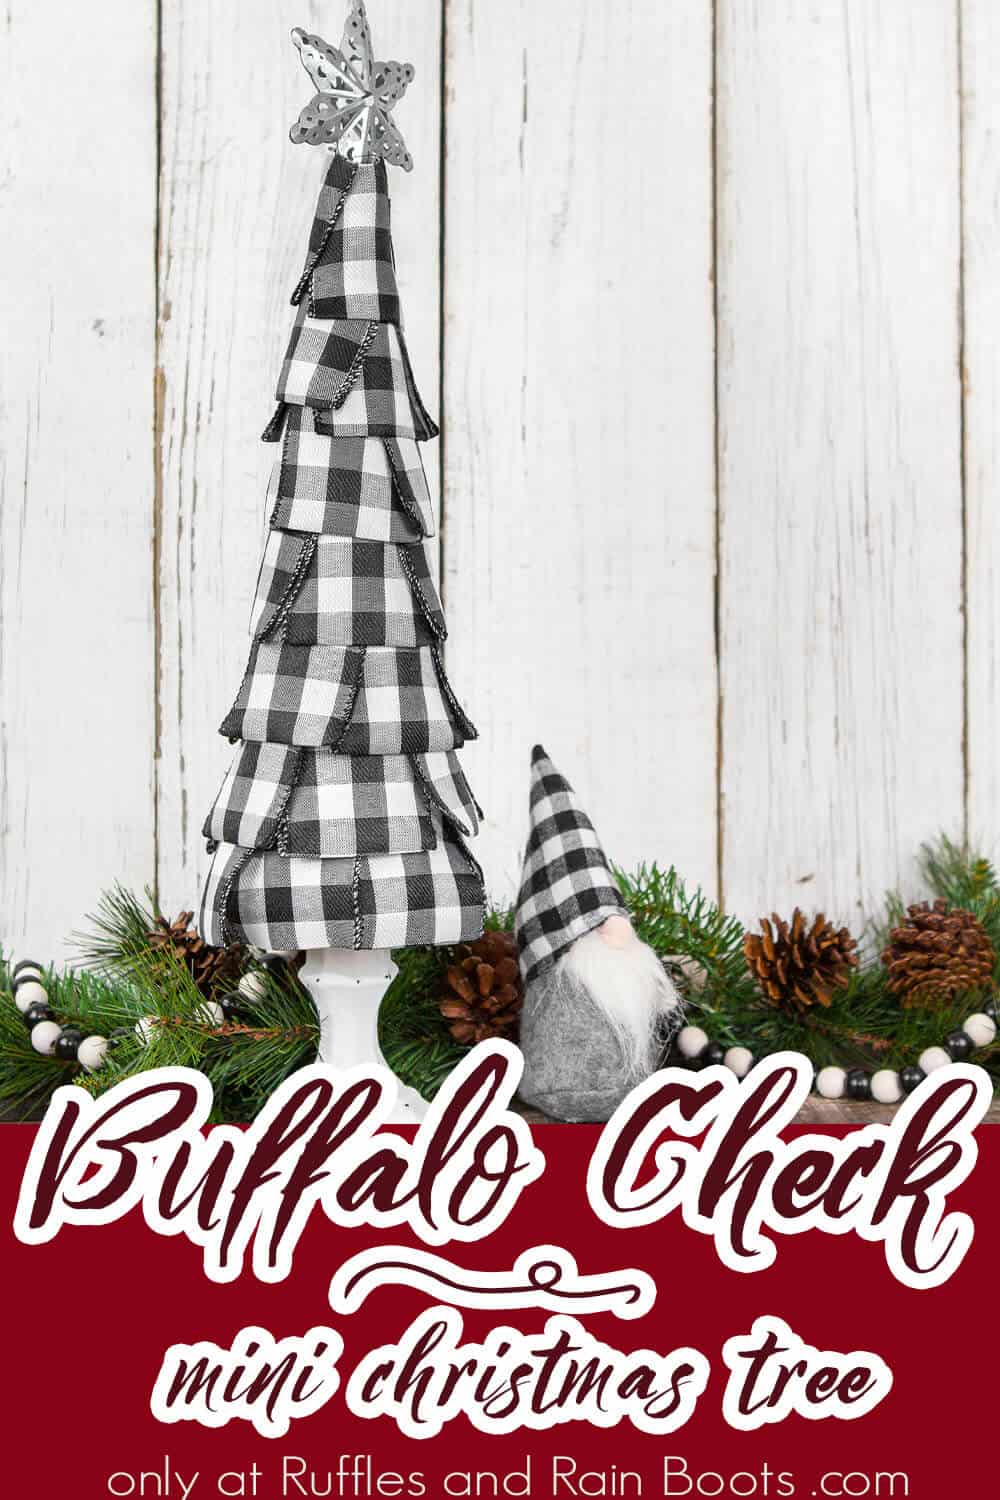
I Love This Simple and Fun Buffalo Check DIY Christmas Tree
Sometimes, you just need a fast and easy holiday craft like making this buffalo check DIY Christmas tree. Checks off all the needs, wants and desires for me!
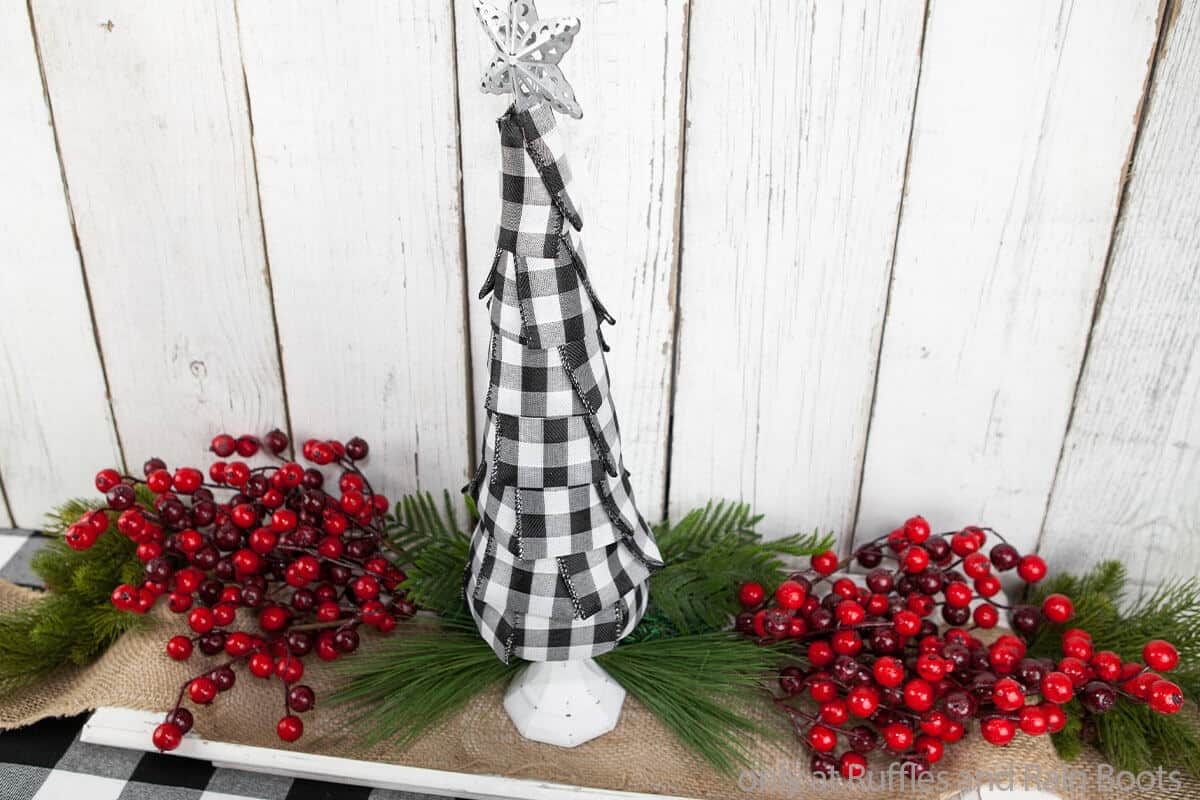
Buffalo Check DIY Christmas Tree
Here at Ruffles and Rain Boots, we love the holidays and coming up with easy and fast craft ideas to add to my farmhouse decor is kind of an obsession. So, when I noticed a blank spot on one of my little display table, I just new that making a mini Christmas tree was in my near future.
RELATED READING: DIY SCANDINAVIAN CHRISTMAS TREES
This weekend, I had a few minutes free, so I grabbed a few things from the craft room and made this easy and fast buffalo check DIY Christmas tree that fits so nicely, right where I needed it! If you need a DIY buffalo check tree, let’s get started.
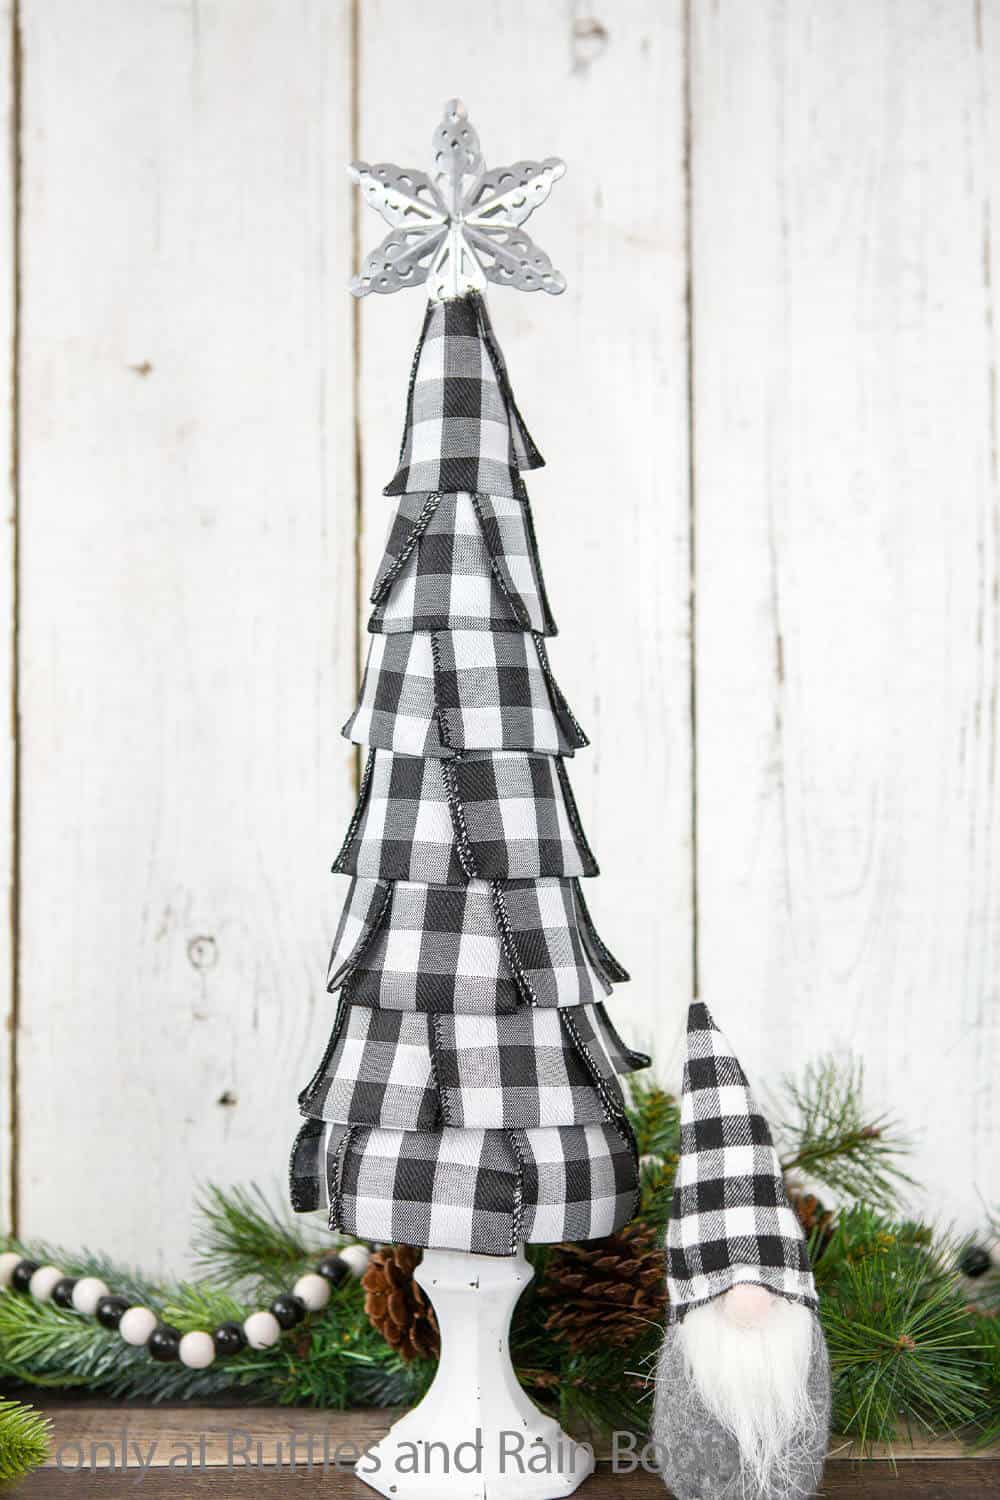
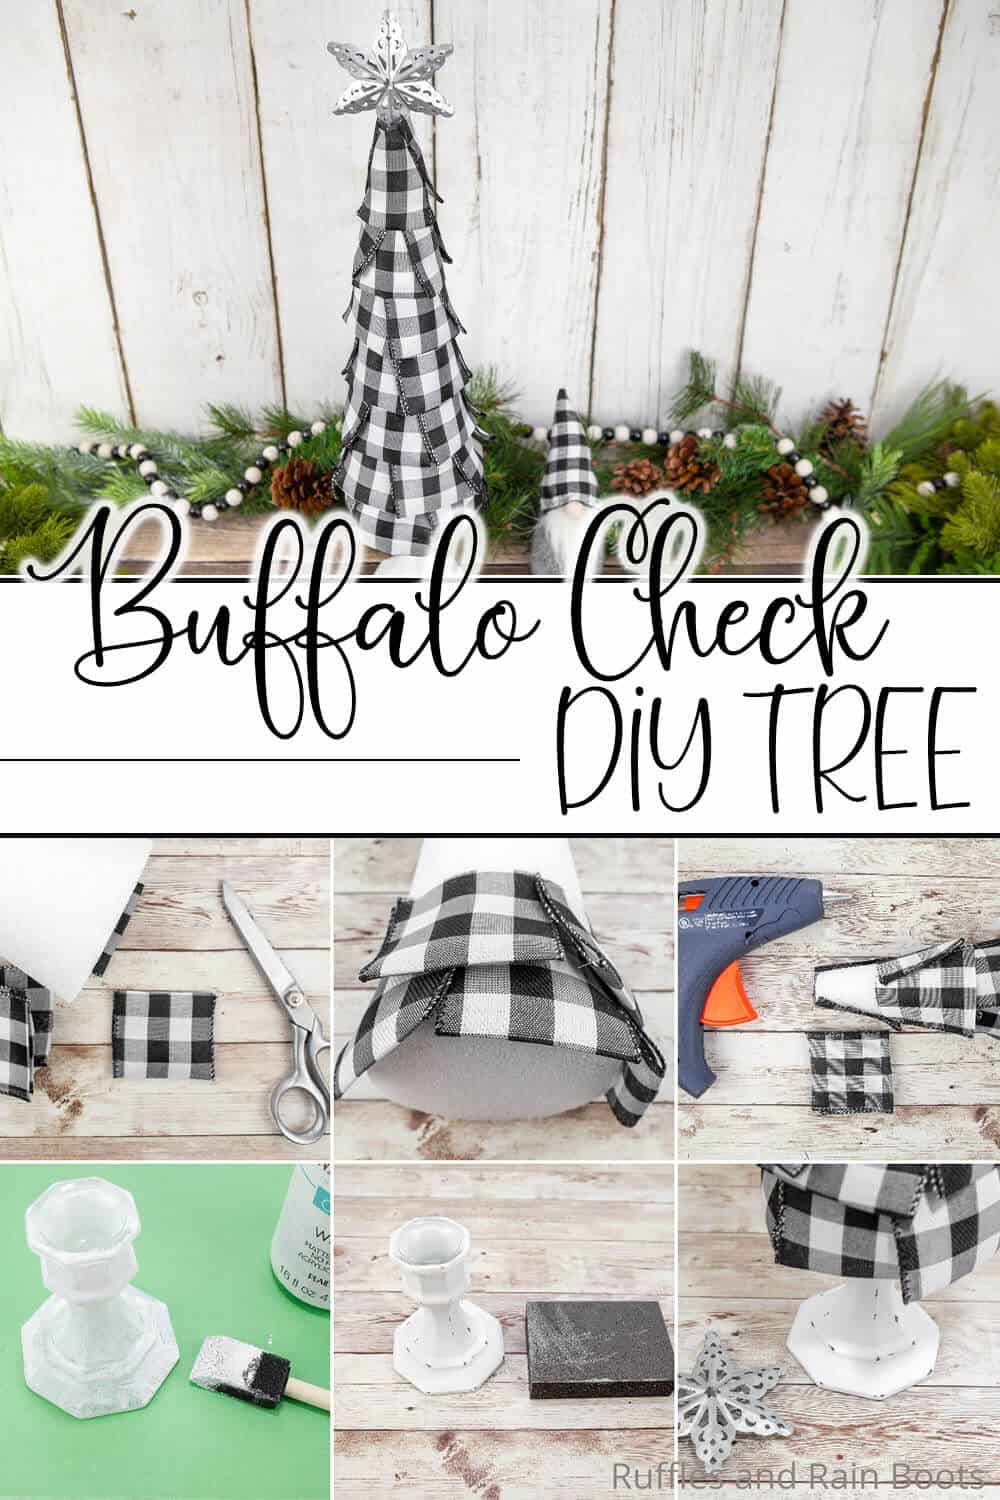
No Time to Make This Now? Pin it for Later
You’re busy, I get it. Pin this to your favorite Christmas crafts board on Pinterest and it’ll be here when you’re ready.
As an Amazon Associate, I can earn from qualifying purchases.
Tips to Make this DIY Buffalo CHeck Christmas Tree
- You want to have a sturdy cone base for the tree. Although you can use a paper mache cone, I prefer styrofoam cones because they have a built-in bottom, so you can add the candle holder. Paper mache cones are great, but without that bottom, the last row of ribbon is going to spread out and look weird to me. So, start by grabbing the variety pack of cones here so you can make different sizes of DIY mini-trees.
- If you have a low heat setting on your hot glue gun, use it. High heat hot glue can and will melt your styrofoam cone. Of course, the area you hot glue is going to be covered by the ribbon, so it’s not a deal-breaker, but the project will be a lot easier and go more smoothly if you’re not melting the cone as you work.
- To make this a non-Christmasey type of farmhouse craft, you can just leave the star off the top. This is a great winter decor piece that doesn’t have to just be for the holidays!
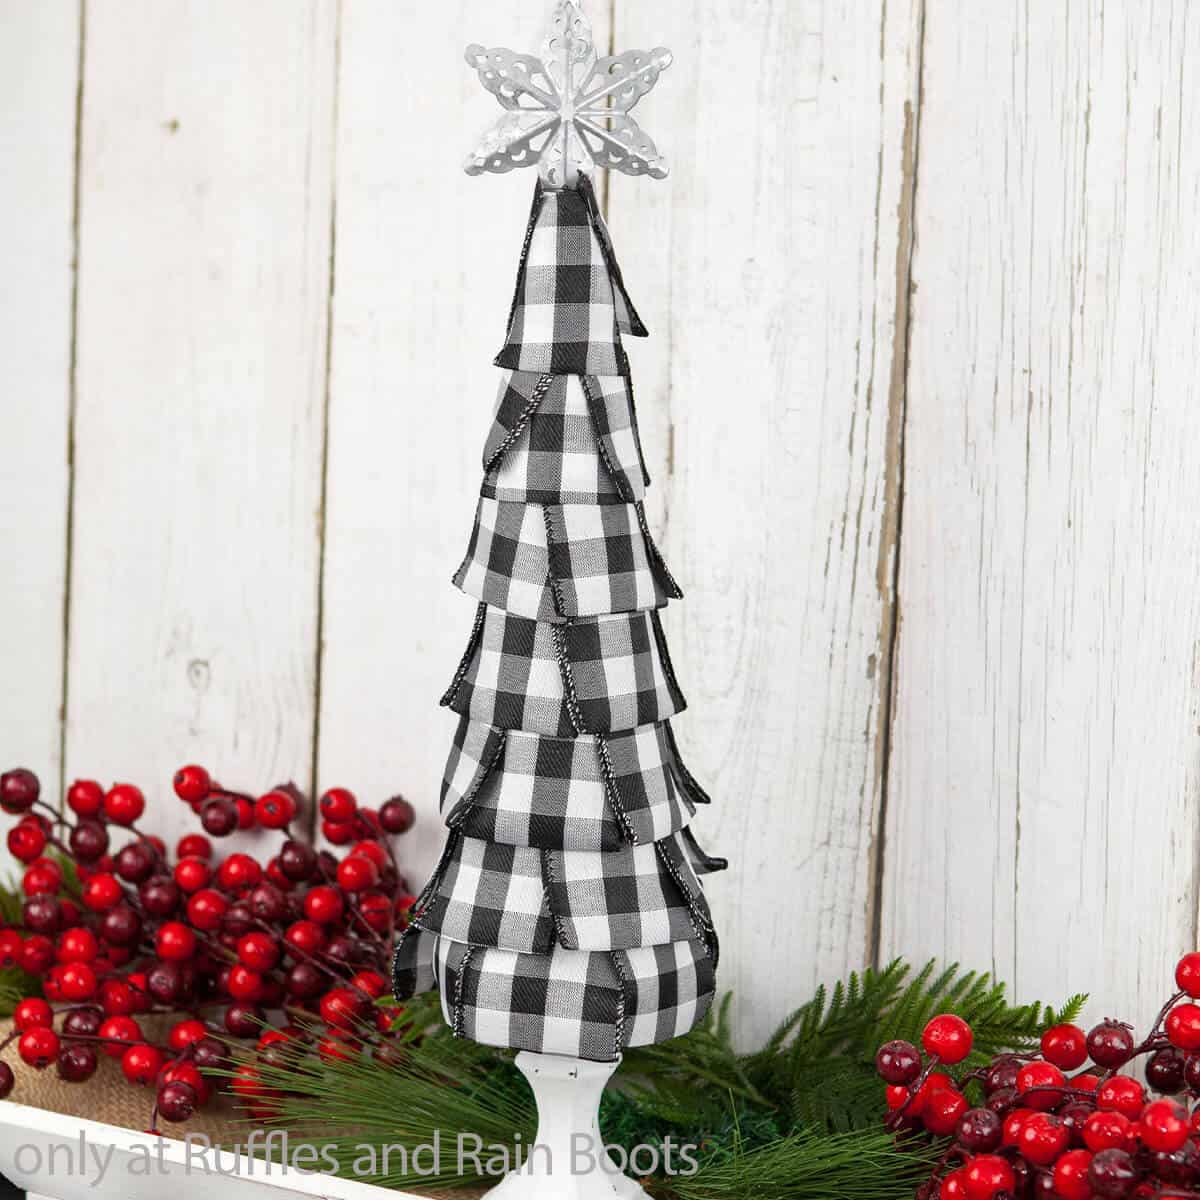
How Do I Make this Buffalo Check DIY Christmas Tree?
I’m so glad you asked. Below is our written tutorial.
Buffalo Check DIY Christmas Tree
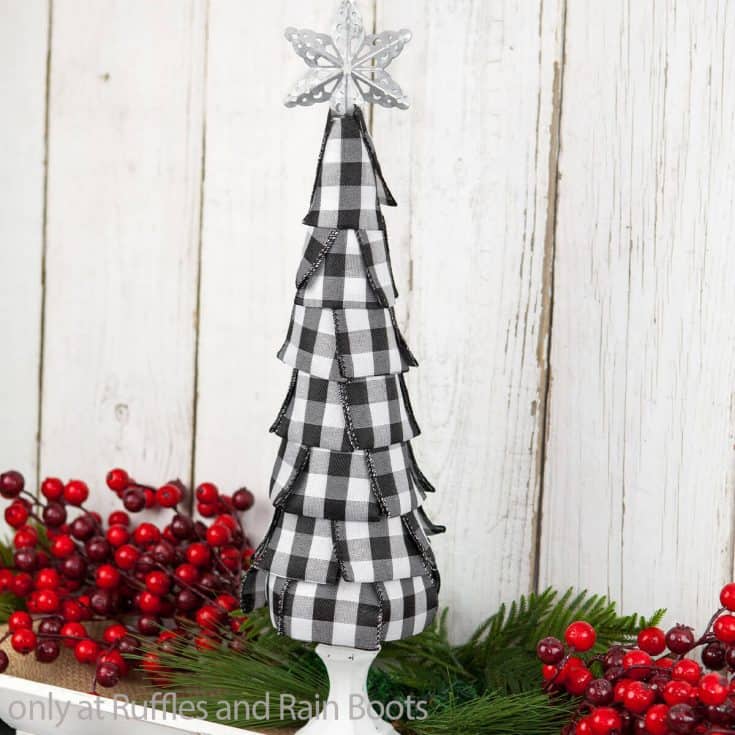
In just 15 minutes, you can have this fun buffalo check DIY Christmas tree done and on your shelf! It's super cute and easy enough anyone can make it!
Materials
- 12-inch Foam Cone
- Taper Candlestick Holder
- 2 1/2-inch Buffalo Plaid Wire Edge Ribbon
- Star Ornament
- White Chalk Paint
Tools
- Foam Paint Brush
- Sanding Block
- Hot Glue
- Scissors
Instructions
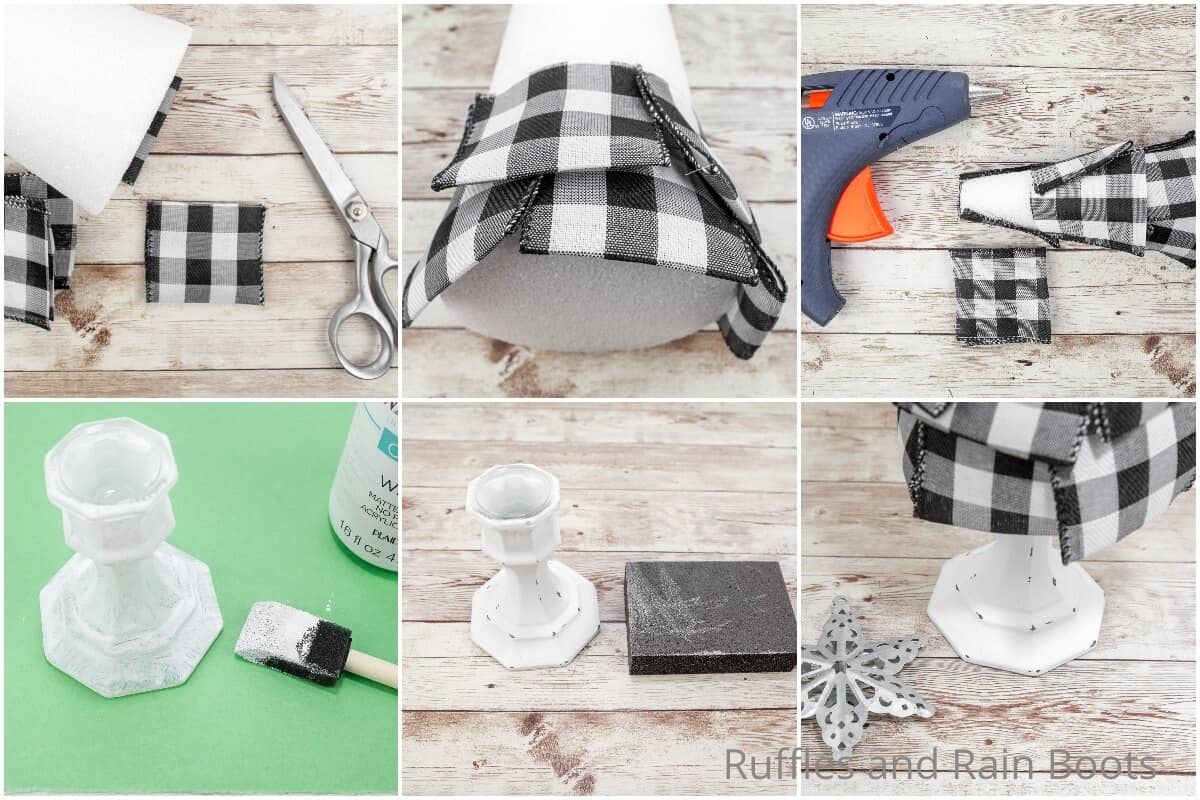
- Cut about 30-35 4-inch long sections of ribbon. Fold each ribbon section in half and tack it in place with a dab of hot glue.
- Starting at the bottom of the cone, glue a row of folded pieces of ribbon, overhanging the bottom of the cone by about 1/2 inch, with the sides of the ribbon overlapping by about 1/8-inch. Cover the entire bottom of the cone in a row of ribbon.
- To begin the second layer, center a piece of ribbon over the join line of two pieces of ribbon on the first row. The second layer of ribbon should overlap the first by about 1/2-inch. Cover the entire second row of the cone in a row of ribbon. Repeat building layers until to the top of the cone.
- At the top of the cone, leave the unfinished edge of the last ribbon sticking up a bit taller than cone tip in order to hide the top of the cone.
- Coat the candle stick in a thick coat of white chalk paint. Allow the paint to dry completely, then add a second coat until the candlestick is completely covered. It took me 3 coats to cover the candle stick completely. Allow the paint to dry completely before moving on.
- Lightly sand the edges of the candle stick to give it a distressed look.
- Hot glue the bottom of the foam cone to the top of the candle holder stand, taking care to center the cone on the candle holder.
- Press one of the points of the star ornament down into the tip top of the foam cone, adding a dab of hot glue, if desired. Then place your DIY mini Christmas tree on the table and enjoy!
Notes
For more fun holiday craft ideas, visit Ruffles and Rain Boots!
Recommended Products
As an Amazon Associate and member of other affiliate programs, I earn from qualifying purchases.
More DIY Christmas trees You Might Like
- DIY Faux Fur Trees – I love this easy and fun way to make faux fur trees for holiday decor – and there are 3 different ways!
- Easy Yarn Christmas Trees – My favorite way to make a mini tree is this mock bottle-brush tree tutorial with yarn.
- Upcycled Christmas Tree Gnome – Take that old faux tree and turn it into an awesome and adorable porch gnome!
Please Save This to Pinterest
Your shares are how this site grows and I am sincerely grateful. Know a friend who’d like this? Please share it on Facebook or save it to your favorite easy holiday crafts board on Pinterest.
