
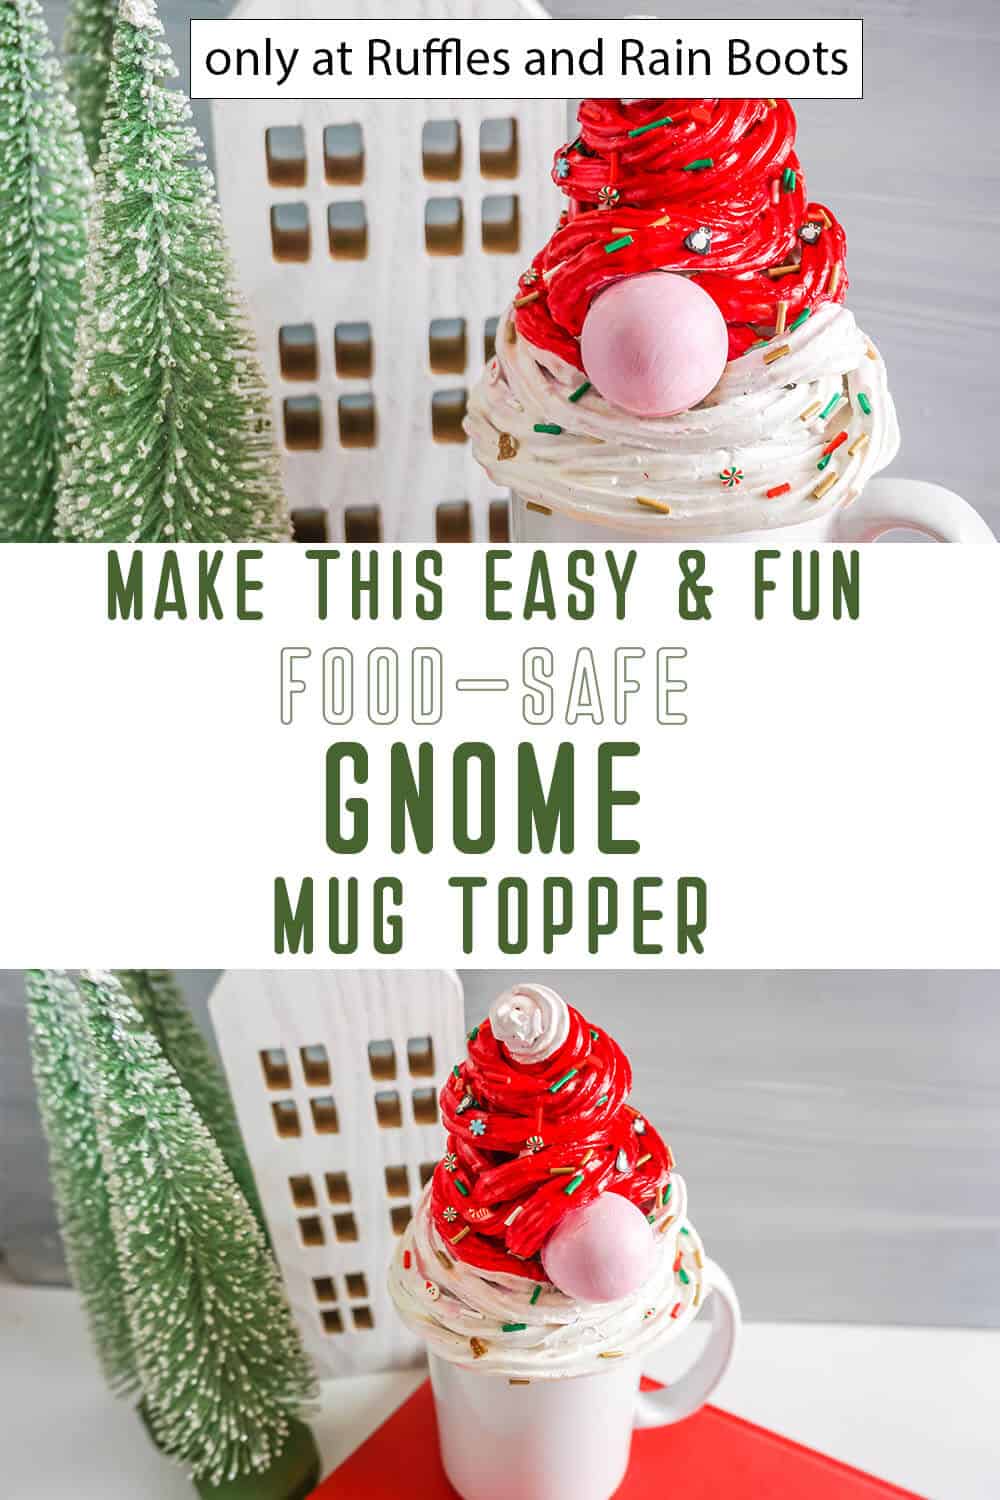
This Easy Gnome Mug Topper Is a Holiday Treat All It’s Own!
Too much fun to be had making this easy DIY Christmas gnome mug topper. It would be the perfect gift idea or just a fun treat for yourself!

Gnome Mug Topper
Here at Ruffles and Rain Boots, we love coming up with new ways to gnomes. Because just having one gnome in my life seems so boring. LOL! In all seriousness, though, this fun Christmas gnome mug topper is a simple and fun craft you can make in an afternoon as a gift or just for your own dash of Christmas cheer!
RELATED READING: THE BEST DIY CHRISTMAS GNOME ORNAMENTS
What I love most about this DIY whipped cream gnome, though, is that he’s food safe. All of the options I’ve seen to buy one online have been for decoration only. Not to be used to keep my coffee warm inside my mug. Which is so sad – I wanted a gnome to warm that coffee! So, I planned, schemed and gnomed, making this fun gnome in one afternoon. If you’re ready to make a fun gnome mug topper, let’s get started.
No Time to Make This Now? Pin it for Later
You’re busy, I get it. Pin this to your favorite easy crafts board on Pinterest and it’ll be here when you’re ready.

As an Amazon Associate, I can earn from qualifying purchases.
Tips to Make Faux Whipped Cream Mug Topper Gnome
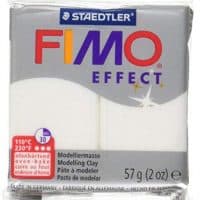
- I tried making this faux whipped cream mug topper gnome a few ways and I’ll be honest, I was kind of disappointed with the first few methods. First I wanted to make this from dollar store materials like wall spackle because that’s what I had seen others do. But that’s not food-safe and when I tried it, the mess was unbearable. So, I cleaned that up and grabbed some paper clay. Easy, right? Wrong. Paper clay cracked immediately, didn’t curl well and just wasn’t going making a clean and sharp look. So, I pulled out the “big glue guns” and opened a big package of polymer clay. This was the trick. Smooth, clean, food-safe, easy to paint and seal. It was amazing to work with and relatively simple too.
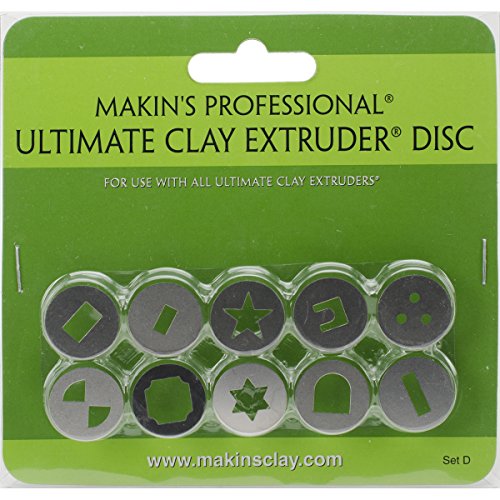
- To make the clay do that epically fun whipped cream look, I used a clay extruder and a star tip (insert?). You have to get the extruder AND this little add-on package of tip/inserts here. You can use either the 5 sided star or the 6 sided. I used the 6 sided for a more whipped-cream look.
- I used a large 1-inch wood bead for my gnome’s nose. You can use a polymer clay bead, of course I mean, you’re making the whole gnome out of clay, so why not?!) but I kind of had my heart on using that wood bead. I think it just added a fun element.
- Last thing, I decided to add some sprinkles to the top of my adorable whipped cream gnome, just for realism’s sake (don’t we all put sprinkles on our gnomes?!). I grabbed these faux Christmas sprinkles here for a quick way to add some holiday charm!
How Do I Make this Gnome Mug Topper?
I’m so glad you asked. Below is our written tutorial.
Gnome Mug Topper

I love how genuinely easy it was to make this fun faux whipped cream gnome mug topper. Perfect for a Christmas gift, this is an easy DIY Christmas gnome for sure!
Materials
- 2-3 cups White Polymer Clay
- 1-inch Wood Bead for a Nose
- Acrylic Paint in White and Red
- Faux Christmas Sprinkles
- Dishwasher-Safe Mod Podge
Tools
- Clay Extruder
- Star Tip/Insert for Extruder
- Paint Brush
- Metal Jar Lid (sized to fit your mug)
- Scissors or Craft Knife
- Oven
- Baking Sheet
- Parchment Paper
- Hot Glue Gun & Glue
Instructions
- Work about 1 cup of clay into a cone and place it on the center of your lid. Do not glue this cone of clay to your lid as we're just using the lid as a base and will be removing it before we're done.
- Feed the clay extruder full of clay and press out a long star-shaped snake of clay. Wrap this around the base of the cone and the lid.
- Continue filing the extruder and wrapping the resulting star-shaped snakes of clay around the cone of clay and lid, building up the bottom third of the gnome (generally the beard area) in a wide cone base. Make sure you are making contact with the cone base and the snakes so that your mug topper will stay together when removed from the lid later.
- Once you have the bottom third of the gnome filled-in with the snake shapes, place the nose on top of the pile of snakes, where you plan for the nose to ultimately sit. Again, do not glue the nose in place, we're just using it for a placeholder at this time.
- Working around the nose, continue filling the extruder and wrapping the resulting star-shaped snakes of clay around the cone of clay and lid, building up the remaining 2/3 of the gnome, coiling the snakes tighter and tighter to the tip top.
- Preheat your oven per the clay package instructions, then gently remove the gnome's wooden bead nose and bake the clay per the package directions. Allow the clay to cool completely before moving on.
- Remove the lid from under the gnome, taking care not to break the clay. If you do break the clay, you can use some hot glue or clay glue to secure it back together. If the clay seem loose or fragile to you at this point, that's because it is. Adding the paint and sealant layers are going to add a lot of strength, so just be gentle with it until you can get the paint and sealant layers on, after which the gnome will be more sturdy.
- Paint the entire gnome with a base coat of white paint. Allow this coat of paint to dry completely.
- Hot glue the nose onto the gnome, then paint the top 2/3 red. Allow this coat of paint to dry completely.
- Paint the nose a soft pink made from combining a small amount of white and pink paints together.
- Paint the tip of the hat white. Allow this coat of paint to dry completely.
- Coat the gnome in a generous layer of dishwasher-safe mod podge, then immediately add the faux sprinkles and allow that coat of sealant to dry completely before enjoying!


Notes
For more fun DIY Christmas gnome crafts, visit Ruffles and Rain Boots!
Recommended Products
As an Amazon Associate and member of other affiliate programs, I earn from qualifying purchases.


More DIY Christmas Gnome Crafts You Might Like
- Upcycled Christmas Tree Porch Gnome – A quick and fun craft to use that old fake Christmas tree you have in the attic to make a porch gnome you’ll love.
- Easy 10-Minute DIY Christmas Gnome – This is such a quick and easy gnome, but he’s got so much charm and he’s perfect for a Christmas farmhouse tiered tray!
- Scandinavian Christmas Gnome Pattern – If you’re as gnome-obsessed as I am, you know a good pattern when you see one and this one? It’s easy, fun and really makes a spectacular gnome.
Please Save This to Pinterest
Your shares are how this site grows and I am sincerely grateful. Know a friend who’d like this? Please share it on Facebook or save it to your favorite easy DIY Christmas crafts board on Pinterest.

Meet the Creator
Hi there, I’m Sarah Nenni-Daher. I’m a crafty gal and always have at least 14 projects going at once. I am a crafter, designer, DIYer, and pattern maker. I share my creations here and in the Ruffles and Rain Boots® Shop.
Here at Ruffles and Rain Boots®, you’ll find DIY gnomes, crafts, gifts, cupcakes, laser crafts, and so much more. I love sharing video tutorials over on YouTube and chatting with other crafters in my Facebook groups. We’d love to have you!