
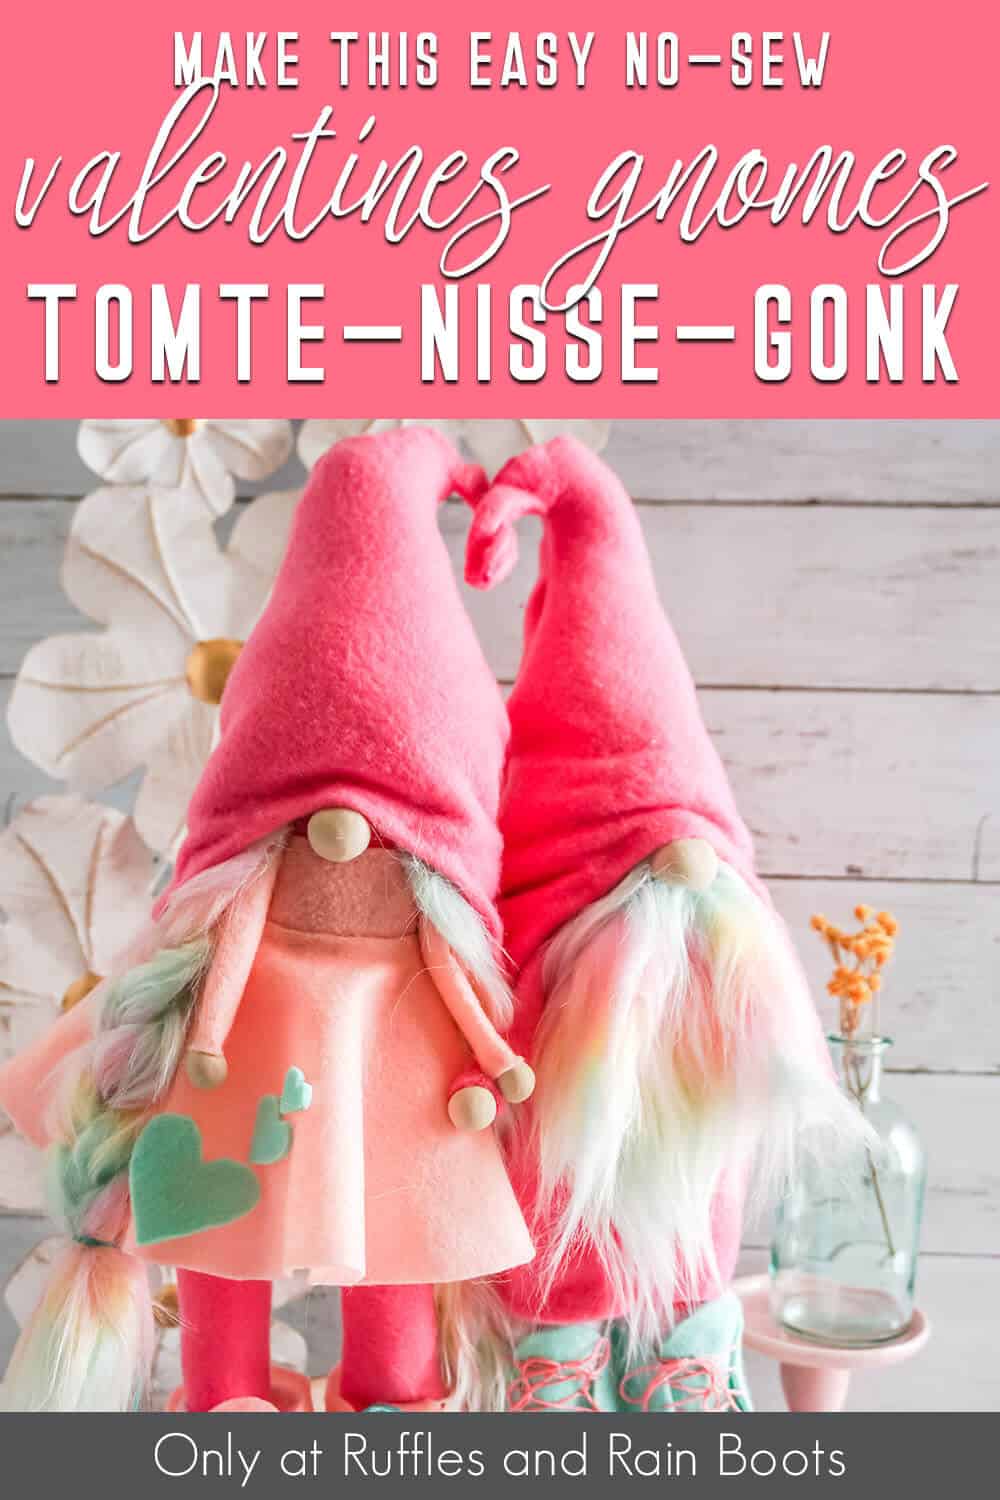
This Easy No-Sew Valentine Gnome Couple is a Fun DIY Nisse Set!
You’re not going to believe how easy it is to make this no-sew Valentine gnome couple. They’re such a simple DIY nisse set, perfect for the holiday of love.
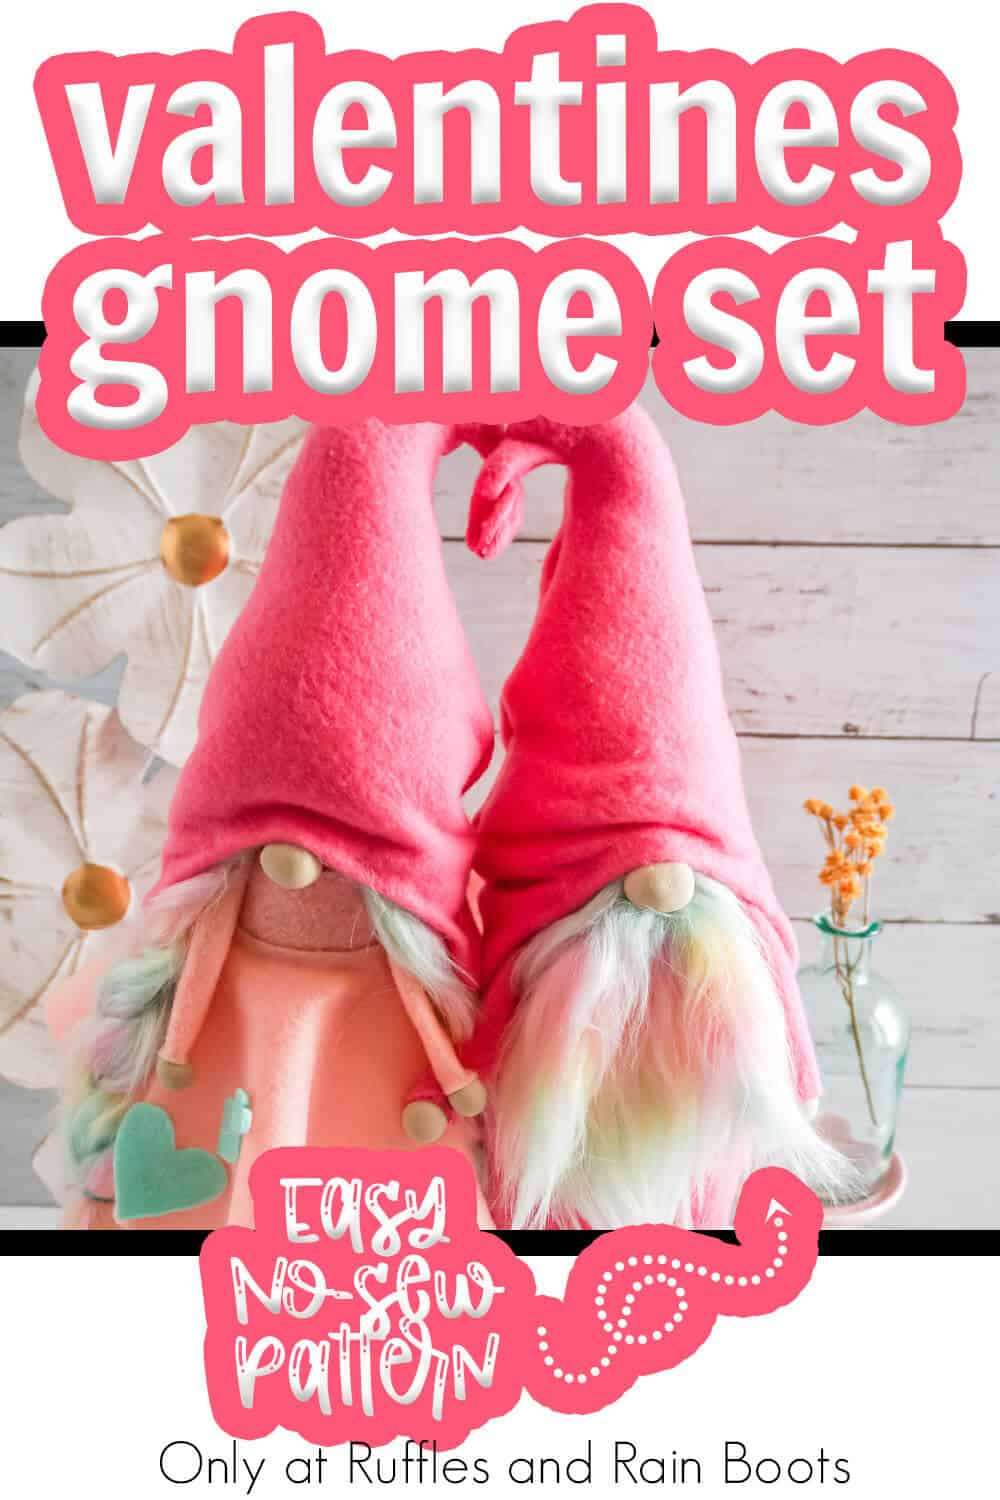
No-Sew Valentine Gnome Couple
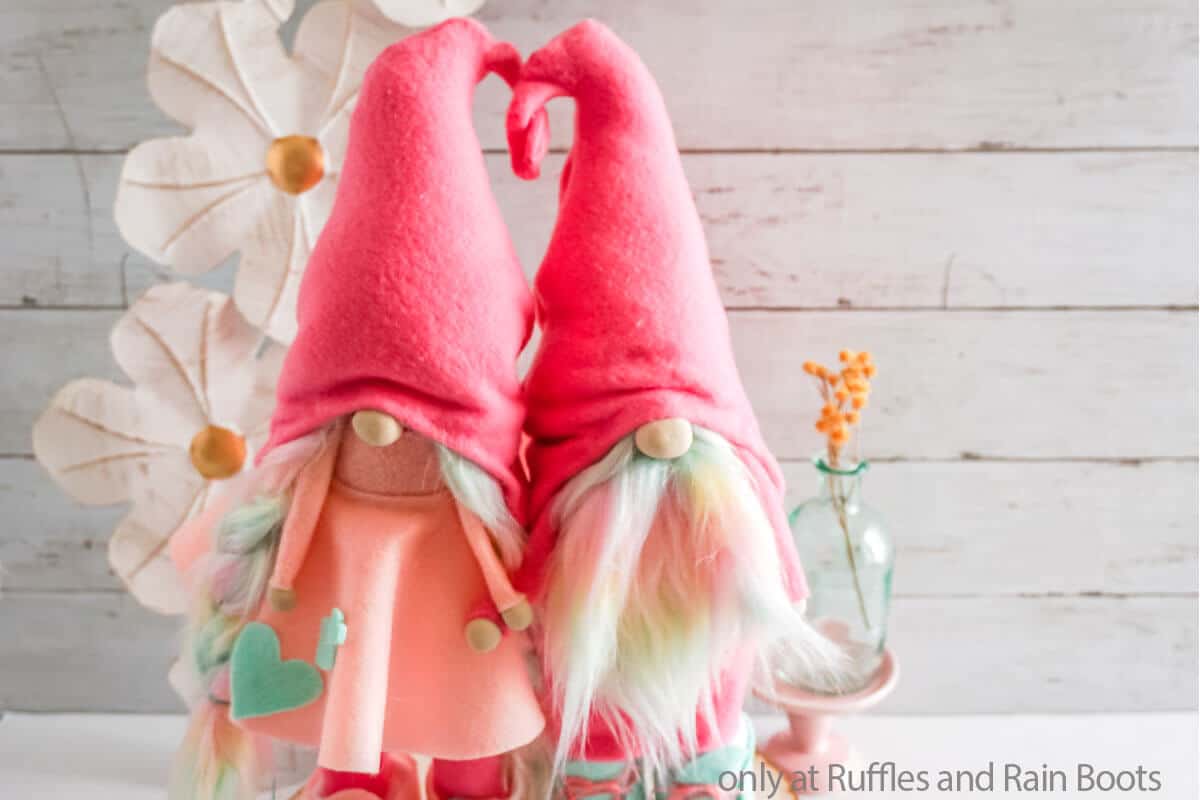
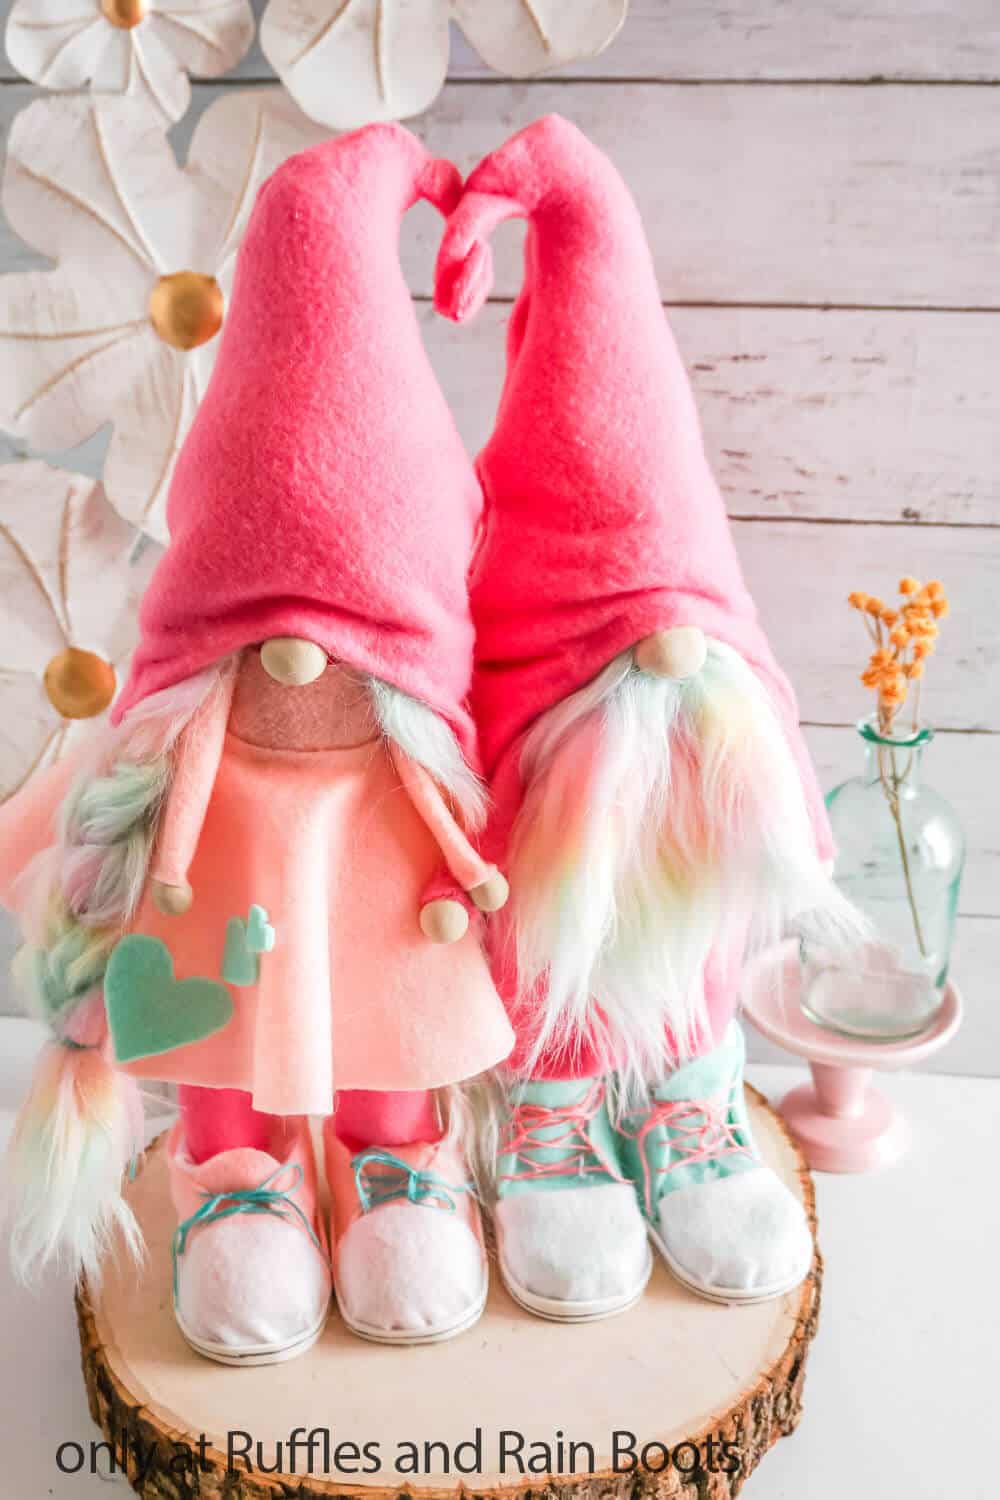
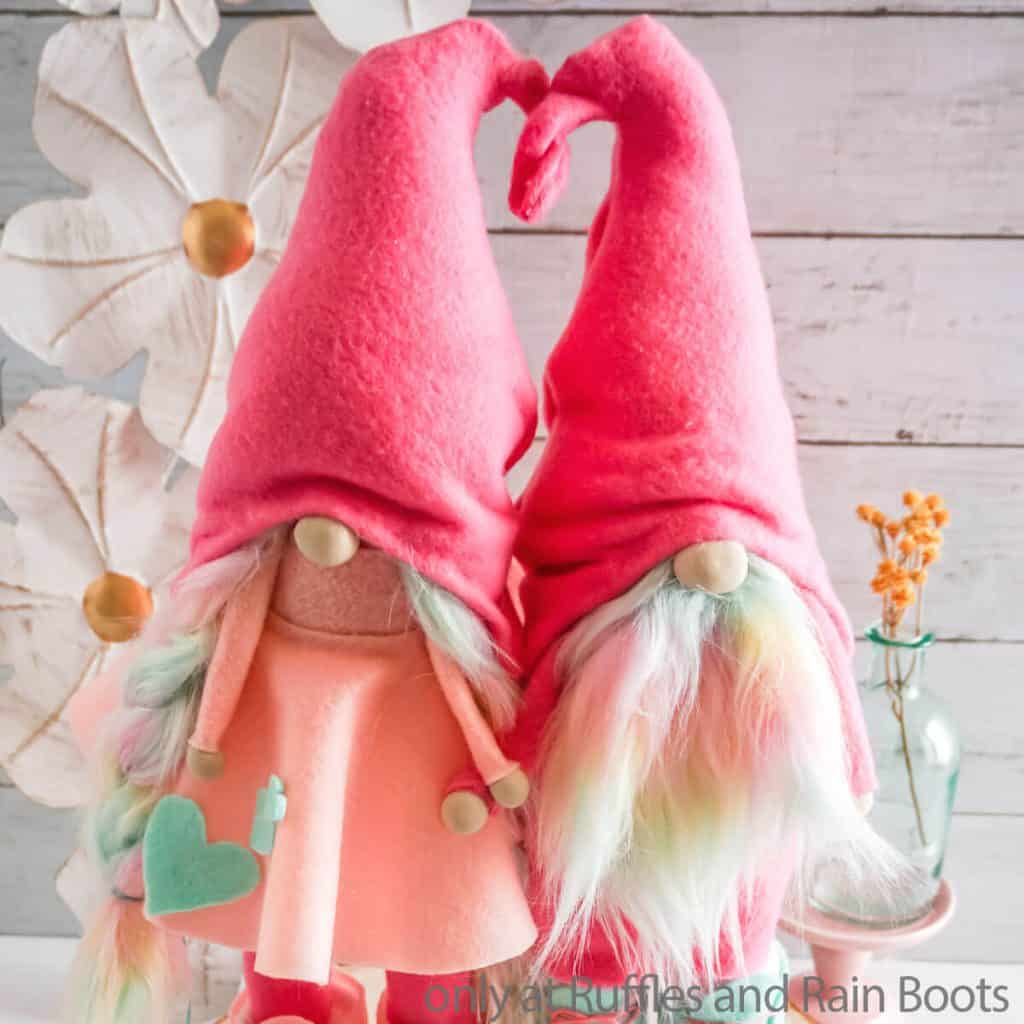
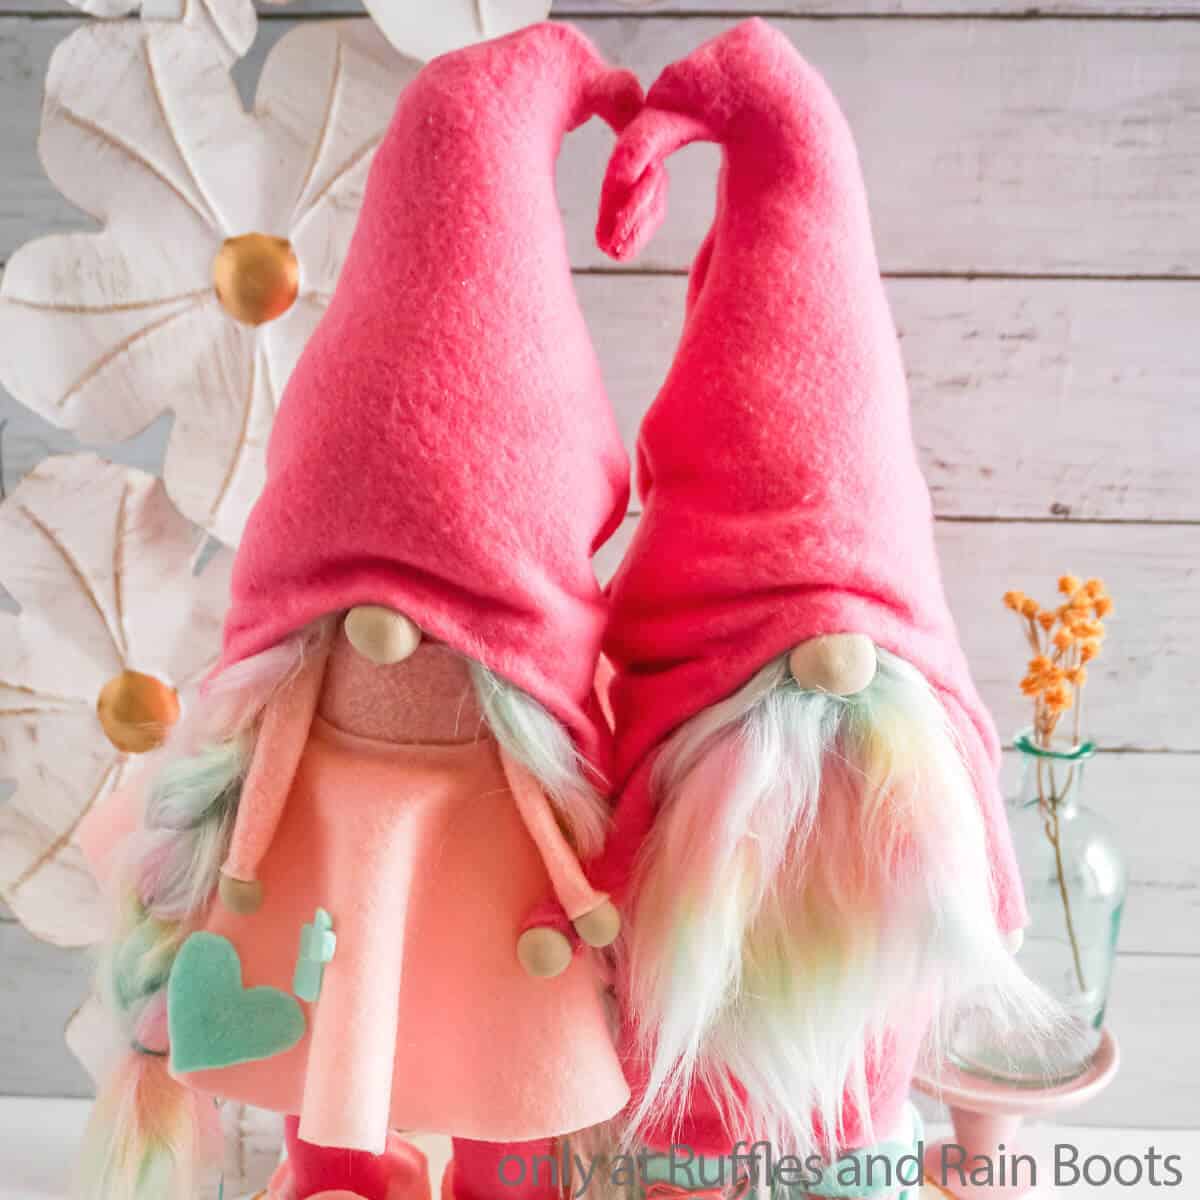
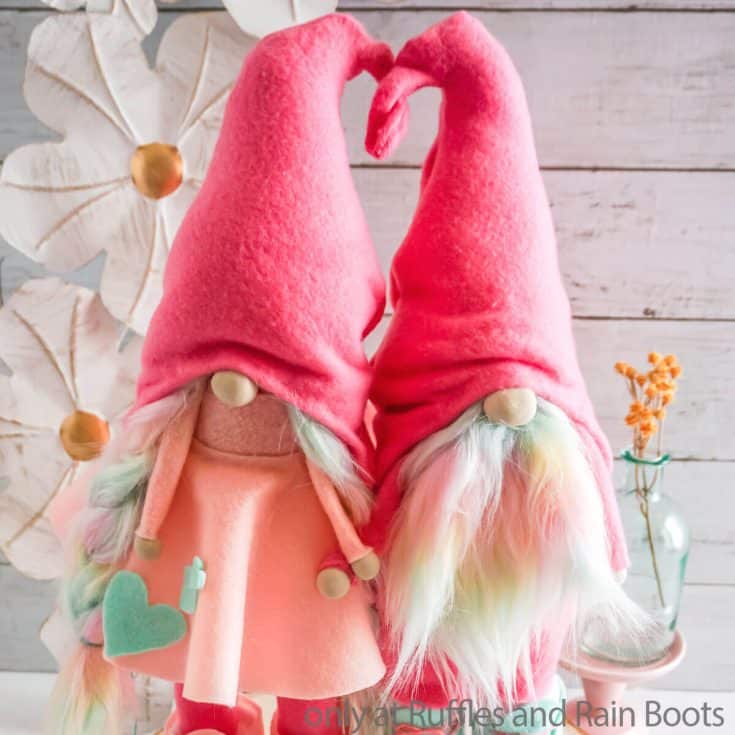
Here at Ruffles and Rain Boots, we are gnome-obsessed. It’s one of the funnest things about living a crafty-life, having a fun obsession. And this little no-sew Valentines gnome couple showcases that obsession in such a fun way! They have hats that twist into a heart, they’re holding hands, and sporting some of my FAVORITE gnome shoe designs.
RELATED READING: BASIC NO-SEW GNOME PATTERN
The best part, though, is that it only took a few mintues to make this epic set of DIY nisse for Valentines! If you’re ready to make a gnome set you’ll love, let’s get started.
No Time to Make This Now? Pin it for Later
You’re busy, I get it. Pin this to your favorite DIY gnomes board on Pinterest and it’ll be here when you’re ready.
As an Amazon Associate, I can earn from qualifying purchases.
Tips to Make Valentine no-Sew Gnomes
- Click here to get the no-sew gnome pattern which has both the no-sew gnome pattern and the sewn gnome pattern to make this set. I made my gnomes no-sew, but if you prefer to sew, you can use the other pattern in the set – it will make the same exact gnome, just with sewing!
- If you prefer to use your Cricut or Silhouette for cutting out the elements you need to make your Valentines gnomes, you can grab the pattern with cut files here. You don’t HAVE to get it, but if you plan to make multiple gnomes with this pattern, it’s a handy way to make all the cutting go a little more smoothly.
- For this set of gnomes, I turned to my favorite set of gnome sneakers to make some fun shoes. You can grab that pattern for gnome shoes here – it’s my BEST SELLING gnome pattern, so you know it’s got a lot of good patterns for gnome shoes (more than 10!).
- If you’ve never been happy with the way you cut faux fur before, I whipped-up a quick video tutorial on how to cut faux fur here to help folks figure out this little rick. Whatever you do, do not use scissors. Watching the video is well worth it.
Get the Bubble Gnome Pattern
Click below to add this fun pattern to your cart. So many gnomes can be made with this!
How Do I Make this No-Sew Valentine Gnome Couple?
I’m so glad you asked. Below is our written tutorial.
No-Sew Valentines Gnomes
This little no-sew valentines gnome set is just the sweetest little pair. I love making easy Scandinavian gnomes, but this couple takes the cake!
Materials
- No Sew Pattern Here
- 1/2 yard Pink Fleece Fabric
- 1/4 yard Pink Premium Felt
- Scraps Mint Premium Felt
- 2 Large Polymer Clay Bead
- 4 Small Polymer Clay Beads for Hands
- 2 Floral Wires
- [1/4 yard Faux Fur]
- Embroidery Thread
- Small Amount of Polyfill
- 2 cups Poly Beads
- 2 - 1/4-inch Dowels for Legs, optional
- 2 Sets Gnome Shoes, optional
- 1 Set Gnome Pants
Tools
- Hot Glue Gun & Glue
- Scissors
- Razor Blade or Craft Knife
Instructions
Boy Gnome
- Trace and cut out one gnome body shapes and 2 hat shapes out of the pink fleece fabric.
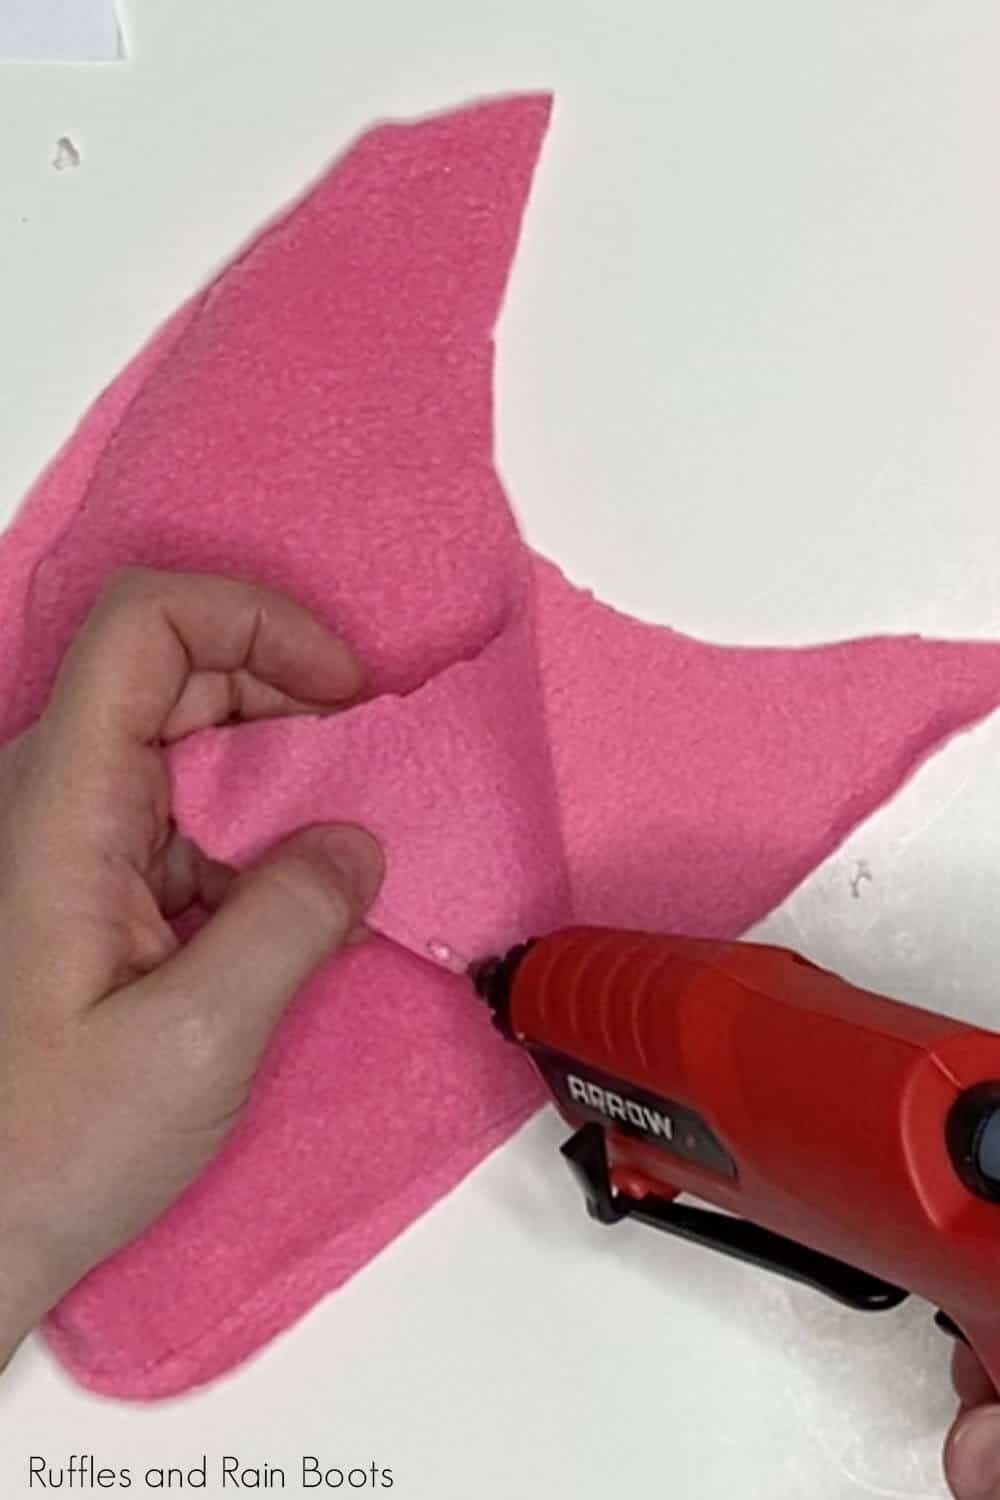
- Fold the gnome body shape in half and run a hot glue hem along the open side. Cut slits in the flap about 1/2 inches long and 1 inch apart, then fold the flap of the gnome body shape over and close the bottom of the gnome with hot glue. Allow the glue to dry fully.
- Turn the body of the gnome right side out. Fill the gnome body with 1-2 cups of poly beads. Tuck a small portion of polyfill into the top of the gnome body to hold the poly beads inside.
- With your hot glue gun, run a hem along two of the hat pieces. Allow glue to dry completely. Turn the hat right side out and fill the hat a little with a small amount of polyfill. Tuck a wire up inside the hat, all the way to the end of the curve.

- Cut one of the dowels in half and fit the dowels inside the shoes then hot glue them in place, adding poly beads or polyfill to help hold the dowels in place, as needed.
- Cut a 3-inch by 2-inch oval of foam core board and place this over the two dowels to create a platform. I found it best to cut two holes to fit the dowels inside, then hot glue them in place. Put the gnome body on top of this platform and hot glue in place.
- Cut out the gnome pant shape, adding 1-2 inches, as necessary, to accommodate the width of your gnome dependent on how much you overstuffed the gnome body. Cut the pants a little short (2-inches on the leg side), to accommodate the shoes, as necessary, depending on which shoes you choose to make. Wrap the pants around the gnome body and secure them in place, as per the pattern.
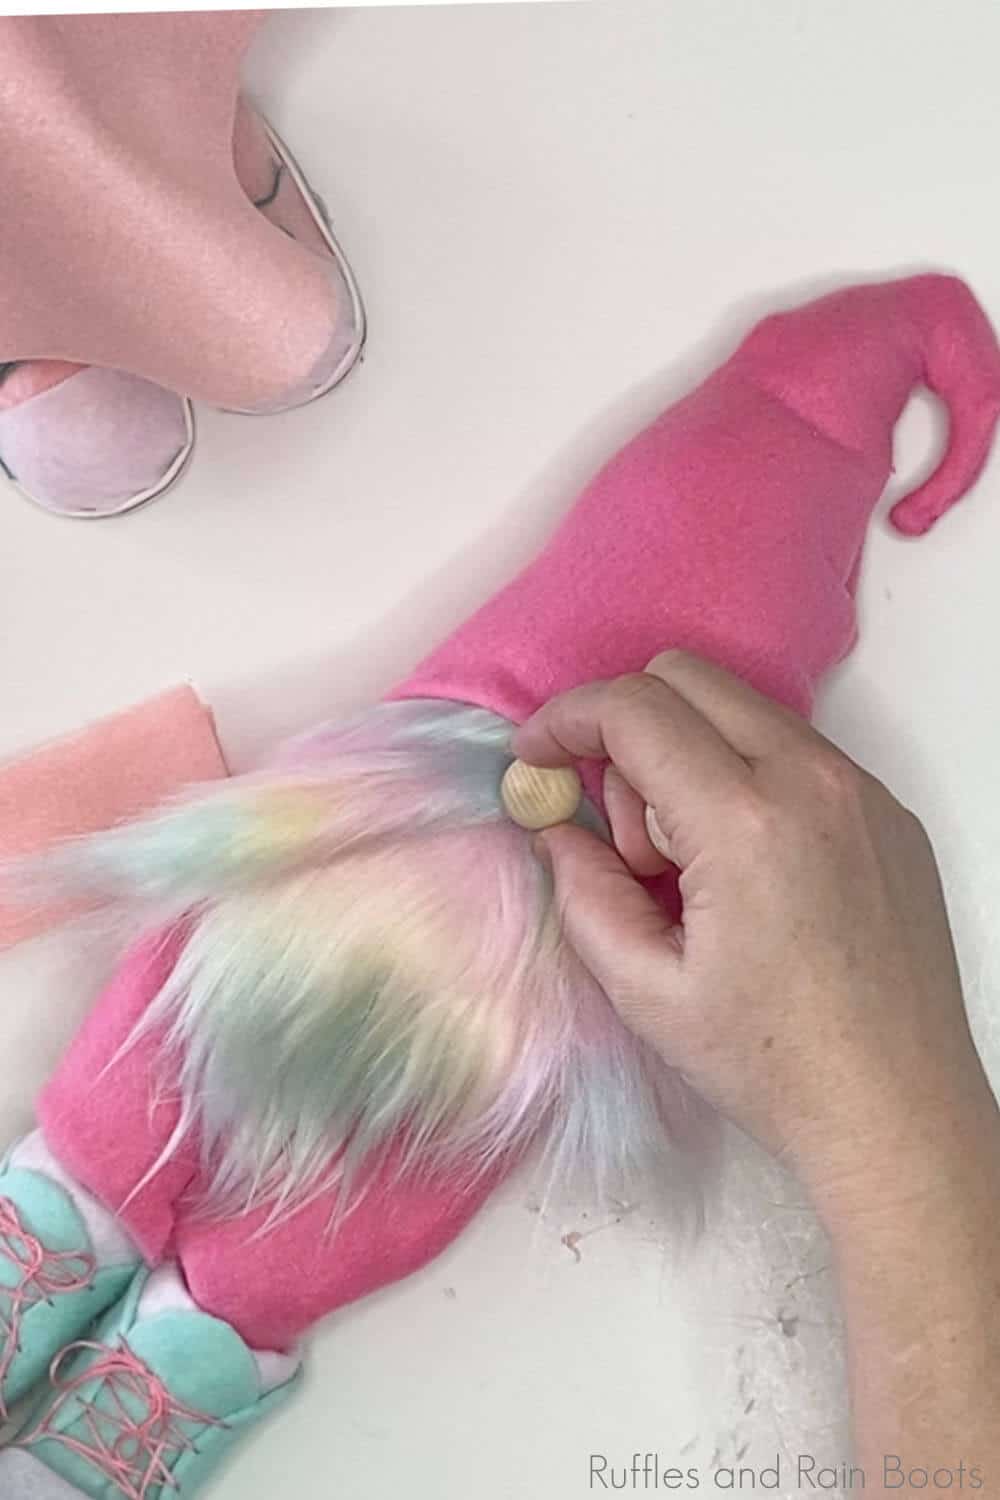
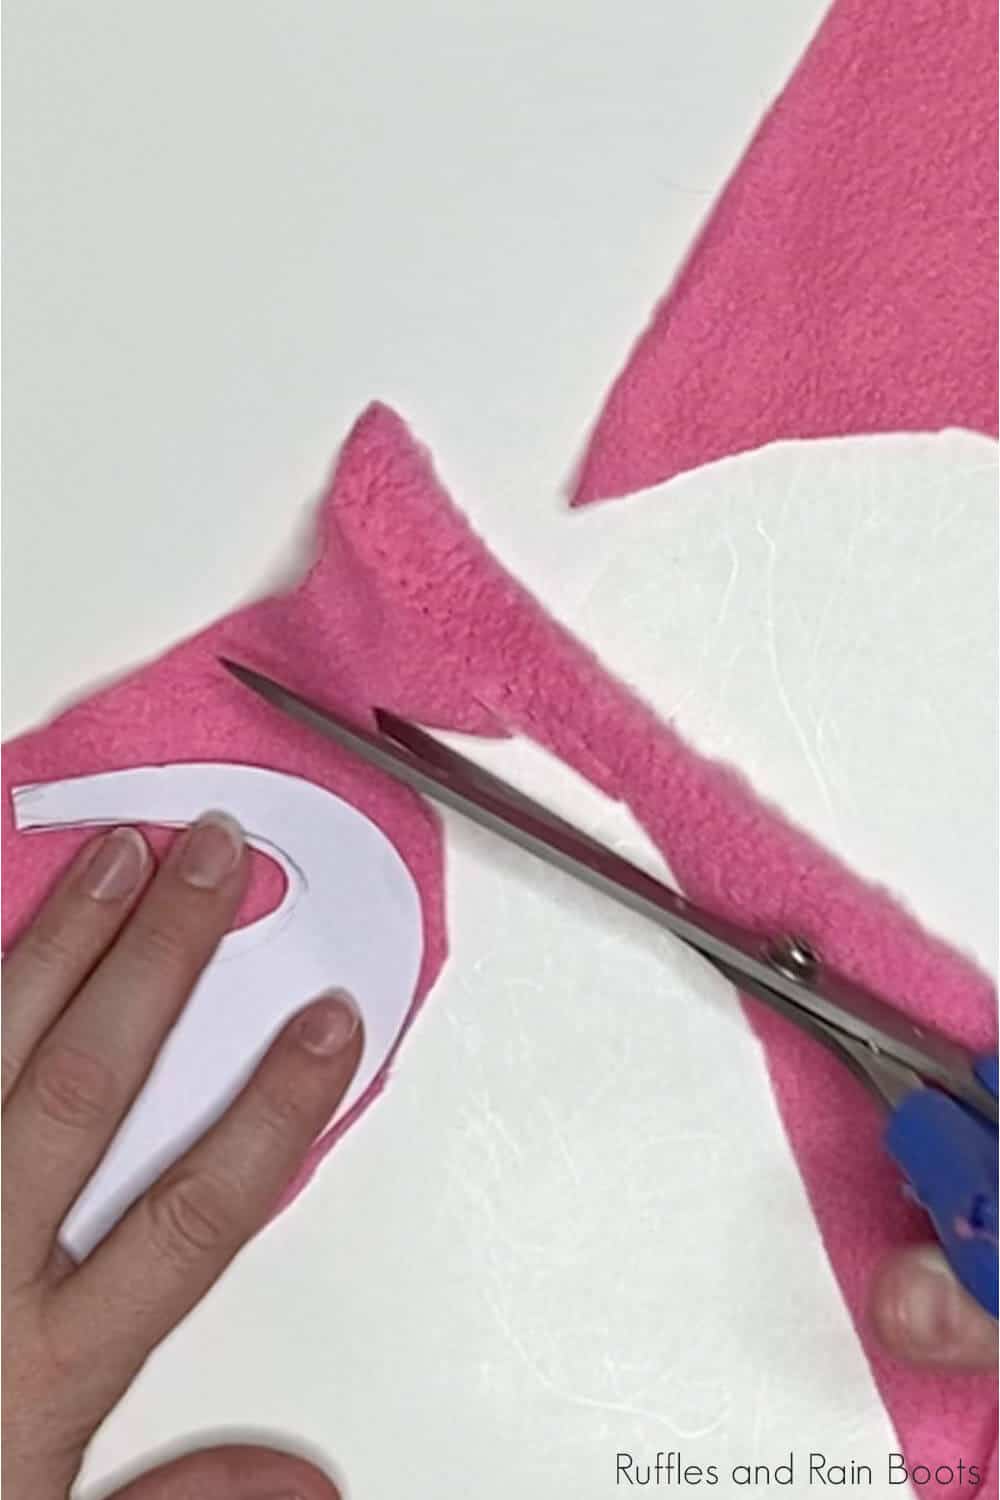
- Cut out the beard shape from the rainbow fur by turning the fur over and cutting only the fabric with the razor blade or craft knife.
- Affix the beard to the gnome by hot gluing the beard to the body, about 2 inches below the top edge of the gnome body. Hot glue the nose in place about 1-inch below the top of the beard. Place the hat on top of the gnome's head, tucking it down over the top of the nose.
- Hot glue the hat in place in the back and sides in just a couple of places--not the whole way around, then one little dot on the nose to make a wrinkle (this is the best part).
- Cut out two arm shapes from the pink fleece fabric. Roll the shape into a cylinder and hot glue it in place.
- Slip the arm up into the hat on the side and hot glue it in place. Hot glue the hands in place on the ends of the arms.
Girl Gnome
- Trace and cut out one gnome body shapes and 2 hat shapes out of the pink fleece fabric.
- Fold the gnome body shape in half and run a hot glue hem along the open side. Cut slits in the flap about 1/2 inches long and 1 inch apart, then fold the flap of the gnome body shape over and close the bottom of the gnome with hot glue. Allow the glue to dry fully.
- Turn the body of the gnome right side out. Fill the gnome body with 1-2 cups of poly beads. Tuck a small portion of polyfill into the top of the gnome body to hold the poly beads inside.
- With your hot glue gun, run a hem along two of the hat pieces. Allow glue to dry completely. Turn the hat right side out and fill the hat a little with a small amount of polyfill. Tuck a wire up inside the hat, all the way to the end of the curve.
- Cut one of the dowels in half and fit the dowels inside the shoes then hot glue them in place, adding poly beads or polyfill to help hold the dowels in place, as needed.
- Cut a 3-inch by 2-inch oval of foam core board and place this over the two dowels to create a platform. I found it best to cut two holes to fit the dowels inside, then hot glue them in place. Put the gnome body on top of this platform and hot glue in place.
- Cut out two of the leg shapes from the pattern out of the pink fleece fabric then roll them around the dowel, hot gluing them in place. I added a very small amount of polyfill to each leg, just to ensure that they wouldn't fall down. The fleece is enough to keep the leg standing, but just to be overly cautious.
- Cut out 6 1-inch lengths from the rainbow fur by turning the fur over and cutting only the fabric with the razor blade or craft knife. Tie 3 of the lengths of fur together on one end with embroidery thread, then tack this end to your table and braid the lengths of fur. Tie the braid off, trim and repeat with the other 3 lengths of fur. Set aside.
- Make a skirt by tracing an 8-inch diameter bowl shape onto your pink felt and cutting this out. Cut out a 3-inch diameter shape onto your pink felt squarely in the center of the first circle and cut this out as well, creating a donut shape of pink felt. Pull this donut over the gnome body, creating a skirt.
- Cut a small rectangle with two humps on one long side to make a "shirt" for your gnomette, tucking it under the edge of your skirt, then hot glue the shirt in place in addition to the skirt.
- Affix the braids to the gnome by hot gluing the braids to the body, on either side of the face area, about 1 inch below the top edge of the gnome body. Hot glue the nose in place about 2-inches below the top of the braids. Place the hat on top of the gnome's head, tucking it down over the top of the nose.
- Hot glue the hat in place, making sure that the curl of the hat will face the hat on the other gnome, in the back and sides in just a couple of places--not the whole way around, then one little dot on the nose to make a wrinkle (this is the best part).
- Cut out two arm shapes from the pink felt fabric. Roll the shape into a cylinder and hot glue it in place.
- Slip the arm up into the hat on the side and hot glue it in place. Hot glue the hands in place on the ends of the arms.
Put the Gnomes Together
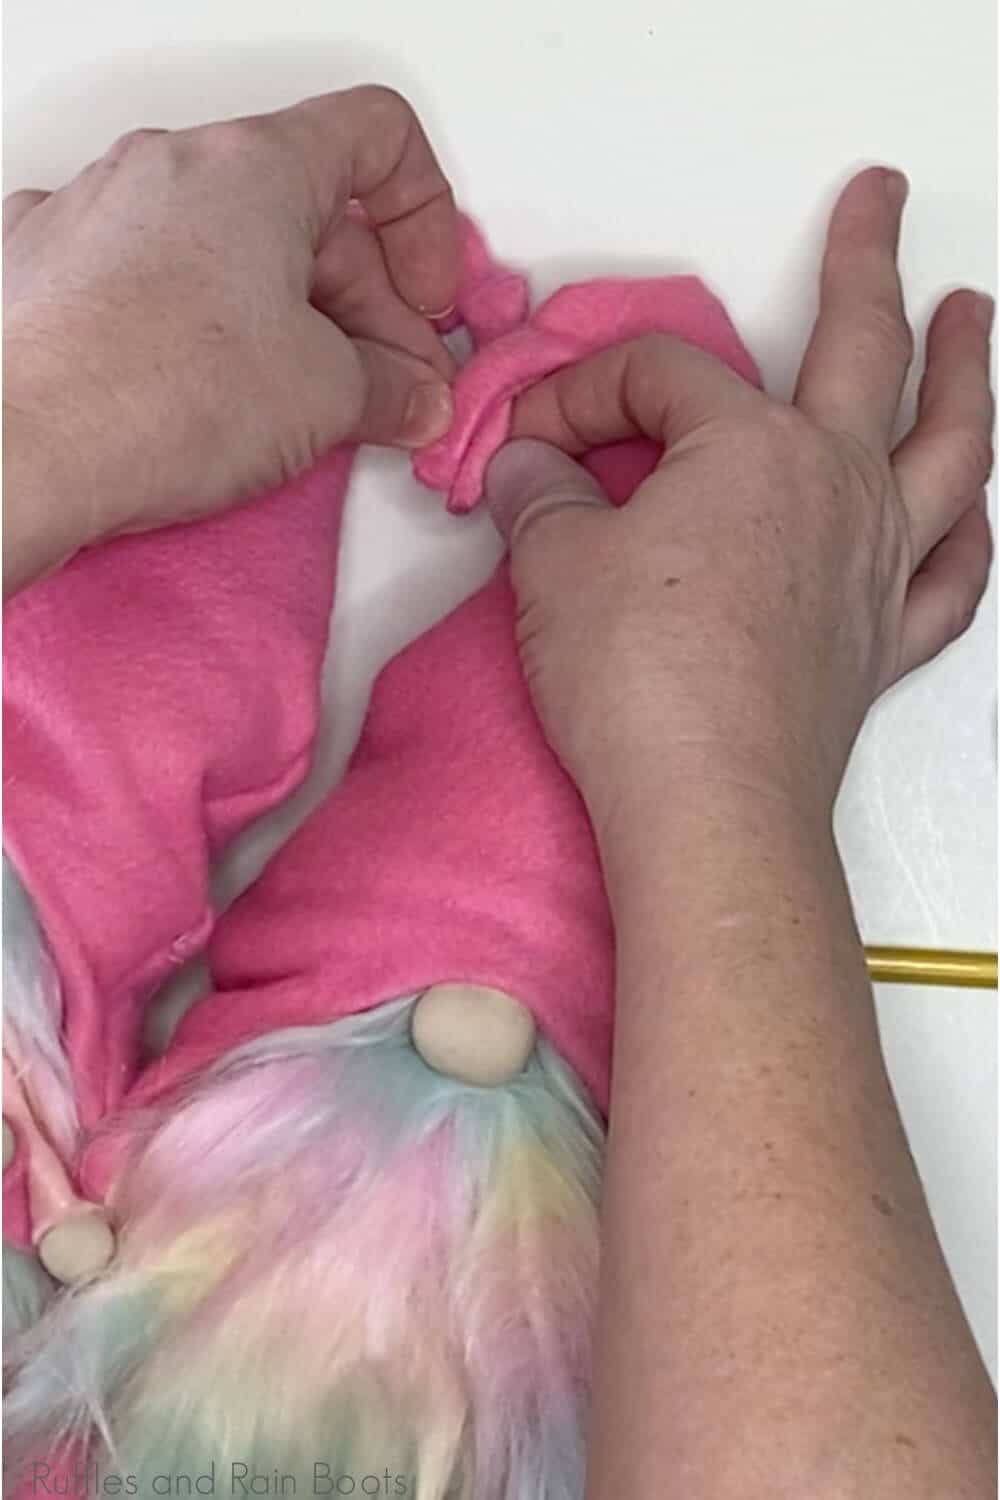
- Place the gnomes side-by-side, with the hats turned so that the curves face each other.
- Twist the two ends of the hat together, forming a heart. Hot gluing them in place, if desired. However, I found that the wire secured the heart shape adequately.
Notes
For more fun DIY gnome patterns, visit Ruffles and Rain Boots!
Recommended Products
As an Amazon Associate and member of other affiliate programs, I earn from qualifying purchases.

More DIY Gnomes You Might Like
- Cupid Gnome DIY – Grab a pool noodle and let’s make a no-sew Cupid gnome with wings, a kicked-back leg, and other fund details!
- No-Sew AND Sewn Pattern for a Gnome – I love having the flexibility to make a gnome either way, because it just means I can do whichever method my heart desires on a given gnome!
- Beautiful Scandinavian Gnome Pattern – You’re not going to get a more beautiful gnome pattern to make a traditional Scandinavian gnome.
Please Save or Share This Fun Valentine’s Day Decor Idea
Your shares are how this site grows and I am sincerely grateful. Know a friend who’d like this? Please share it on Facebook or save it to your favorite easy craft ideas pin board.

Would you make a Mardi Gras gnome and a St. Patrick’s day one, please. I have request for them and I need some ideas. Your gnomes are the best I’ve ever seen. Thanks for the instructions, patterns and videos.
Dottie Arrington Snowden
Do you have a recommendation for the best type of hot glue to use on felt? Or have you found that any type works just fine?
Thank you!
I use regular hot glue for most things unless it’s fabric (cotton, fleece, etc) and then I use fabric hot glue I pick up from Amazon. Have you tried that?