
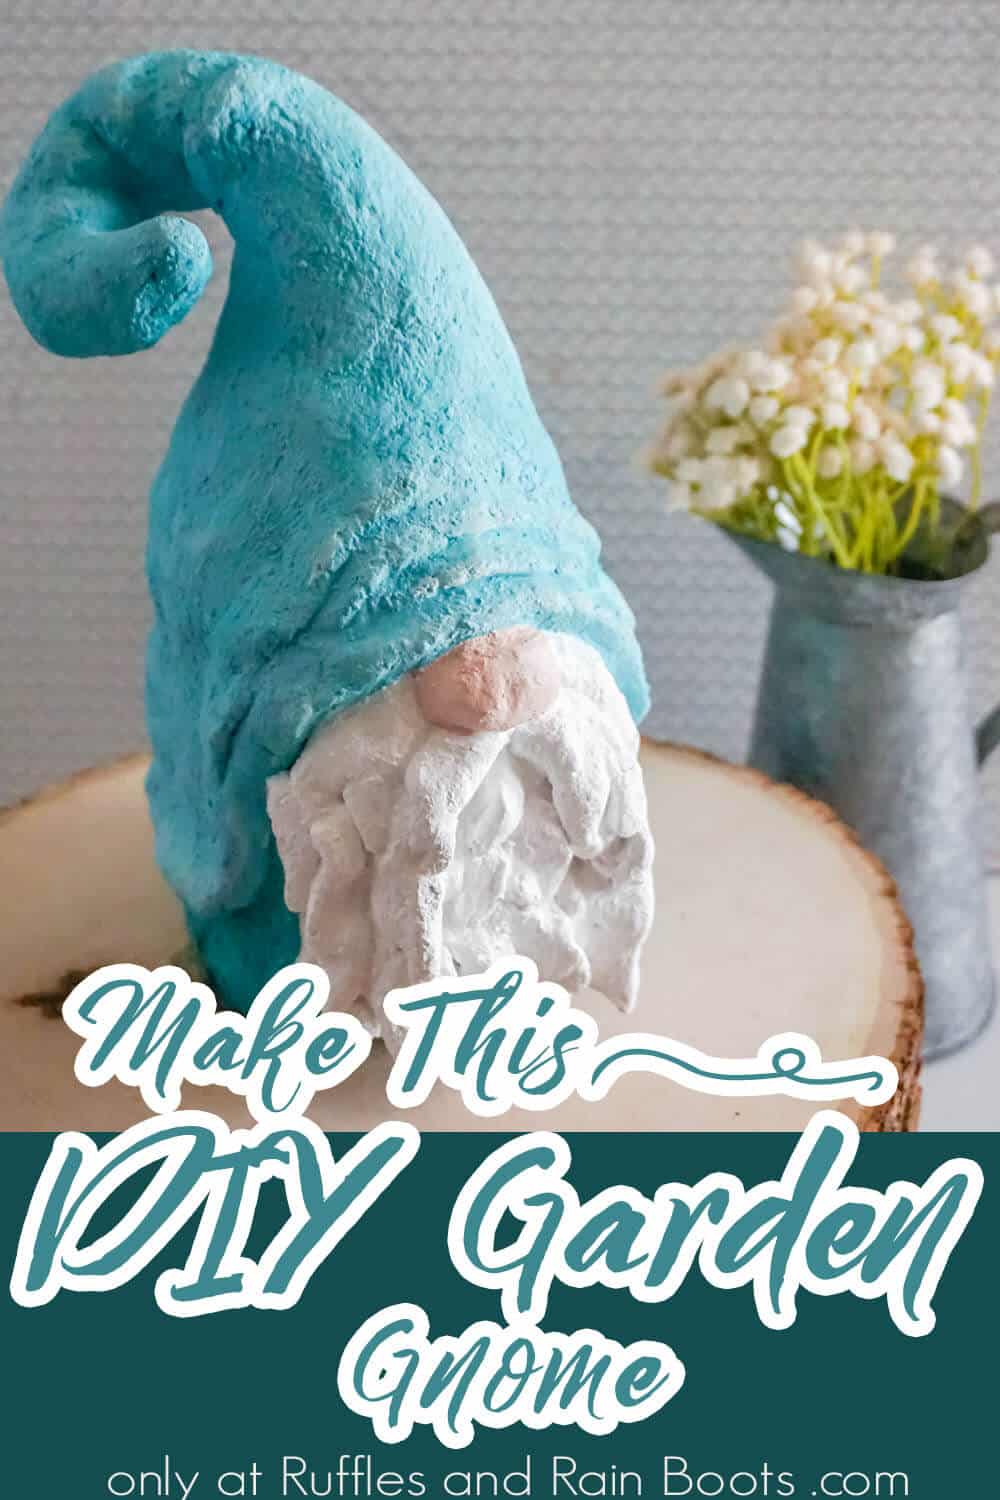
This DIY Garden Gnome is Simple and Fun to Make!
It took me a while but I finally figured out how to make a simple and fun DIY garden gnome to add to my veggie garden!
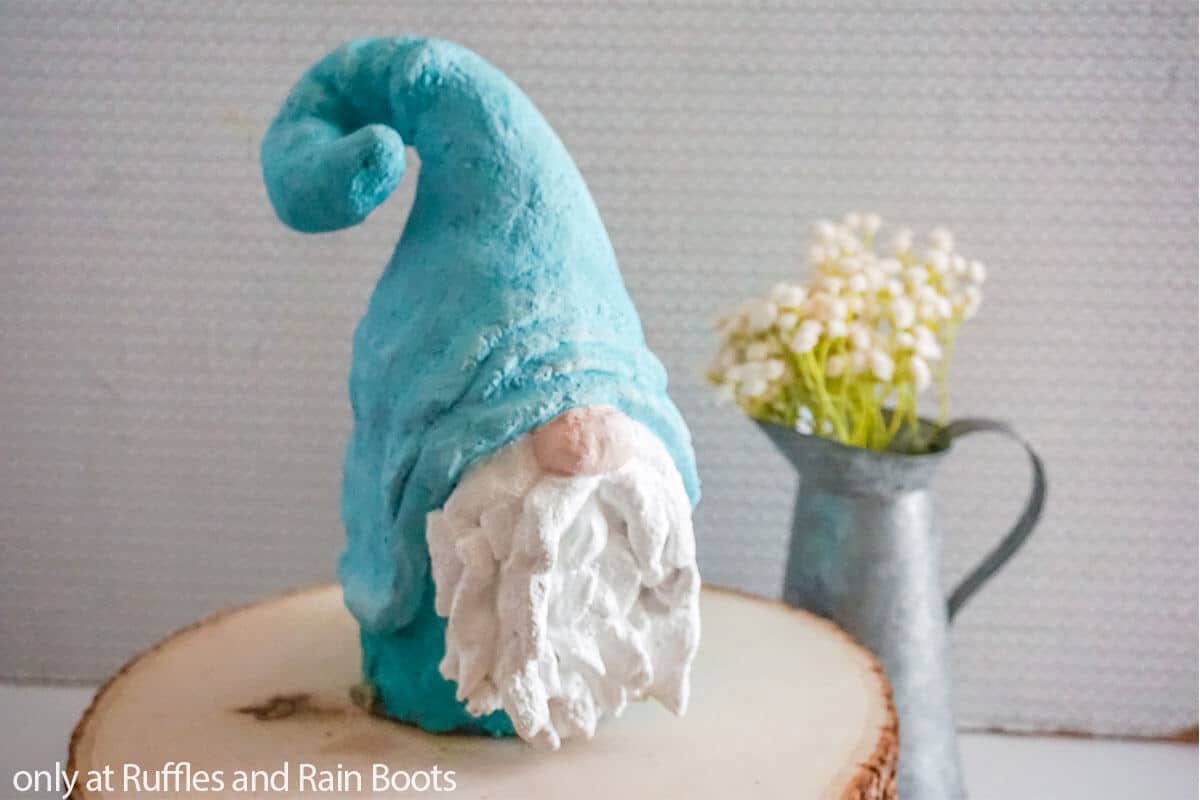
DIY Garden Gnome
Here at Ruffles and Rain Boots, we have an unhealthy obsession with both gnomes and gardening this spring. I mean, what’s better than green, fresh blooms and a little dude peeking between the leaves?! So, although it took me a bit to figure out the best way to go about it, I made this fun and easy DIY garden gnome!
RELATED READING: CLAY POT GARDEN GNOME
It’s a hand-sculpted cement garden gnome, so each gnome you make will be unique and definitely all yours. And it’s quick to work-up and very forgiving. If you’re ready to make a DIY garden gnome for yourself, let’s get started.
No Time to Make This Now? Pin it for Later
You’re busy, I get it. Pin this to your favorite garden crafts board on Pinterest and it’ll be here when you’re ready.

As an Amazon Associate, I can earn from qualifying purchases.
Tips to Make this Cement Garden Gnome
- I made the mistake initially of just grabbing some concrete off the shelf at my local home improvement store. It was…not a good result. Lumpy and, frankly, not worth sharing except as a mistake. However, after a bit of research and testing, I found this outdoor mosaic cement here that is fantastic for making your own DIY garden gnome.
- My favorite thing about this gnome is that it’s not 100lbs. He’s hefty, don’t get me wrong, but he’s not going to be impossible to move around my garden. I did this by getting creative with a big filler inside – a pickle jar! And the hat shape I built the base for is aluminum foil, so also lightweight.
- My paints were all hand-mixed colors that suited me. But I used outdoor acrylic paint like this, in an effort to keep me from having to re-paint this project again each season.
How Do I Make this DIY Garden Gnome?
I’m so glad you asked. Below is our written tutorial. If you’re a visual learner, watch the full tutorial for a DIY garden gnome with concrete here.
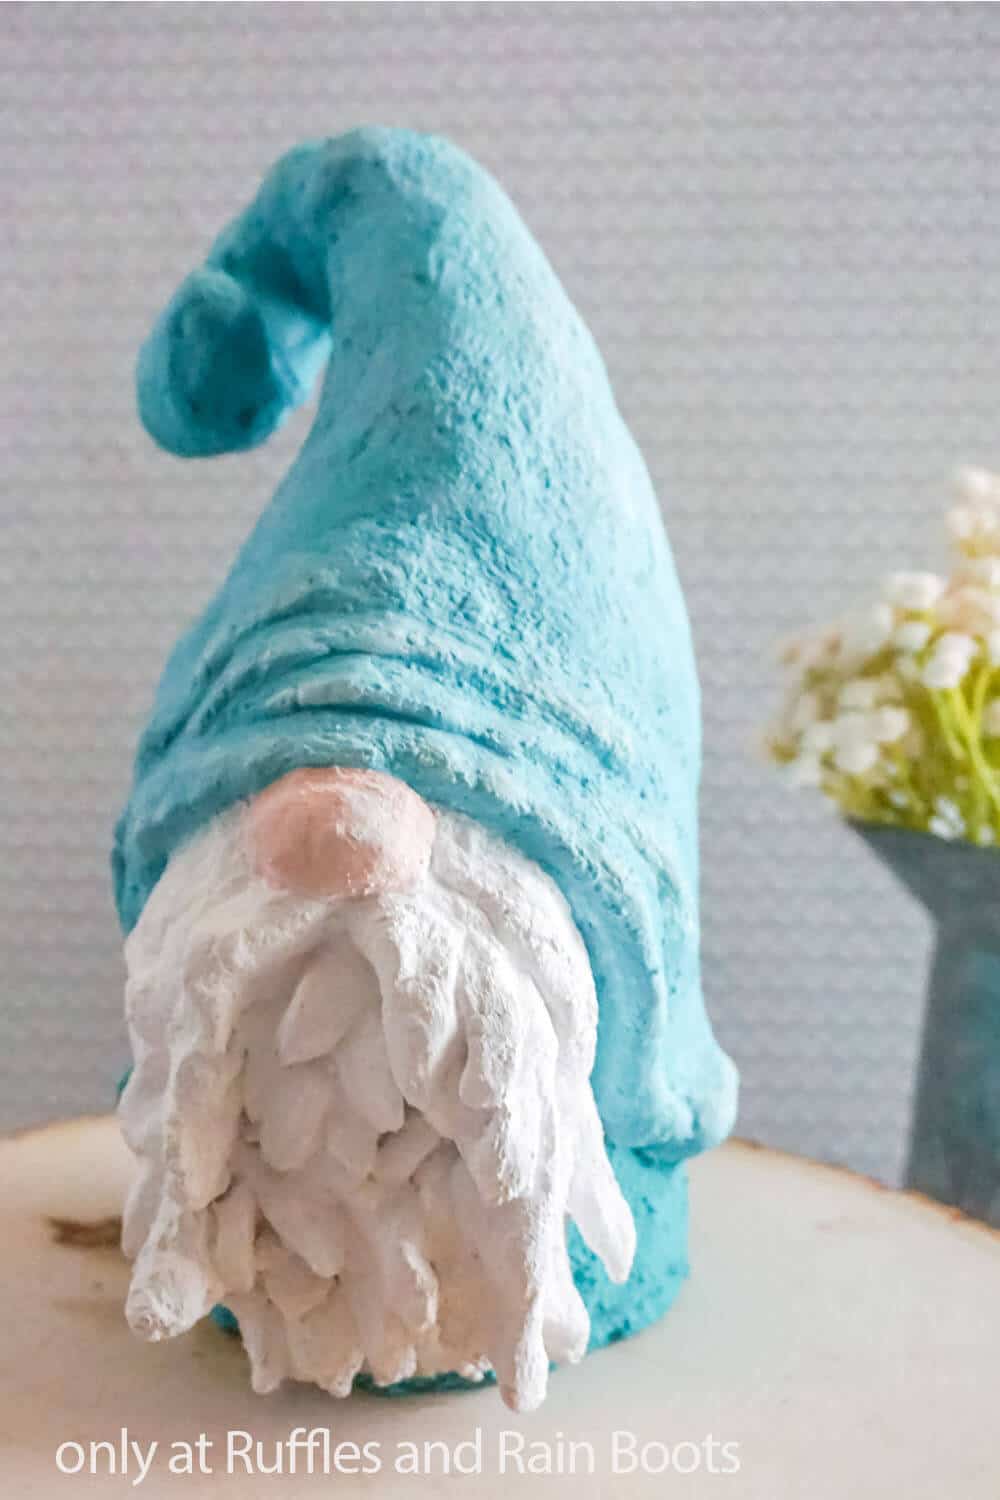
DIY Garden Gnome

Fast to work up and very forgiving, this DIY garden gnome is a hand-sculpted cement garden gnome that is as unique as you are!
Materials
- Empty Pickle Jar (or similar)
- Aluminum Foil
- Mosaic Outdoor Cement
- Outdoor Acrylic Paint
- Water (about 3 cups)
Tools
- Paper Plate or Similar
- Paintbrush
- Cup (that you can discard)
- Hot Glue Gun and Glue
- Sandpaper
- Paper Towel
- Dowel for Stirring and Detail Work
Instructions
- Clean the jar of any labels or debris and allow to dry. Hot glue the lid on securely and allow the glue to cool completely.
- Turn the jar upside down so the lid is on the bottom. This will give you a little more room to wok in feet or round off the bottom of the gnome, if desired.
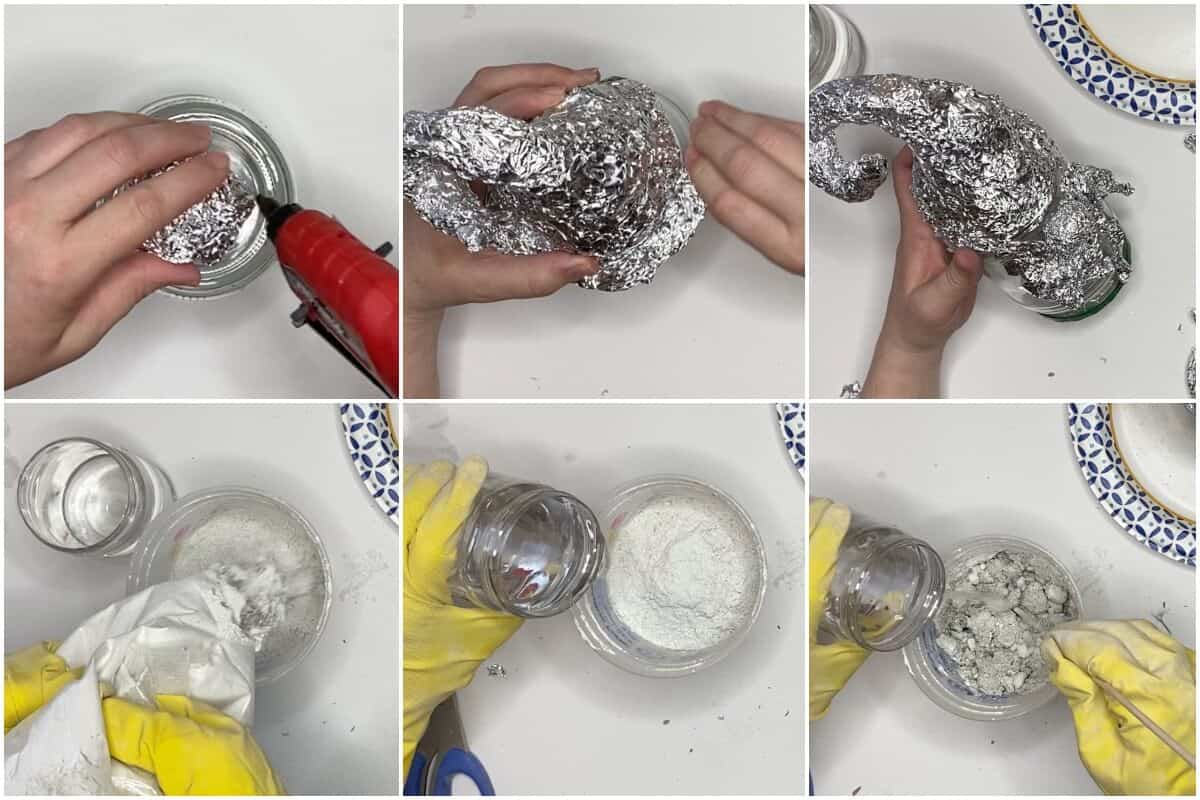
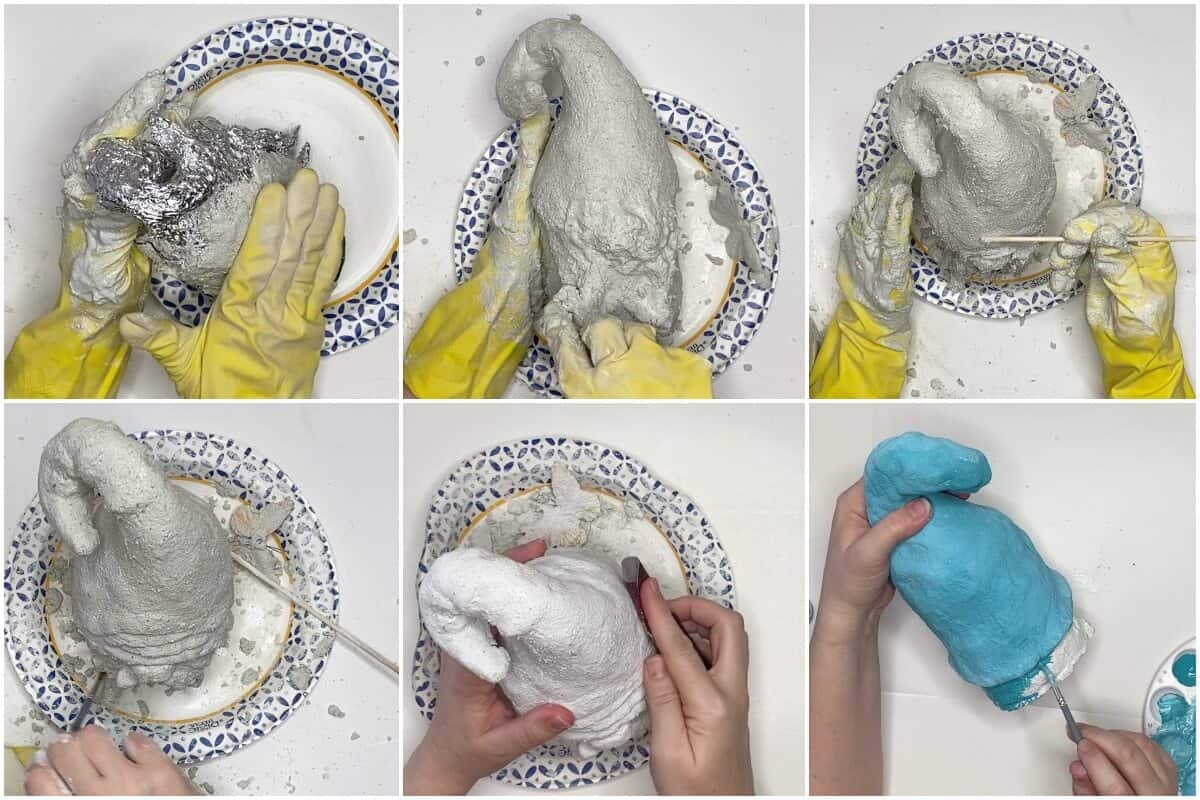
- Start building your elements for your hat with the aluminum foil. I did this by hot gluing a small ball to the top of the jar, then covering it in aluminum foil in layers to form a cone, hot gluing them as I went, then building on that cone to make a twisted hat. Watch the video for more clarification, but there's no exact science, just build the aluminum foil up to make a hat shape you like. Take care with your layers of hot glue as the aluminum foil does a good job of conducting heat and you can be burned through the aluminum foil, if you're not careful.
- Repeat building the basic shapes you want, starting with the nose. Make a large ball of aluminum foil and hot glue it to the front of the jar, just below where the jar starts. Make small snakes of aluminum foil that are narrow on one end and fatter on the other, for beard "strands". Hot glue these strands to the front of the gnome, below the nose. Build-up the brim of your hat over the nose, taking care to hot glue all of these items in place as you go.
- Mix your cement together. I was concerned that following the package directions would create a too-thin mixture for sculpting. So, I mixed a small batch of about 3 cups of cement with 1 cup of water, then stirred well. I ended up adding about 1 more cup of water, but really, the mixture consistency is what's important. So add water in small amounts until you have the consistency of thick cookie dough.

- Once your cement mixture is ready, you need to move with purpose because it will begin to dry quickly. So, start smearing the cement onto your jar and aluminum foil form in about 1/4 to 1/2-inch thick sheets. The goal is to smooth the rough texture of the aluminum foil, covering it completely. Cover the entire form, taking care to fill-in all areas. Don't worry about details at this point, just get the gnome covered.
- Once you've covered the entire form, using a dowel or paintbrush to brush away excess cement to give your gnome more details. You can go back in and add more cement to some areas, creating wrinkles or filling divots. If your surface begins to seem to dry, you can lightly rewet it with a spray bottle.
- Once the cement detail work is complete, allow the gnome to dry overnight. When the gnome is completely dry, lightly sand the surface of the gnome to get rid of any loose cement bits, then clean the dust off with a damp towel.
- Mix your paint colors to the desired colors then paint your gnome's hat, beard, nose and body. Allow the paint to dry completely.
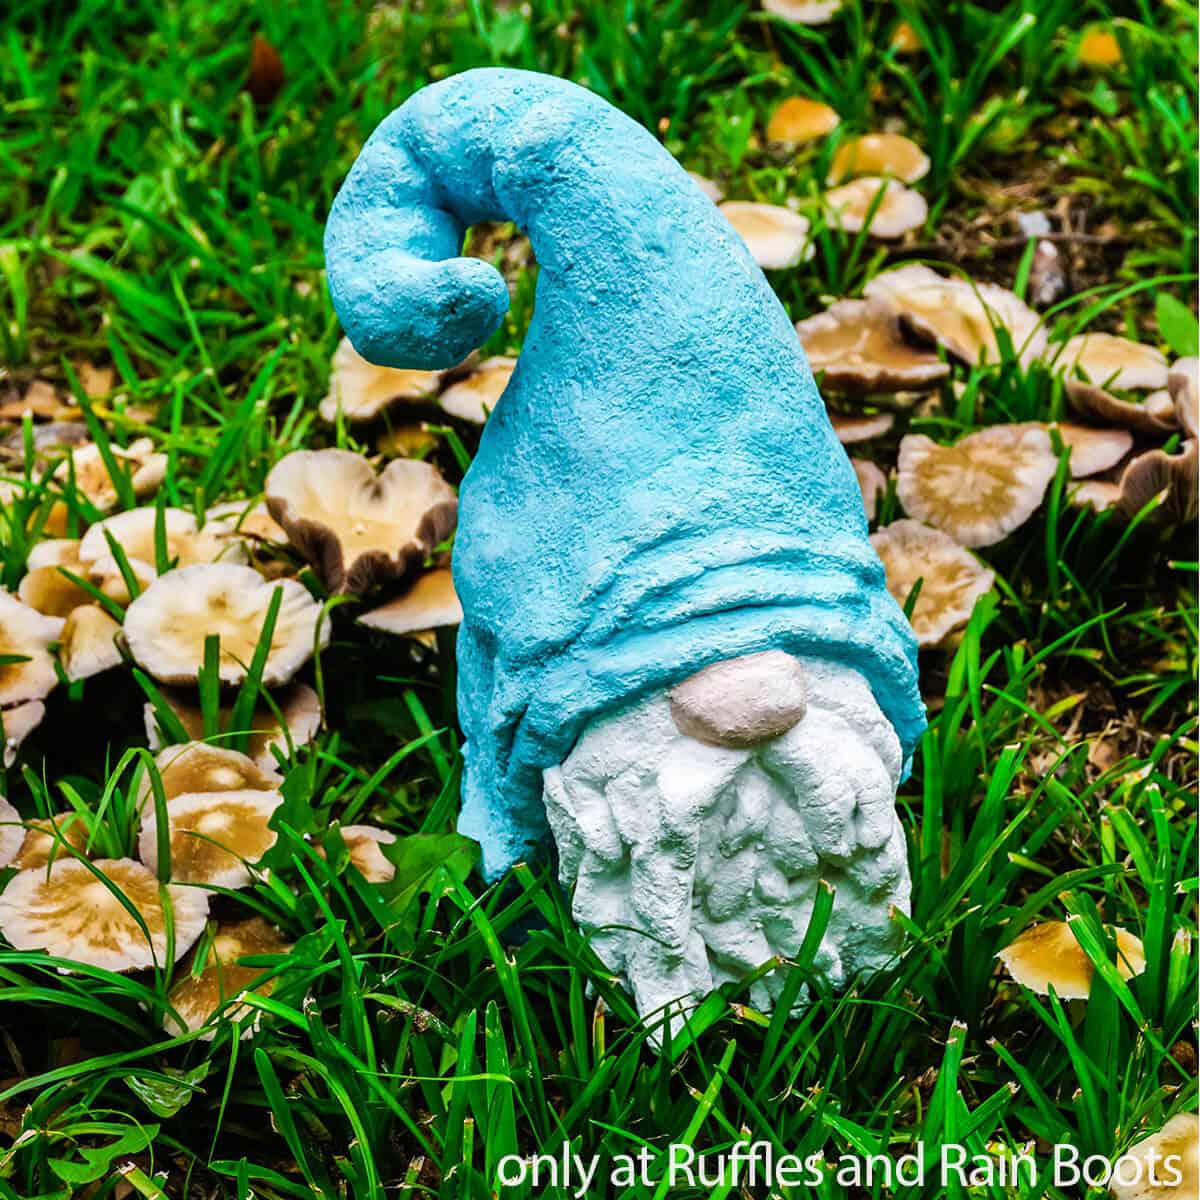
- If desired, seal the paint with a clear craft sealant for outdoor use. Then it's time to display your gnome!
Notes
For more fun and easy DIY garden gnome projects, visit Ruffles and Rain Boots!
More DIY Gnome Projects You Might Like
- DIY Spring Gnome with Rain Boots – Such a fun and easy no-sew gnome project, this little gnome is all about those splashy puddles!
- Gnomes with Flower Pot Hats – Perfect for a gift, these little gnomes with pots on their heads are a fast project with lots of charm.
- Butterfly Gnome in a Wheelbarrow – One of my absolute favorite patterns I’ve made recently, there’s just something about a gnome with a butterfly!
Please Save This to Pinterest
Your shares are how this site grows and I am sincerely grateful. Know a friend who’d like this? Please share it on Facebook or save it to your favorite gnome project ideas board on Pinterest.
Meet the Creator
Hi there, I’m Sarah Nenni-Daher. I’m a crafty gal and always have at least 14 projects going at once. I am a crafter, designer, DIYer, and pattern maker. I share my creations here and in the Ruffles and Rain Boots® Shop.
Here at Ruffles and Rain Boots®, you’ll find DIY gnomes, crafts, gifts, cupcakes, laser crafts, and so much more. I love sharing video tutorials over on YouTube and chatting with other crafters in my Facebook groups. We’d love to have you!