
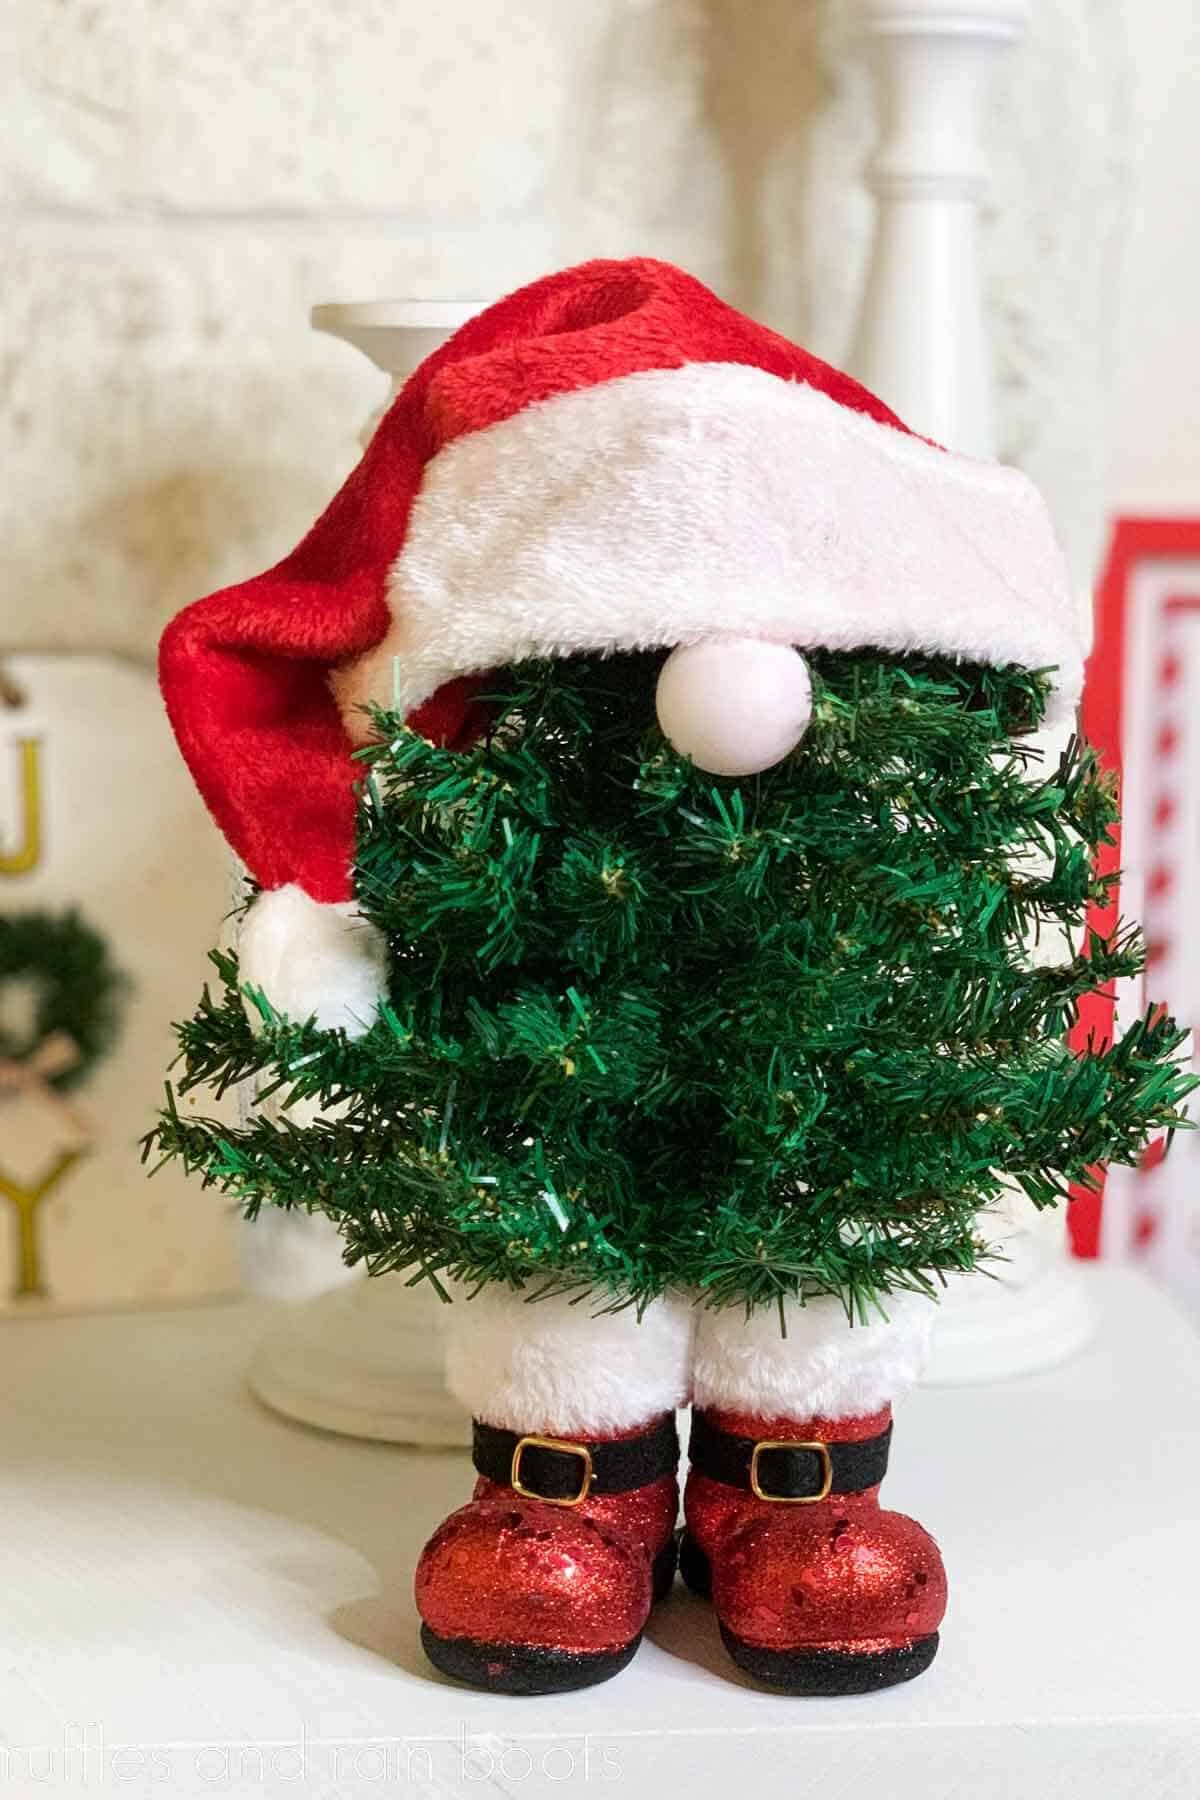
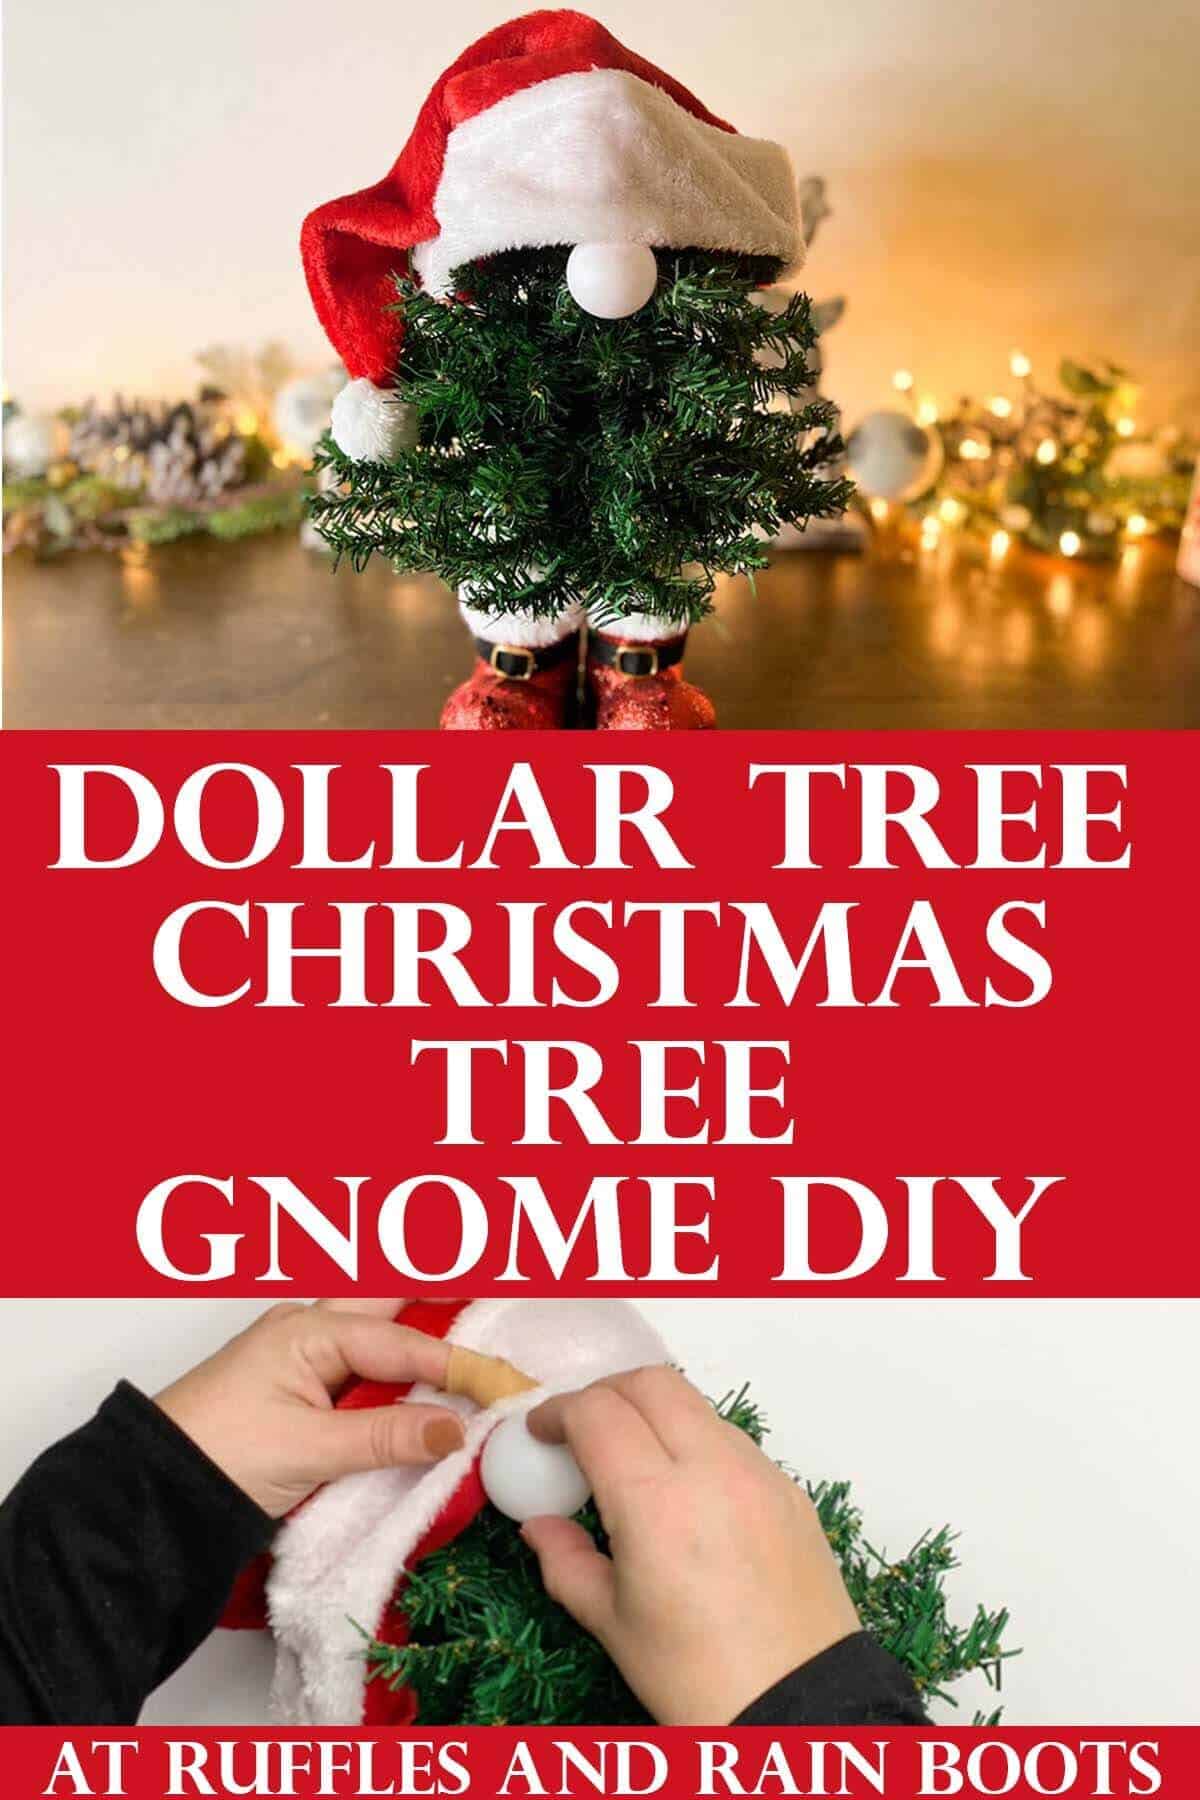
DIY Christmas Tree Gnomes
Turn dollar store finds into adorable and easy Christmas tree gnomes! This is an easy craft you can make in less than 30 minutes using a hot glue gun.
Everyone will ooh and ahh over this unique style of DIY gnome for the holidays. This easy gnome even includes a step by step tree gnome video tutorial with alternate supplies so you can use what you have on hand.

RELATED READING: Easy Sock Gnome Tutorial – Done in Just Minutes
What You'll Find On This Page
Easy Gnome Christmas Tree DIY
Here at Ruffles and Rain Boots, I share new DIY Christmas gnomes starting in July (Christmas in July, of course) and make them all the way until the new year. I use my patterns to sew or hot glue the most adorable holiday gnome for Christmas decor.
This year, I came across a few of the dollar store mini holiday trees in my craft stash and thought I should whip up a Christmas tree gnome for next to our fireplace. And the best part is that most of the supplies are from the Dollar Tree.
For my International crafting friends, look at Dollarama (Canada) and Poundland (UK) for a few of these items. If you don’t have those near you, read through the supplies section – I will share a list of alternative ideas.
RELATED READING: How to Make a Gnome Beard (and Different Material Ideas)
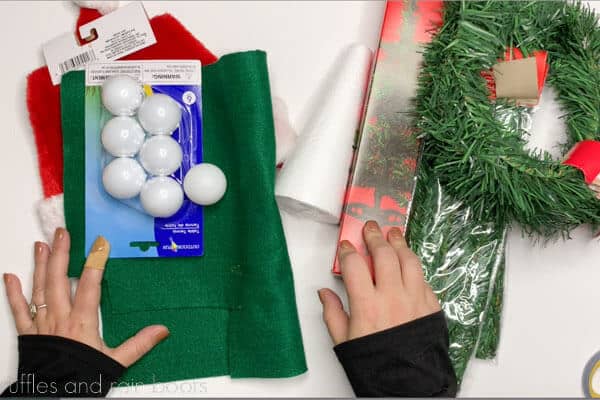
Supplies to Make a Mini Gnome Christmas Tree
As I mentioned above, I’ll share each supply I used, where I got them, and the alternate version shared in the full-length video tutorial. Shop your craft stash first and see what you have that can be used.
- 2 mini Christmas trees (Dollar Tree) – You can use garland ties, garland, or even a wreath you break apart.
- 1 pack of garland ties (Dollar Tree) – They can be from anywhere and honestly, you could use everything above, as well.
- 1 set of boot ornaments (Dollar Tree or craft stores) – Fillable boots are best and don’t be limited by ornaments. Resin or concrete boots from the garden section work just as well or better because they’re heavier.
- 1 Santa Hat (Dollar Tree) – The dollar stores always have fleece scarves or baby blankets. To make a hat, just roll it into a cone and add some trim with faux fur, yarn, or Sherpa fleece.
- 1 ping pong ball (Dollar Tree) – If you have a large pom pom, a wood ball or bead, or even a Christmas ornament, you can make a gnome nose for this holiday tree gnome.
- Rocks or vase filler (Dollar Tree) – Because we secure the opening, you can substitute aquarium gravel or sand for the weight.
As an Amazon Associate, I could earn from qualifying purchases. There could be affiliate links within this article.
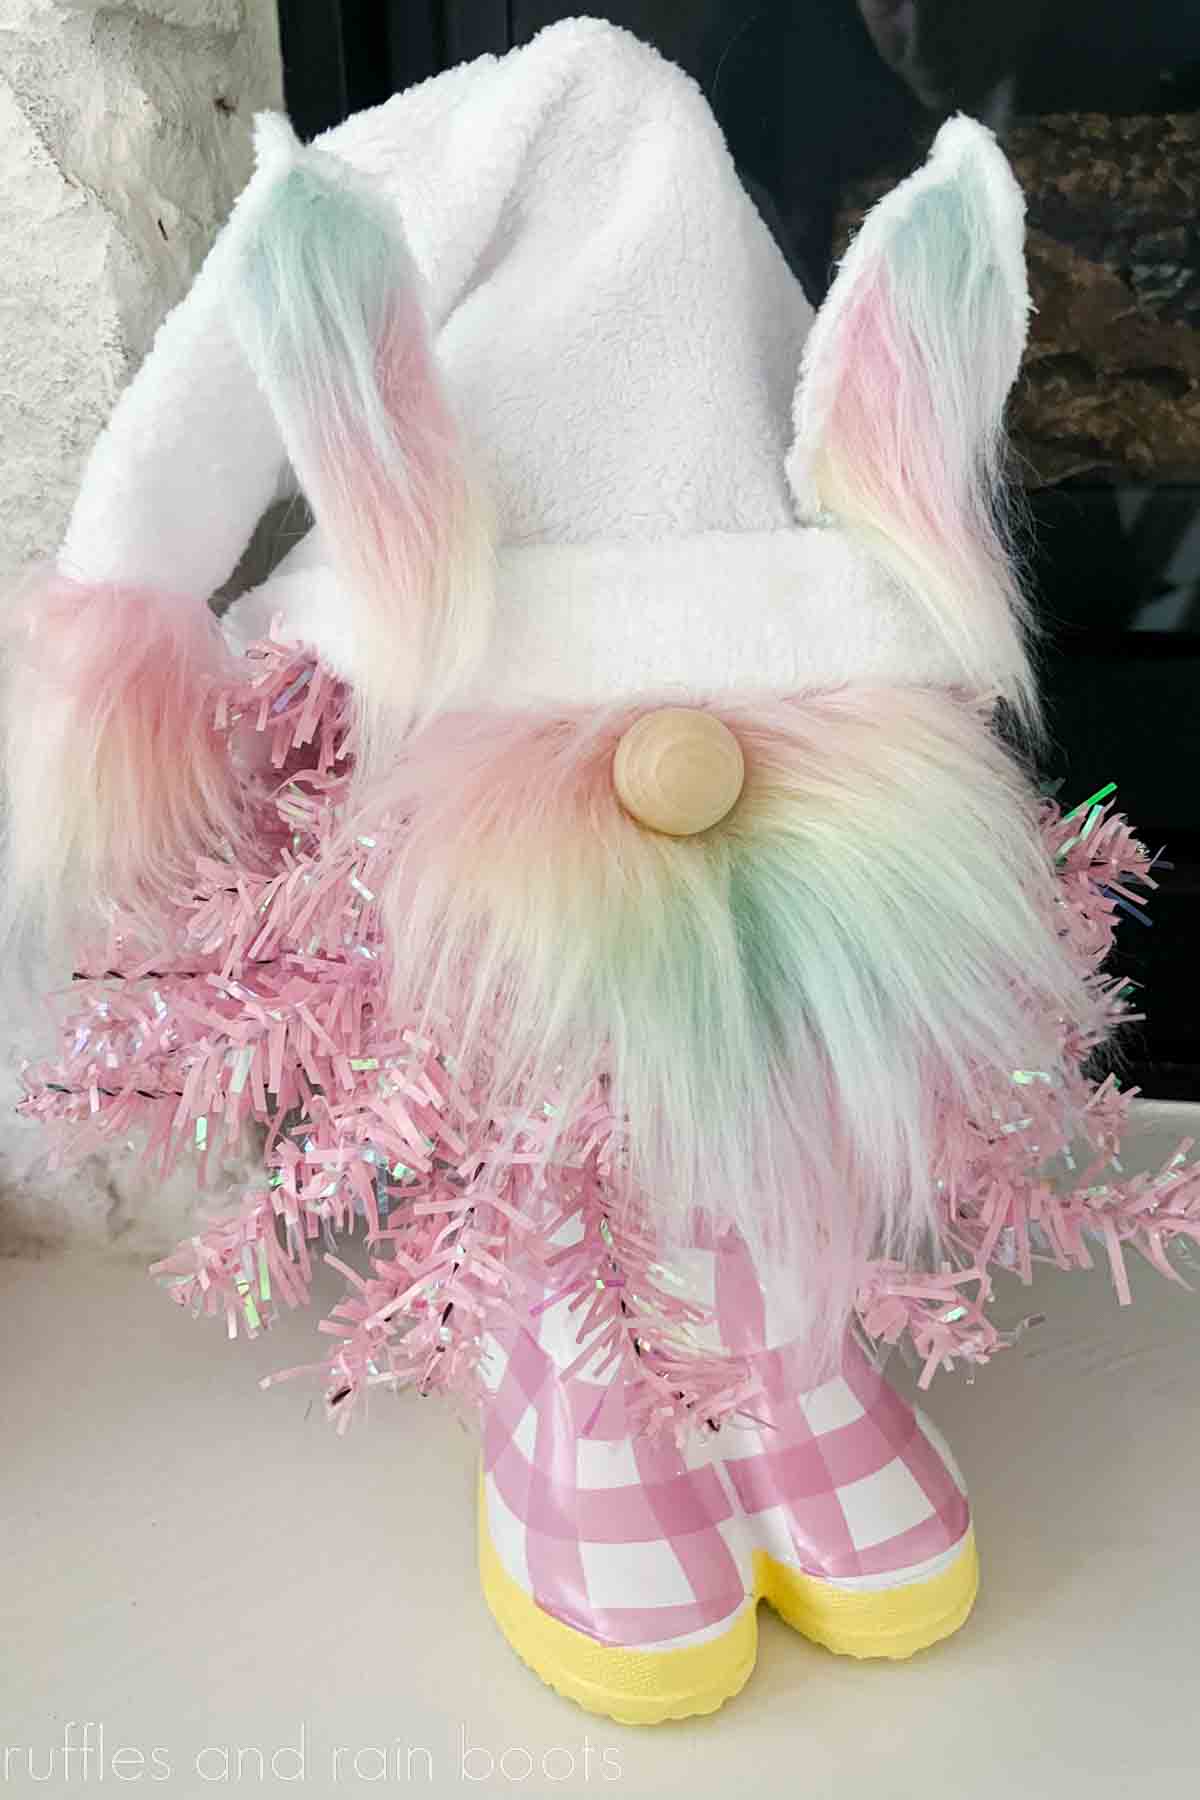
Easter Gnome with Dollar Tree Valentine’s Day Mini Trees
I’m updating this easy gnome DIY post to share the newest additions to the Dollar Tree: pink Valentine’s Day mini trees! This is such a beautiful pastel color.
I used a resin planter (picked up at Michaels) to create this adorable Easter bunny gnome. You can see the easy, step by step Dollar Tree Easter bunny gnome video tutorial here.
RELATED READING: Make a Dollar Tree Rustic Woodland Gnome (NO Sewing)
How to Make a Christmas Tree Gnome Using Boot Ornaments
If you’re new here, I make all gnomes and record the step by step process to share both here and on the YouTube channel. Follow along with either and let me know if you have any questions. Watch the detailed Christmas tree gnome video tutorial here on YouTube.
Below are the written instructions with images to help guide you in making this cute Dollar Tree Christmas gnome. Leave this page open and craft along with me.
If you prefer to print instructions and work from those, scroll down. Use the comments section if you have questions.

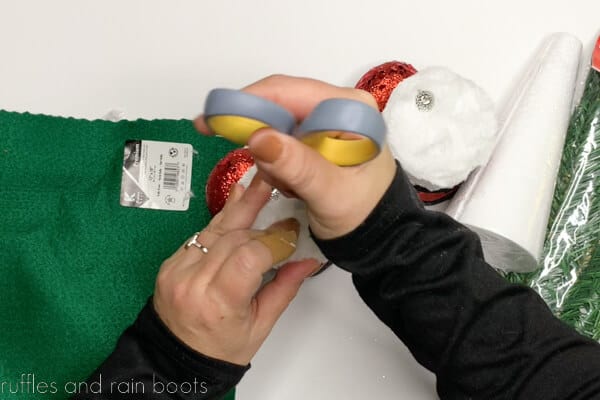
Step 1: Poke a hole into the hollow boot ornaments and fill with small rocks or vase filler. Hot glue to secure them inside and hot glue them together (optional).
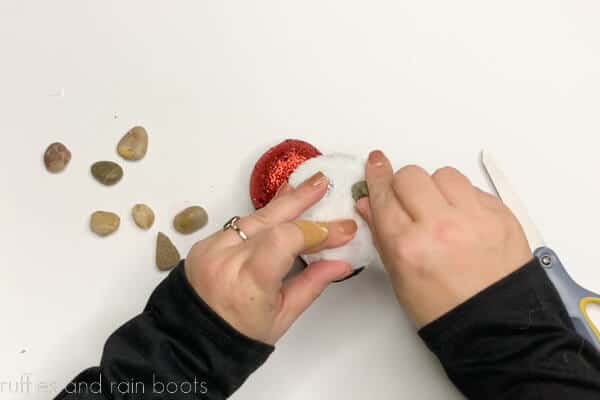
ALTERNATE: If you are using Styrofoam® boot ornaments, leave this step until the end. You will need to mount the boots to a base when we’re done like I show for the alternative Christmas tree gnome in the video.
Step 2: Unfold two of the Dollar Tree Christmas trees and fluff them up only on one side. Unscrew the bottom connector and discard it and the 3 stand pieces.
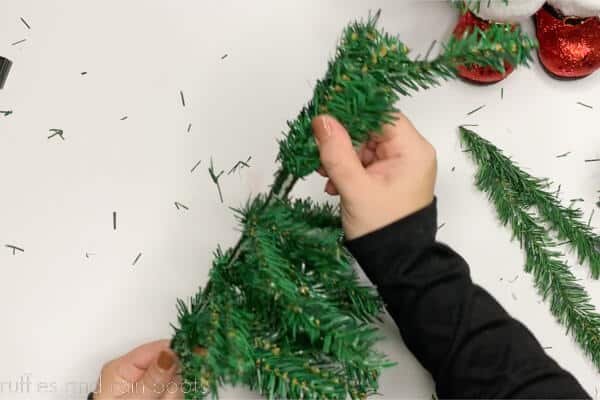
ALTERNATE: If you are using the cone and garland ties method, cover the cone in green felt. Fold each tie in half, bend the folded portion to 90 degrees, and glue the folded portion to the cone.
Step 3: Place the two trees flat-sides together, and secure with garland ties in the open spaces.
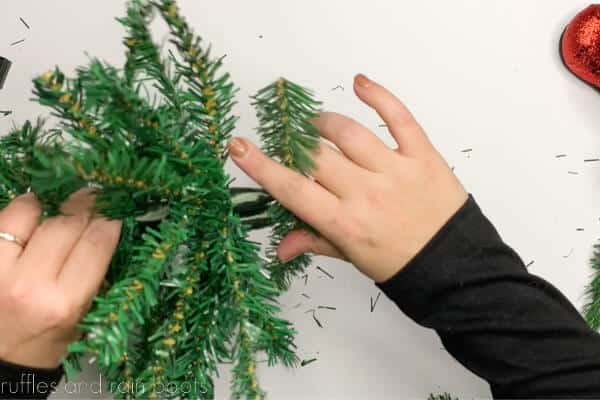
ALTERNATE: Place two short dowels into the base of the cone and press into the boot ornaments.
Step 4: Place each tree bottom into a boot opening and secure with glue. Glue a small rock into the opening to prevent shifting.
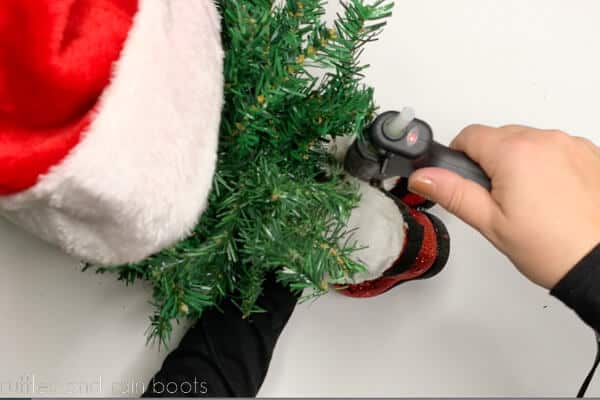
ALTERNATE: Glue the boot ornaments to a wood round or plaque for stability.
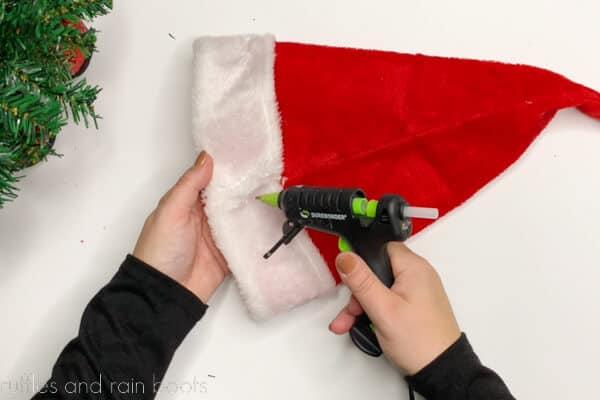
Step 5: Secure a Santa hat along the outside edge seam to reduce the size of the hat opening. Bend down the top branches and set the hat atop the tree.
ALTERNATE: Cut down a mini tree skirt to form a cone and glue in place. Add a pompom to the gnome hat.
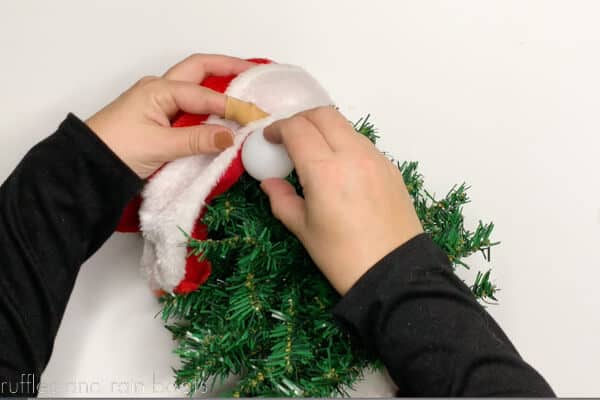
Step 6: Glue on a ping pong ball to the underside hat brim as a gnome nose and, optionally, color it with blush.
Holiday Tree Gnome Video Tutorial
There are a few parts of the DIY dollar store gnome tutorial that will be easily described by showing you versus writing it out. I encourage you to watch the entire gnome video tutorial using the mini Christmas trees here on YouTube or below.
video embed
More Holiday Gnome Crafts
- Gnome Made from Christmas Tree (Recycled) – This large porch gnome uses a recycled artificial Christmas tree as its base.
- Elegant Dollar Tree Gnome Tree Topper – Decorate any Christmas tree using this versatile find from a dollar store.
- Tomato Cage Gnome for the Porch – This cute outside gnome DIY is a fun craft for an afternoon.
Please Save or Share This DIY Tree Gnome
Your shares are how this site grows and I am sincerely grateful for each and every one. Please use the sharing buttons to save this to a holiday crafts pinboard or share it with a crafty group on Facebook.
Christmas Tree Gnome in Boots
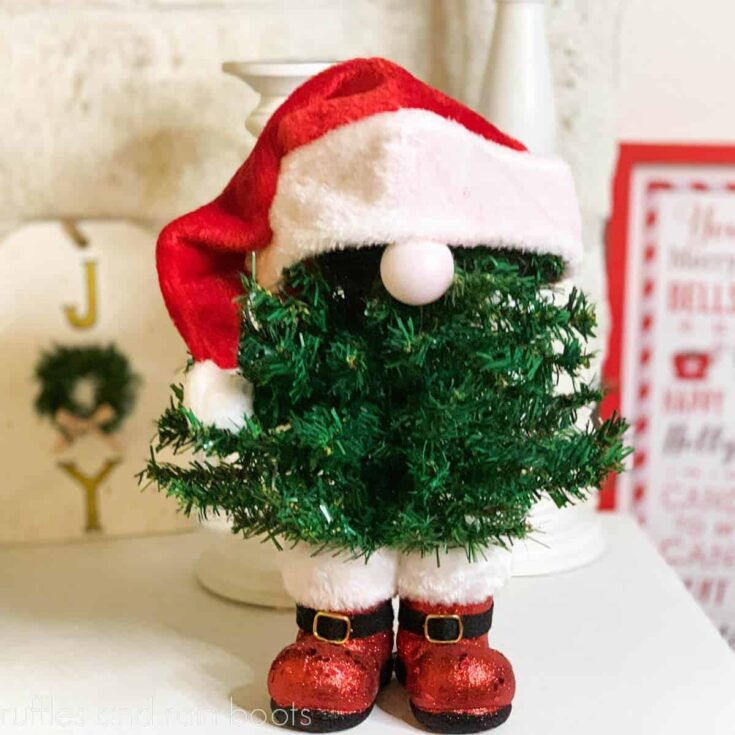
This Dollar Tree Christmas tree gnome in boots takes just about 20 minutes to make and is done with simple supplies and a hot glue gun. Head over to the dollar store and pick up a few basic Christmas supplies to get started on this easy holiday gnome decor idea demonstrated by Sarah with Ruffles and Rain Boots.
Materials
- 2 x Dollar Tree Christmas trees (green)
- Dollar Tree Garland Pack (will have left over)
- Dollar Tree Santa Hat
- Dollar Tree Ping Pong Ball (or Other Gnome Nose)
- Dollar Tree Rocks (Vase Filler)
- Boot Ornament
- Optional, Blush and Brush
Tools
- Hot Glue Gun and Glue Sticks
- Scissors
Instructions
- Poke a hole into the hollow Santa boots and fill with small rocks or vase filler. Hot glue to secure them inside and hot glue them together (optional). Remove the hang tags or hangers.
- Unfold two of the Dollar Tree Christmas trees and fluff them up all directed to one side. Unscrew the bottom connector and discard it along with the 3 stand pieces.
- Place the two trees flat-sides together, and secure with garland ties in the open spaces.
- Place each tree bottom into a boot opening and secure with glue. Glue a small rock into the opening to prevent shifting.
- Secure a Santa hat along the outside edge seam to reduce the size of the hat opening. Bend down the top branches and set the hat atop the tree.
- Glue on a ping pong ball as a nose and, optionally, color it with blush.
Notes
As shown in the Christmas tree gnome video tutorial, you can use a Dollar Tree 6.9 inch foam cone and their garland ties to create a similar look.
Another idea for a hat is to use a Dollar Tree mini tree skirt, cut it to size, and add a pom pom.
If you cannot find the miniature trees, look for an artificial tree to break apart.
Meet the Creator
Hi there, I’m Sarah Nenni-Daher. I’m a crafty gal and always have at least 14 projects going at once. I am a crafter, designer, DIYer, and pattern maker. I share my creations here and in the Ruffles and Rain Boots® Shop.
Here at Ruffles and Rain Boots®, you’ll find DIY gnomes, crafts, gifts, cupcakes, laser crafts, and so much more. I love sharing video tutorials over on YouTube and chatting with other crafters in my Facebook groups. We’d love to have you!