
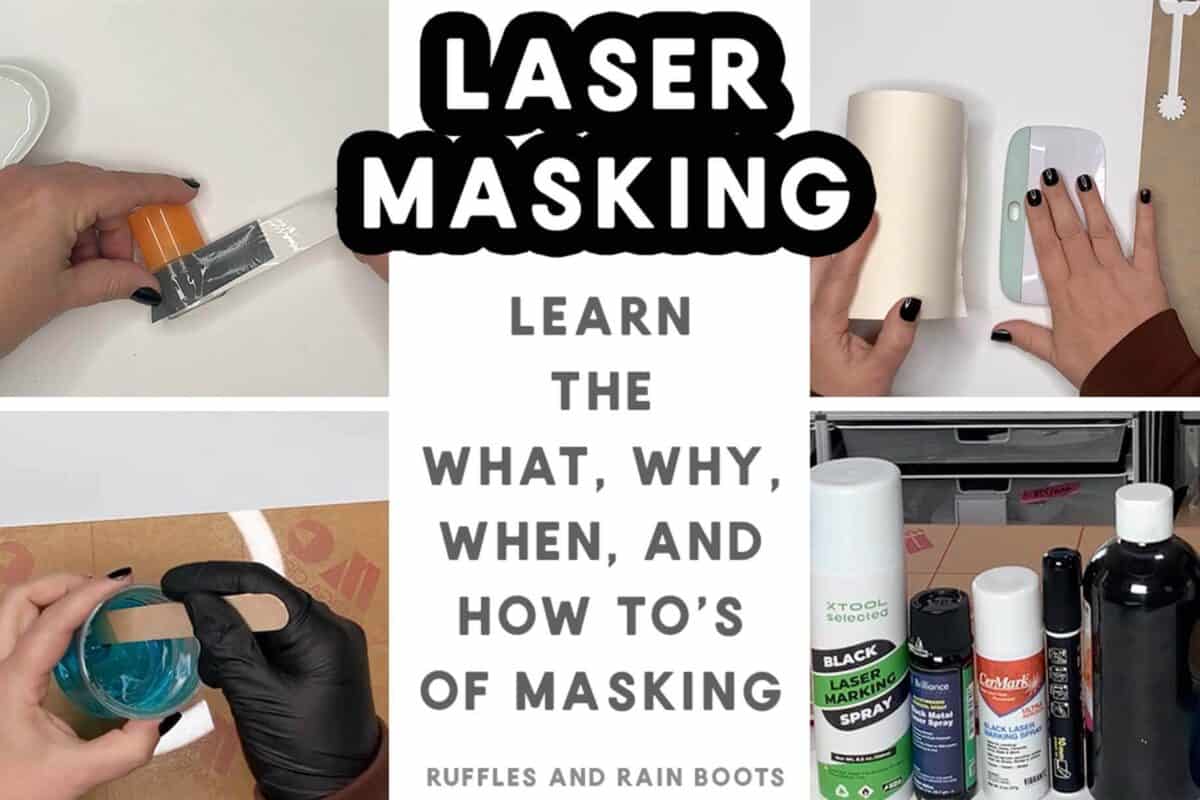
Laser Masking Tips, Tricks, and Types
Whether it’s wood, acrylic, MDF, or premade items, I’ve mastered the art of using masking for laser cutting and engraving. Today, I’m sharing all of the laser masking tips, tricks types, and ways to use laser masking in your projects.
RELATED READING: How to Make Acrylic Cake Toppers (All Laser Types)
What You'll Find On This Page
Laser Masking Tips and Tricks
Here at Ruffles and Rain Boots, I’m often asked some of the same questions by those on their laser engraving and cutting journey. One of the most common things I’m asked about is masking.
The answers to all of the questions I’ve received (and a few more) are below and I’ve even created a quick and easy video on laser masking 101 – what to use, when, and how to apply it.

What is Laser Masking?
Definition: Masking is anything you put on your material prior to cutting or engraving. It can be applied to the front and back or just one side, depending on the use case.
Laser masking can be applied by you at the time of processing or it can be applied by the manufacturer or distributor.
A couple of my general “rules” about masking:
- Masking can be sprayed on (marking spray or air brushing paint), rolled on (paper masking, blue tape, marking paper), stuck on (dish soap or adhesive tape), or even painted on (tempera, chalk, or titanium dioxide paints).
- The cost of not using masking (opportunity cost) can be higher than the price of the masking.
- You can laser over paper masking; remove plastic masking.
Why or When Should I Use Masking?
You can use masking for many reasons but you do not always have to use it, no matter what someone on the Internet says. The top reasons to use masking when laser processing are:
- Use masking when you want to keep post processing (clean up) to a minimum.
- Masking can create a reactive layer to absorb light that would normally pass through materials.
- Apply masking for paint-fill projects on materials that aren’t ‘easy clean.’
- You can use masking to go “hard – high power, slow speed” on engravings to darken them up while reducing post-processing work.
- Masking is a great tool to reduce flashback or marks on the back of the material when placed on slats, the honeycomb, or other non-elevated options.
- Masking can affect the end product, as in cases like InkAid or double sided adhesive tapes for ease of assembly.
I burn a lot of projects without masking because I have the settings dialed in or part of my finishing process will require me to work the material after laser processing.
As an Amazon Associate, I could earn from qualifying purchases. There are affiliate links within this article.
What Are Some Types of Laser Masking?
A few of the more popular types of laser masking aren’t even technically for that use. My most-used types of masking are:
- paper masking with low, medium, or high tack
- blue tape or painter’s tape
- dish soap (Dawn; I love this method for acrylic!)
- sprays for results (metal marking spray, glass marking spray)
- marking paper (primarily used for glass)
- adhesive tapes which go on the back of material (3M, DualTite, Orafol, etc.)
- masking for result enhancement (InkAid, for example)
In this article, we won’t be touching on adhesive tapes or masking for final results enhancements, but watch for those soon.
How to Remove Masking
I’m adding this here because I am often asked about my most-used laser supplies. You will likely have a need to remove masking both prior to and after processing.
Heat guns (or blow dryers) help to release the adhesive on masking which has been sitting on the material for a while (like a sticker). A quick once, twice, and thrice over with a little heat and the masking should pull away easily.
I use Gorilla tape and plastic razors A LOT to remove masking, primarily to help lift a corner or to remove smaller pieces after processing. These are definitely my “ride or die” masking tools.
Soap and water or sometimes just water are also utilized a lot. Paints and sprays are easily removed after processing with a little H2O.
How to Apply Laser Paper Tape Masking
The application will depend on the type of masking you’re using, but in general, you need a few items on hand for paper or tape-based masking: masking, scissors, and a card scraper (or brayer).

These steps to applying a paper or tape masking will only take you a couple of minutes. Over time, it will only take you a few seconds:
- Place material flat.
- Roll out a section of the masking and align the end to your material. You can also use a ruler to measure out the project’s masking requirement.
- Adhere the small section and, as you roll it out, use a scraper or your hand to apply the masking without air bubbles or wrinkles.
- Use a brayer tool (or your hand or felted card scraper) to press the masking into the material before processing.
Your goal with masking is to ensure an even application, without bubbles or wrinkles, and secure enough to not blow around while the laser is processing.
How to Use the Dish Soap Method of Laser Masking
This is my favorite method of masking for acrylic, specifically when I’m engraving. I work in batches for my clear acrylic products, prepping about 5-7 sheets at a time. It’s quick and easy:
- remove one side of the paper masking
- drizzle a few drops of dish soap onto the acrylic
- using a gloved hand or a non-absorbing paint brush, spread the dish soap evenly
- let it dry (mostly) before laser engraving or cutting
You don’t need a lot of soap because the goal is an even coat of dish soap on acrylic, not a thick one.

How to Use Spray Masking and Paint As Masking
Follow the instructions on the sprays to the letter. I have three different brands of spray masking and they all work. I’ve learned to buy the smaller sizes of the spray maskings because some brands’ cans clog even when you follow the instructions.
When masking with paint, do what you can to ensure an even application. You don’t need an airbrush, but it can help. If using a foam or paint brush, try to limit the lines and apply two coats for a more even coverage.
The single, most-valuable tip for sprays and paint will always be to obtain a clean, even application.
How to Apply Marking Paper for Glass or Metal
Marking paper creates a reactive surface for lasers which would normally pass through. It’s also recommended when the “right” laser for a material isn’t available.
The application is simple, but not easy. It took me a few attempts to get it right.
- Cut the marking paper to your desired size. It will be just larger than the design.
- Then, wet the marking paper for a couple of minutes.
- Apply the marking paper to the glass, metal, acrylic, or ceramic by placing an edge on, holding the tip of that edge, and then pull out the backer sheet.
- Let it dry and then laser.
- To remove, apply water and light scrubbing with your finger (or lay a tissue paper soaked in water on top of the design).

More Laser Content You Might Like
- Easter Laser Projects to Make and Sell – I have a ton of free files and tutorials for you to get started.
- Free Laser Cut Football Layered Dish – Want to share something hand made for the Big Game? Look no further than this free laser cut file.
- Fourth of July Laser Projects – If you celebrate the stars and stripes on the 4th of July, here are a few projects and free files to get you making.
Please Save or Share This Laser Crafting Resource
Your shares are how this site grows and I am sincerely grateful. Please save this to a laser techniques pin board or share it with a laser group on Facebook.

Meet the Creator
Hi there, I’m Sarah Nenni-Daher. I’m a crafty gal and always have at least 14 projects going at once. I am a crafter, designer, DIYer, and pattern maker. I share my creations here and in the Ruffles and Rain Boots® Shop.
Here at Ruffles and Rain Boots®, you’ll find DIY gnomes, crafts, gifts, cupcakes, laser crafts, and so much more. I love sharing video tutorials over on YouTube and chatting with other crafters in my Facebook groups. We’d love to have you!