
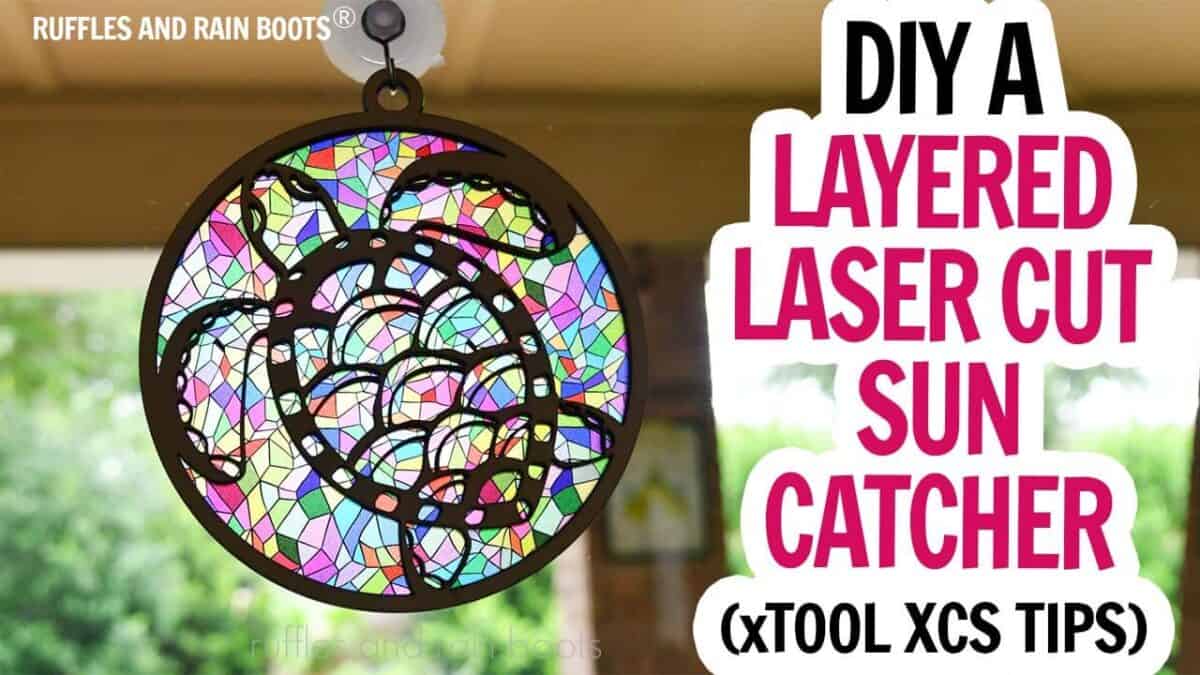
Laser Cut Sun Catcher with Flex
Learn how to make a laser cut sun catcher – a quick sneak peek had tons of questions on how I made it, so here’s an easy tutorial. For this beginner laser project idea, you will only need a couple of materials and one is pretty versatile.
In this tutorial, you will learn how to design your own suncatcher, create the cuts with minimal work and the right preparation, and learn how to assemble everything. And a bonus: this is a very popular item when selling online or at craft shows.

RELATED READING: xTool P2 Review – This Thing is Unstoppable
What You'll Find On This Page
Make a Laser Cut Sun Catcher Tutorial
Here at Ruffles and Rain Boots, I love my 6 lasers (yes, 6!) and have been using them nearly non-stop. I love testing new materials and today’s craft shows how much fun that can be.
Now, some of you will know that this is not my first craft highlighting this particular material – I showed it off in my xTool S1 review last year with some Christmas ornaments. But today, we’re going to talk about how to order it and what machines can use it.
As an Amazon Associate, I could earn from qualifying purchases. There could be affiliate links within this article.
The Best Sun Catcher Materials
Without a doubt, you can use other items for the “pretty” part of a laser cut sun catcher: mylar and 1/16th or 1/8th acrylic (clear, patterned, or even a solid color) are good options. However, the benefits of using PatternPly® Flex, an offering from Smokey Hill Designs, are:
- it is light, perfect for sun catchers and ornaments
- most of the styles can be used in both CO2 and diode lasers
- Flex is relatively inexpensive and the sheets are sizable allowing for multiple cuts
- variations are nearly endless for interests, gifts, and product offerings.
The outside or “design” of the sun catcher can be made from wood, plywood, acrylic, or even thin metals. Today, I’ll use 3mm (~1/8th inch) basswood plywood.
How to Make a Laser Cut Sun Catcher Video Tutorial
If you’re a visual learner, watch the laser cut sun catcher video tutorial on YouTube. It walks you through each step below, even providing additional tips and tricks I’ve learned.
While you’re there, go ahead and subscribe – we have a lot of fun on the channel.
Materials Needed for this Beginner Laser Cut Project
As mentioned, you can use a CO2 or diode laser for this DIY and I’ll provide settings for both the 55 watt xTool P2 and the 40 watt xTool S1. As always, running your own material test is recommended.
- 3mm basswood plywood (I get mine here)
- Stained Glass Flex (see ordering note below)
- 3M 467MP
- Paper Masking and Scraper
- Spray Sealant (optional)
- xTool P2 CO2 laser (see below for diode tips)
- 6″ Inline Fan (optional)
To order Flex from Smokey Hill Designs, search in the PatternPly® section for what you want – there are literally hundreds of designs! Next, click into the item, scroll down, and you will see the Flex – 0.01″ option. More on ordering can be found on their YouTube channel.
RELATED READING: How to Make a Mirrored Acrylic Magnet
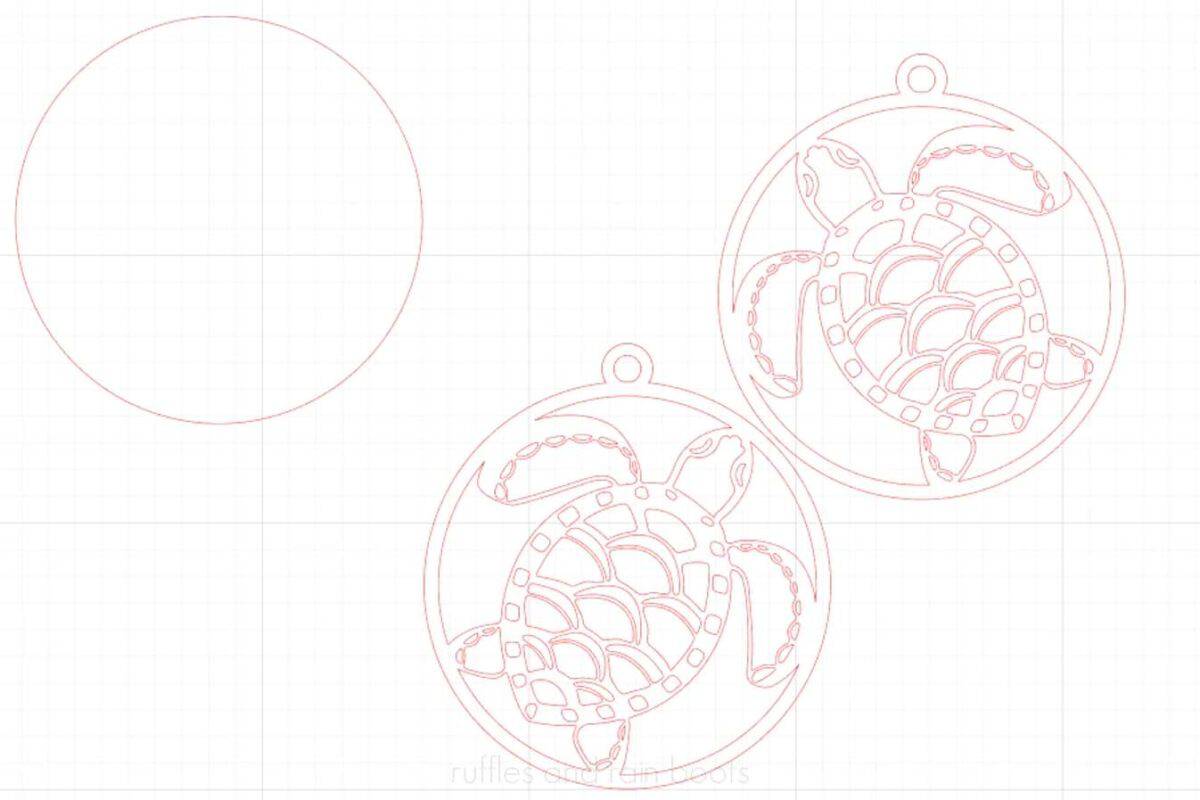
How to Design a Laser Cut Sun Catcher and Settings (XCS 2.0)
Watch the video to show how any SVG can be turned into a suncatcher. I’ll share some tips on joins, how to make sure the design is solid for cutting, and other tips like creating the right size hanger to add to your overall shape.
If you prefer to print off this tutorial, scroll to the bottom for a printable without images.
Input the settings for Flex:
- xTool P2 55W – 10-15/20-40/1 (power, speed, and passes)*
- xTool S1 40W – 100/4/1
- xTool M1 Ultra 10W – 96/5/2
*Note: Most of the time on the P2, I run a small test cut at 15 power and 25 speed. I then look at the edges, see if I have any snags, and make adjustments. This will vary with your laser.
Input the settings for basswood plywood – that’s a good material for this sun catcher tutorial (it’s inexpensive). My settings for the P2 were 85/12/1 for this project, however, I normally can go faster. This particular batch of wood has a bit more glue. Always conduct a test for your materials and laser.
Prepare Sun Catcher Materials
Once we know the dimensions of our design, let’s prep our materials with masking and tape. Add paper a mask to the shiny side of the area of the Flex you’ll be using, using a scraper tool to ensure no air pockets.
NOTE: Regardless of masking, place the shiny side DOWN in the CO2 laser, shiny side UP in the diode laser for cutting.
Add paper masking to the front of the basswood. This step is optional, but honestly, it saves so much time on clean up so I recommend it. See the image below – all that soot does NOT have to be cleaned up by us.
Add 3M tape to the back of the basswood ply, again using a scraper. For this project, 467MP is more than enough.

How to Cut and Assemble the Suncatcher
Once the pieces are cut, remove the masking from the Flex and from the plywood. If needed, sand any char and blow the dust away from the plywood pieces.
Remove the 3M backing from one plywood cutout and align and position directly onto the Flex. Repeat with the other side and clamp per the adhesive instructions.
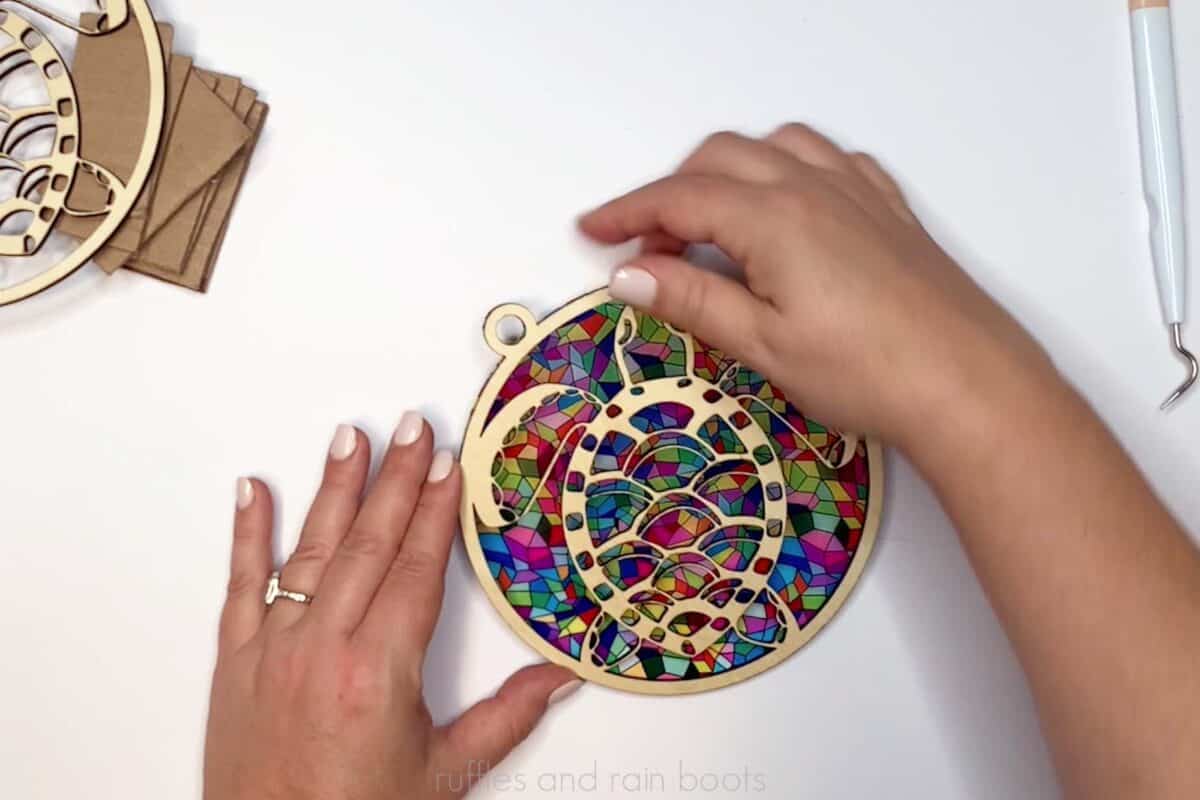
Add a hanger or a suction cup and hook and you’re ready to display your handmade sun catcher.
More Laser Cut Crafts You Will Like
- Layered MDF Summer Sign – If you want to make a done-for-you project, place an order for some MDF and watch how easily this laser cut sign comes together.
- Laser Cut Acrylic Cake Toppers (Single and Layered) – This beginner laser project idea is a great way to start working with the varied types of acrylic.
- DIY Highland Cow Door Sign – This is a fan-favorite project and includes a free SVG so you can make your own.
Please Save or Share This Laser Cutting Craft Idea
Your shares are how this site grows and I am sincerely grateful. Please use the buttons to share this laser sun catcher tutorial with a crafty Facebook group or save it to a DIY pin board.
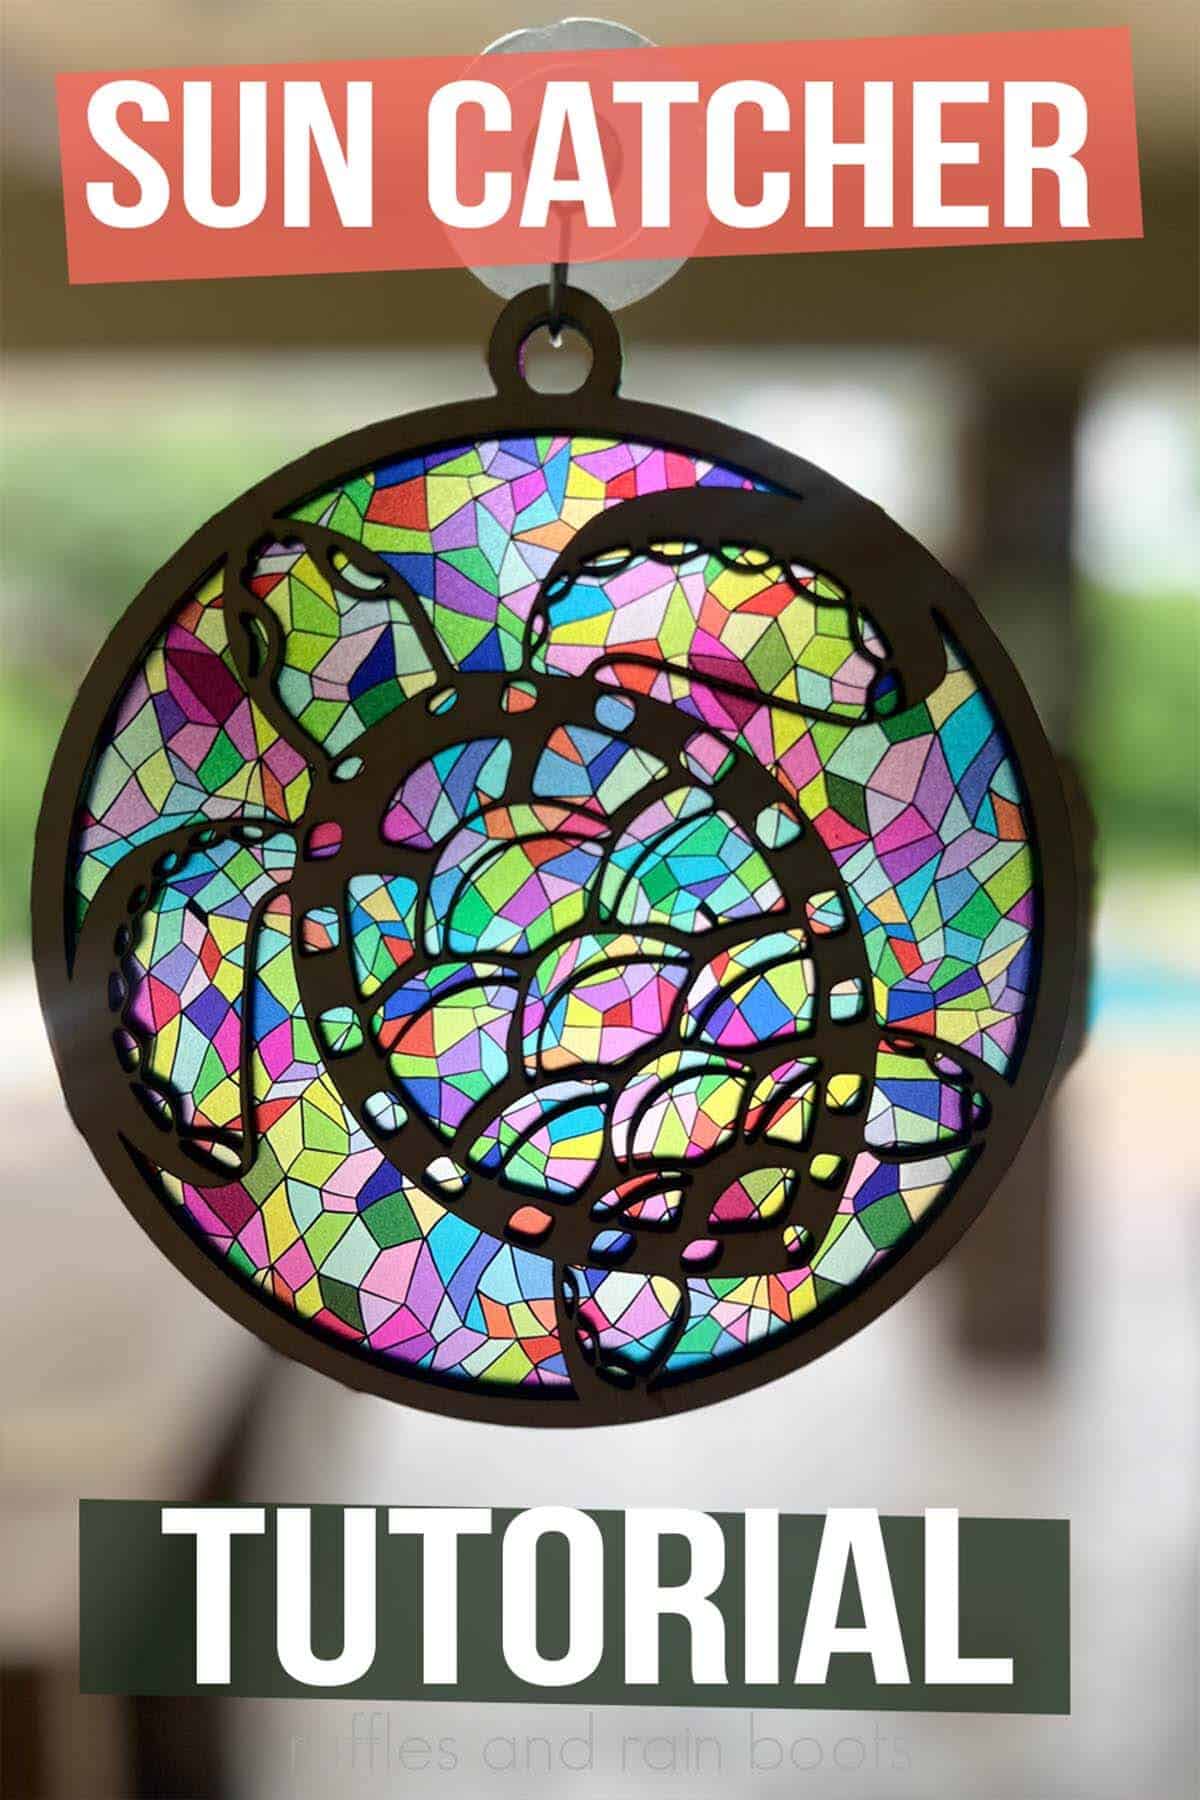
Laser Cut Sun Catcher Tutorial
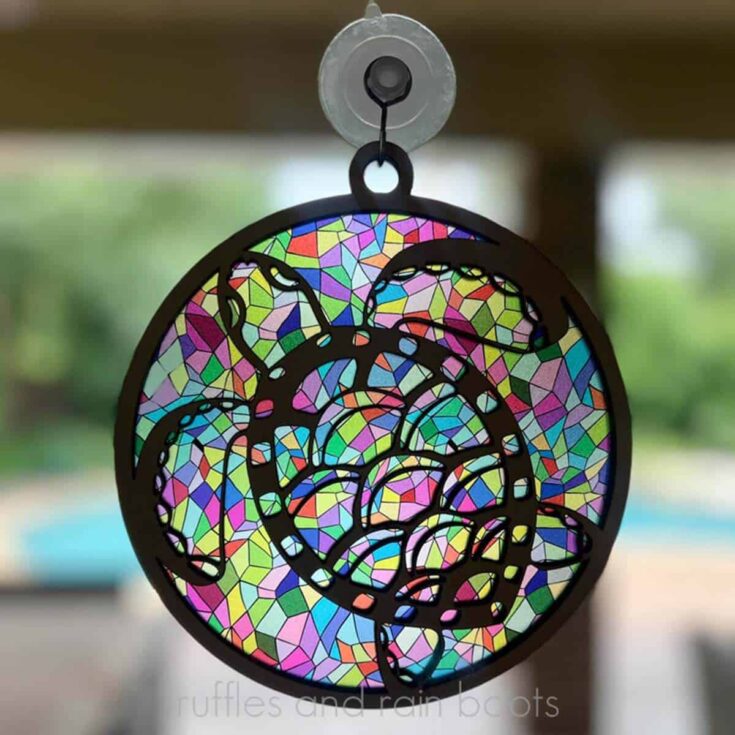
Learn how to create a laser cut sun catcher tutorial using a CO2 or diode laser. The materials, adhesives, and even how to design a sun catcher are included in this beginner laser project idea.
Materials
- 3mm basswood plywood (I get mine here)
- Stained Glass Flex from Smokey Hill Designs
- 3M 467MP
- Paper Masking and Scraper
- Spray Sealant (optional)
Instructions
How to Design a Laser Cut Sun Catcher
- Watch the video to show how any SVG can be turned into a sun catcher. I'll share some tips on joins, how to make sure the design is solid for cutting, and other tips like creating the right size hanger to add to your overall shape.
- Input the settings for basswood plywood. My settings for the P2 were 85/12/1 for this project, however, I normally can go faster. This particular batch of wood has a bit more glue. Always conduct a test for your materials and laser.
Prepare Sun Catcher Materials
- Add paper a mask to the shiny side of the area of the Flex you'll be using, using a scraper tool to ensure no air pockets.
- Add paper masking to the front of the basswood.
- Add 3M tape to the back of the basswood ply, again using a scraper.
How to Cut and Assemble the Suncatcher
- Once the pieces are cut, remove the masking from the Flex and from the plywood. If needed, sand any char and blow the dust away from the plywood pieces.
- Remove the 3M backing from one plywood cutout and align and position directly onto the Flex.
- Repeat with the other side and clamp per the adhesive instructions. Add a hanger and display.
Notes
Laser Cut Settings for FLEX Material:
- xTool P2 55W - 10-15/20-40/1 (power, speed, and passes)
- xTool S1 40W - 100/4/1 (power, speed, and passes)
Meet the Creator
Hi there, I’m Sarah Nenni-Daher. I’m a crafty gal and always have at least 14 projects going at once. I am a crafter, designer, DIYer, and pattern maker. I share my creations here and in the Ruffles and Rain Boots® Shop.
Here at Ruffles and Rain Boots®, you’ll find DIY gnomes, crafts, gifts, cupcakes, laser crafts, and so much more. I love sharing video tutorials over on YouTube and chatting with other crafters in my Facebook groups. We’d love to have you!