
Mirror Acrylic Magnet for Mother’s Day xTool P2
Learn how to make a mirror acrylic Mother’s Day magnet to create a thoughtful, handmade gift for Mom. In this article, you’ll also get tips for working with mirrored acrylic, as it can be a bit tricky.
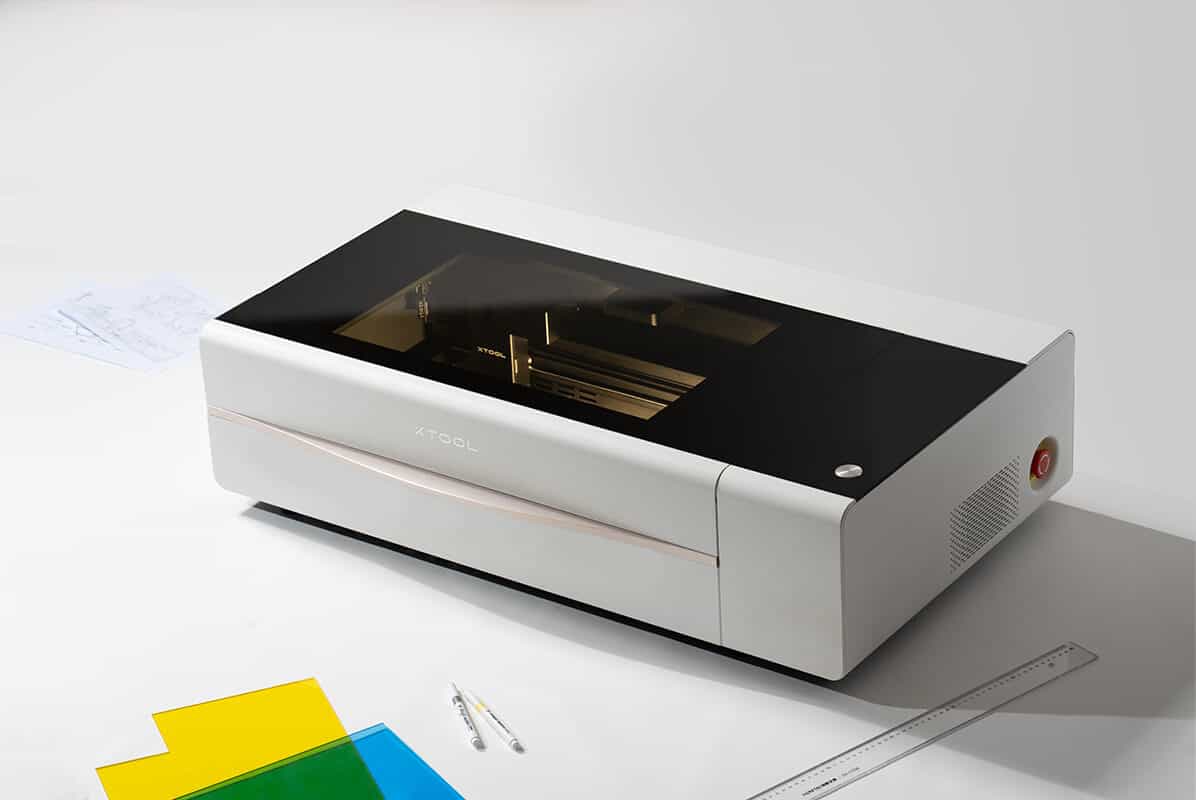
This easy laser project idea is made with the xTool P2 CO2 laser, however, any CO2 laser will work for this, including Glowforge, OmTech, Aeon, and more. Be sure to watch the mirror acrylic video tutorial for even more tips!

RELATED READING: xTool P2 Review and Projects
As an Amazon Associate, I could earn from qualifying purchases. There could be affiliate links within this article.
What You'll Find On This Page
Mother’s Day Laser Gift Idea
Here at Ruffles and Rain Boots, I’ve been obsessed with the lasers I’ve acquired within the past year. From diodes to CO2, I am flattening the learning curve as fast as possible because they are so fun to work with.
Today, I got in a shipment of mirror acrylic in a few colors and decided to make a sketch I’d drawn in Procreate. Instead of working it up in Adobe Illustrator (the software I use to create all SVGs and laser cut files), I tried out the new node management within XCS. I’ll be using my xTool P2 CO2 laser for this project (diode lasers cannot cut mirror acrylic).
XCS is the free, no subscription-required software provided by xTool to run their lasers. Let me tell you: this software’s major overhaul for xTool’s XCS 2.0 has give them a big leg up on other offerings! Let’s get started with our mirror acrylic laser DIY so I can show you what it can do.
If you wan to make this project but can’t get started right now, bookmark this page. A save to a laser crafts pin board or a share to Facebook will make this easy to find when you’re ready to begin.

Beginner Laser Project: Mirror Acrylic Magnet Video Tutorial
For those of us who are visual learners, I’ve recorded a thorough, step-by-step for this project. Watch the mirror acrylic magnet video tutorial and be sure to subscribe while you’re there!

RELATED READING: How to Make Laser Cut Acrylic Cake Toppers
Mirror Acrylic Tips
If you’ve never worked with mirror acrylic before, I need to warn you about a few things. And, of course, share some tips to successfully prepare, cut, and clean it.
- Mirror acrylic is an extruded product and it will smell more than cast acrylic.
- I recommend a robust exhaust system (like this inline fan) when working with all acrylic. A respirator is also a good idea.
- Mirror acrylic scratches easily. Leave the masking on until you’re ready to work with it.
- When you remove the plastic masking, add paper masking. You can cover the entire piece or just a portion.
- Mirror acrylic is placed faced down in the machine, meaning we will be working from the BACK.
- All designs and text should be reflected horizontally (mirrored, if you’re familiar with cutting machines).
- Not all adhesives work with mirrored acrylic. I use 3M tape because it’s tried and tested.

How to Design in XCS for A Mirror Acrylic Craft
Below is a detailed summary of the process. If you prefer a printed version, scroll to the bottom of the page. Download the XCS file with the completed butterfly project for Mother’s Day.
In the video, I show each step I take in exploring the “edit node” management tool within the new XCS 2.0 software provided by xTool. I inserted a butterfly vector from their library, edited it to my liking and duplicated it. I removed all of the cutouts on one side, allowing plenty of room to add my engraving saying of, “Your loving way helped me find my own.” For more details on the design process, please watch the full video tutorial.

Next, I sized the butterfly and saying to about 3.5 inches wide and reflected the design horizontally (flipped it / mirrored the design). This is because we’ll be working on the back of the mirror acrylic.
How to Prepare Mirror Acrylic for the Laser
Mirror acrylic is cut and engraved best when done from the back side, however, we need to protect the front. Using scissors, I carefully removed the plastic masking ONLY in the area I needed (about 4 inches worth) and covered that portion with paper masking tape.
Once I had prepared the acrylic, I placed it face down on the honeycomb (you can use slats) and secured it with pins.

How to Cut and Engrave Mirror Acrylic
Next, set the distance measurement. This has to be done prior to placing the design within the camera’s workspace or the design can “shift.”
Now that the measurements are in, we can insert the settings. I tested a few colors of mirror acrylic, so I knew where my laser performed best. I’ll put the settings I used below, however, I strongly encourage you to run a materials test for YOUR laser (they burn differently, as do materials from different suppliers).
Finally, it’s time for the laser to engrave and cut our design. The full process time for the xTool P2 at my settings was just over 6 minutes for this project at 3.5 inches.
Once the machine was done, I carefully used the pick tool to remove the butterfly.

Final Assembly and Cleaning
I applied the 3M tape manually to the back of the magnet and trimmed the outer edge with scissors. After applying it to the back of the magnet, I clamped the item in place using cardboard to protect the design from the clamps.
After the adhesive set, I removed the rest of the masking from the front and used the Novus acrylic cleaner to polish the butterfly magnet and it is ready for Mother’s Day.
- Settings Engrave: 15 power, 150 speed, 1 pass, 200 LPC
- Settings Cut: 50 power, 5 speed*, and 1 pass (note: you might get a warning, however a low and slow approach yields smooth edges with no line warping)
Notes on Settings: Please run material tests for your laser and material. I could very likely have increased the engraving speed, however, sometimes it makes things fuzzy and I needed crisp, clean edges because the lettering was close together. Adjust for your preferences.
More Laser Craft Ideas You Might Enjoy
- xTool Screen Printer – Join me as I share projects and my full review of the new screen printer tool.
- Highland Cow Door Sign – Use the free SVG to make the cutest door hanger.
- Christmas Laser Crafts to Make and Sell – From ornaments to keepsakes, review this list to provide a rounded offering to potential customers this holiday season.
Please Save or Share This Mother’s Day Laser Craft
Your shares are how this site grows and I am sincerely grateful. Please save this to laser projects pin board or share it with a crafty group on Facebook.

Mirror Acrylic Magnet

Learn how to make a mirror acrylic magnet using any CO2 laser like Glowforge, xTool, OmTech, Aeon, and more. This beginner laser project idea is a good way to try mirrored acrylic and learn the tips and tricks of using this finicky material.
Materials
Tools
- xTool P2 or Other CO2 laser
- Honeycomb or Slats
- Inline Fan
- Pick Tool
- Scissors
- Clamp and Protection (I used cut cardboard pieces)
Instructions
- Create the design in or import one into the vector software of your choice. For XCS, please see the video for a detailed step-by-step.
- Remove the plastic masking from the mirrored acrylic and apply paper masking. Ensure no bubbles or creases.
- Place the material on the honeycomb or slats and pin down to secure.
- Measure the distance of the material to the laser head and move the design to the desired area using the camera(s).
- Size the design and enter both engrave and cut settings (mine are below).
- Process the engrave and cut functions.
- Remove the mirrored acrylic magnet, turn over, and use 3M adhesive on the back of a small magnet. Clamp to secure per the adhesive instructions.
- Remove the masking, clean up the smudges, and the Mother's Day magnet is ready for gifting.
Notes
Please run a material test for your laser, as the below are the optimal settings for this project on mine.
- Engrave: 15, 150, 1, 200 (power, speed, pass, LPC)
- Cut: 50, 5, 1 (power, speed, pass)
Meet the Creator
Hi there, I’m Sarah Nenni-Daher. I’m a crafty gal and always have at least 14 projects going at once. I am a crafter, designer, DIYer, and pattern maker. I share my creations here and in the Ruffles and Rain Boots® Shop.
Here at Ruffles and Rain Boots®, you’ll find DIY gnomes, crafts, gifts, cupcakes, laser crafts, and so much more. I love sharing video tutorials over on YouTube and chatting with other crafters in my Facebook groups. We’d love to have you!