
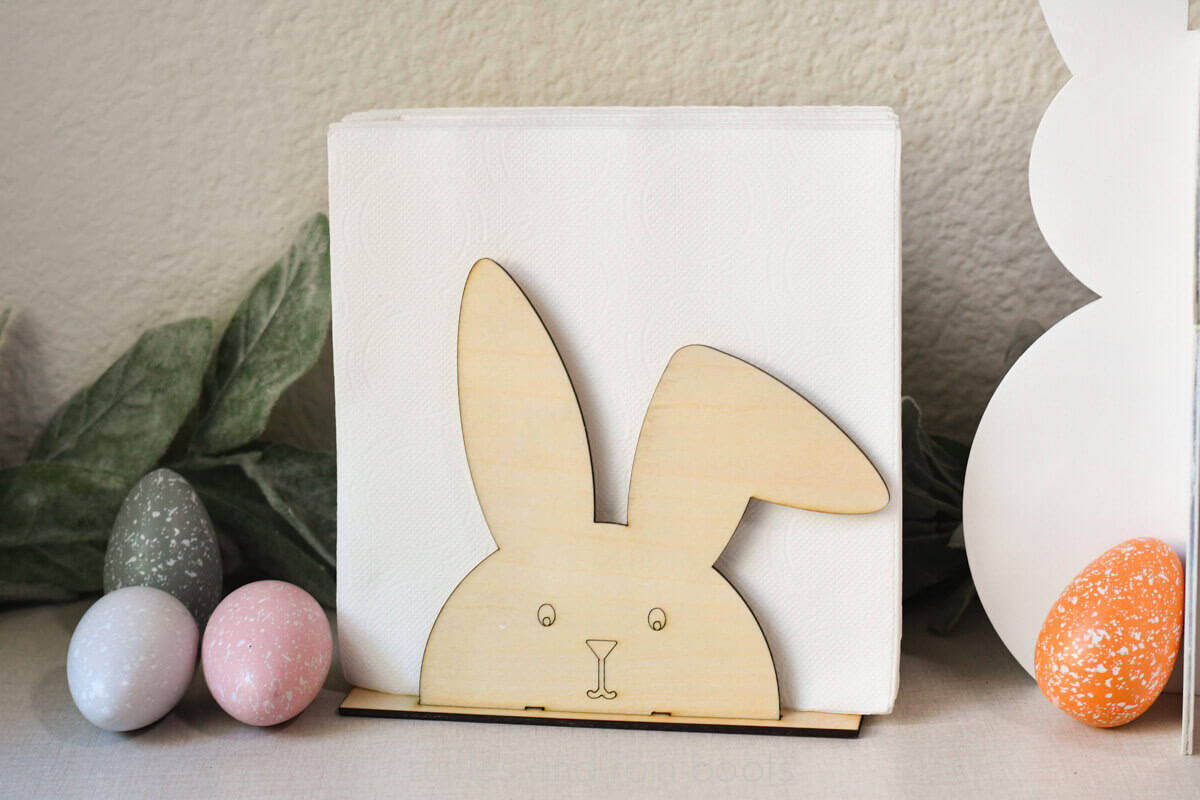
Free Laser Cut Bunny Napkin Holder
This free laser cut bunny napkin holder template bundle will be an adorable holiday addition and a fun laser project. You’ll also get to learn the easiest way to ALWAYS know your kerf!
RELATED READING: Easter Laser Craft Ideas to Make and Sell
What You'll Find On This Page
Free Easter Laser Templates
Here at Ruffles and Rain Boots, I’ve been answering a lot of questions about kerf. Because kerf will depend on your laser, your wattage, your settings, your material, AND even the direction of your cuts and fits, I cannot calculate it for you but I can teach you how.
And it only takes a one-inch square to do so! This free Easter laser template is a cute way to practice, so let’s get started.
RELATED READING: LOKLiK iEngrave Review – Well-Priced and Fun to Use
As an Amazon Associate, I could earn from qualifying purchases. There could be affiliate links within this article.
Materials You Will Need
While you can use this same method for determining kerf with any material, here’s what I suggest:
- free bunny napkin holder laser templates (free in my shop; free on Atomm)
- 3mm basswood plywood
- a cloth and/or sand paper to clean up soot
- an air assist for your laser (I’m using the xTool S1 and the Smart Air Assist)
- digital calipers – my one tool suggestion for ALL laser owners
Easter Bunny Napkin Holder Laser Video Tutorial
If you’re a visual learner like I am, watch this quick laser cut bunny napkin holder video tutorial. While you’re there, be sure to subscribe to the channel – we have a lot of fun!

How to Make a Laser Cut Napkin Holder
Because kerf will depend on your laser, your wattage, your settings, your material, AND even the direction of your cuts and fits, I cannot calculate it for you. I will teach you how not to rely on fit tests for all of your materials.
Load basswood ply into the laser and ensure it is secure and level.
Open the file and ensure the cut squares are 25.4 mm or 1 inch so that sizing is correct.
NOTE: If you want to change the size of anything, change ALL items the same amount.
Open the file in your laser software. Auto-measure and mark the area.
Set parameters. Mine were cut (red) 90, 13, 1 and score (paper) 50, 100, 1. To do this quickly, select the red layer and set cut parameters for all red objects; select the purple layer and set score parameters for all of those objects.
Turn off the output for everything in the file EXCEPT the cut 1 square (score and cut) and the base.
NOTE: if you are new, it’s best to turn the base so the length is on the HORIZONTAL so you only have to measure one set of kerf calculations (sometimes they are different when measuring X>X vs Y>Y).
Process (score and cut) the square 1 AND the base. Remove, measure with calipers on the X>X (from left to right), and make note of the width.
Calculate kerf: 25.4 (the one inch marker you cut) – your measurement = X. You will then take X and divide it by 2. That is your kerf offset. So mine was 25.4 – 25.14 = 0.26. I then take 0.26 / 2 = 0.13.
Select the cut bunny layers (red) and set a kerf offset to your calculated amount. Remember, a positive integer is entered here, not a negative.
Turn off all layers except the score and cut for the bunny napkin holder walls. Process.
Use the cloth to clean up all pieces and, if needed, sand all faces down (front and back of pieces, not the sides or joins).
Gently push the walls into the base with the faces outward. Fill with table napkins.
More Laser Crafts You Might Like
- Free Easter SVG Designs – If you love making engravings or know your way around design software, create any laser project using these free Easter SVG files!
- Laser Cut Strawberry Bag Tag Tutorial and File – The kids love these (and the parents buy them) with or without names added.
- Easter Laser Craft Ideas to Make and Sell – If you’re just getting started, here are some laser Easter best sellers and fun projects to make for yourself and others.
Please Save or Share This Easter Laser Project Idea
Your shares are how this site grows and I am sincerely grateful. Please save this to a DIY laser projects pin board or share it with a laser group on social media.

Laser Cut Bunny Napkin Holder

Learn how to calculate kerf with a fun Easter laser project idea like this cute bunny napkin holder. This is great for the kid's holiday table! YouTube tutorial included.
Materials
- 3mm Basswood Plywood
- Cloth and/or Sand Paper (for cleaning)
Instructions
Because kerf will depend on your laser, your wattage, your settings, your material, AND even the direction of your cuts and fits, I cannot calculate it for you but I can teach you how.
Load basswood ply into the laser and ensure it is secure and level.
Open the file and ensure the cut squares are 25.4 mm or 1 inch so that sizing is correct.
NOTE: If you want to change the size of anything, please make sure to change ALL items the same amount.
Open the file in your laser software. Auto-measure and mark the area.
Set parameters. Mine were cut (red) 90, 13, 1 and score (purple) 50, 100, 1. To do this quickly, select the red layer and set cut parameters for all red objects; select the purple layer and set score parameters for all of those objects.
Turn off the output for everything in the file EXCEPT the cut 1 square (score and cut) and the base.
NOTE: if you are new, it’s best to turn the base so the length is on the HORIZONTAL so you only have to measure one set of kerf calculations (sometimes they are different when measuring X>X vs Y>Y).
Process (score and cut) the square 1 AND the base. Remove, measure with calipers on the X>X (from left to right), and make note of the width.
Calculate kerf: 25.4 (the one inch marker you cut) - your measurement = X. You will then take X and divide it by 2. That is your kerf offset. So mine was 25.4 - 25.14 = 0.26. I then take 0.26 / 2 = 0.13.13.
Select the cut bunny layers (red) and set a kerf offset to your calculated amount. Remember, a positive integer is entered here, not a negative.
Turn off all layers except the score and cut for the bunny napkin holder walls. Process.
Use the cloth to clean up all pieces and, if needed, sand all faces down (front and back of pieces, not the sides or joins).
Gently push the walls into the base with the faces outward. Fill with table napkins.
Notes
Notes for Sellers:
1. If shipping, this can be packed flat and assembled by the customer to save on postage.
2. The pieces can be shipped in a 6,5 x 10 bubble mailer with bracing.
Meet the Creator
Hi there, I’m Sarah Nenni-Daher. I’m a crafty gal and always have at least 14 projects going at once. I am a crafter, designer, DIYer, and pattern maker. I share my creations here and in the Ruffles and Rain Boots® Shop.
Here at Ruffles and Rain Boots®, you’ll find DIY gnomes, crafts, gifts, cupcakes, laser crafts, and so much more. I love sharing video tutorials over on YouTube and chatting with other crafters in my Facebook groups. We’d love to have you!