
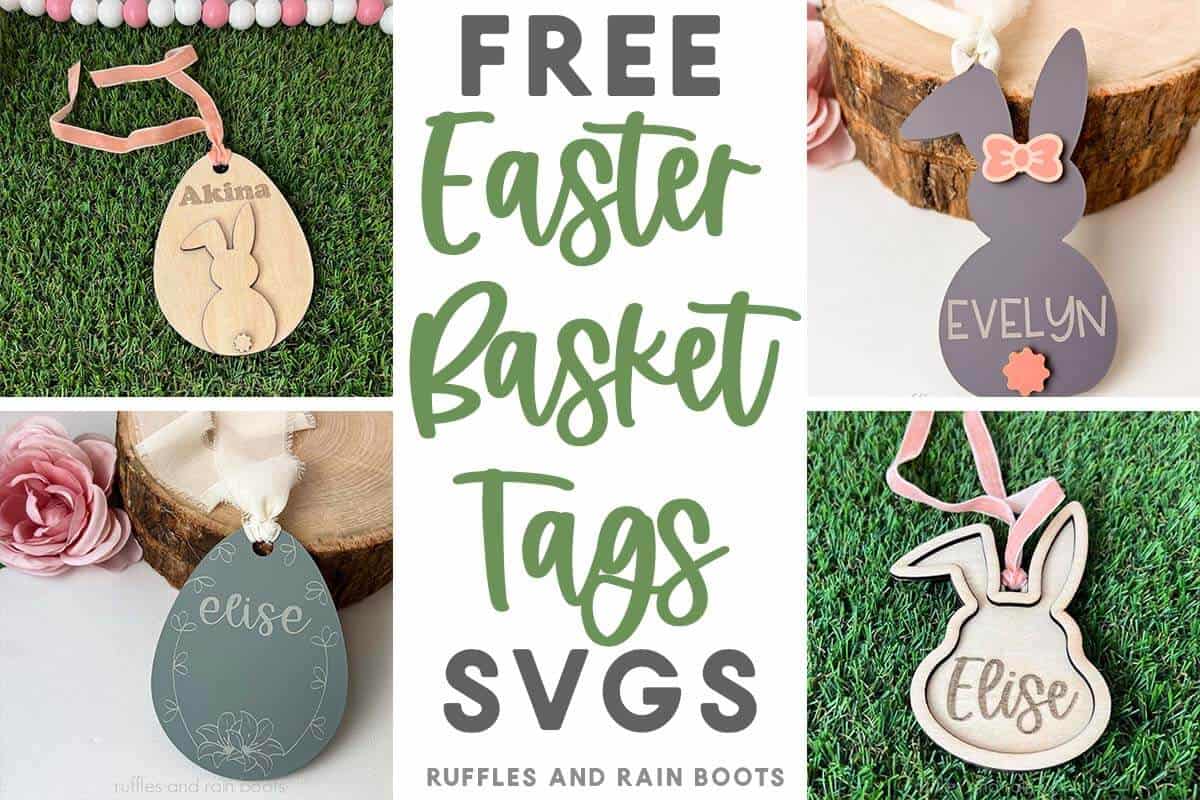
Laser Cut Easter Basket Tags SVG Free
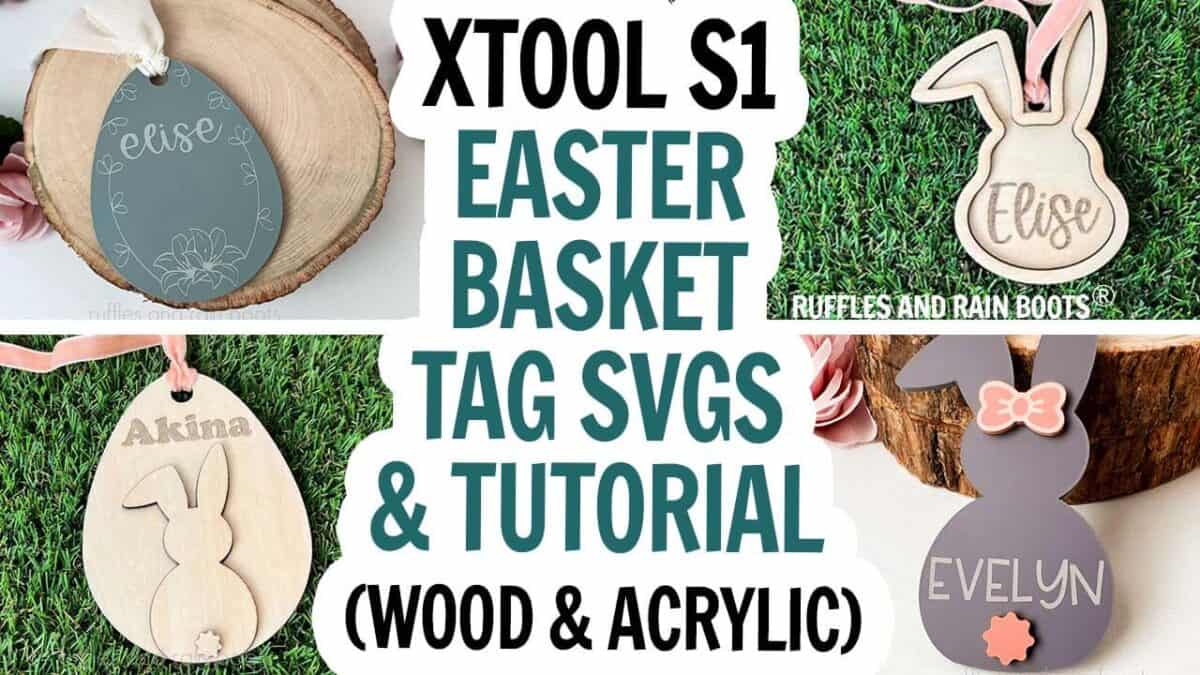
Create these wood and acrylic Easter basket tags in no time with these done for you designs and an easy step by step video tutorial. Learn how to quickly put these custom Easter ornaments together without any glue!
Today, I will be using a laser but these basket name plates for Easter are also perfect to use with a cutting machine to cut from Balsa, kraft paper, or paper. Download the basket tags and let’s get started.
RELATED READING: The xTool S1 Pin-Point Positioning™ is Insanely Accurate!
What You'll Find On This Page
Easter Acrylic Laser Craft Idea
Here at Ruffles and Rain Boots, we’re preparing for the upcoming Easter holiday. I’m decorating the mantle, adding little touches of Easter decor into the Spring pieces, and I couldn’t help myself in making these custom basket tags with acrylic this morning.
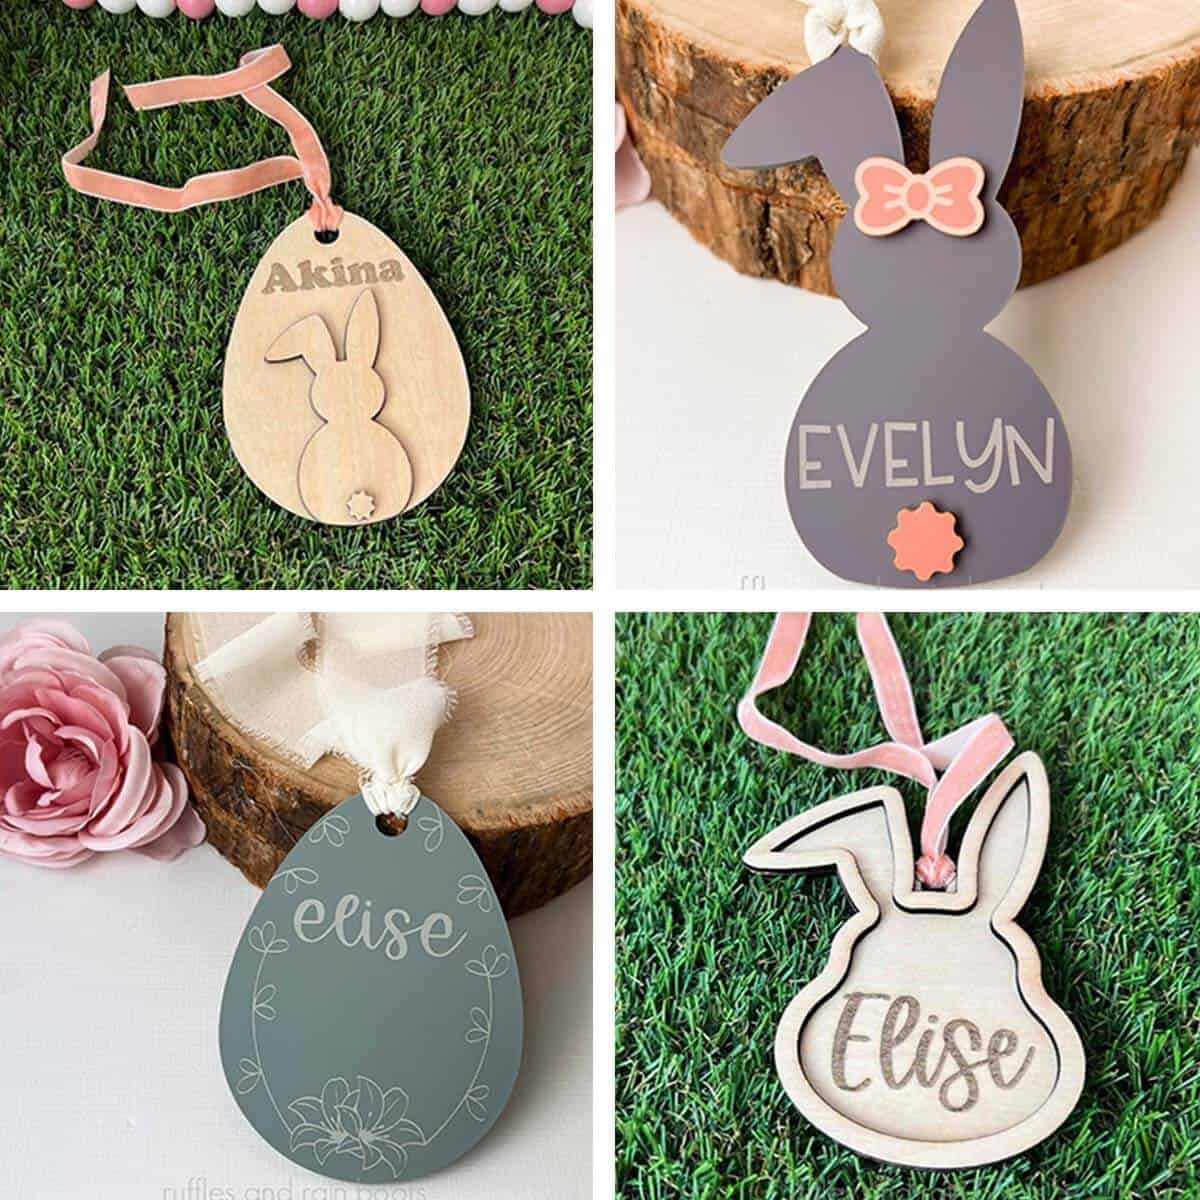
Each of my nieces and my daughter will have a little something special. These acrylic and wood Easter basket tags were quick to create and and assemble with a few tips I’ll share below.
Before we get too far into this, if you don’t have time to make these right now or download the files, save or share this page. Pop it onto a pin board or share it to Facebook and it will be easy to find when you’re ready to begin.

As an Amazon Associate, I could earn from qualifying purchases. There could be affiliate links within this article.
Still Deciding on a Laser?
I own three types of lasers right now: CO2, diode, and fiber (infrared). Below are summaries of each and suggestions on materials. If you have questions, please ask! Not all lasers are right for those looking to start a business or side hustle. If that’s you, choose the P2 or the S1.
- xTool P Series – A fully-enclosed CO2 laser, perfect for cutting acrylic and wood. This is an unrestricted laser when it comes to acrylic, wood, slate, etc. and it’s my top choice.
- xTool S1 – The option I have is a 40 watt diode laser which cuts some acrylic, wood and does amazing engravings. This laser has some acrylic restrictions (no clear, mirror, translucent; primarily opaque) but powers through wood.
- xTool M1 ULTRA – The updated version of the ground-breaking xTool M1 shows up to the party with a printer (can print on wood), a laser, a set of blades, foil, and embossing, as well as a pen tool. Great for crafters!
- xTool F2 – This dual laser is portable! It’s the best-selling, landmark setting laser that contains a diode and an infrared laser. It’s perfect to take to shows, markets, and events.
- WeCreat Vista – This is a fun tool to have if you’d like to work primarily with tumblers or wood. The patented FlipLaser design turns the laser head 90 degrees, allowing you a great tumbler engraving experience.
What Type of Laser Cuts Acrylic?
In my craft room, I now have two diode lasers and one CO2 laser (each listed above). The xTool M1 10W (the perfect laser for beginner crafters) and the xTool S1 40W (or 20W) both will cut some acrylic. Primarily, dark, opaque colors work best but I have shown how to cut white acrylic with a diode laser.
Although I now have the xTool P2 (a CO2 laser which has no limitations with acrylic colors), I used the S1 40w diode to cut these out and they’re gorgeous. But there is a trick…
Knowing what colors of acrylic your diode laser will cut cleanly is key. I had already run tests to find out the ideal settings for my S1 40W and I urge you to do the same, even though I’ll put my settings below.
Have you joined the Laser Group on Facebook yet? It’s a welcoming, friendly, and open space to get ideas, ask questions, and learn from our peers.

RELATED READING: How to Laser Engrave Slate Coasters (Full, Step by Step Tutorial)
DIY Wood Easter Basket Tags
As you can see, I also cut these designs from basswood plywood, an inexpensive wood used a LOT in my craft room. You can paint this wood easily (seal first for the cleanest lines) or leave it natural.
The stacked wooden bunny basket tag is my favorite because it is too cute with my niece’s name and that little tail. And the best part is that most lasers cut through wood like butter even at higher speeds, so if you have a lot of them to do, wood is a great option.

RELATED READING: Dollar Tree Twine Wrapped Easter Eggs
Materials You Will Need for These Easter Basket Ornaments
Below are the materials I used, but check your stash. Also, revisit your acrylic test grids to see what looks good with scoring and engraving, as those features have been added so you don’t have to worry about the details.
Also, consider elevating the acrylic. In the video, I show you how I prepare so that it helps to reduce any flashback.
- Easter Tag SVG Laser Designs (free)
- xTool S1 40 W diode laser (optional: honeycomb panel)
- Automatic Air Assist (or other air assist)
- 3mm Basswood Plywood (xTool 12×12)
- 1/8th Acrylic (Matte Amethyst, Matte Coral, Matte Sage Green)*
- Optional: 3M adhesive backing
- Optional: paper masking (for the wood)
- Clear Spray Sealant (for wood only)
- 1/4 inch ribbons or 1 inch chiffon ribbon
- Super Glue Pen and Wood Glue (and small paintbrush)
*Note: I purchased this acrylic from Custom Made Better (CMB) and chose to leave the masking paper on, however, it cuts well with it removed, too.
How to Create Basket Tags with a Laser
If you’re a visual learner, you can watch these come together in the Easter basket tags laser tutorial here. If you’re a beginner, I recommend it to see how to create and manipulate the software. Be sure to subscribe – we have a lot of fun over there.
These two first steps are optional, but recommend for ease of use and a clean finished product. If you have your settings dialed in for wood or don’t mind sanding, skip the paper masking. If you’re using glue, skip to step three and do not apply the 3M.
Prepare and Cut Acrylic and Wood
For the plywood, add the paper masking with a brayer to the front and back for only the large pieces (the eggs) or what you will see the back of when assembled. Add it to just the back for smaller pieces you’ll be gluing.
If desired, add 3M backing to a portion of the acrylic to make everything quick to assemble. Note, however, you do NOT need 3M on the large pieces, only for the smaller ones.
Upload one or all Easter tag SVG files into XCS. Select all pieces and size to desired height (mine are all about 4.5 inches tall).
To add names, select Text from the left menu, type in the name, and choose a font. If using a connecting font, you can select “Weld” from the Text pop out menu. Be sure to set the names to engrave.

Set the outer pieces (anything in red) to cut. Select anything that is purple to score. Finally, select everything in blue (or the names to be engraved) to engrave. These are just suggestions, however, feel free to adjust.
For cut, score, and engrave settings, you can use my settings below as a starting point for testing. Always test materials in the laser you are using, as each material and laser is different.
Per the video tutorial, there might be pieces that have score or engrave in addition to cut processing. Please make sure all pieces are aligned before sending any job to the laser.

Place the wood onto the honeycomb and hold down with pins. Process the engrave, score, and cut functions.
NOTE: please ensure the air assist is on a low settings for engraving and is on mid to high for cutting to ensure the best results.
Repeat the process above for the wood tags, if using.
Clean and Assemble
I wiped down the wood pieces with a microfiber cloth, sprayed them with sealant, and let them dry. Because I did not use the 3M on the wood, they were assembled using a combination of wood glue and super glue. I always use these super glue pens to keep assembly clean and tidy.

For the acrylic, I removed the paper masking. Then, I removed any 3M backing from the small pieces (bow, tail) and pressed them onto the engraved side of the acrylic. For the small pieces, I did clamp them using a protective piece of cardboard.

My final step was to add ribbon tie-ons and this beginner laser project idea for Easter was done!
xTool S1 40 Watt Settings
xTool S1 Basswood Plywood Settings:
- cut – 100/4/1
- score – 40/150/1
- engrave 30/200/200/1 AND 35/200/200/1 (I used 50 power to achieve a darker result)
xTool S1 Matte Amethyst and Sage Settings:
- cut – 100/4/1
- engrave 50/350/200/1 (you might like a different shade for the engraving)
You Might Also Like These Laser Craft DIY Projects
- Highland Cow Door Sign SVG and Laser Tutorial – This popular project is a fun way to add laser and faux fur to create a mixed media sign everyone loves!
- How to Make Layered Wood Stocking Tags with a Laser – In this tutorial, I share everything from creating the shapes, customizing the text, and even staining and painting.
- Acrylic and Wood Overlay Ornaments – Although you cannot cut it, you absolutely can use clear acrylic to create elegant, timeless ornaments with your laser.
- Learn How To Make Acrylic Cake Toppers (or Wood) – This step by step tutorial tells you everything you need to know for single or multi-layered toppers.
Please Save or Share This xTool Project Idea
Your shares are how this site grows and I am sincerely grateful. Please save this to a DIY laser crafts pin board or share it with a crafty group on Facebook.

Easter Basket Tags

This acrylic laser craft idea for Easter is a perfect way to show others you care. Make wood and acrylic Easter basket tags using these adorable SVG files and the step by step video tutorial. Learn how to assemble these ornaments without glue and how to use glue without spreading. This fun Easter laser project idea is perfect for your small business shop, too, without customization - add Happy Easter and the year for a fun keepsake that will sell.
Materials
- Easter Tag SVG Free Laser Designs
- 3mm Basswood Plywood
- 1/8th Acrylic (Matte Amethyst, Matte Coral, Matte Sage Green)
- Optional: 3M adhesive backing
- Optional: paper masking (for the wood)
- Clear Spray Sealant (for wood only)
- 1/4 inch ribbons or 1 inch chiffon ribbon
- Super Glue Pen and Wood Glue (and small paintbrush)
Tools
- xTool S1 40 W diode laser (optional: honeycomb panel)
- Automatic Air Assist (or other air assist)
- Pick or Gorilla Tape (to remove masking)
Instructions
Prepare and Cut Acrylic and Wood
- For the plywood, add the paper masking with a brayer to the front and back for large pieces (the eggs) and just on the back for smaller pieces. Determine the size of the finished egg and guesstimate or add the masking to the entire wood board. If desired, add 3M backing to a portion of the acrylic to make everything quick to assemble. Note, however, you do NOT need 3M on the large pieces, only for the smaller ones.
- Upload one or all Easter tag SVG files into XCS. Select all pieces and size to desired height (mine are all about 4.5 inches tall). To add names, select Text from the left menu, type in the name, and choose a font. If using a connecting font, you can select “Weld” from the Text pop out menu.
- Set the outer pieces (anything in red) to cut. Select anything that is purple to score. Finally, select everything in blue (or the names to be engraved) to engrave. These are just suggestions, however, feel free to adjust.
- For cut, score, and engrave settings, you can use my settings below as a starting point for testing. Always test materials in the laser you are using, as each material and laser is different.
- Per the video tutorial, there might be pieces that have score or engrave in addition to cut processing. Please make sure all pieces are aligned before sending any job to the laser.
- Place the wood onto the honeycomb and hold down with pins. Process the engrave, score, and cut functions. NOTE: please ensure the air assist is on a low settings for engraving and is on mid to high for cutting to ensure the best results.
- Repeat the process above for the wood tags, if using.
Clean and Assemble Easter Basket Tags
- I wiped down the wood pieces with a microfiber cloth, sprayed them with sealant, and let them dry. Because I did not use the 3M on the wood, they were assembled using a combination of wood glue and super glue. I always use these super glue pens to keep assembly clean and tidy.
- For the acrylic, I removed the paper masking. Then, I removed any 3M backing from the small pieces (bow, tail) and pressed them onto the engraved side of the acrylic. For the small pieces, I did clamp them using a protective piece of cardboard.
- The final step is to add ribbon tie-ons.
Notes
xTool S1 Basswood Plywood Settings:
xTool S1 Matte Amethyst and Sage Settings:
Meet the Creator
Hi there, I’m Sarah Nenni-Daher. I’m a crafty gal and always have at least 14 projects going at once. I am a crafter, designer, DIYer, and pattern maker. I share my creations here and in the Ruffles and Rain Boots® Shop.
Here at Ruffles and Rain Boots®, you’ll find DIY gnomes, crafts, gifts, cupcakes, laser crafts, and so much more. I love sharing video tutorials over on YouTube and chatting with other crafters in my Facebook groups. We’d love to have you!