
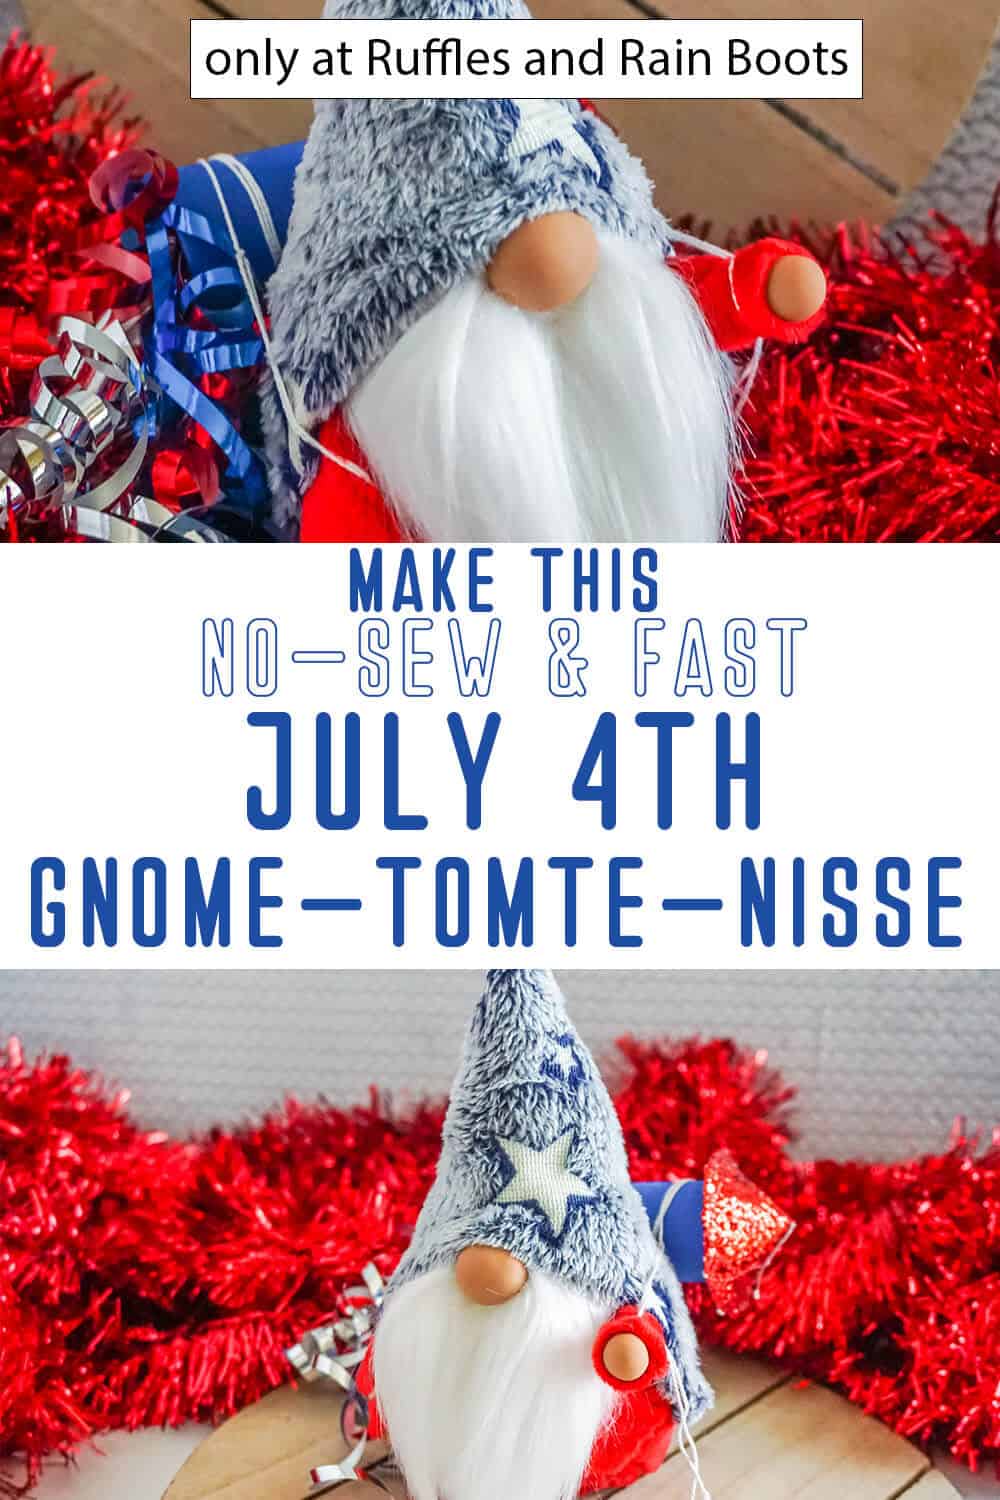
July 4th Gnome Pattern – No-Sew Gnome You Can Make Fast!
Nothing is cuter than a squishy, fluffy tomte and this July 4th gnome pattern is the no-sew gnome of your patriotic, squishy dreams!

July 4th Gnome Pattern
Here at Ruffles and Rain Boots, we love the fluff and pomp and stately squish of minky or fleece combined with a big ‘ole nose and faux fur. And this patriotic gnome is all that and a bag of fireworks – or just one firecracker, he’s a little guy after all.
RELATED READING: NO-SEW BEACH GNOME PATTERN
If you’re anything like me, you can’t wait to get this gnome on your entryway table. So, grab a hot glue gun to make your no-sew gnome and let’s get started.

No Time to Make This Now? Pin it for Later
You’re busy, I get it. Pin this to your favorite easy sewing patterns board on Pinterest and it’ll be here when you’re ready.
As an Amazon Associate, I can earn from qualifying purchases.
Tips to Make this Patriotic Gnome
- Based on my Icelandic Lovey Gnome Pattern here this gnome works up quickly with the most adorable little back bump. There’s more than just the pattern for this one tomte in here, too. I made 4 different gnomes, plus the optional arms, legs/boots and a reversible hat – all in one pattern!
- If you want a cutting machine to cut the fabric for the hat, body, etc., get the gnome pattern AND cut files for Cricut or Silhouette for the pattern. Great news for Gnome Makers batching out making several gnomes at once.
- The thick beard you see is a white, long-pile fur I love to use in my gnomes. If you are new to cutting fur, learn how to cut faux fur in this quick video tutorial.

Get the Gnome Pattern
Click below to add this fun pattern to your cart. So many gnomes can be made with this!

How Do I Make this July 4th Gnome Pattern?
I’m so glad you asked. Below is our written tutorial. Click here to watch the full July 4th gnome tutorial here on YouTube.
July 4th Gnome Pattern - No-Sew Gnome

This July 4th gnome pattern is such a fun way to add that POP of color to your farmhouse decor. Plus, you can make this no-sew gnome and at least three other gnomes with this fun pattern set!
Materials
- 1/8 yard Fleece or Minky Fabric
- Mongolian Faux Fur (or other beard material)
- Poly-Fill
- 1/2 cup Poly-Beads
- 1 or 1 1/2-inch Wood Round (or other nose)
- 1 14-gauge (or similar) Floral Wire
- Icelandic Lovey Gnome Pattern
- Icelandic Lovey Gnome Pattern Cut File Set, optional
- Red Glitter Canvias Sheet
- Blue Craft Foam Sheet
- White Embroidery Thread
- Red, Silver and Blue Curling Ribbon
Tools
- Hot Glue Gun & Glue (note: hot glue sticks for fabric do exist and should be used, if possible)
- Scissors
- Razor Blade or Craft Knife
- Funnel
- Pencil or Fabric Marker, optional
- Wire Cutters
Instructions
- Cut out the body shape and base fabric. Fold the body shape in half, right-side to right-side and hot glue hem the edge, leaving it open where noted. Allow the hot glue to cool completely.
- Hot glue the base shape on the bottom of the body and allow the hot glue to cool completely.
- Turn the body right side out, then, pinch together the darts on the base and hot glue them in place.
- Add about 1/2 cup of poly beads to the bottom of the gnome body. Fill the remaining portion of the body with polyfill. Tuck the wire inside the gnome’s body.
- Close the body with hot glue and allow it to cool completely.

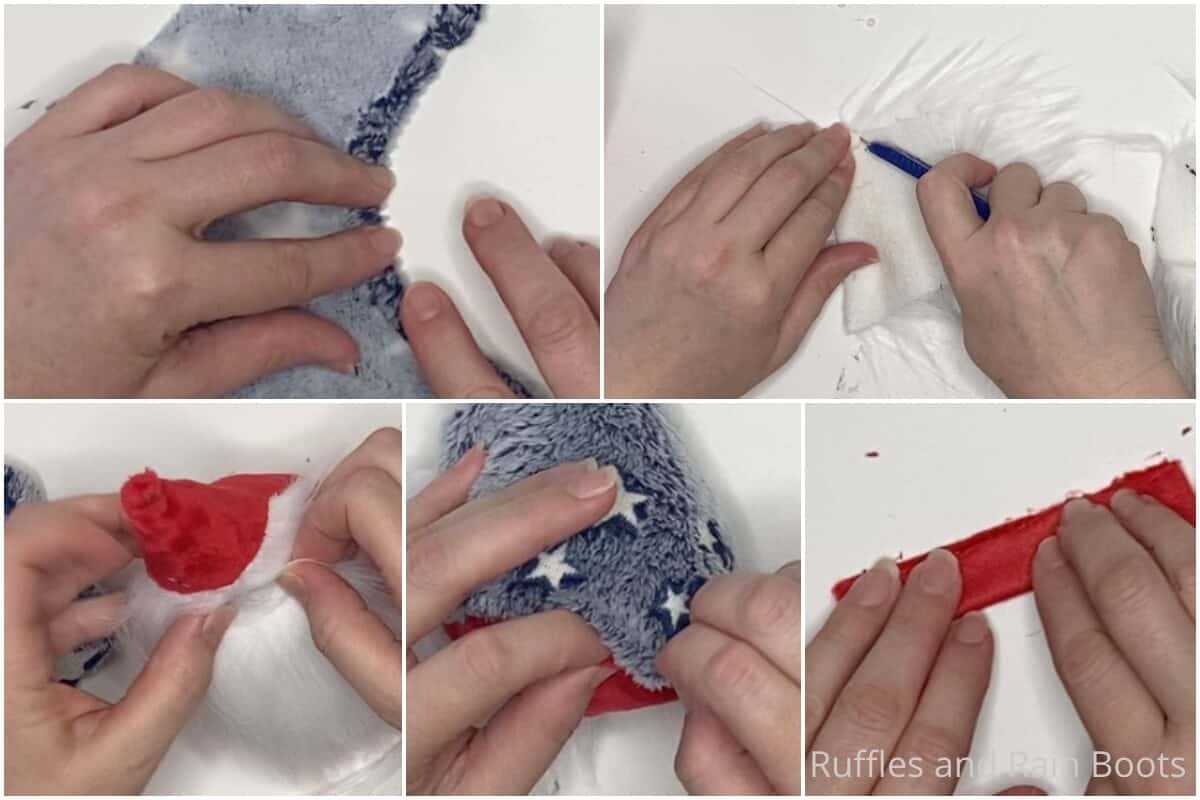
- Cut the faux fur into a beard shape and hot glue the beard to the gnome on the front. Part the faux fur and hot glue the nose in place. Allow the glue to cool completely.
- Cut the hat shape and hot glue hem line the bottom edge of the hat shape.
- Fold the hat shape in half, right-side to right-side. Hot glue the long edge together, then allow the hot glue to cool completely.
- Turn the hat right-side out and tuck the hat down over the body. Hot glue the hat down over the nose, creating a little wrinkle or scrunch to the fabric. Hot glue the hat down in the back, but leave the sides open to add arms. Allow the hot glue to cool completely.
- Cut two arm shapes and fold each in half right-side-to-right-side on the long side. Hot glue hem along the long edge.
- Turn each of the arms right side out and fill with a floral wire and a bit of Poly Fill to give it a little body. Hot glue an arm on each side of the gnome, tucked under the edge of the hat. Allow the hot glue to cool completely.
- Add a small dot of hot glue to one side of the bead or clay ball you’re using for a hand and press it onto the end of the arm. Allow this hot glue to cool completely.
- Make a firecracker for the gnome to carry by cutting a 4-inch by 6-inch rectangle from the blue craft foam. Additionally, cut a 3-inch diameter circle from the red glitter canvas sheet.
- Roll the blue craft foam rectangle into a 1-inch diameter cylinder and hot glue it in place.
- Cut out about 1/4 of the red glitter canvas circle in a triangle, then pull the cut edges together, making a wide cone. Hot glue this in place, then hot glue the cone on top of the cylinder of blue craft foam.
- Curl your red, silver and blue curling ribbon using your fingernail or a pair of scissors, then tuck the ends of the curling ribbon inside the open end of the firecracker and hot glue in place.
- Wrap white embroidery thread around both ends of the firecracker, leaving long ends. Tie the long ends around the arms of your gnome and position the firecracker on his back, as desired. Your gnome is ready to display!


Notes
For more fun no-sew gnome tutorials, visit Ruffles and Rain Boots!
Recommended Products
As an Amazon Associate and member of other affiliate programs, I earn from qualifying purchases.


More Summer Gnome Patterns You Might Like
- No-Sew Bee Gnome – I adore this easy striped bee gnome pattern. It’s totally no-sew and soooo squishy-cute with his DIY wings!
- Rustic Patriotic Gnome – For a more toned-down July 4th gnome, this pattern is all you need. Simple, rustic and too cute, to boot!
- Sunflower Gnome Pattern – Sunflowers are the late-summer, early-fall flower I love and this gnome carries all the best sunflower vibes with a sunflower hat!
Please Save This to Pinterest
Your shares are how this site grows and I am sincerely grateful. Know a friend who’d like this? Please share it on Facebook or save it to your favorite gnome patterns board on Pinterest.

Meet the Creator
Hi there, I’m Sarah Nenni-Daher. I’m a crafty gal and always have at least 14 projects going at once. I am a crafter, designer, DIYer, and pattern maker. I share my creations here and in the Ruffles and Rain Boots® Shop.
Here at Ruffles and Rain Boots®, you’ll find DIY gnomes, crafts, gifts, cupcakes, laser crafts, and so much more. I love sharing video tutorials over on YouTube and chatting with other crafters in my Facebook groups. We’d love to have you!