Watermelon Shattered Glass Tie Dye Shirt with Gnomes
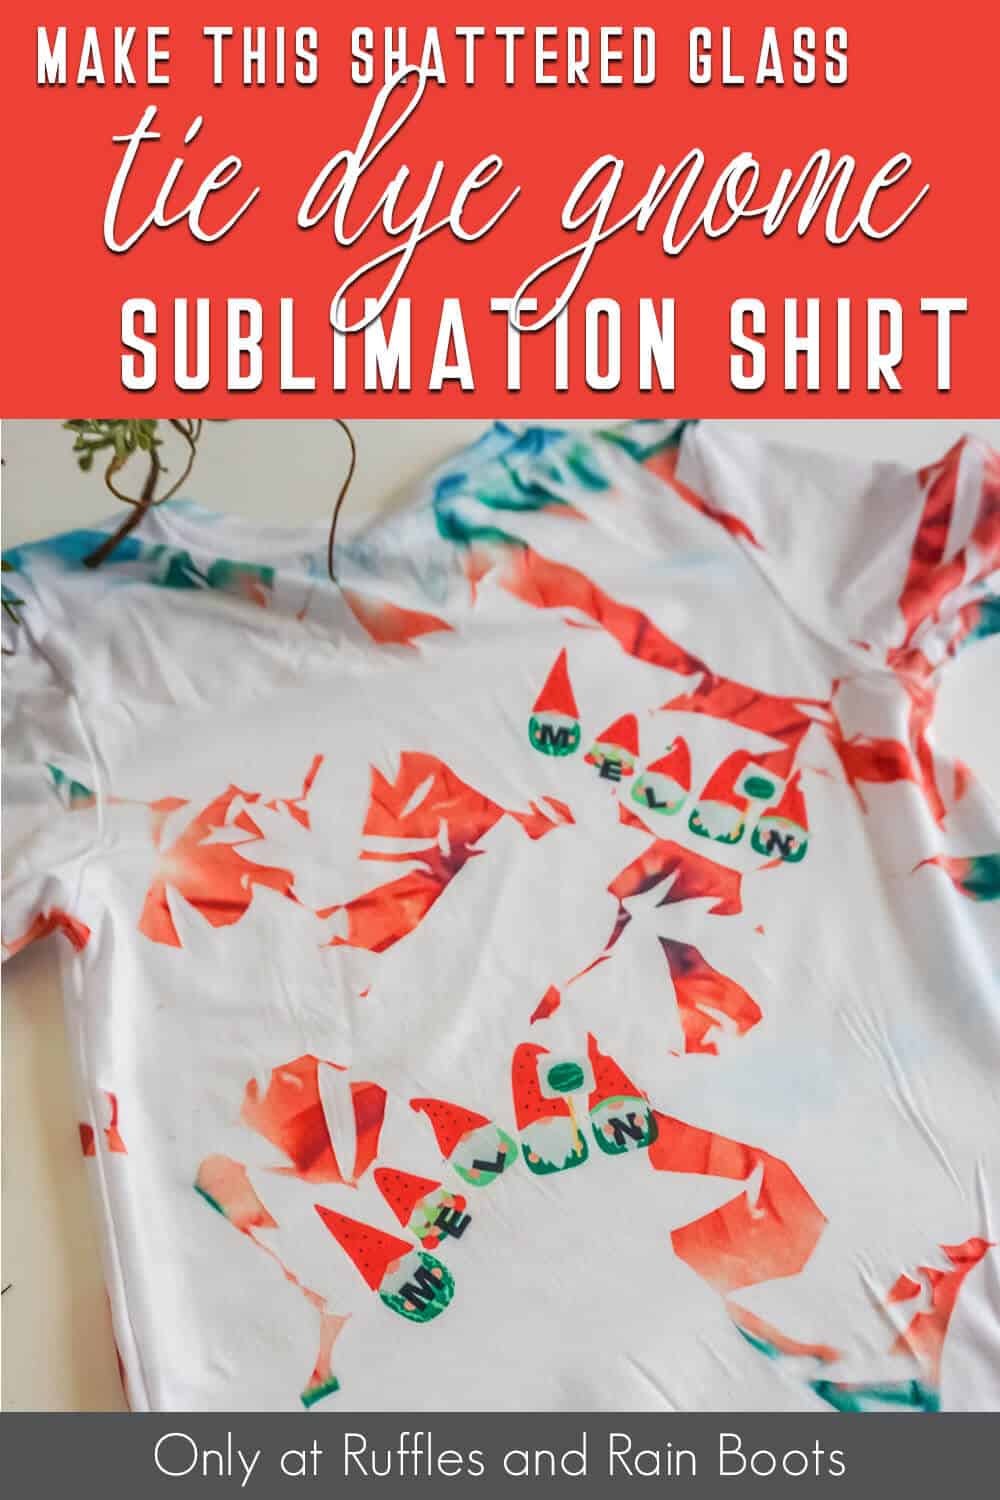
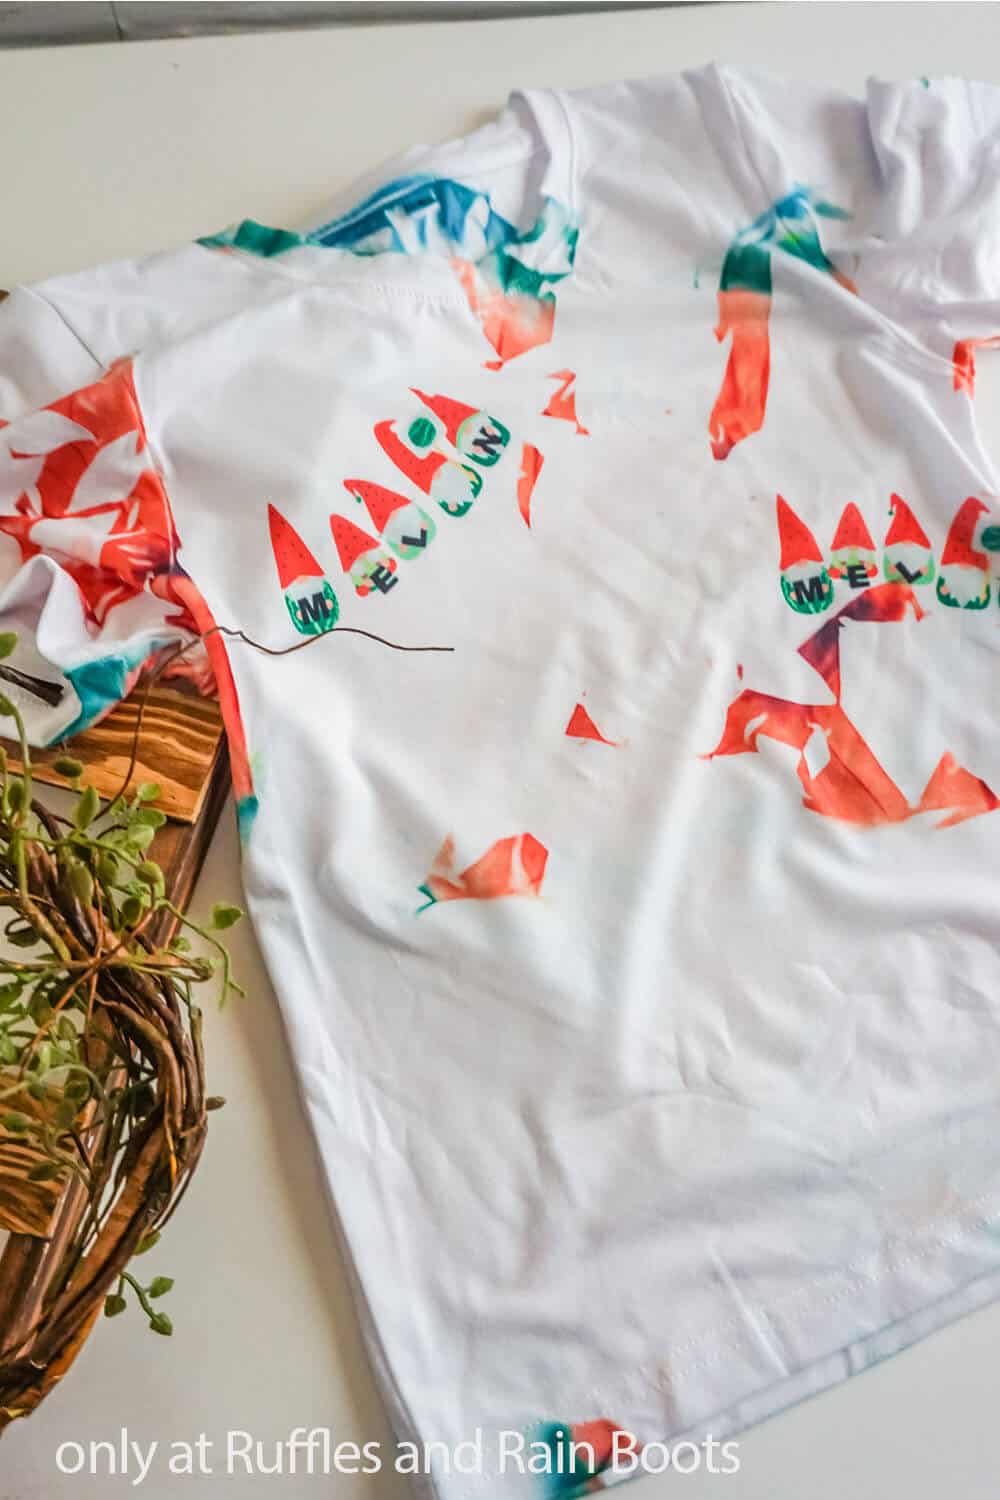
This is such a fast craft, this watermelon shattered glass tie dye shirt with gnomes can be made in 10 minutes flat!
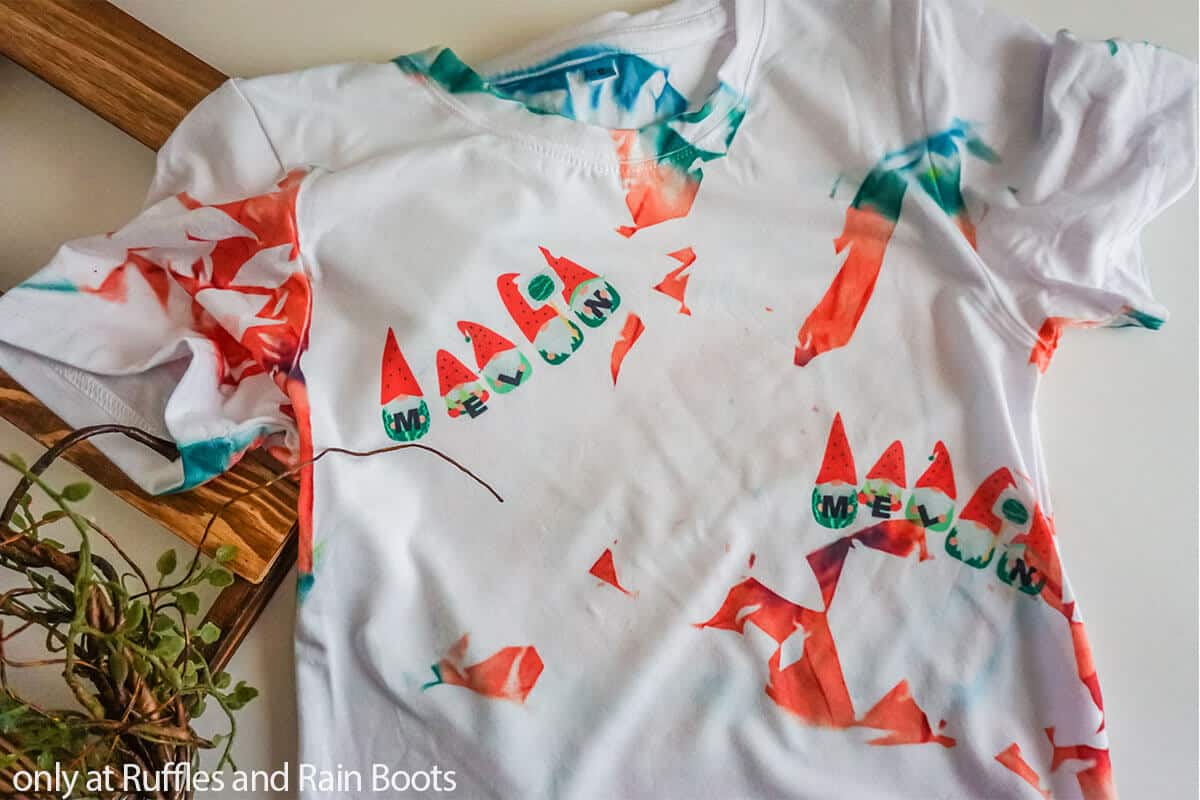
Watermelon Shattered Glass Tie Dye Shirt with Gnomes
Here at Ruffles and Rain Boots, we love how fast sublimation crafts are to make. Seriously, it’s one of the fastest things I’ve made in a long time – and I love it. Plus, the shattered glass tie dye is so fun, I can’t help but love it.
RELATED READING: HEIRLOOM RECIPE CUTTING BOARD SUBLIMATION CRAFT
Plus, it’s featuring a really fun set of watermelon gnomes that look so cute, I want to eat them!
Get Exclusive Free SVGs, Discounts, and More!
I’m giving away free SVG files to help you create for friends, family, and your home. Get all of these (and more) along with the weekly newsletter.
If you’re ready to make a fun shattered glass tie dye shirt with gnomes, let’s get started.
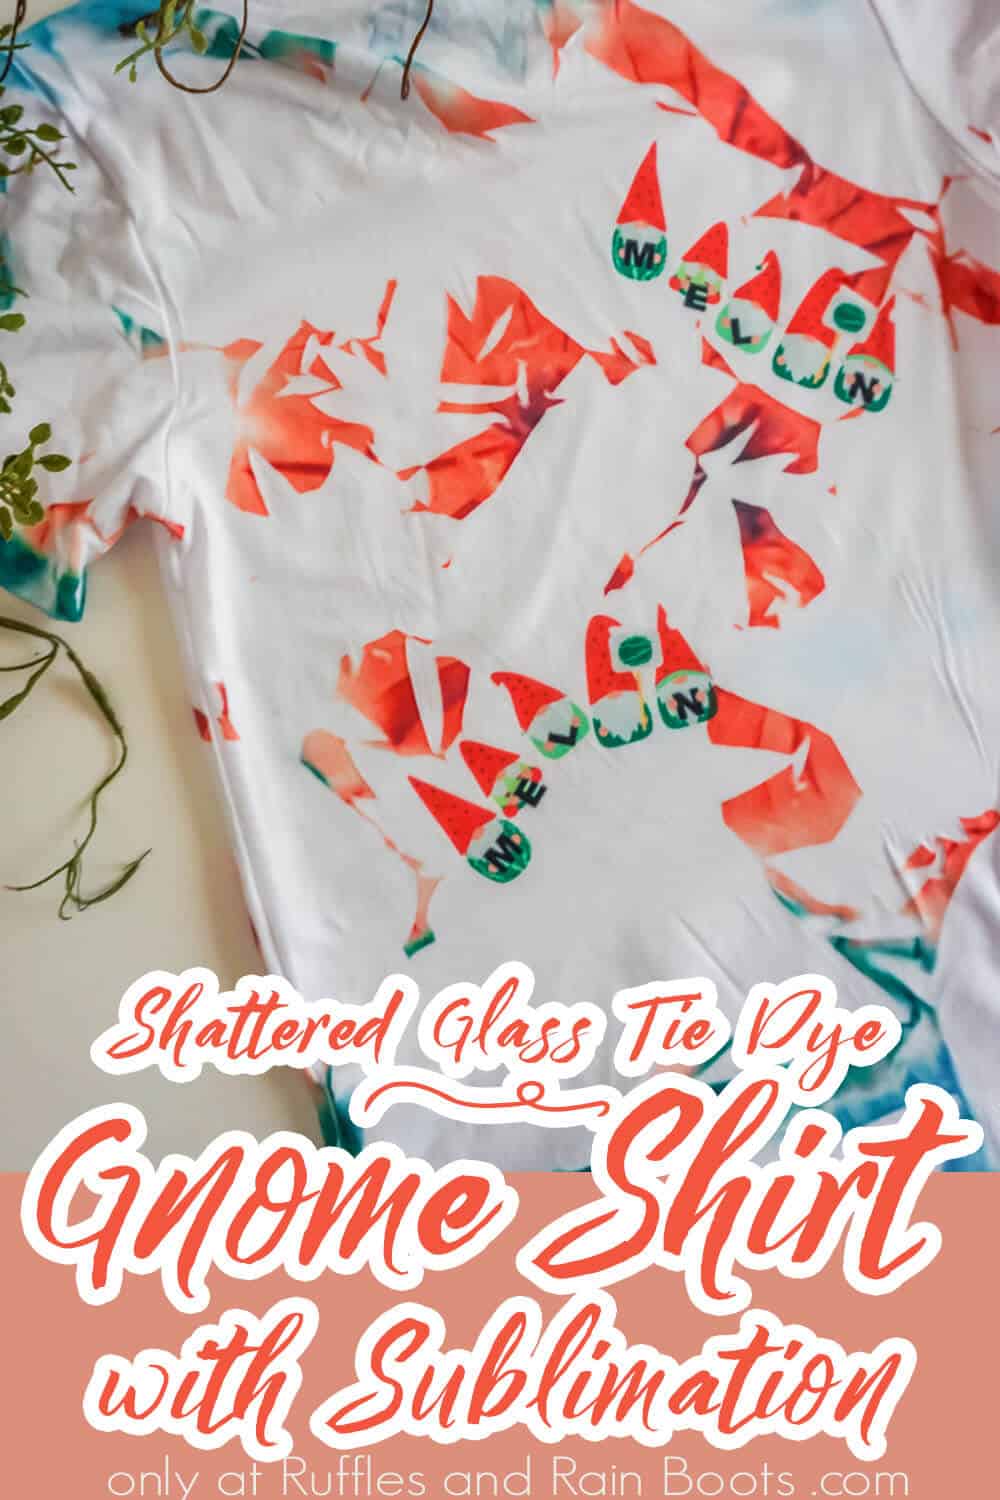
No Time to Make This Now? Pin it for Later
You’re busy, I get it. Pin this to your favorite digital crafting board on Pinterest and it’ll be here when you’re ready.
As an Amazon Associate, I can earn from qualifying purchases.
Tips to Make this Gnome Shirt
- Grab the watermelon gnome cut file set here and the tie dye design here. You’ll need both to complete this project with exactly the same elements I used. But you can forego either one, if desired.
- If you want do do this project but you’re not as invested as me and don’t have your own sublimation printer, you can still do make this gnome shirt by purchasing a custom-printed sublimation design here. They’re ready-to press when you get them and I was impressed with their quality.
- You’ll want to be sure to use sublimation-ready blank like this quality t-shirt here. Sublimation materials have to be mostly polyester, that way the ink can bond with the material. If you use cotton-based materials, the ink won’t bond correctly and your design will likely wash out.
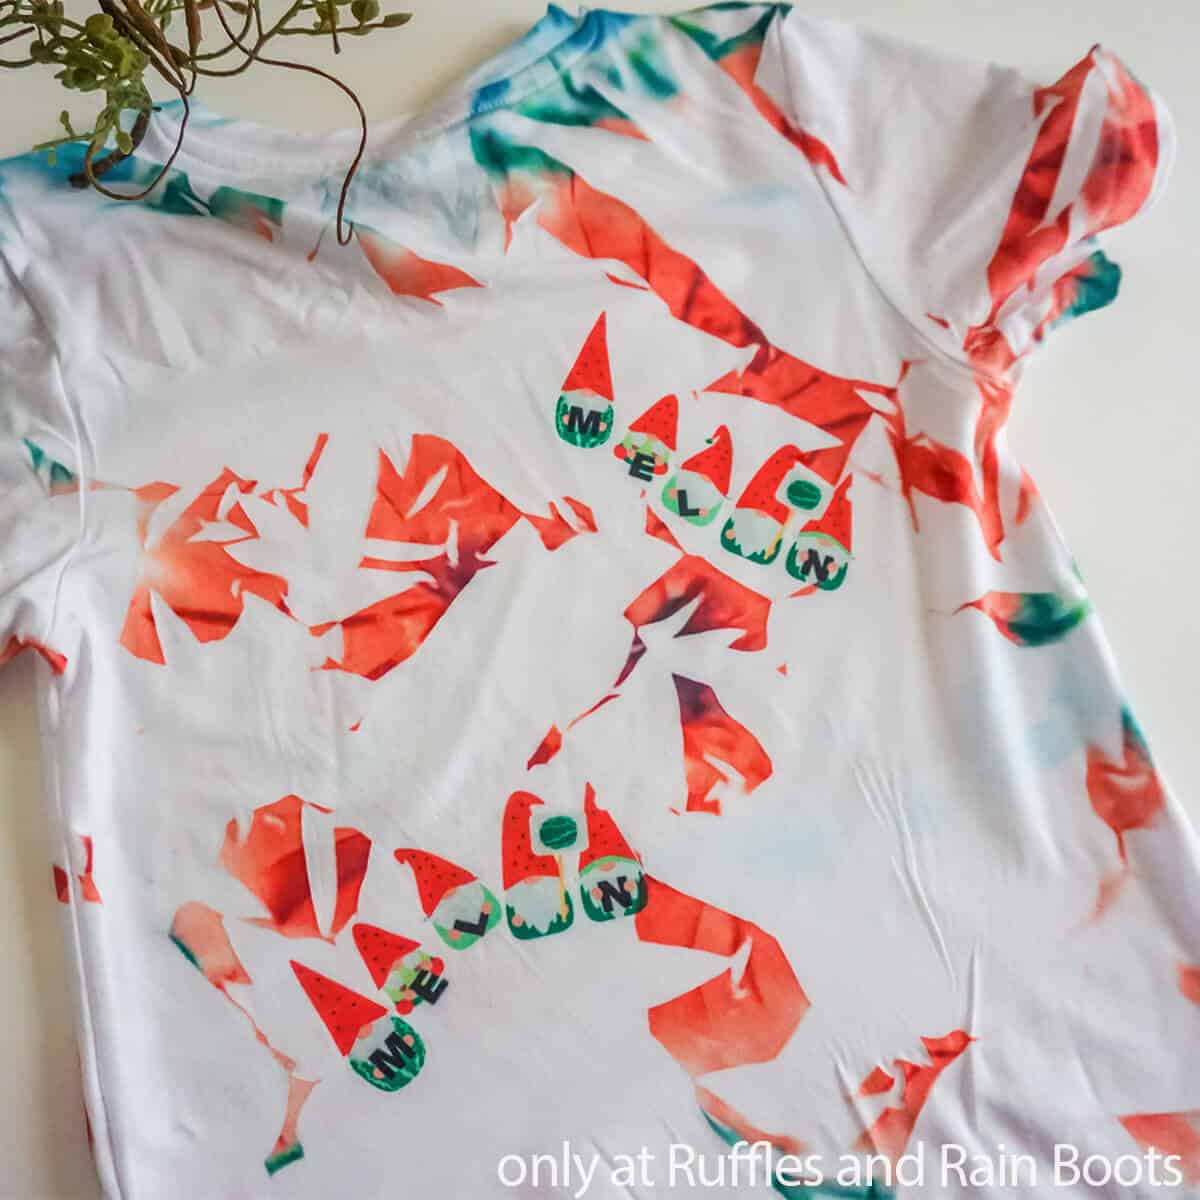
How Do I Make this Watermelon Shattered Glass Tie Dye Shirt with Gnomes?
I’m so glad you asked. Below is our written tutorial.
Watermelon Shattered Glass Tie Dye Shirt with Gnomes
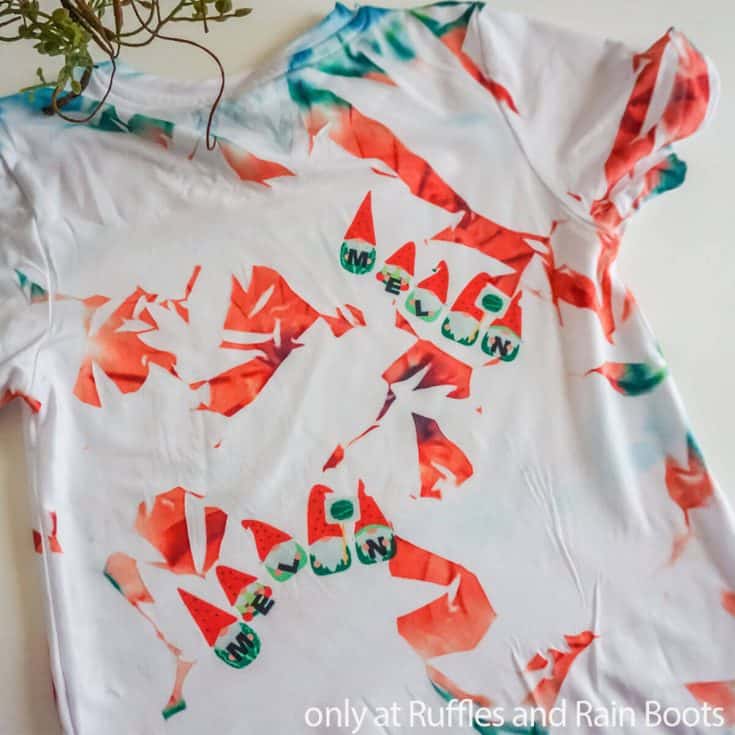
You are not going to believe how easy it is to make this fun and beautiful watermelon shattered glass tie dye shirt with gnomes!
Materials
Tools
- Sublimation Paper
- Sublimation Printer
- NOTE: If you do not have a sublimation printer, you can still do this project by purchasing a printed sublimation design here
- Cricut Explore Air 2 or higher
- Light Grip Cutting Mat
- Cricut EasyPress
- Heat Press Mat
- Heat-Safe Tape
- Lint Roller
- Butcher Paper or Parchment Paper
Instructions
- Download each of the designs and open using your default photo viewer. Make sure the text of the gnome is mirrored by flipping the view horizontally. To do this, in the toolbar, I selected Edit, then Transform, then Flip Horizontal. This will mirror the image.
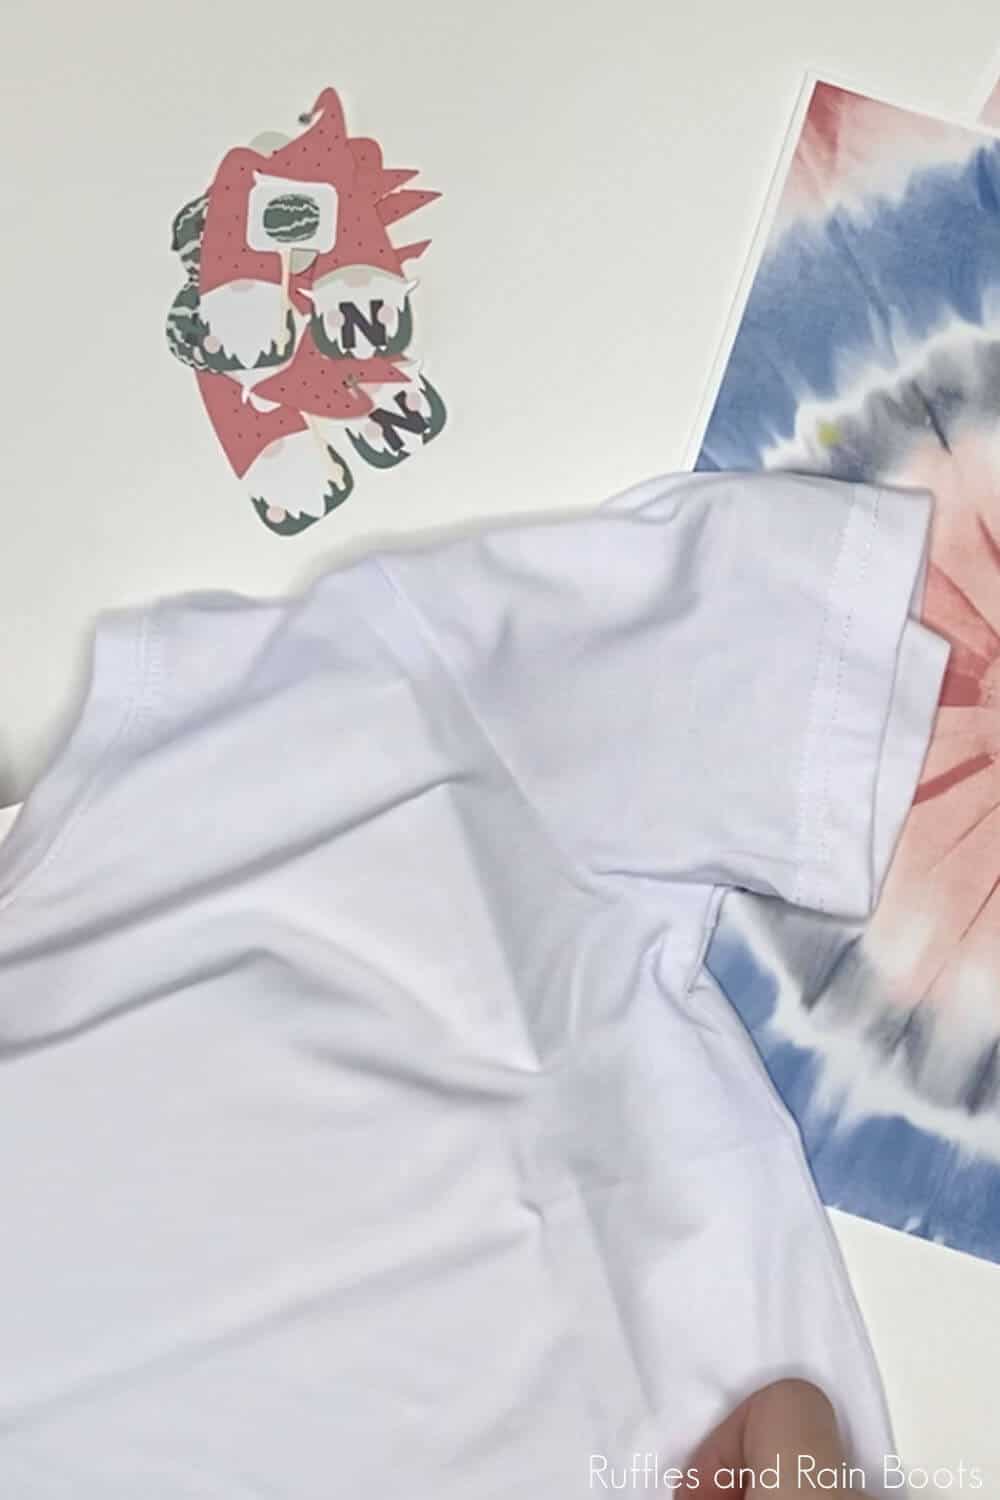
- Send ONLY the watermelon tie dyed design elements to your sublimation printer, printing two copies of the tie dye design. Set aside.
- Close the file of the gnomes/text and upload the file to Cricut Design Space. Follow the prompts to select "Complex Project" and fully insert the design into your workspace.
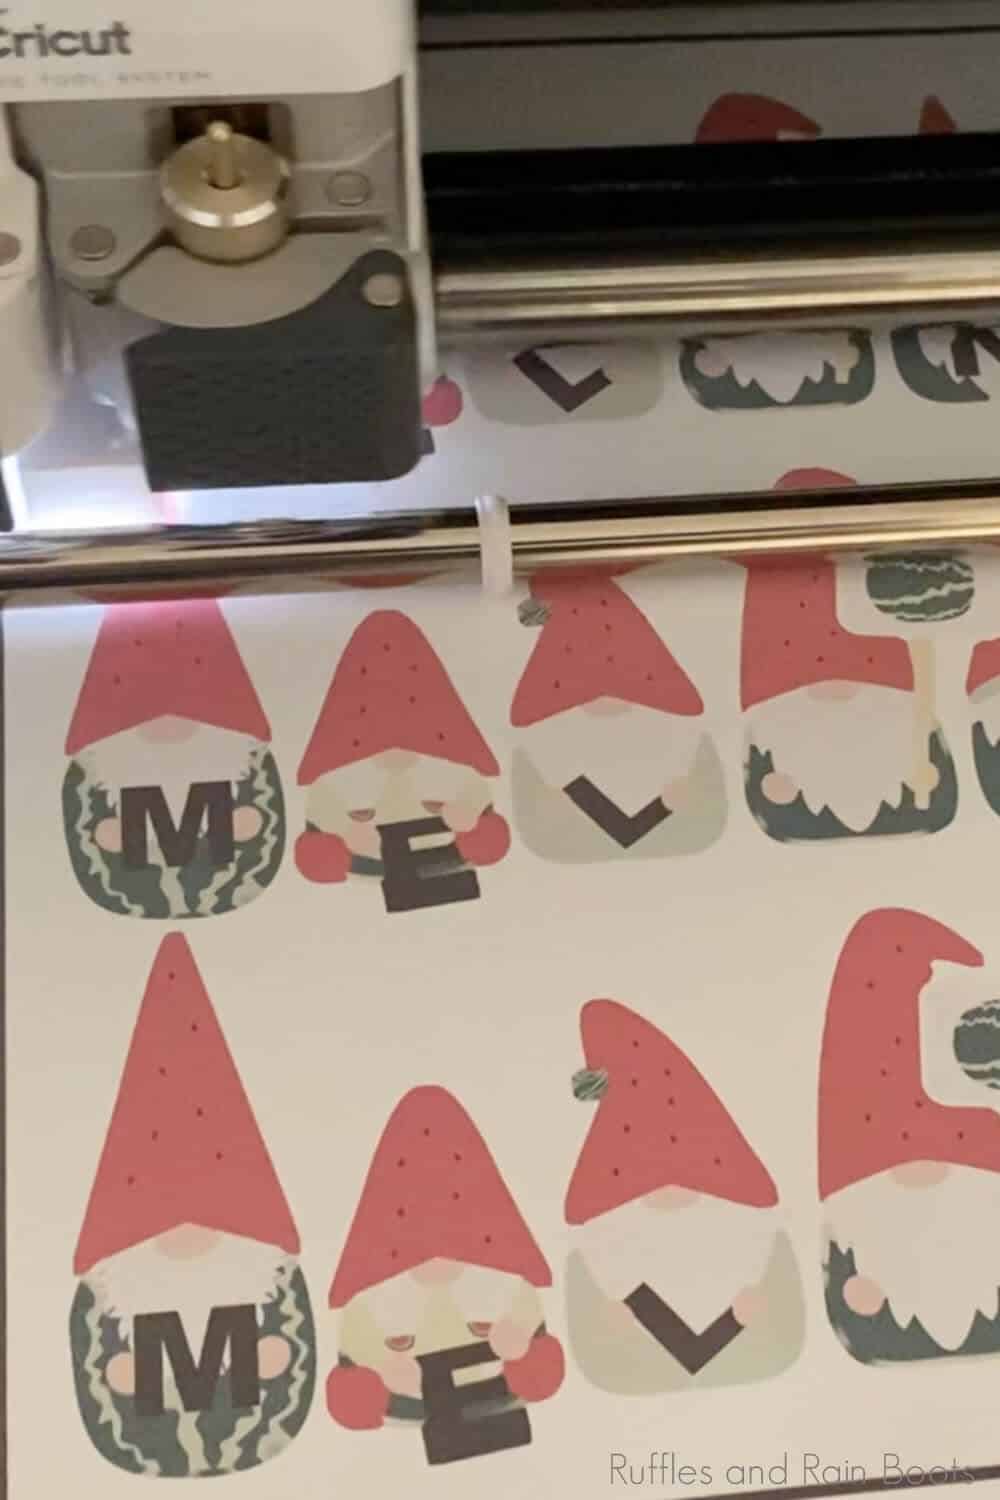
- Resize the gnome design to be about 2 1/4 inches tall, then duplicate the design 3 additional times so you have 4 sets of gnomes Select "Make It" and follow the prompts to print the project to your sublimation printer.
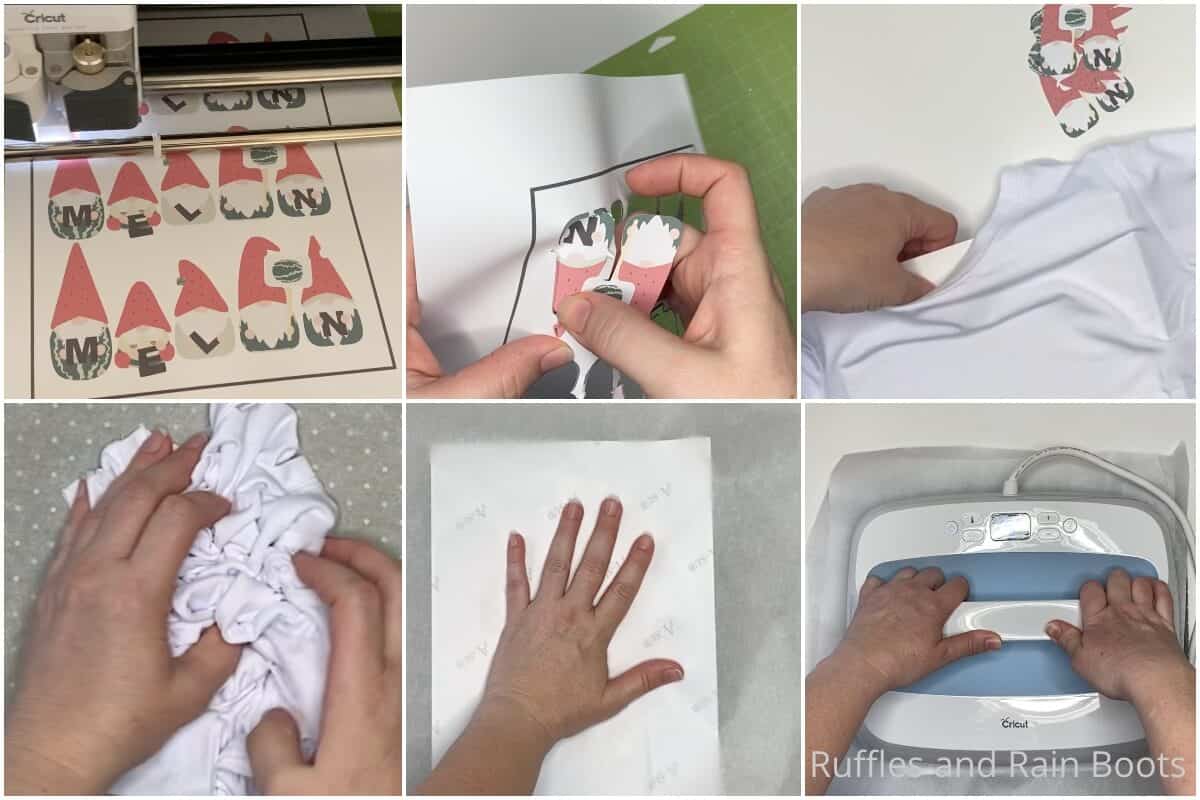
- Load your printed sublimation design onto the light grip mat, then the light grip mat into the cutting machine. Cut the design. Weed the undesired excess paper and discard it, leaving you with four sets of gnomes that can move independently.
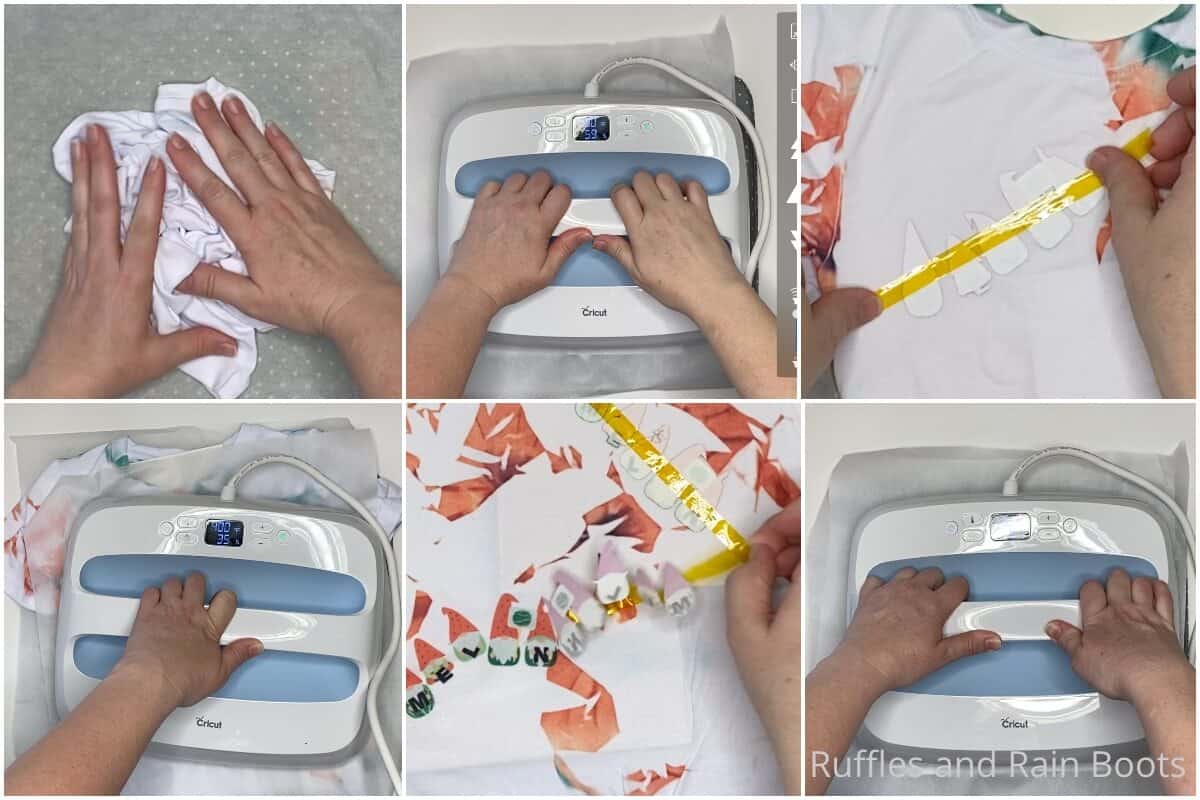
- Preheat the EasyPress to 400 degrees and roll both front and back of the shirt with your lint roller.
- Place a sheet of butcher paper into the shirt, separating the front and back as best you can.
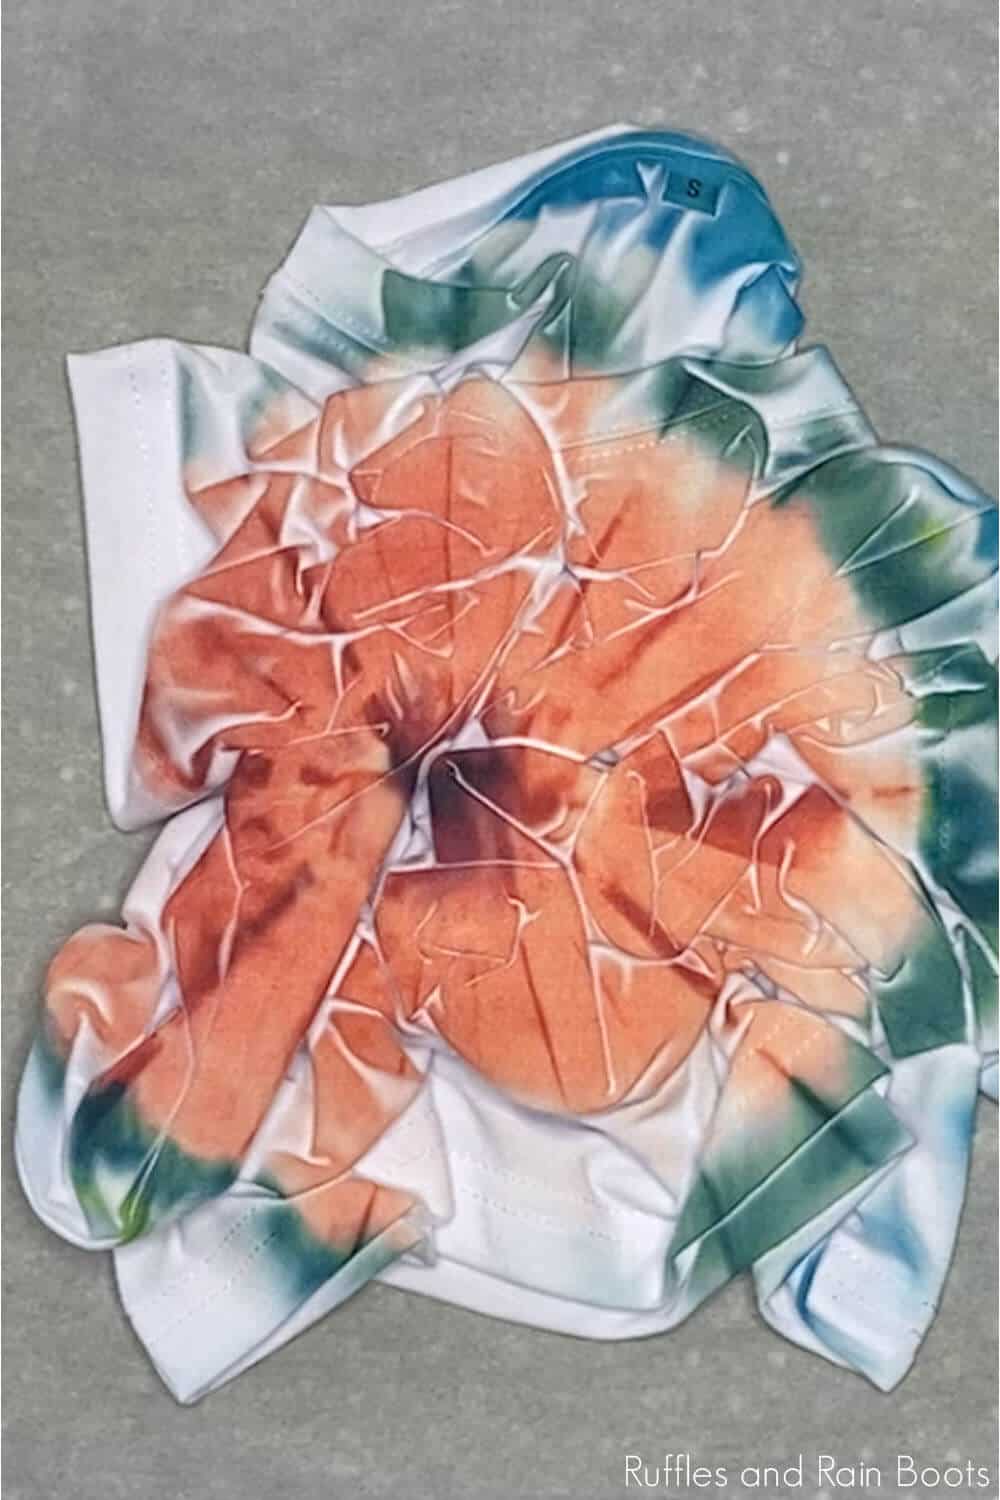
- Crumple the shirt into a ball, exposing primarily the front of the shirt, taking care to ensure that the crumple of the shirt ends-up smaller than a sheet of paper.
- Place one of your tie dye designs face-down over the crumpled shirt, and cover with a sheet of butcher paper.
- Place the hot EasyPress on the stacked t-shirt, using light pressure for 60 seconds. Set aside the EasyPress and allow the stack to cool to the touch then take the paper off the and discard.
- Shake open the shirt and flip it before crumpling the shirt again, this time exposing primarily the shirt back.
- Place the last tie dye design face-down on the crumpled shirt, and cover with a sheet of butcher paper.
- Place the hot EasyPress on the stacked t-shirt, using light pressure for 60 seconds. Set aside the EasyPress and allow the stack to cool to the touch then take the paper off the shirt.
- Shake open your shirt again and lay it flat on the heat press mat. Spread the shirt out, removing any wrinkles in the fabric. If you need to, replace the butcher paper inside the shirt, but do not move on without a sheet of butcher paper inside the shirt.
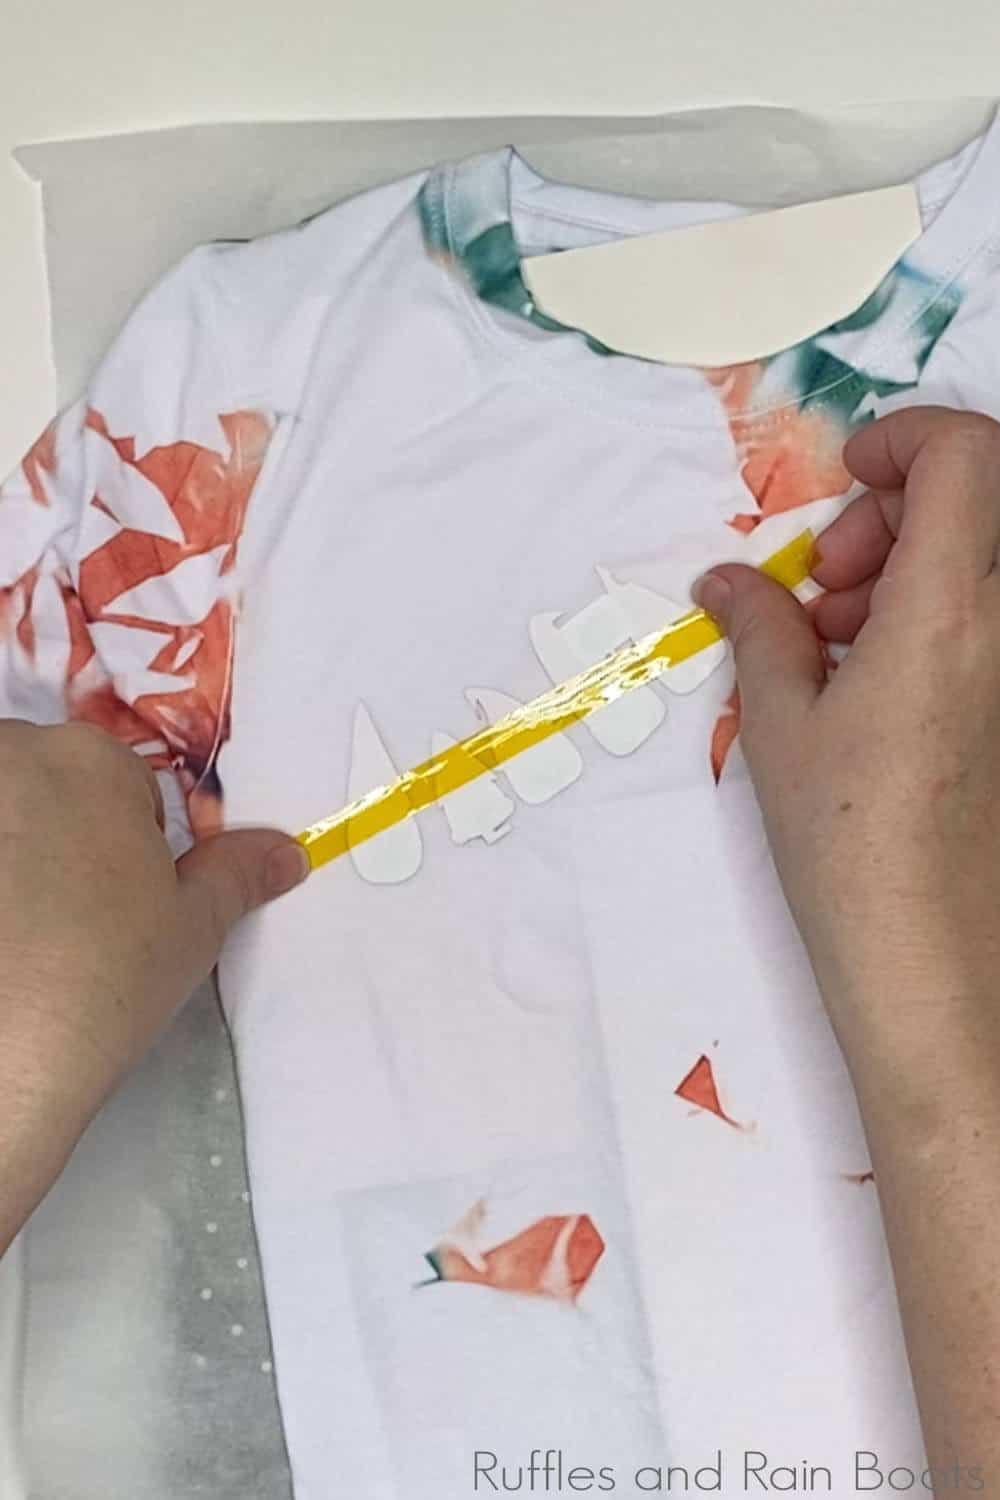
- Place one set of the gnome text design elements face-down and in order, on top of the shirt, aligning the text as desired. Use the heat-safe tape to hold the design elements in place. Repeat with a second set of gnome text design elements.
- Place a sheet of butcher paper over the shirt, covering both of the gnome text design elements.
- Place the hot EasyPress on top of the shirt and with light pressure, press the shirt for 60 seconds. Remove the EasyPress and allow the shirt to cool completely before removing the tape and paper.
- Flip the shirt over and lay it flat on the heat press mat. Spread the shir tout, removing any wrinkles in the fabric.
- Place the remaining two sets of the gnome text design elements face-down and in order, on top of the shirt, aligning the text as desired. Use the heat-safe tape to hold the design elements in place.
- Place a sheet of butcher paper over the shirt, covering both of the gnome text design elements.
- Place the hot EasyPress on top of the shirt and with light pressure, press the shirt for 60 seconds. Remove the EasyPress and allow the shirt to cool completely before removing the tape and paper. Your shirt is ready to wash and wear!
Notes
For more fun digital crafting ideas, visit Ruffles and Rain Boots!
Recommended Products
As an Amazon Associate and member of other affiliate programs, I earn from qualifying purchases.
More Sublimation Projects You Might Like
- Easy Watermelon Tote – I love how easy it is to make this fast infusible ink craft. It’s ridiculously quick.
- Fast Bee Farmhouse Pillow – The way this pillow came out is just stunning and fun – a great summer or fall project!
- Awesome Mom Sublimation Mug – No truer statement than this awesome mug that is just so fun!
Please Save This to Pinterest
Your shares are how this site grows and I am sincerely grateful. Know a friend who’d like this? Please share it on Facebook or save it to your favorite easy Cricut crafts board on Pinterest.
