
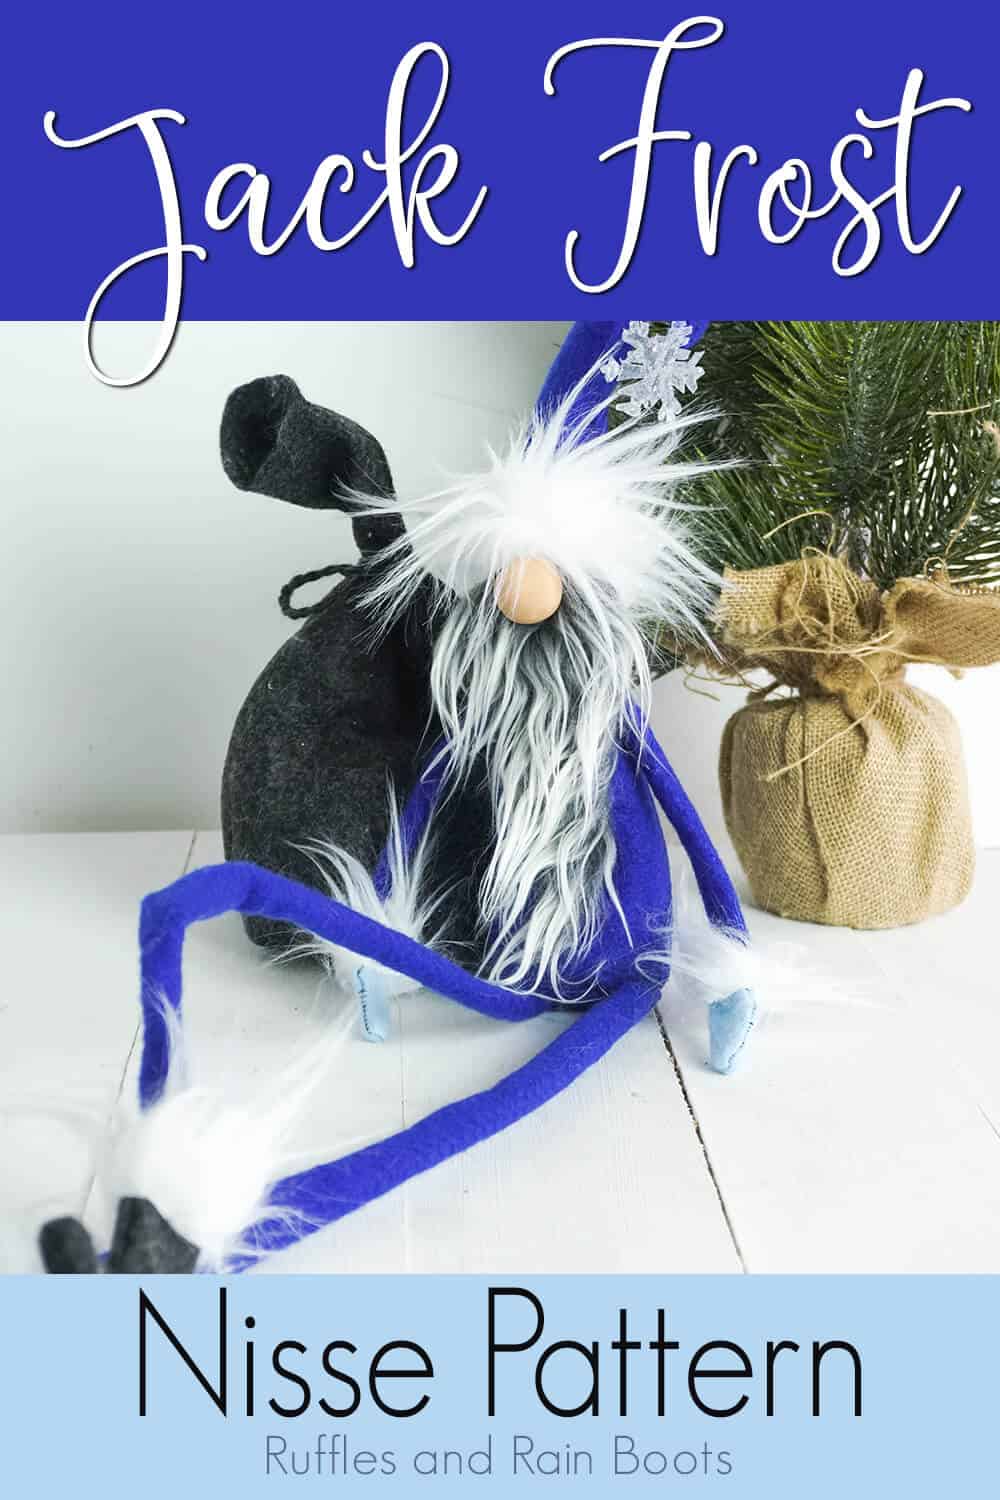
Make a Jack Frost Gnome for Winter
A cool wind blew through this week and inspired me to make a Jack Frost gnome. I’m not saying winter is here yet, but cooler weather is coming and this winter tomte is perfect for ushering it in.
This gnome is assembled in less than 30 minutes and comes with a free gnome pattern. Just look at those long, skinny legs!
What You'll Find On This Page
Jack Frost Gnome
Here at Ruffles and Rain Boots, I think winter is a special time that has a little magic to it. Everyone is bundled up and staying cozy, sure, but there is a quiet that comes over the outdoors that is just lovely.
When the weather cooled off, I felt the need to try to hurry the winter along by making this fun Jack Frost gnome.
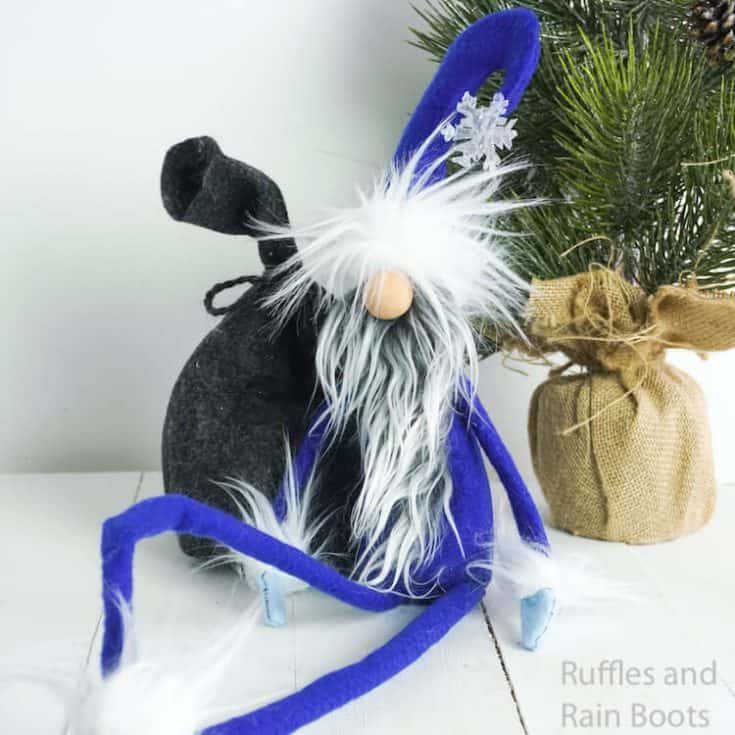
This is just a fun and easy winter gnome tutorial and you can change him up however you’d like. Oh, maybe make him a little friend with braids to keep him company? If you’re ready to make a little winter gnome project, let’s get started.
RELATED READING: DIY GNOME TUTORIALS YOU CAN’T MISS
DIY Christmas Gnome Tutorials
If you’re looking for the best DIY Christmas gnome tutorials, you have come to the right place. Check out all of my favorite tomte tutorials for the holidays!
Need to Gather Supplies? Save or Share This for Later
If you need to rummage through your craft stash to find what will work, save this to a DIY gnomes pin board or share it on Facebook. Use the sharing buttons and it will be easy to find when you’re ready to begin.
As an Amazon Associate, I could earn from qualifying purchases. There could be affiliate links within this article.
RELATED READING: Learn How to Make a Standing Sock Gnome
Tips to Make a Winter Gnome Idea
- Click here to get the free gnome pattern for this awesome winter gnome. If you want to try it free hand you absolutely can. The template might just be a good guide for you.
- If you do not want to make the snowflake with hot glue, use two identical stickers pressed sticky-side-to-sticky-side. You’ll get the same effect as the hot glue snowflake. I had initially planned to use these cute snowflake stickers I found, but then I got distracted and forgot I had them.
- I love using felt because it’s such a forgiving fabric. You can trim-up anything that looks a little wonky. Felt doesn’t fray, either, and it’s easy to hot glue. One thing important to note: if you use hot glue with felt, be careful not to press the fabric together as the hot glue will bleed through.
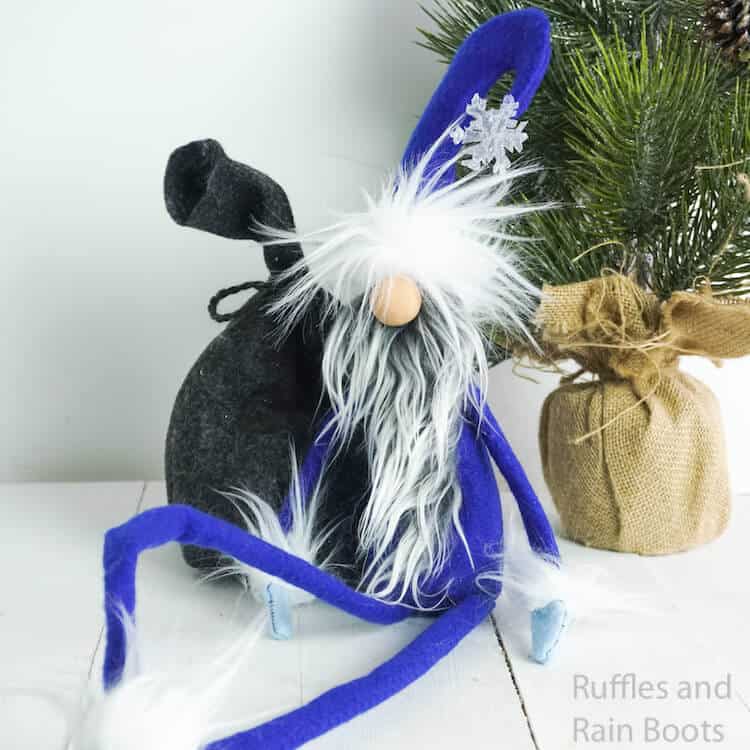
- The faux fur I used on this winter gonk was Mongolian in frosted gray for the gnome beard and frosted white for the accents.
- Gnome noses can be any number of items: rolled polymer clay balls, wood beads, wood rounds, fabric stuffed with fill, pom poms – anything.
More Easy DIY Gnome Tutorials You Might Like
- Christmas Gnome Ornaments – Seriously one of the easiest DIY gnome tutorials that you will find. And the results are a stunning ornament you’ll be proud is on your tree!
- The Best Gnome Tutorials You Can Find – You won’t find a more comprehensive set of fun gnome tutorials for all sorts of holidays, seasons, and just for fun!
- Viking Gnome – Make a viking gnome! You can do it, I promise.
- Free Traditional Gnome Pattern – Get the free pattern for this sewn gnome and learn why it went viral.
DIY Jack Frost Gnome with Skinny Legs
Below is the written, step by step tutorial for this fun winter adorable gnome idea. Keep this page open and follow along to make him and use the comments below for any questions.
Jack Frost Gnome
A cool wind blew through this week and inspired me to make a Jack Frost gnome. I'm not saying winter is here yet, but cooler weather is coming and this winter tomte is perfect for ushering it in!
Materials
- Small Amount of Polyfill
- 2 Cups Dry Rice
- Mongolian Fur
- White Craft Fur
- Polymer Clay (for gnome nose--you can alternatively use a ½-inch wooden bead):
- 1 small, dime-sized portion of brown
- 1 quarter-sized portion of white
- ¼ yd Royal Blue Craft Felt
- ¼ yd Charcoal Craft Felt
- Printable Template/Pattern
- Pinch of Silver Glitter
Tools
- Sewing Machine
- Black Thread
- Hot Glue Gun & Glue
- Scissors
- Exacto Knife (to cut the fur items)
- Wax Paper
Instructions
- Start making your gnome noses by combining the brown and white polymer clay until a flesh-color is consistent throughout.
- Roll clay into a neat ball, making sure it’s smooth all the way around.
- Bake in the oven per the polymer clay package directions. Allow to cool before touching. Set aside.
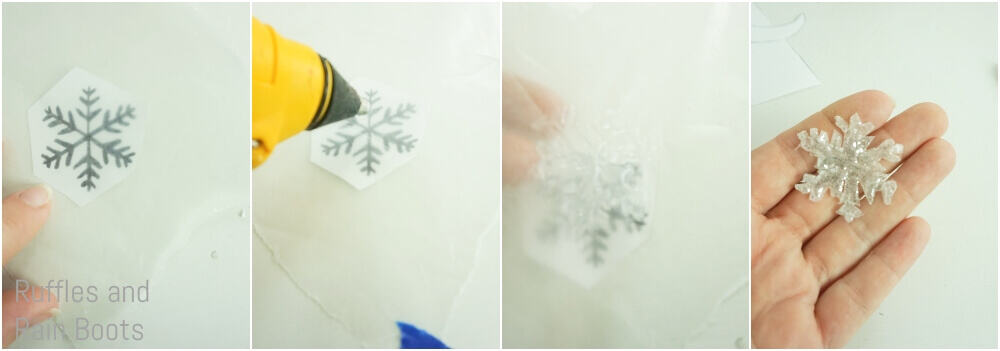
- Roughly cut out the snowflake design on the printable pattern and place it under the wax paper.
- Draw, using the hot glue, the shape of the snowflake, on top of the wax paper.
- Immediately sprinkle with silver glitter.
- Allow hot glue to dry.

- Cut out snowflake. It may or may not peel off the wax paper, but it’s unimportant for it to come off--that’s why wax paper works so well for this, because it’s translucent.
- Set aside snowflake for the time being.
- Cut out the following:
- 1 body from printable pattern in blue felt
- 1 circle base from printable pattern in blue felt
- 1 beard from from printable pattern in mongolian fur
- 2 of the hat from printable pattern in blue felt
- 4 boots from printable pattern in charcoal felt
- 4 gloves from printable pattern in charcoal felt
- 1 of the small rectangles from the printable pattern in mongolian fur (for the mustache)
- 4 each of the small rectangles from the printable pattern in white craft fur
- 1 larger rectangle from the printable pattern in white craft fur
- 2 pieces of 3-inch wide blue felt about 18-inches long (or longer for longer legs, or shorter for shorter legs)
- 2 pieces of 3-inch wide blue felt about 6-inches long (or longer for longer arms, or shorter for shorter arms)
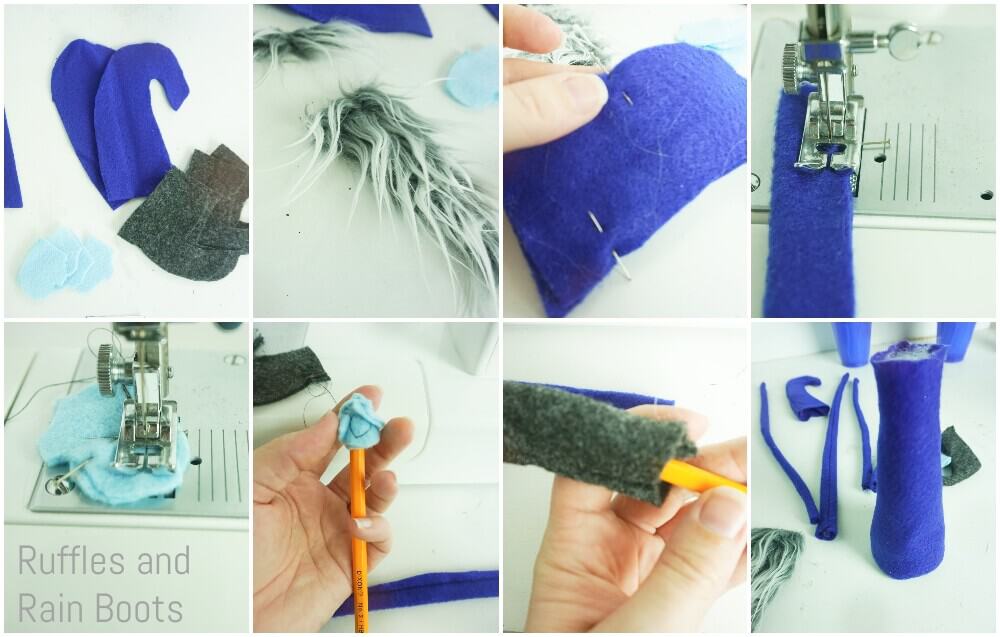
- To assemble the gnome body:
- Sew the two straight-edges of the gnome body together, creating a large open cone.
- Sew the base to the wide opening of the gnome body piece cone.
- Turn this inside out.
- Fill with rice.
- Fill remaining area with polyfill.
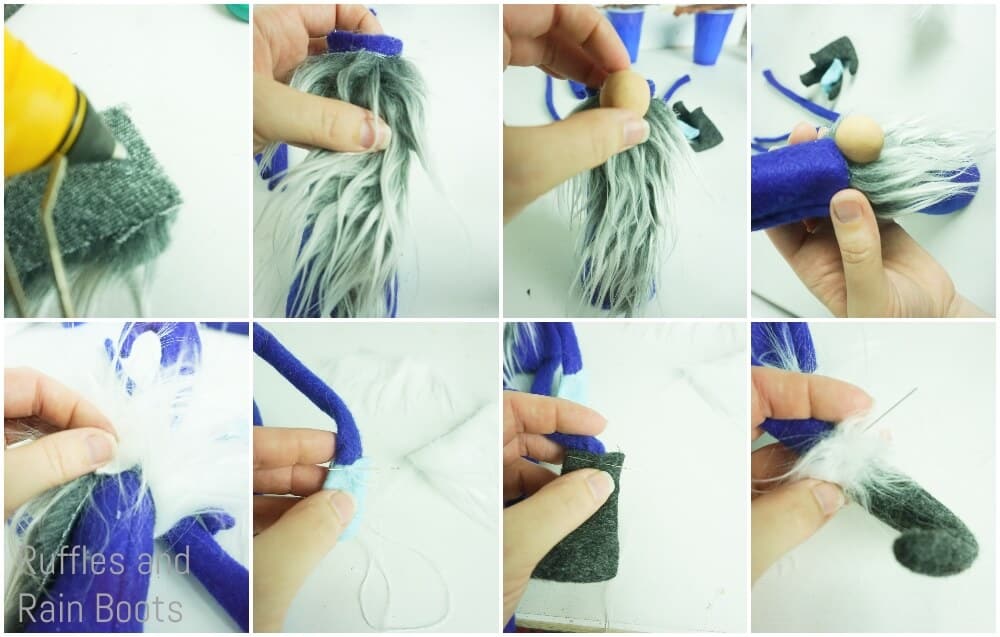
- Whip-stitch beard to top of gnome body.

- With the small rectangle of mongolian fur, split the fur with your fingers long-ways and kind of finger brush it into the shape of a mustache. Whip-stitch this in place at the top of the beard.
- Hot glue nose to top of mustache.
- To assemble the gnome arms and legs:
- Pin the two long edges of each long piece of felt together by folding the felt, forming each arm and leg.
- Sew the along the edge.
- Turn each arm and leg inside out, using a pencil to do so, if necessary.
- Whip-stitch each leg to the body on the base.
- Whip-stitch each arm to the top of the body, behind the beard, slightly below the nose.
- To assemble the gnome boots:
- Place two pieces of boot together and sew each side, leaving the boot top open.
- Repeat for the other boot.
- Turn each boot inside out, using a pencil to do so, if necessary.
- Whip-stitch boots onto each leg.
- Fold small white craft fur rectangle around top of each boot, whip-stitching it in place.
- To assemble the gnome gloves:
- Place two pieces of glove together and sew each side, leaving the glove top open.
- Repeat for the other glove.
- Turn each glove inside out, using a pencil to do so, if necessary.
- Whip-stitch gloves onto each arm.
- Fold small white craft fur rectangle around top of each glove, whip-stitching it in place.
- To assemble the gnome hat:
- Place two pieces of hat together and sew each side, leaving the bottom open.
- Turn inside out, using a pencil to get into the point, if necessary.
- Whip-stitch hat to top of head, near the nose.
- Wrap long rectangle of white craft fur around bottom of hat, whip-stitching it in place.
- Whip-stitch the snowflake onto the tip of the hat, facing the same way as gnome’s face.
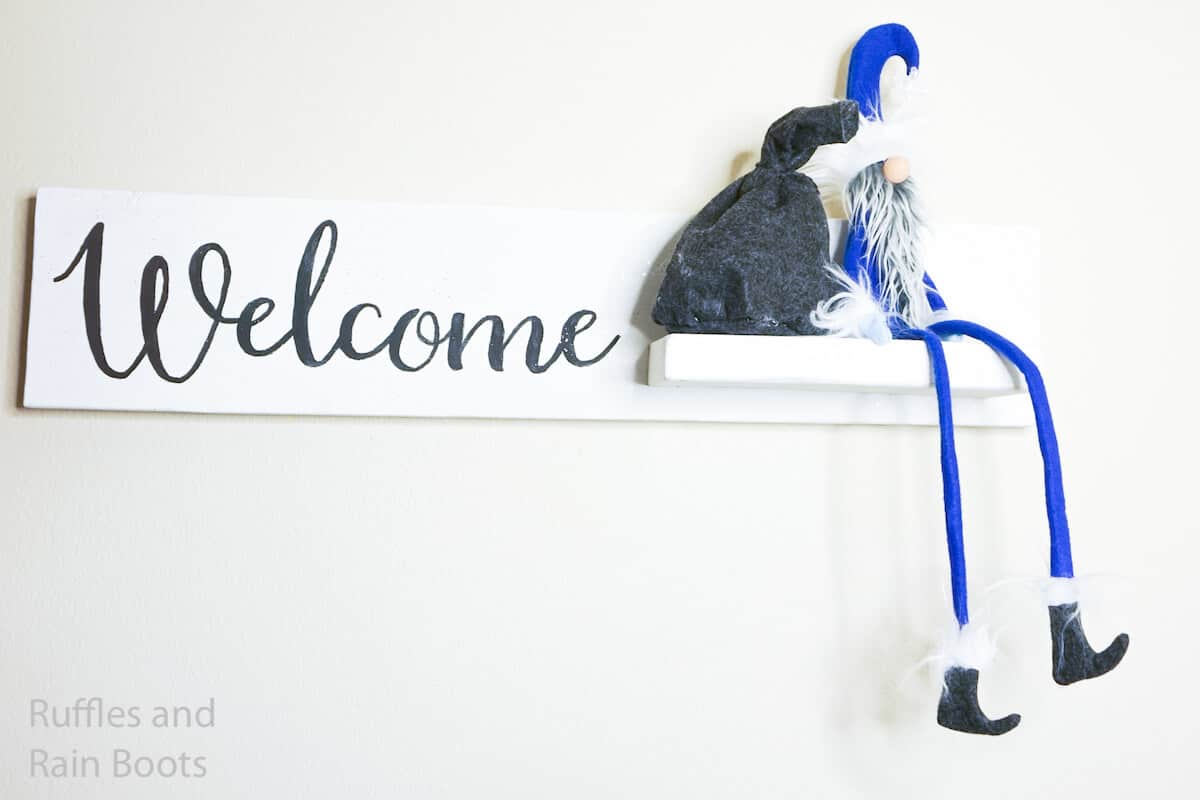
- To enjoy:
- Place on a mantle or on a beautiful “Welcome” sign with a shelf made for gnomes!
Notes
For more fun DIY gnome tutorials, visit Ruffles and Rain Boots
Please Save or Share This
Your shares are how this site grows and I am sincerely grateful. Know a friend who’d like this? Please share it on Facebook or save it to your favorite DIY gnomes pin board.


So cute!! Where is the best place to get the Mongolian fur?
I have picked it up from Amazon and from a local fabric store. Sadly, I’ve never been to a JoAnn’s fabric who has this type of faux fur, but there are tons they do have which would work.
I’m also working on a tutorial to partially color fur (instead of all-over as we did for the Grinch gnome).
I want to say that you make adorable gnomes and I am printing out everything I can to try and do them. I so very much appreciate the patterns and directions you provide.
I’m so glad you lie them, Patsy. I sure to have a lot of fun making all of these little gnomes. :)