
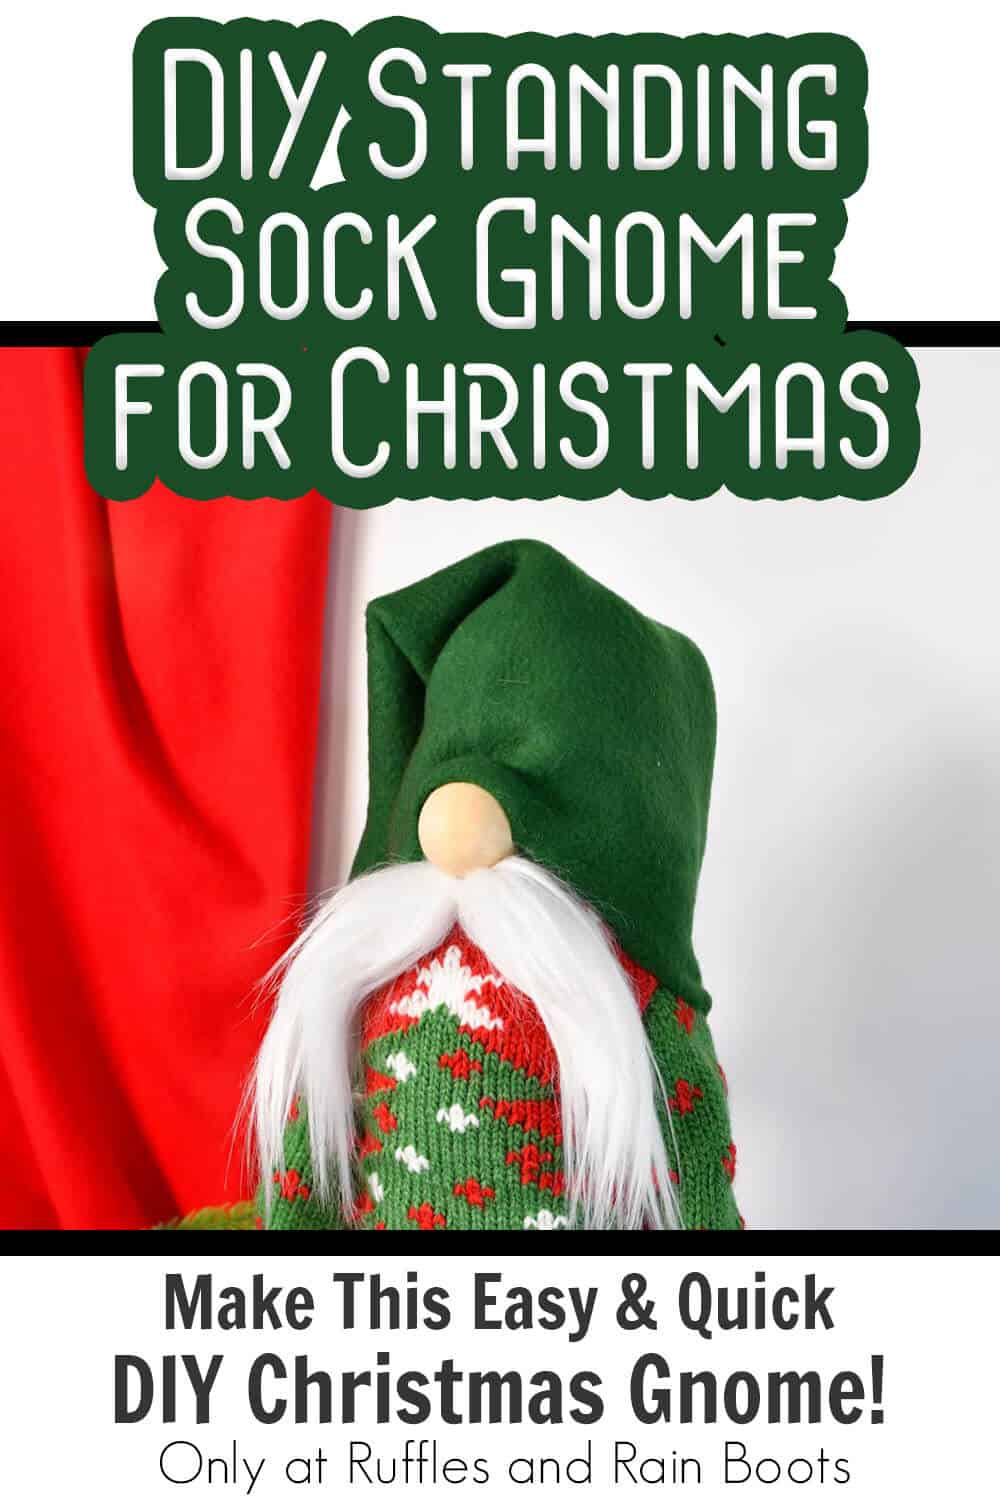
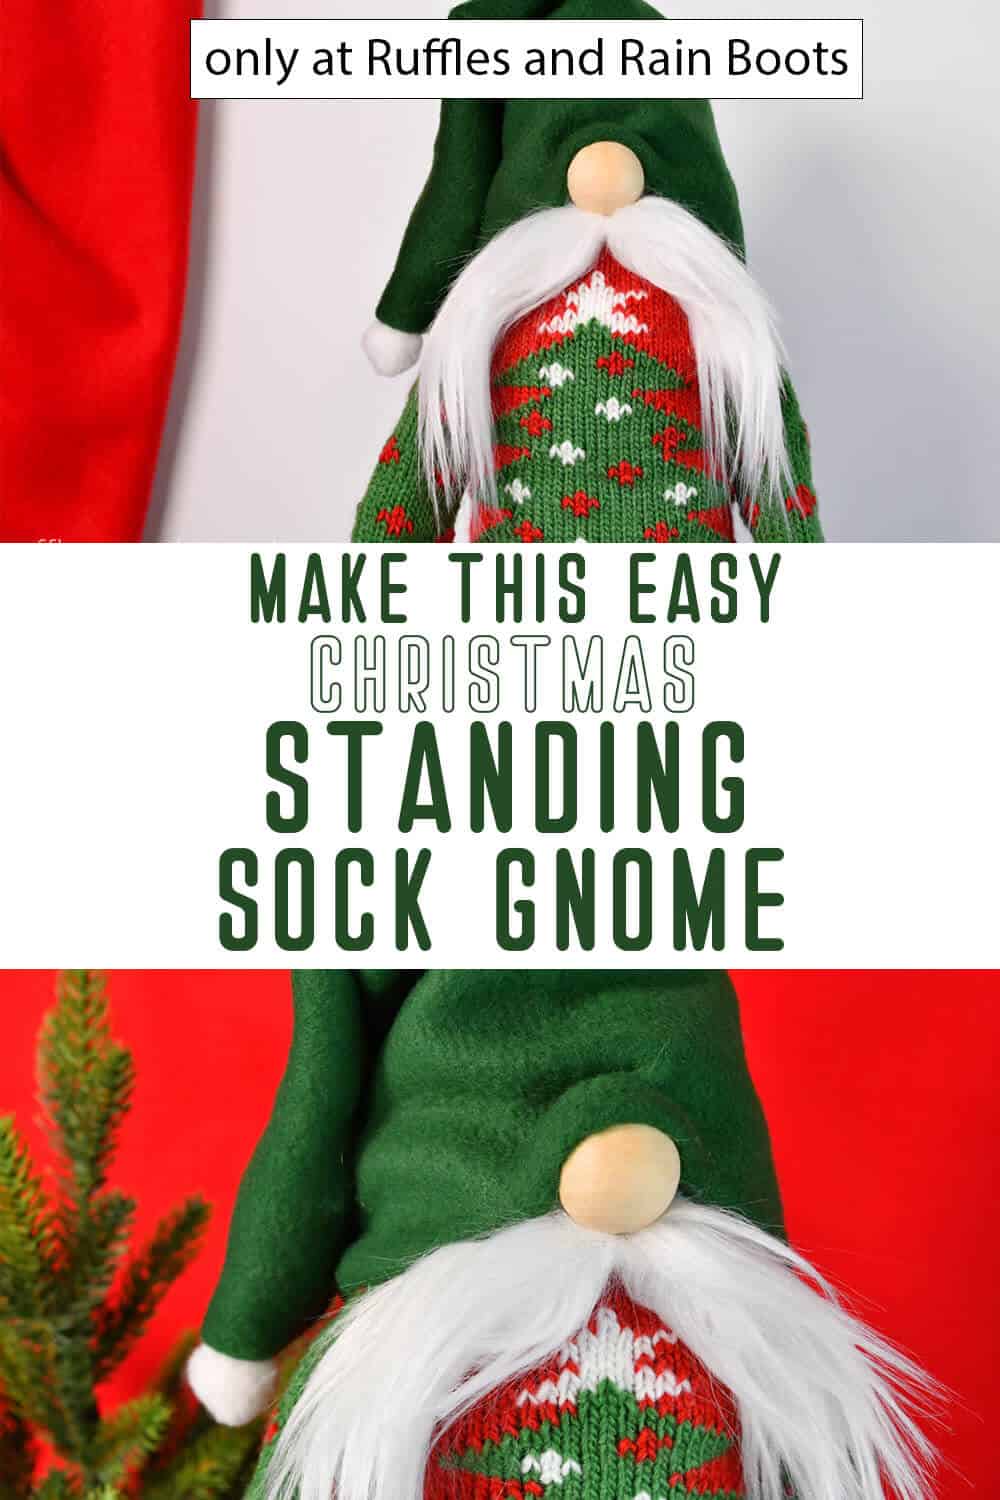
How to Make a Standing Sock Gnome in Just a Few Minutes!
I’ve gotten the question so many times, I just had to figure out how to make a standing sock gnome. Turns out, it’s incredibly easy and really cute.

How to Make a Standing Sock Gnome
Here at Ruffles and Rain Boots, we love making gnomes. They’re so wonderfully fun. But one of my OTHER favorite pastimes is helping others make gnomes. I get questions over in my DIY Gnomes and Friends Facebook Group all the time. And I recently got a flurry of questions that I just had to answer with this easy standing sock gnome.
RELATED READING: HOW TO MAKE A SOCK GNOME IN 20-MINUTES
The best part was how just SUPER simple this little tomte turned out – and yet so cute. How does that happen that the easier they are, the cuter they can be?! Gnomes are just the best. If you’re ready to make a seriously cute sock gnome that stands, let’s get started.
No Time to Make This Now? Pin it for Later
You’re busy, I get it. Pin this to your favorite easy DIY ideas board on Pinterest and it’ll be here when you’re ready.
As an Amazon Associate, I can earn from qualifying purchases.
Tips to Make a Sock Gnome that Stands
- First things first, you have got to get one of those adorable wine bottle sweaters here. They’re not absolutely necessary, but they’re so stinking cute, it really makes this tomte unique and fun. I seriously love the way mine turned out!
- I used my free winter bootie gnome pattern here to make the wee booties for this awesome standing gnome. I initially designed these booties for a sitting gnome, but honestly, they work for standing gnomes, too, apparently!
- Gnome noses are one of my favorite subjects. I typically go with anything I can find that’s mostly round, beige and not difficult to make or find in the craft stash. I love using wood beads like these, though, because you can’t find anything more consistent in shape and color.
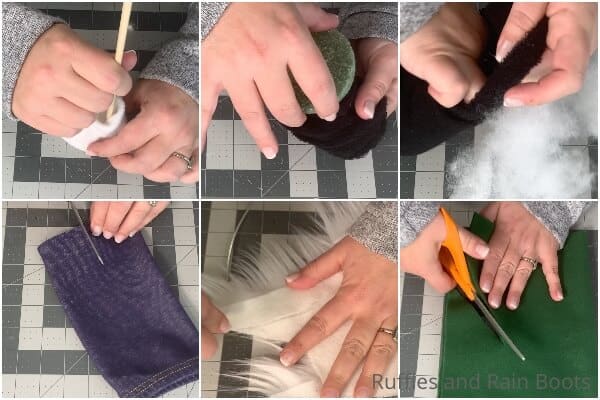
- If you’re a little worried about attempting to make your own DIY Christmas gnomes because of the faux fur used for the mustaches or beards, don’t be. Anyone, even a first-timer, can make a beautiful, lush beard or ‘stache in just a few seconds. All you do is place the fur face-down on the table and, with a razor or craft knife, cut just the fabric backing, then pull the cut piece away, gently separating the fur. Seriously, that’s all there is to it.
How Do I Make this Standing Sock Gnome?
I’m so glad you asked. Below is our written tutorial.
After you’ve made your gnome’s booties, or you have your ornaments ready, fit the craft foam ovals into the bottom and hot glue them in place, to strengthen the soles of the shoes. Take care not to get hot glue on the sides of the shoe–just the sole. Repeat with the second shoe.
Add a generous amount of glue to one end of a 9-inch long dowel and place it in the center of the shoe, toward the heel, to make a connection between the craft foam oval and the dowel. Repeat with the second shoe and dowel.
Fill the shoes with poly beads to add weight and stability, then stuff them the remaining way full with polyfill. Set aside.
Cut the foam ball in half (I used my metal ruler for a nice, straight cut) and hot glue the half-foam ball into the toe of the sock with the rounded portion fitting into the toe. Be sure to secure the sides and bottom of the half-foam ball to make sure it will not shift inside the sock.
Fill the bottom of the sock with poly beads, then stuff the sock the remaining way full with polyfill. You can check how tall you need this gnome body to be by comparing to your wine bottle sweater.
Tie the sock off with the twine and secure with a dab of hot glue, if desired.
Cut a 9-inch square of your faux denim fabric, then fold it in half right-side to right-side.
Glue the two edges of the faux denim fabric together, forming a large tube. Additionally, hem the top and bottom edges, to avoid the fabric unraveling.
Lay the tube of faux denim on the table, folded with the hem on one side, then cut a 5-inch slit from the bottom through the center of the faux denim fabric tube to create two legs.
Hem the two edges of each of the legs together, right-side to right-side. Turn the pants right side out and set aside.
Put a generous amount of chalk on the exposed ends of the two dowels sticking out of the boots, then set the boots side-by side and place the gnome body on top of the dowels, effectively marking the spots you want the legs to go into the gnome with the chalk.
Snip a small hole into the bottom of the sock where the chalk marks are, then, with the small piece of dowel, poke a dowel-sized hole into the snipped hole in the sock and up into the styrofoam ball half inside the sock.
Add hot glue to the top inside of one of the booties and crimp the edges together around the dowel, closing the bootie off around the dowel. Repeat for the second bootie.
Slip the pants onto the dowels, letting the cuffs of the pants drape over the crimped edges of the bootie tops. Pull the pants down low around the ankles of the booties to give you room to work with the tops of the dowels.
Add hot glue to the exposed ends of the dowels and thread them up into the bottom of the sock where you placed the holes previously.
Hot glue the two booties together to ensure stability, then drop the gnome a time or two to make sure he’ll stay standing. Add a generous amount of hot glue to the insertion point of the dowels into the sock to make sure they won’t wiggle around.
Pull the pants up and put the wine bottle sweater onto the gnome body.
Cut a piece of faux fur about 1 1/2 inches wide by 6-7 inches long and a piece of floral wire about the same length.
Cut out a tiny rectangle in the top center of the faux fur and separate the fur into two sections, roughly.
Lay the floral wire in the center of the fabric backing of the fur, then hot glue in place, wrapping the fabric around the wire, making a mustache.
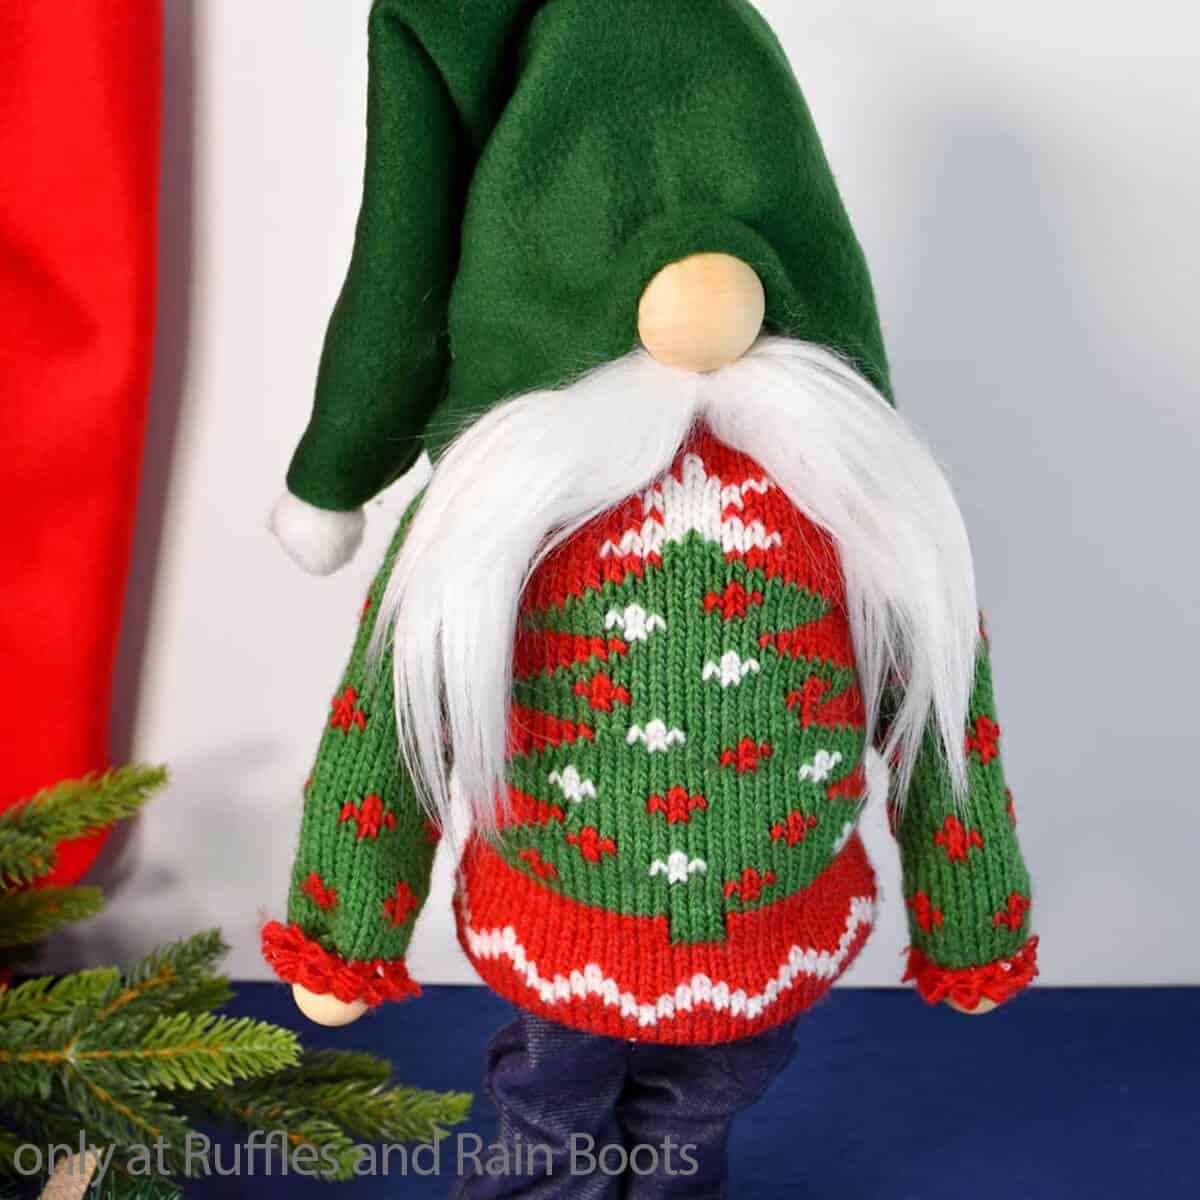
Hot glue the mustache to the top of the sweater, followed by the wood bead nose just above the center of the mustache.
Cut a 14×10-inch rectangle of fleece, then fold this so that the 14 inches is on the long side.
Starting 2 inches from the bottom edge of the rectangle, cut a triangle from the fleece with a 1 1/2-inch open top (so that when the hat is opened up, the open top is 3 inches total to make a nice place to secure your pom pom later).
Hot glue the two edges of the hat together, then turn the hat right side out and tuck it onto your gnome’s head.
Squish the hat over the nose to create wrinkles and hot glue the hat in place to the nose and the sock.
Flip the gnome over and hot glue the back down in place on the gnome’s lower back.
Secure the hat in a couple of places around the body of the gnome, then hot glue the hat into whatever scrunch you want.
Hot Glue the pom pom to the tip of the hat.
Attach the wood bead hands with a generous amount of hot glue into the ends of the sleeve cuffs.
Then enjoy!
More DIY Sock Gnome TUtorials You Might Like
- Sock Gnome Holding a Coffee Cup – If you’ve seen those adorable gnomes holding a little coffee cup on Pinterest, find out here how to make one in just a few mintues!
- Mini Sock Gnome Ornaments – Take all those sock scraps from making your traditional sock gnomes and turn them into Christmas ornaments super fast.
- Sock Gnome with Boots – Need a quick way to give your little sock gnome some shoes? Learn how to make a twisty-hat gnome with boots, to boot! HA!
Please Save This to Pinterest
Your shares are how this site grows and I am sincerely grateful. Know a friend who’d like this? Please share it on Facebook or save it to your favorite easy craft ideas board on Pinterest.
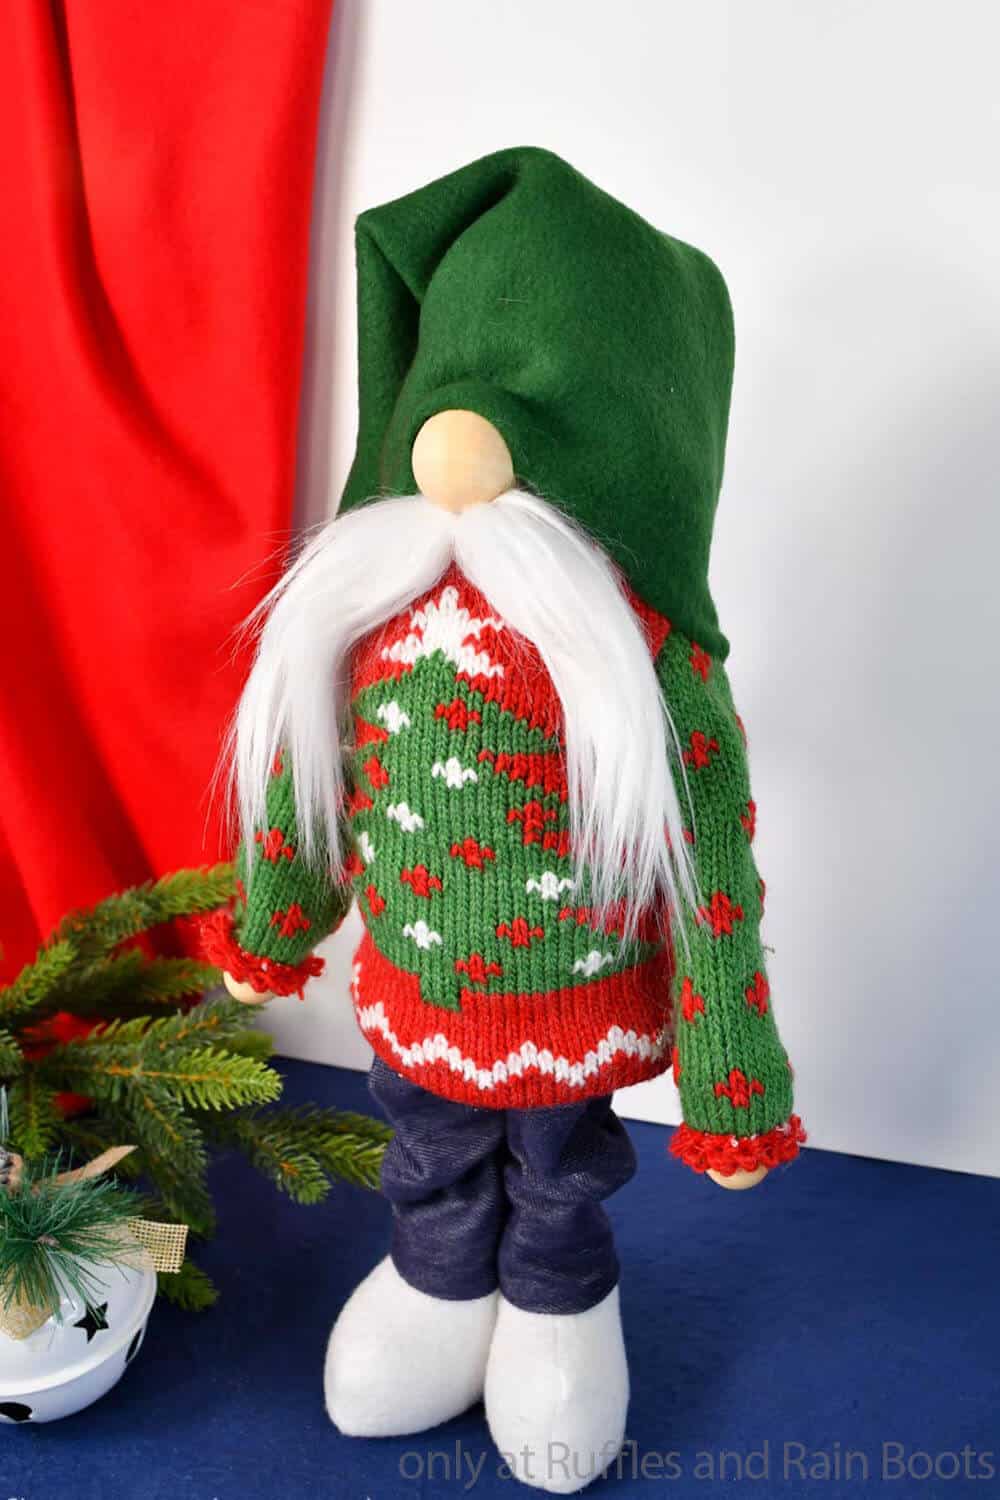
Standing Sock Gnome
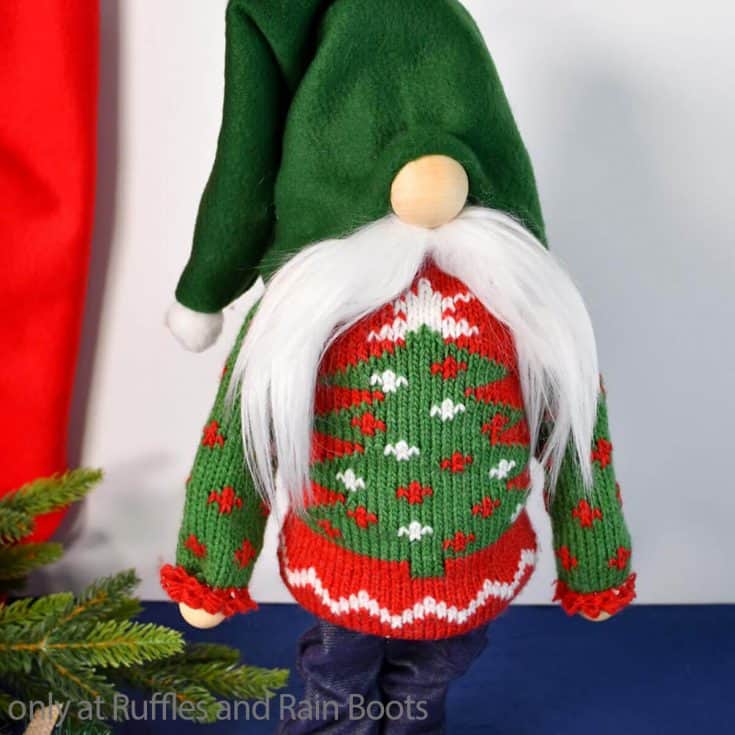
So many times, I've wanted to make a standing sock gnome, but wasn't sure exactly what to do, so I finally sat down and made the cutest little holiday gnome you've ever seen!
Materials
- 1 1-inch Wooden Bead (nose)
- 2 - 3/4-inch Wooden Beads (hands)
- Gnome Boots (I used my Winter Cutie Boots, but you could also use ornament boots)
- 1 Mens Ankle Sock
- 1 Wine Bottle Cover Sweater
- 1/4 yd Faux Denim (I used an old set of my kiddo's jeggins)
- 1/4 yd Fleece Fabric (Dark Green)
- 2 1/4-inch Dowels (9-inches long)
- 1 3-inch Styrofoam Ball
- 2 Craft Foam Ovals
- 3-4 cups Poly Beads
- 3-4 cups Polyfill
- Small Amount of Twine
- 1 1/2-inch White Pom Pom
Tools
- Hot Glue Gun & Glue
- Scissors
- Razor Blade or Craft Knife
- Chalk
- Small Piece of Leftover Dowel
- Funnel, optional
- Metal Ruler, optional
Instructions
- After you've made your gnome's booties, or you have your ornaments ready, fit the craft foam ovals into the bottom and hot glue them in place, to strengthen the soles of the shoes. Take care not to get hot glue on the sides of the shoe--just the sole. Repeat with the second shoe.
- Add a generous amount of glue to one end of a 9-inch long dowel and place it in the center of the shoe, toward the heel, to make a connection between the craft foam oval and the dowel. Repeat with the second shoe and dowel.
- Fill the shoes with poly beads to add weight and stability, then stuff them the remaining way full with polyfill. Set aside.
- Cut the foam ball in half (I used my metal ruler for a nice, straight cut) and hot glue the half-foam ball into the toe of the sock with the rounded portion fitting into the toe. Be sure to secure the sides and bottom of the half-foam ball to make sure it will not shift inside the sock.
- Fill the bottom of the sock with poly beads, then stuff the sock the remaining way full with polyfill. You can check how tall you need this gnome body to be by comparing to your wine bottle sweater.
- Tie the sock off with the twine and secure with a dab of hot glue, if desired.
- Cut a 9-inch square of your faux denim fabric, then fold it in half right-side to right-side.
- Glue the two edges of the faux denim fabric together, forming a large tube. Additionally, hem the top and bottom edges, to avoid the fabric unraveling.
- Lay the tube of faux denim on the table, folded with the hem on one side, then cut a 5-inch slit from the bottom through the center of the faux denim fabric tube to create two legs.
- Hem the two edges of each of the legs together, right-side to right-side. Turn the pants right side out and set aside.
- Put a generous amount of chalk on the exposed ends of the two dowels sticking out of the boots, then set the boots side-by side and place the gnome body on top of the dowels, effectively marking the spots you want the legs to go into the gnome with the chalk.
- Snip a small hole into the bottom of the sock where the chalk marks are, then, with the small piece of dowel, poke a dowel-sized hole into the snipped hole in the sock and up into the styrofoam ball half inside the sock.
- Add hot glue to the top inside of one of the booties and crimp the edges together around the dowel, closing the bootie off around the dowel. Repeat for the second bootie.
- Slip the pants onto the dowels, letting the cuffs of the pants drape over the crimped edges of the bootie tops. Pull the pants down low around the ankles of the booties to give you room to work with the tops of the dowels.
- Add hot glue to the exposed ends of the dowels and thread them up into the bottom of the sock where you placed the holes previously.
- Hot glue the two booties together to ensure stability, then drop the gnome a time or two to make sure he'll stay standing. Add a generous amount of hot glue to the insertion point of the dowels into the sock to make sure they won't wiggle around.
- Pull the pants up and put the wine bottle sweater onto the gnome body.
- Cut a piece of faux fur about 1 1/2-inches wide by 6-7 inches long and a piece of floral wire about the same length.
- Cut out a tiny rectangle in the top center of the faux fur and separate the fur into two sections, roughly.
- Lay the floral wire in the center of the fabric backing of the fur, then hot glue in place, wrapping the fabric around the wire, making a mustache.
- Hot glue the mustache to the top of the sweater, followed by the wood bead nose just above the center of the mustache.
- Cut a 14x10-inch rectangle of fleece, then fold this so that the 14-inches is on the long side.
- Starting 2-inches from the bottom edge of the rectangle, cut a triangle from the fleece with a 1 1/2-inch open top (so that when the hat is opened up, the open top is 3-inches total to make a nice place to secure your pom pom later).
- Hot glue the two edges of the hat together, then turn the hat right side out and tuck it onto your gnome's head.
- Squish the hat over the nose to create wrinkles and hot glue the hat in place to the nose and the sock.
- Flip the gnome over and hot glue the back down in place on the gnome's lower back.
- Secure the hat in a couple of places around the body of the gnome, then hot glue the hat into whatever scrunch you want.
- Hot Glue the pom pom to the tip of the hat.
- Attach the wood bead hands with a generous amount of hot glue into the ends of the sleeve cuffs. Then enjoy!
Notes
For more fun gnome tutorials, visit Ruffles and Rain Boots!
Recommended Products
As an Amazon Associate and member of other affiliate programs, I earn from qualifying purchases.


I just love making gnomes and would love to make this gnome for my grandson and have a mustache instead of a beard.
How can I stop the fur from shedding, or is there something else I could use instead that would have the same effect.
Using Fray Check on all the edges doesn’t seem to work very well even after brushing the fur fabric.
I am concerned about the fur shredding as my grandson has Asthma.
I have made them in the past using thick wool.
Jean, If you cut the fur correctly (the fabric backing only), you will not have shedding. I have a video on how to cut faux fur here: https://youtu.be/-TgXjICQkQY