
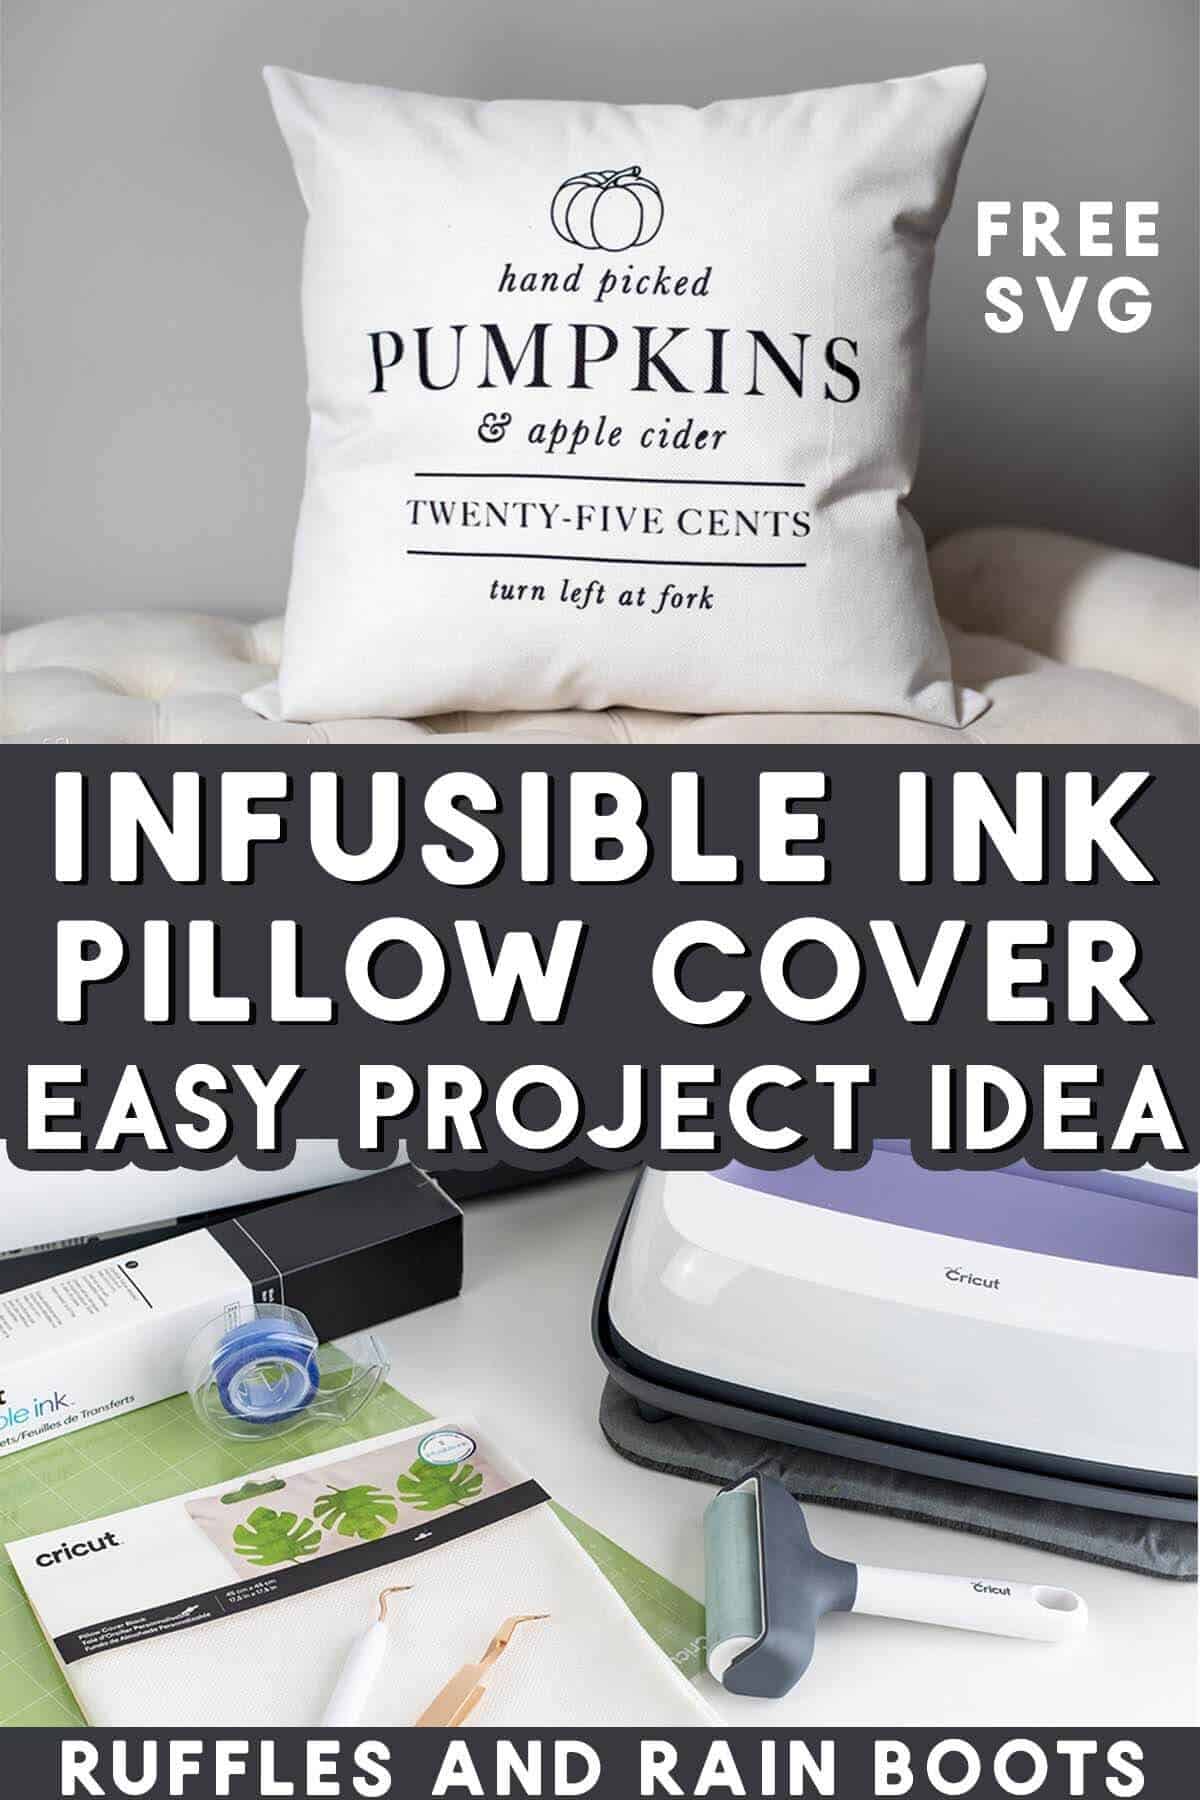
Cricut Pillow for Fall with Free SVG
This tutorial to create an infusible ink pillow with a free pumpkin themed SVG is the perfect way to spruce up your space. In this tutorial, you will learn how to create an Infusible Ink™ transfer using any cutting machine.
You will also need a pillow case (read below for type), a heat press, and a standard grip mat. Let’s get started with this beginner Infusible Ink™ project idea.
RELATED READING: Dollar Tree Basket Pumpkin for a Fast Fall Craft
What You'll Find On This Page
Easy Infusible Ink™ Pillow Project
Here are Ruffles and Rain Boots, I’m decorating for fall. It’s a wonderful transition period, isn’t it? The air is cooler, the bugs aren’t biting, and the apple cider is flowing (I love that smell).
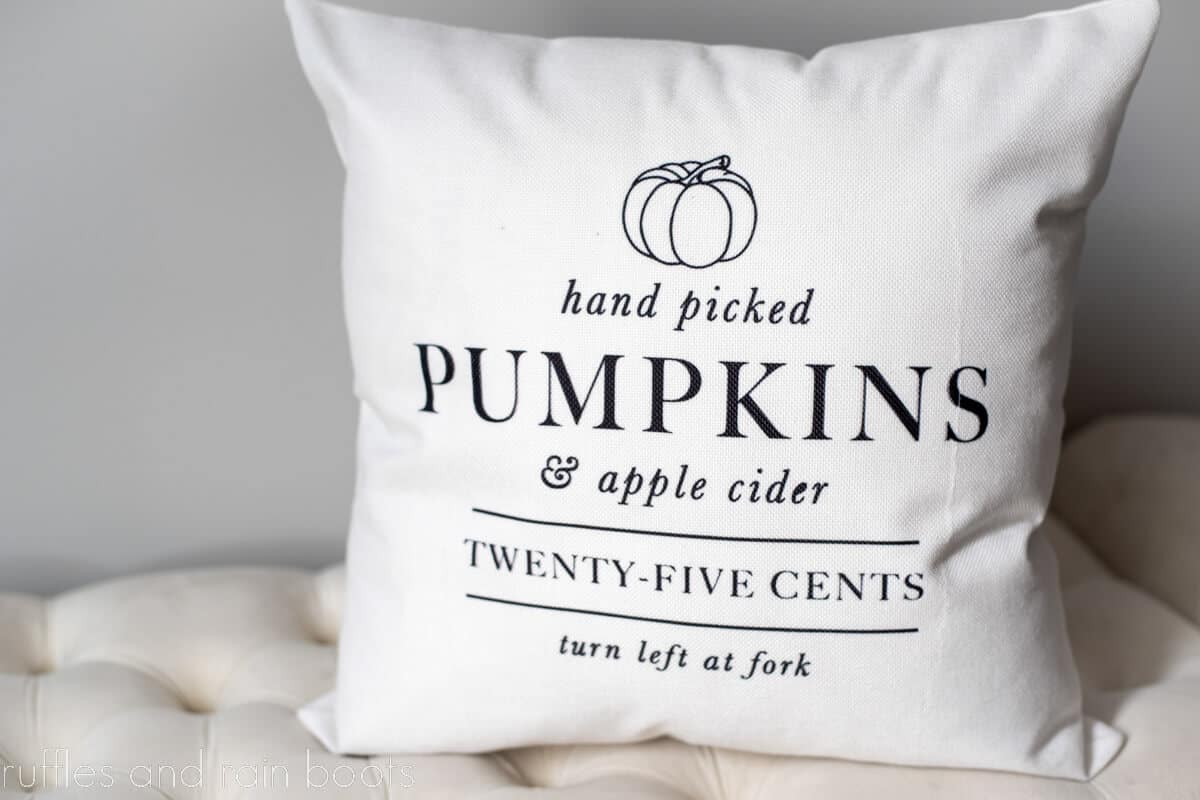
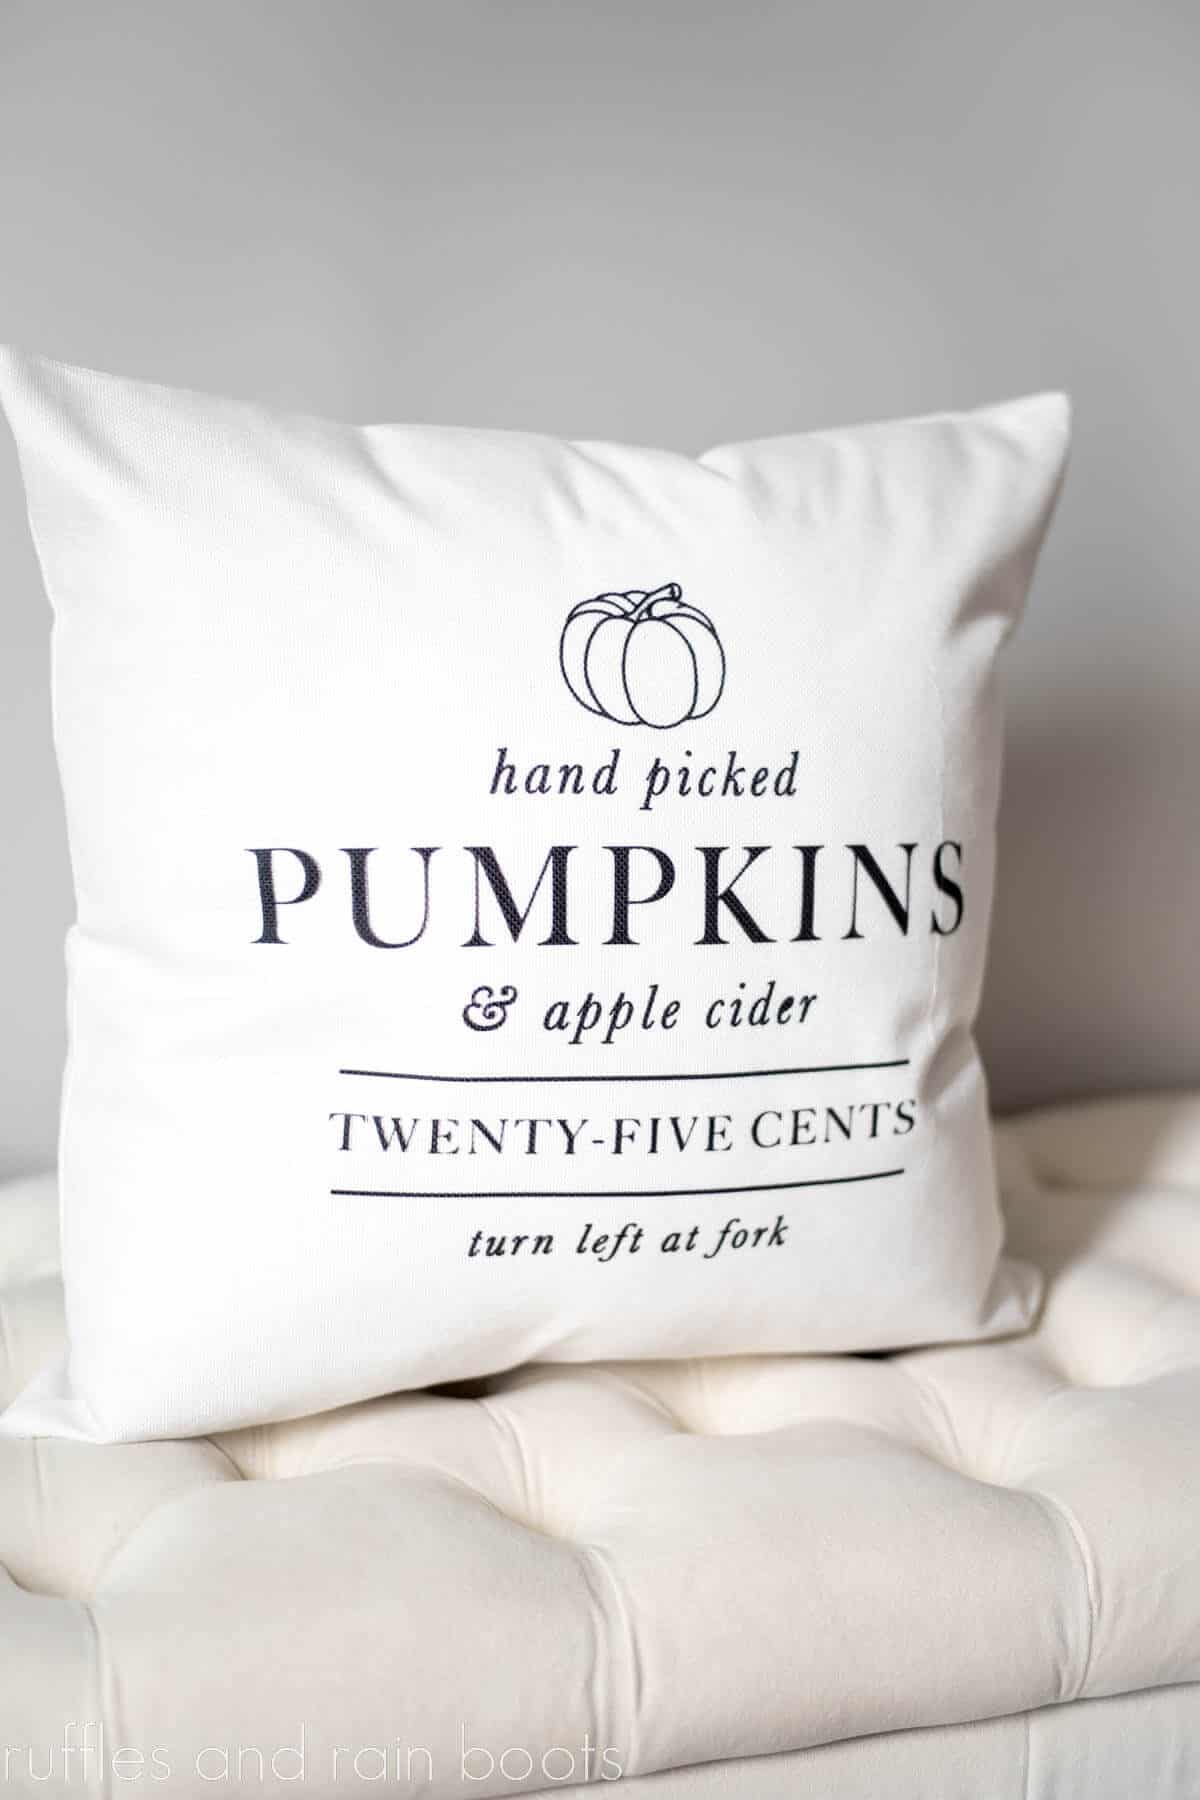
The free pumpkin patch SVG included below makes the perfect print for a pillow, canvas wall hanging, or dish towel. It takes such a short amount of time because we’re going to cut it out of a special material.
Need to Gather Supplies? Save or Share This
If you need to pick up some materials (I’ve provided helpful links below), save this to a DIY fall crafts pin board or share it on Facebook using the sharing buttons. It will make this Cricut project for fall easy to find when you’re ready to begin.
As an Amazon Associate, I can earn from qualifying purchases. There could be affiliate links within this article.
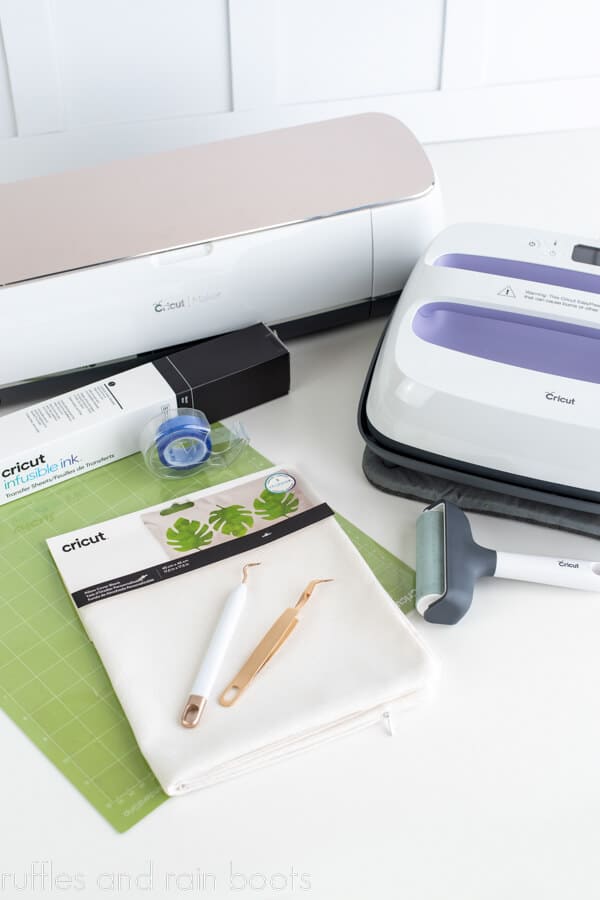
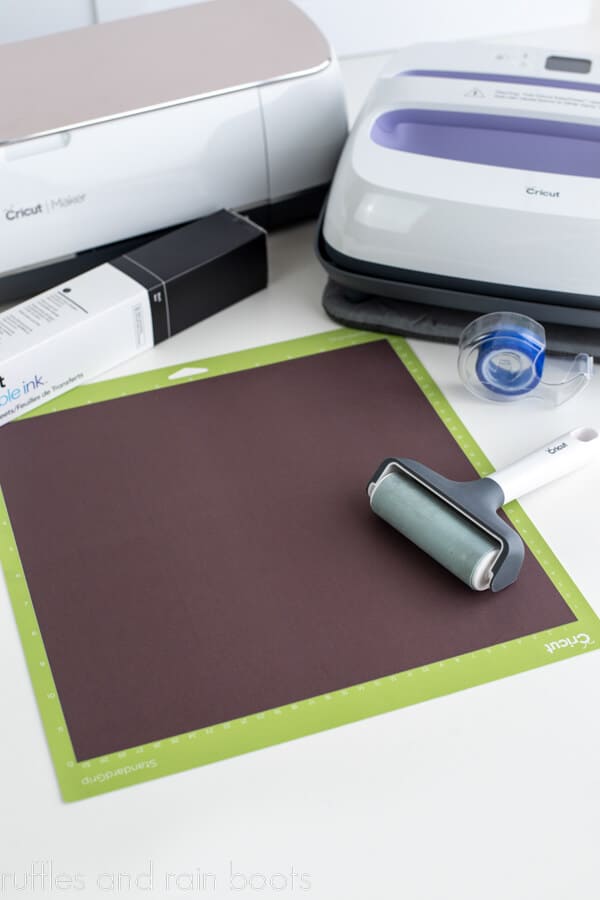
Supplies You Will Need to Make This Project
If you’re new to sublimation or working with Infusible Ink™, don’t worry. If you have the base materials and the right tools, you can do this!
- Cricut machine (all machines in the Cricut family)
- Cricut Infusible Ink™ Transfer sheet
- Sublimation-ready pillow cover
- Standard Grip mat (green or blue will work)
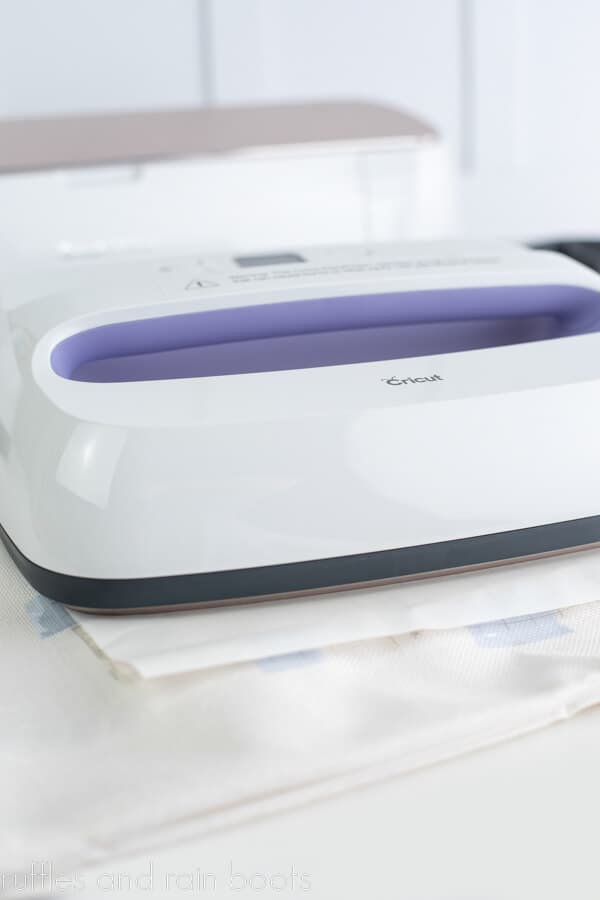
- Heat Press (any Cricut EasyPress will work, clam shells, etc.) – see note below
- Heat Safe Tape
- Brayer Tool
- Lint Roller (do not skip this)
As far as weeding this design, I recommend a pick or pin pen and tweezers. They are helpful to remove the small inner pieces from inside the letters.
RELATED READING: Free Fall SVG Files for Cricut, Silhouette, and More
How Large Can I Cut on a Single Infusible Ink™ Sheet?
For a single cut, the largest that this file can be cut and printed is 11.5 by 11.5 inches. Be sure to plan accordingly for whatever size pillow and case you have.
You can cut this out for larger projects like signs, just know that you’ll have to split the design. Measure twice (or four times in my case) and cut once.
Can I Use an Iron with Infusible Ink™?
I get this question a lot and, unfortunately, the answer is no. Unlike heat transfer vinyl, you cannot use a regular iron with Infusible Ink™. It will not work for this project for two reasons:
- Household irons do not get hot enough to transfer Infusible Ink™. Because it can be thought of as ‘easy sublimation,’ the same restrictions apply with a minimum temperature to transfer the special ink.
- When transferring sublimation or Infusible Ink™, the press and the item should be kept as still as possible. If shifting happens, ghosting can occur, which means the design can look fuzzy or have a duplicate.
RELATED READING: Make a Fun Infusible Ink Tote Bag in Just Minutes
Tips for Creating This Infusible Ink Pillow Project
- I get asked a lot which machines cut Infusible Ink™ and the answer is all of them: Cricut Maker, Explore series, and even the little (buy mighty) Joy will work!
- The heat press you use should fit the design, not the blank. If you’re making a 12×12 pillow case with a 10 inch design, the press should be 10 inches at a minimum.
- To prevent ghosting, use heat resistant tape and do not move the press when the ink is transferring. When removing the press, lift straight up.
- If you are learning how to use Infusible Ink™, just like sublimation, does not work well with a household iron.
- Use the tweezers and the weeding tool for the smaller details after “cracking” the ink sheet. The right tools make it easier and will result in much less frustration.
- I use these pillow inserts and remember to buy ONE SIZE LARGER than the pillow case you’re pressing. It will make dense, full pillows.
- Be sure to download the free SVG design and follow the directions below.
Psst: open this page in a new window and check out all of the free SVG cut files I offer!
Free Pumpkin Patch SVG and Infusible Ink™ Tutorial
Below is the written and printable tutorial for this fun design and Infusible Ink pillow project. Remember, measure twice, cut once, and use the comments section to ask any questions.
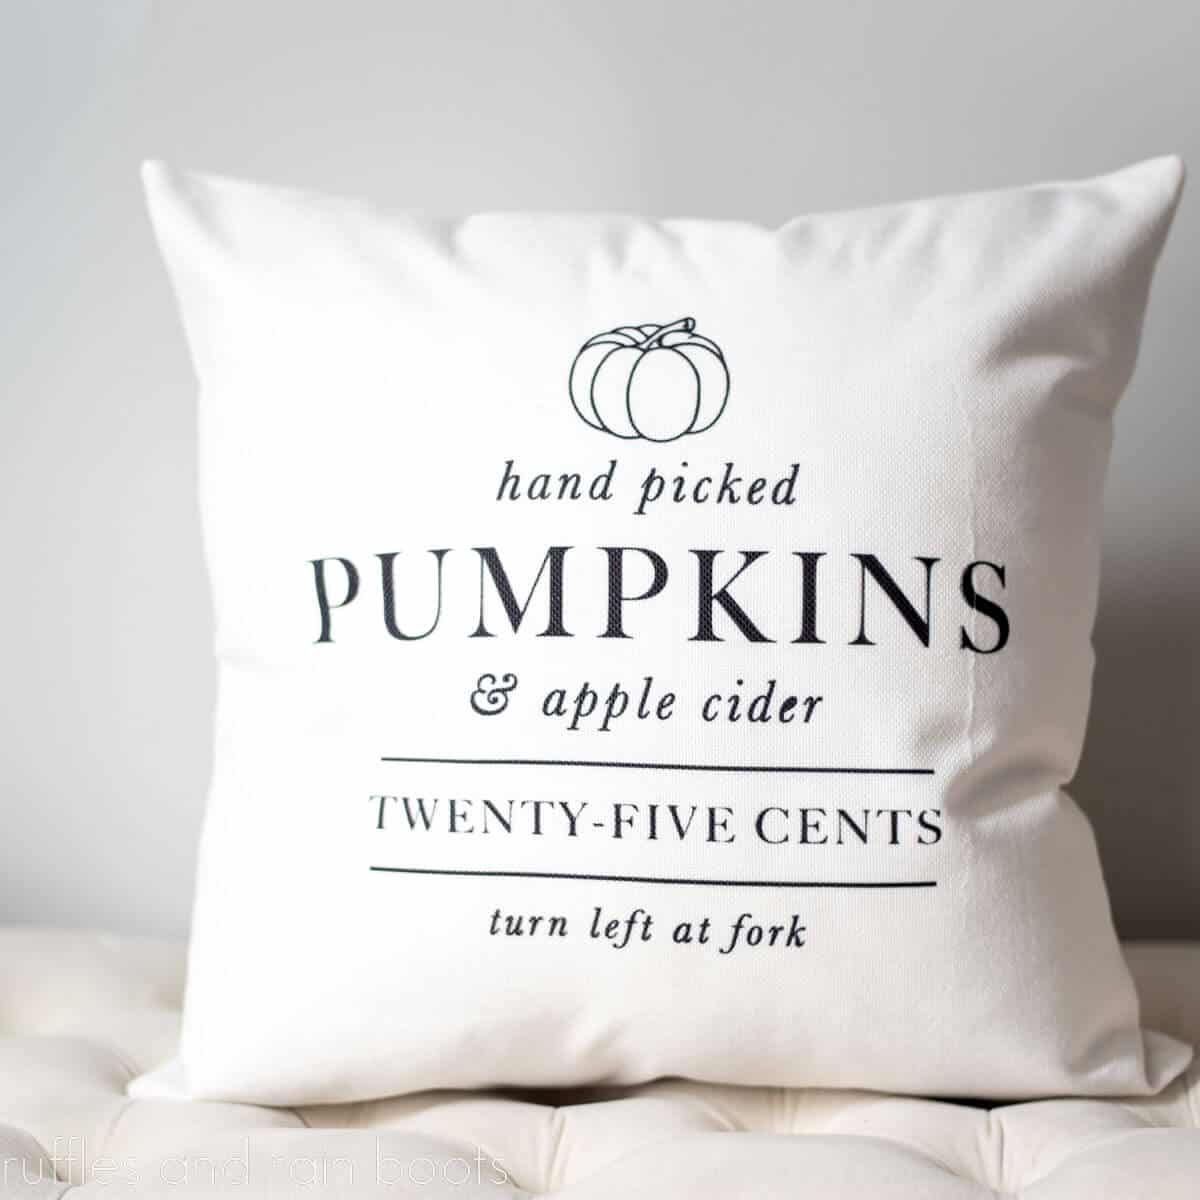
Fall Pillow with Infusible Ink
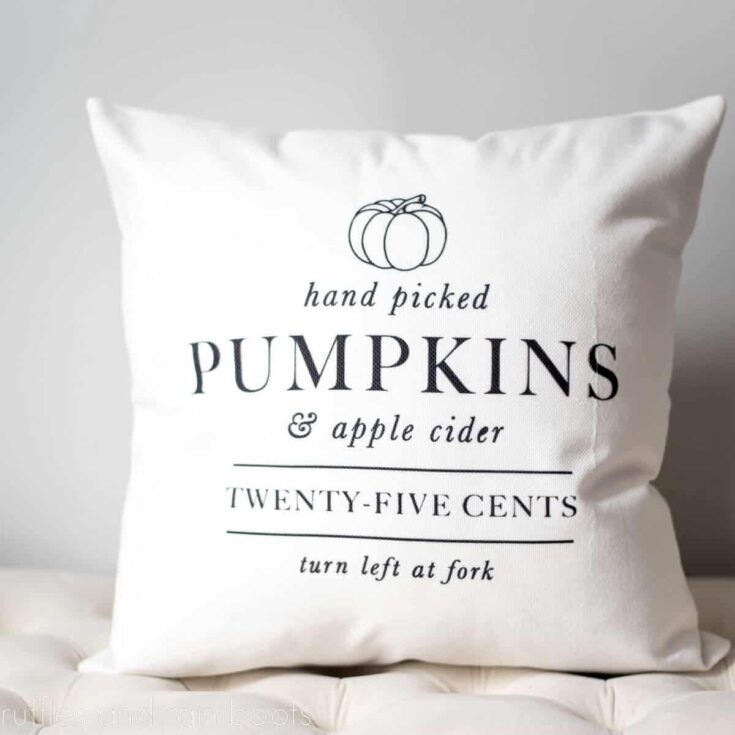
You're going to love this fall pillow DIY using Infusible Ink and the free pumpkin patch SVG. If you've never worked with the ink sheets, it's definitely an experience, and they are a great stand-in for sublimation.
Materials
- Infusible Ink Sheet
- Infusible Ink Pillow Cover (a sublimation pillow cover works)
- Heat Resistant Tape
Tools
- Cricut Machine
- Heat Press
- Weeding Tool
- Tweezer Tool
- Cricut Mat (blue or green)
- Brayer
- Lint Roller
Instructions
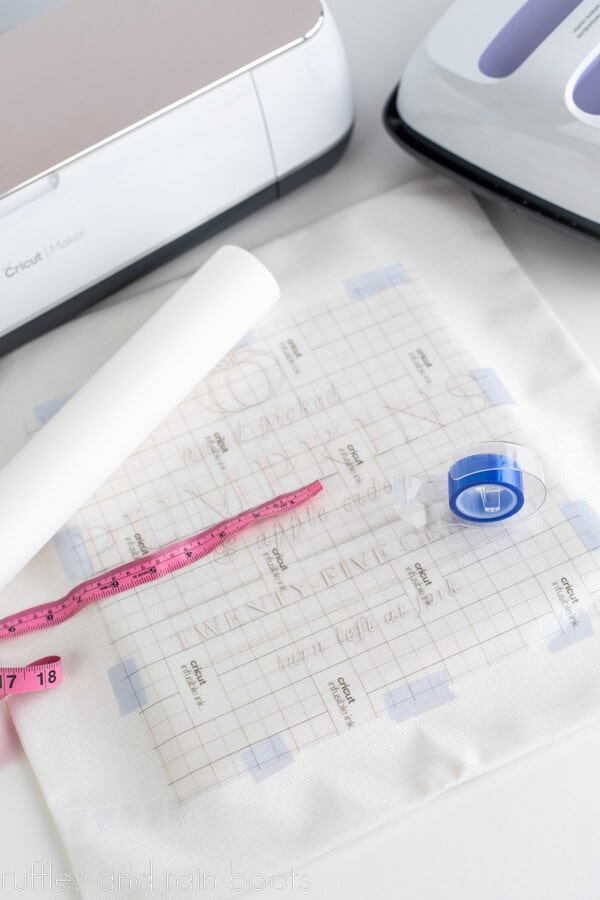
- Download the SVG and upload it into Design Space or other software. Size to 11.5 square for a 15" pillowcase cover. Select Make, mirror the design, and choose Infusible Ink from the drop down materials menu. Optional: select more pressure.

- Add the infusible ink to the mat carefully (do not touch the ink sheet, if you can). Brayer down the sheet to the mat to secure.
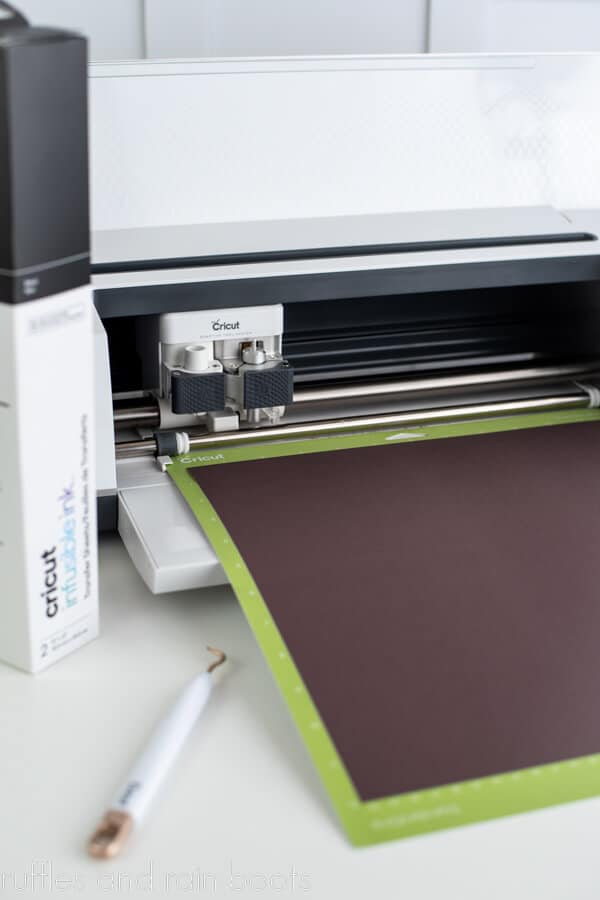
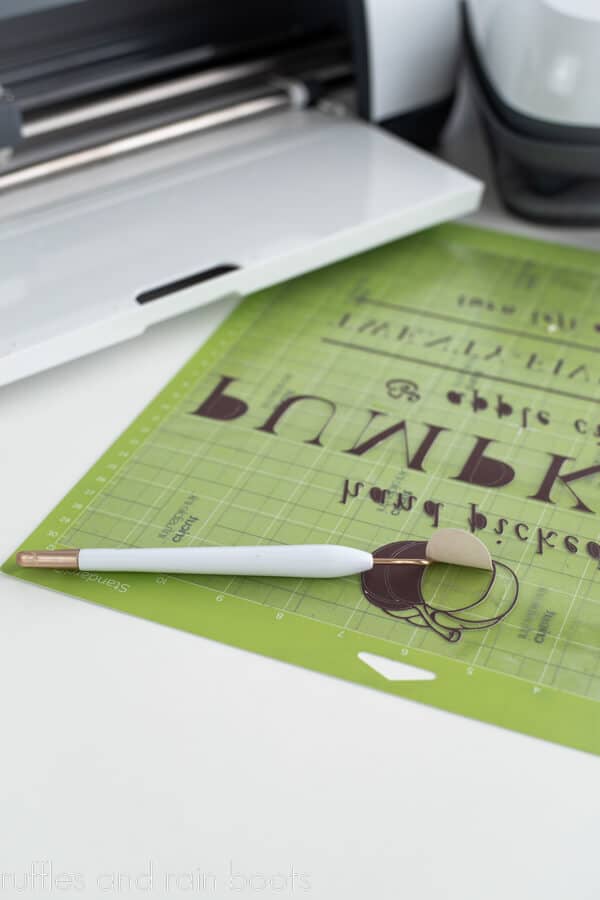
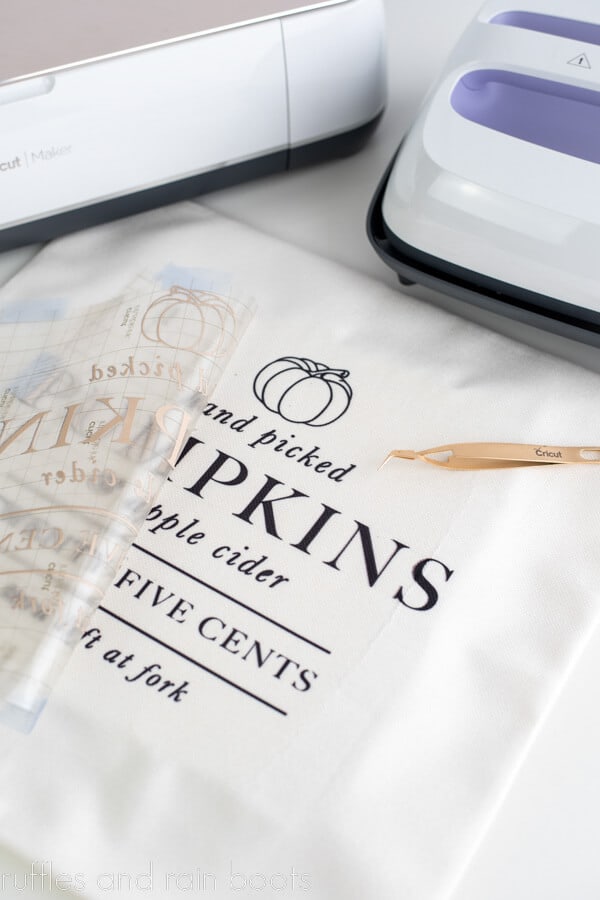
- Load the mat into the Cricut machine and hit the "go" button to cut. Weed the design on the mat and transfer sheet using the weeding tool and tweezers. It helps me to start big sections I'm removing instead of with the details like the insides of the letters. Remove the weeded design from the mat.
- Use the lint roller to get any fuzz off the pillow cover and center the design before using the heat safe tape to secure it.
- Add the butcher paper (some should be included in the Infusible Ink box) to the inside of the pillow and another sheet on top of the printed design. Per the package instructions, set the press to 380 degrees and a time of 60 seconds. Place directly onto the design (take care not to move it around).
- Once cooled, take off the tape and transfer from the pillow. Add the pillow insert and you're done.
Notes
Infusible Ink sheets are stiff and will CRACK (audibly) when you're removing large sections. This is normal. :)
Always use one size larger pillow insert to the pillow cover. For this project, the pillow cover is 12 inches square and the insert is 14 inches square.
This design can also be made with heat transfer vinyl or sublimation.
Recommended Products
As an Amazon Associate and member of other affiliate programs, I earn from qualifying purchases.


More Fun Fall Activities and Ideas
- Spring Sublimation Pillow – This easy project and premium bee design SVG will make easy work of decorating this year.
- DIY Pumpkin Napkin Rings – These would be perfect for decorating your fall table and they’re a really fun craft to make.
- Easy Fall Shelf Sitter Gnome Pattern – Everyone needs this as part of their fall decor; hop on the trend!
Please Save or Share This Beginner Infusible Ink™ Project Idea
Your shares are how this site grows, and I am sincerely grateful. Please save this fall Cricut craft idea to a pin board or share it with a crafty group on Facebook.

Completely missed the file 😩 I’m already subscribed but all I get are boxes to subscribe again?
Julie, you do not have to subscribe to get this file. It’s in the tips section and reads, “be sure to download the free svg design and follow the directions below.”