
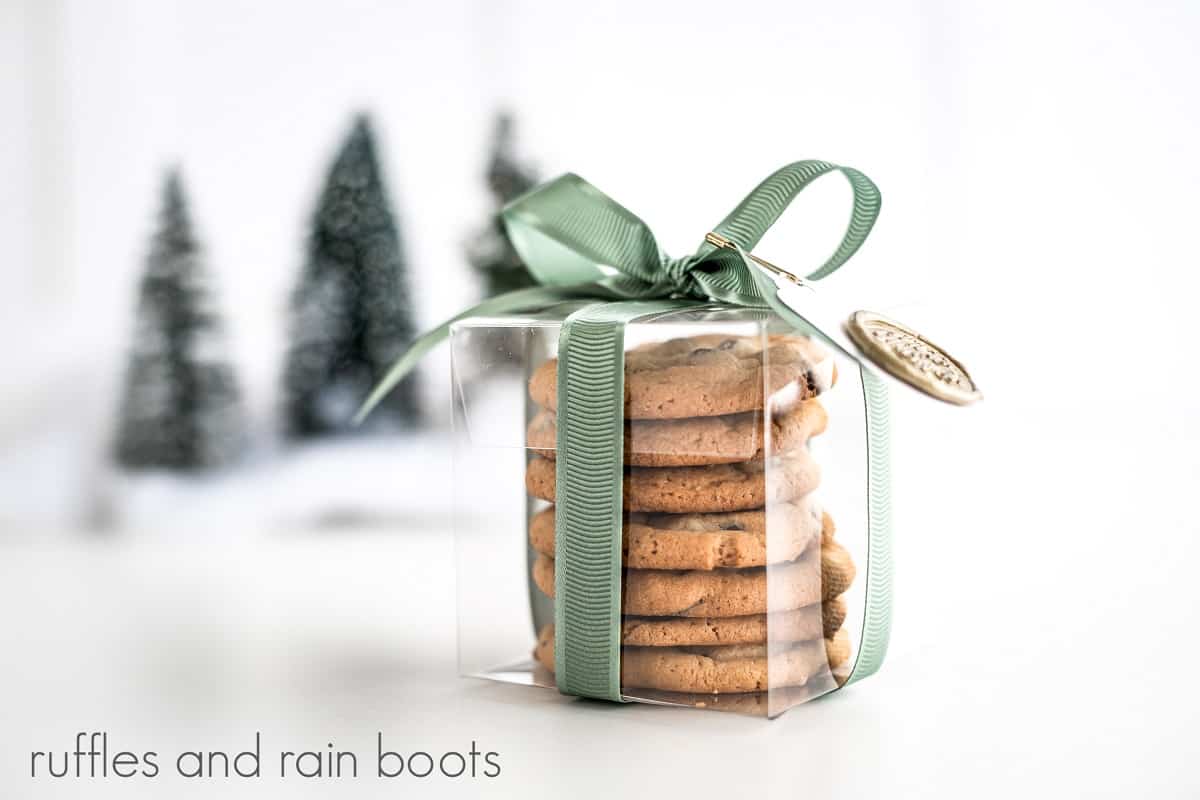
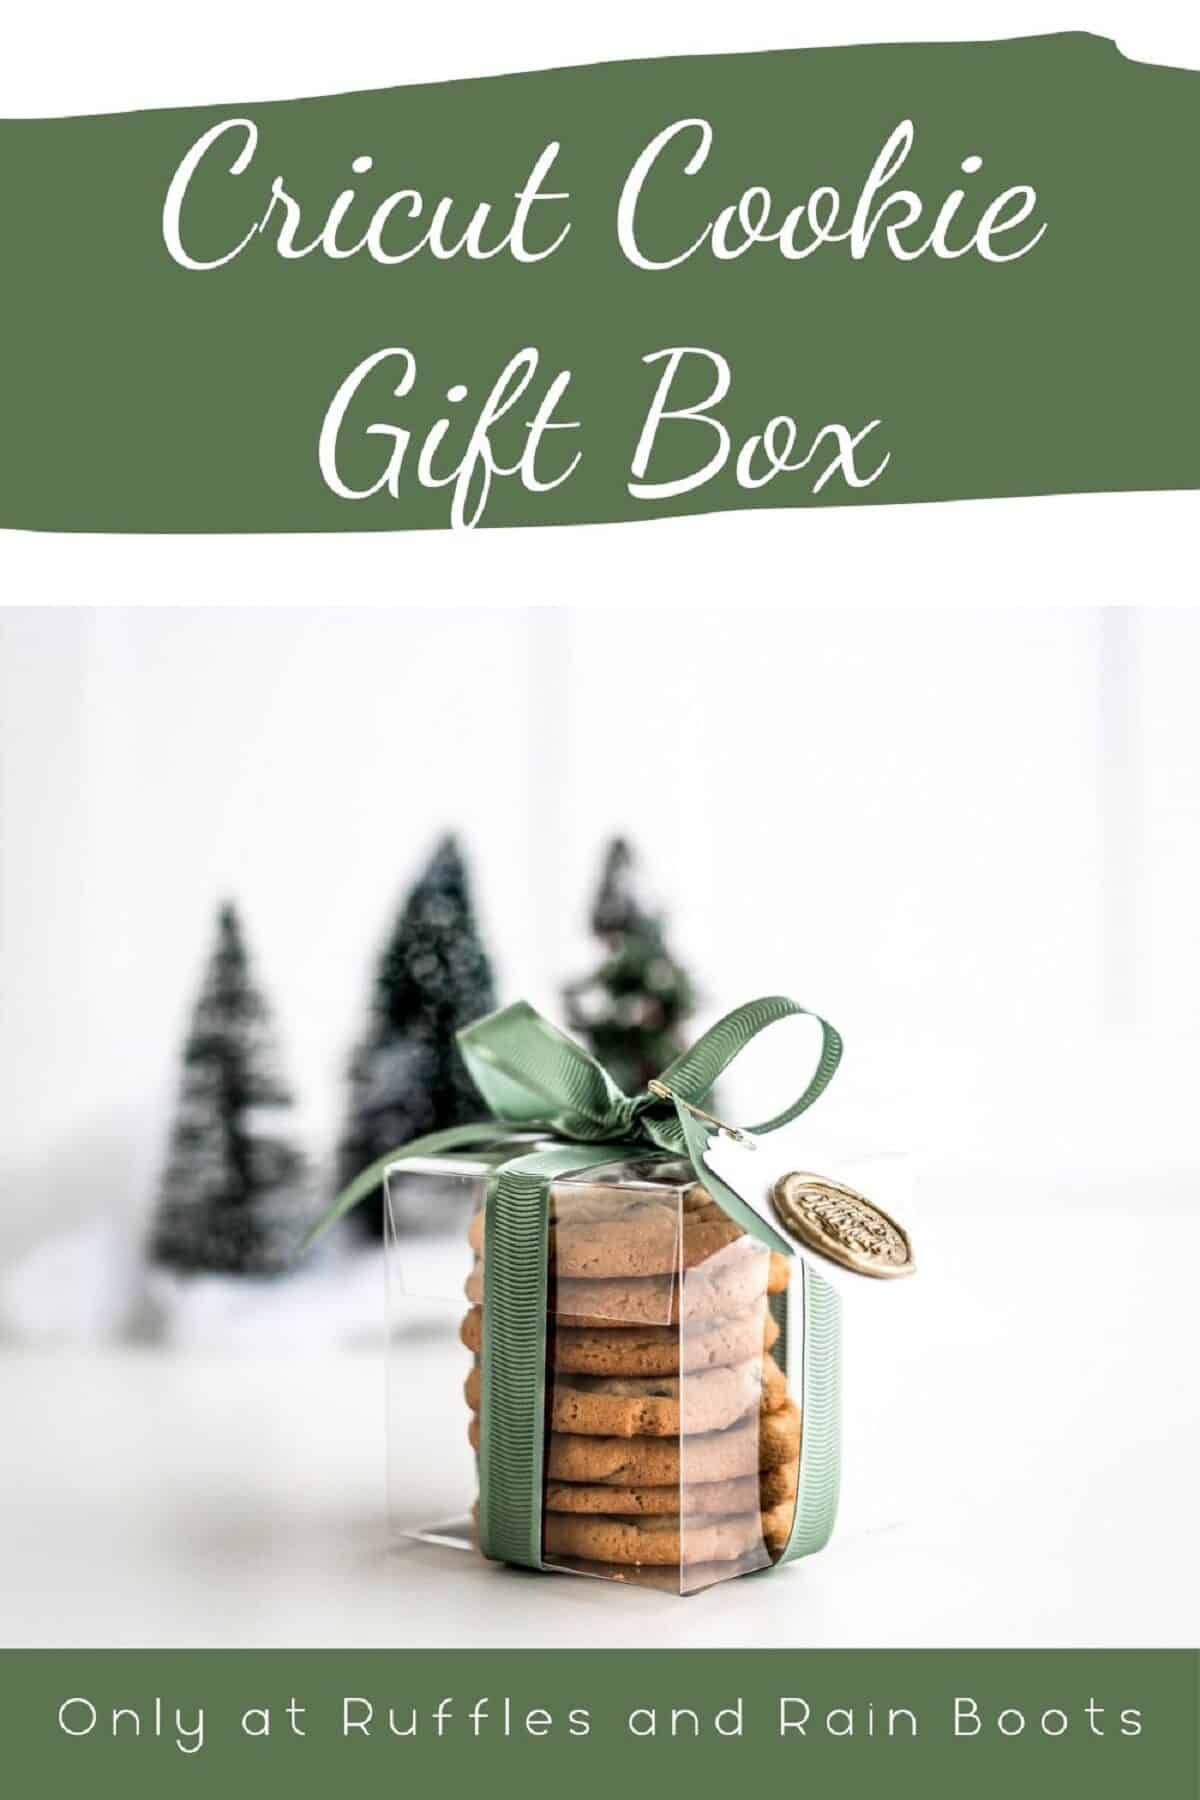
Cricut Cookie Box – Free SVG
Are you looking for a unique craft for this holiday season? Our recommendation is this Cricut cookie box. This beginner Cricut project idea allows you to craft and share Christmas cheer.
A Cricut project like this is right up our alley because it is easy and inexpensive to make. Materials for this project are probably in your craft bin or can be picked up from a local craft store.
RELATED READING: How to Make A Pie Slice Box with the Cricut (free SVG)
What You'll Find On This Page
Free Cookie Gift Box SVG and Tutorial
Here at Ruffles and Rain Boots, we like to think outside the box when it comes to gift-giving. In my opinion, the gift presentation can be just as fun as the present inside.
Homemade baked goods are one of my favorite holiday gifts to give. What better way to make someone’s day than to share cookies, a cake, or a pie from a favorite family recipe?
When I can make a simple decorative treat box for my baked goods, it feels more meaningful. And as a bonus, it adds a level of elegance to holiday gift-giving.
No Time to Make This Now? Save or Share for Later
Holidays can be crazy busy and we get it! Do you want to make this Christmas cookie gift box, but not right away? Save this to your favorite holiday gift pin board or share it on Facebook and come back to make it later.
As an Amazon Associate, I could earn from qualifying purchases. There may be affiliate links within this article.
Tips for Working with Acetate and Cutting Machines
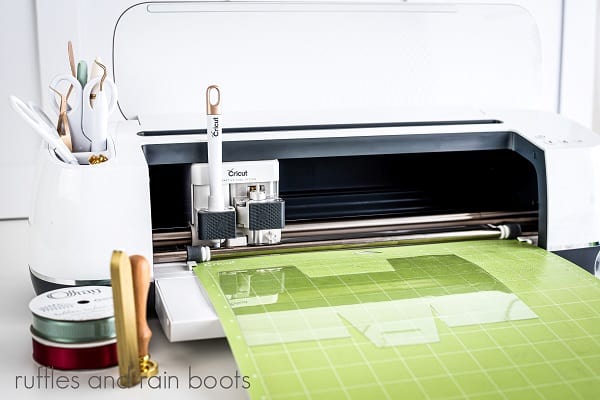
- Cricut Maker, Cricut Explore, and Joy machines are all able to cut the quality acetate I’m using in this tutorial. All you need to do is set the dial to acetate in your custom settings.
- Acetate is a versatile material to use on your Cuddlebug, Brother, Silhouette or Cricut machine. In addition to this Cricut cookie box, you can make gift tags, frames, cards, and cut-outs for your project. Add paint or a cool texture to your acetate for a unique look.
- I get asked a lot if one should use this same material to create stencil. I like the idea, however, acetate tears easily and it may be a one-and-done use. Instead, I recommend using the Cricut Stencil Vinyl for a reusable stencil.
- Speaking of options… If you want to make colored boxes, look for colored acetate sheets and colored overhead transparencies.

Supplies for a Cricut Cookie Gift Box
In order to make this easy food craft idea, you will need the following. Please note that the stamp and wax are obviously optional. :)

- 12 x 12 Acetate sheets
- Standard Grip Mat
- Card Stock (any color)
- Double-sided Clear Tape
- 5/8″ Ribbon
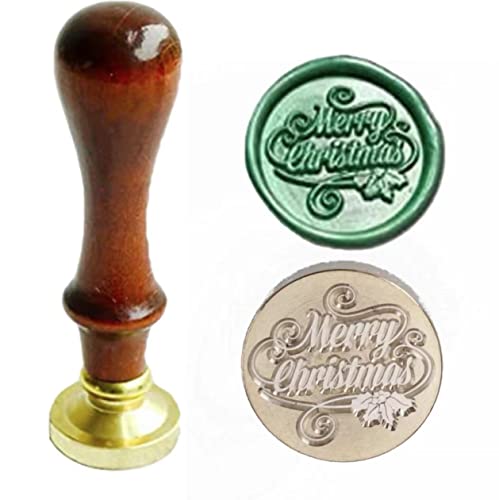
- Wax Seal
- Wax Sticks
- Lighter
- Safety pins
- Free Cricut Box Template SVG File (green, part 1; red, part 2)
How to Make a Cookie Box with a Cricut or Silhouette Machine
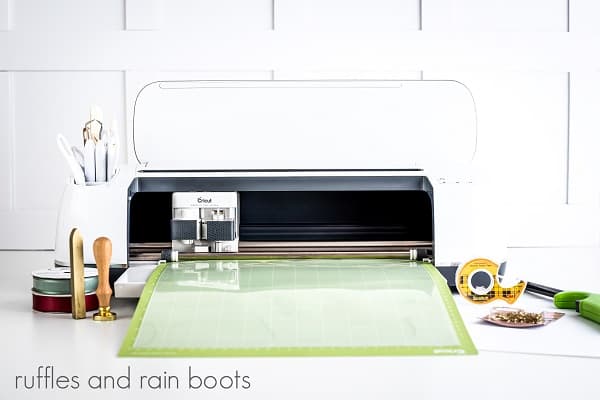
Step 1: Upload the free cookie box SVG file to the software. Choose ungroup on the layers panel and then the layer with the fold lines.
Step 2: Select the score lines layer and the main box shape layer.
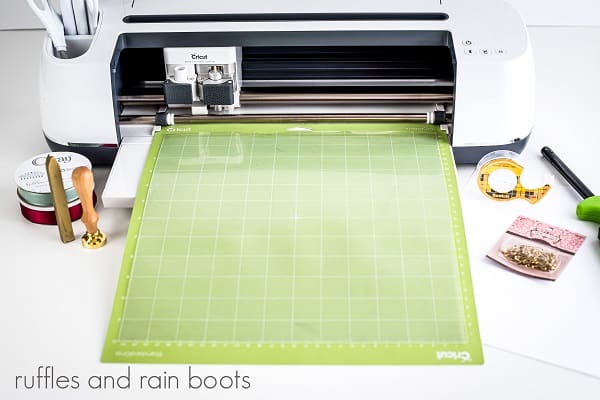
Step 3: Cut the box.
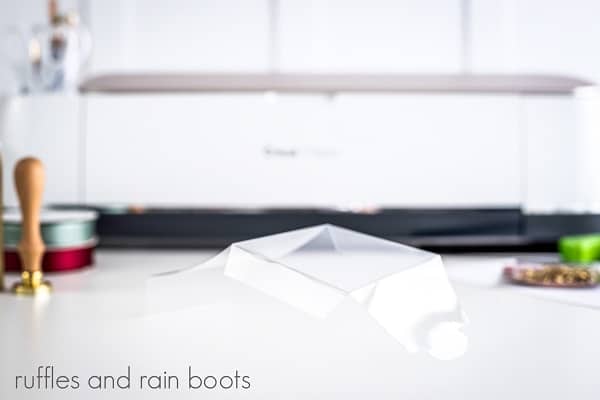
Step 4: Fold the gift box on the score lines.
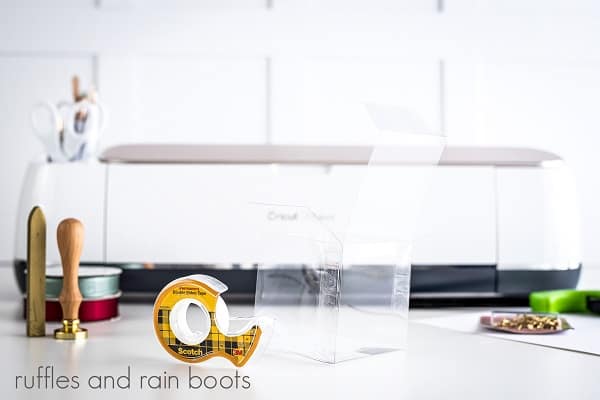
Step 5: Connect both parts of the box using double-sided tape.

Step 6: Next, upload the tag file to the design space and then hit make it to cut the tag.
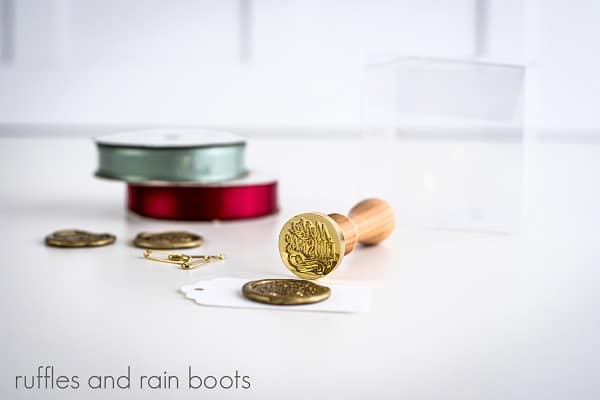
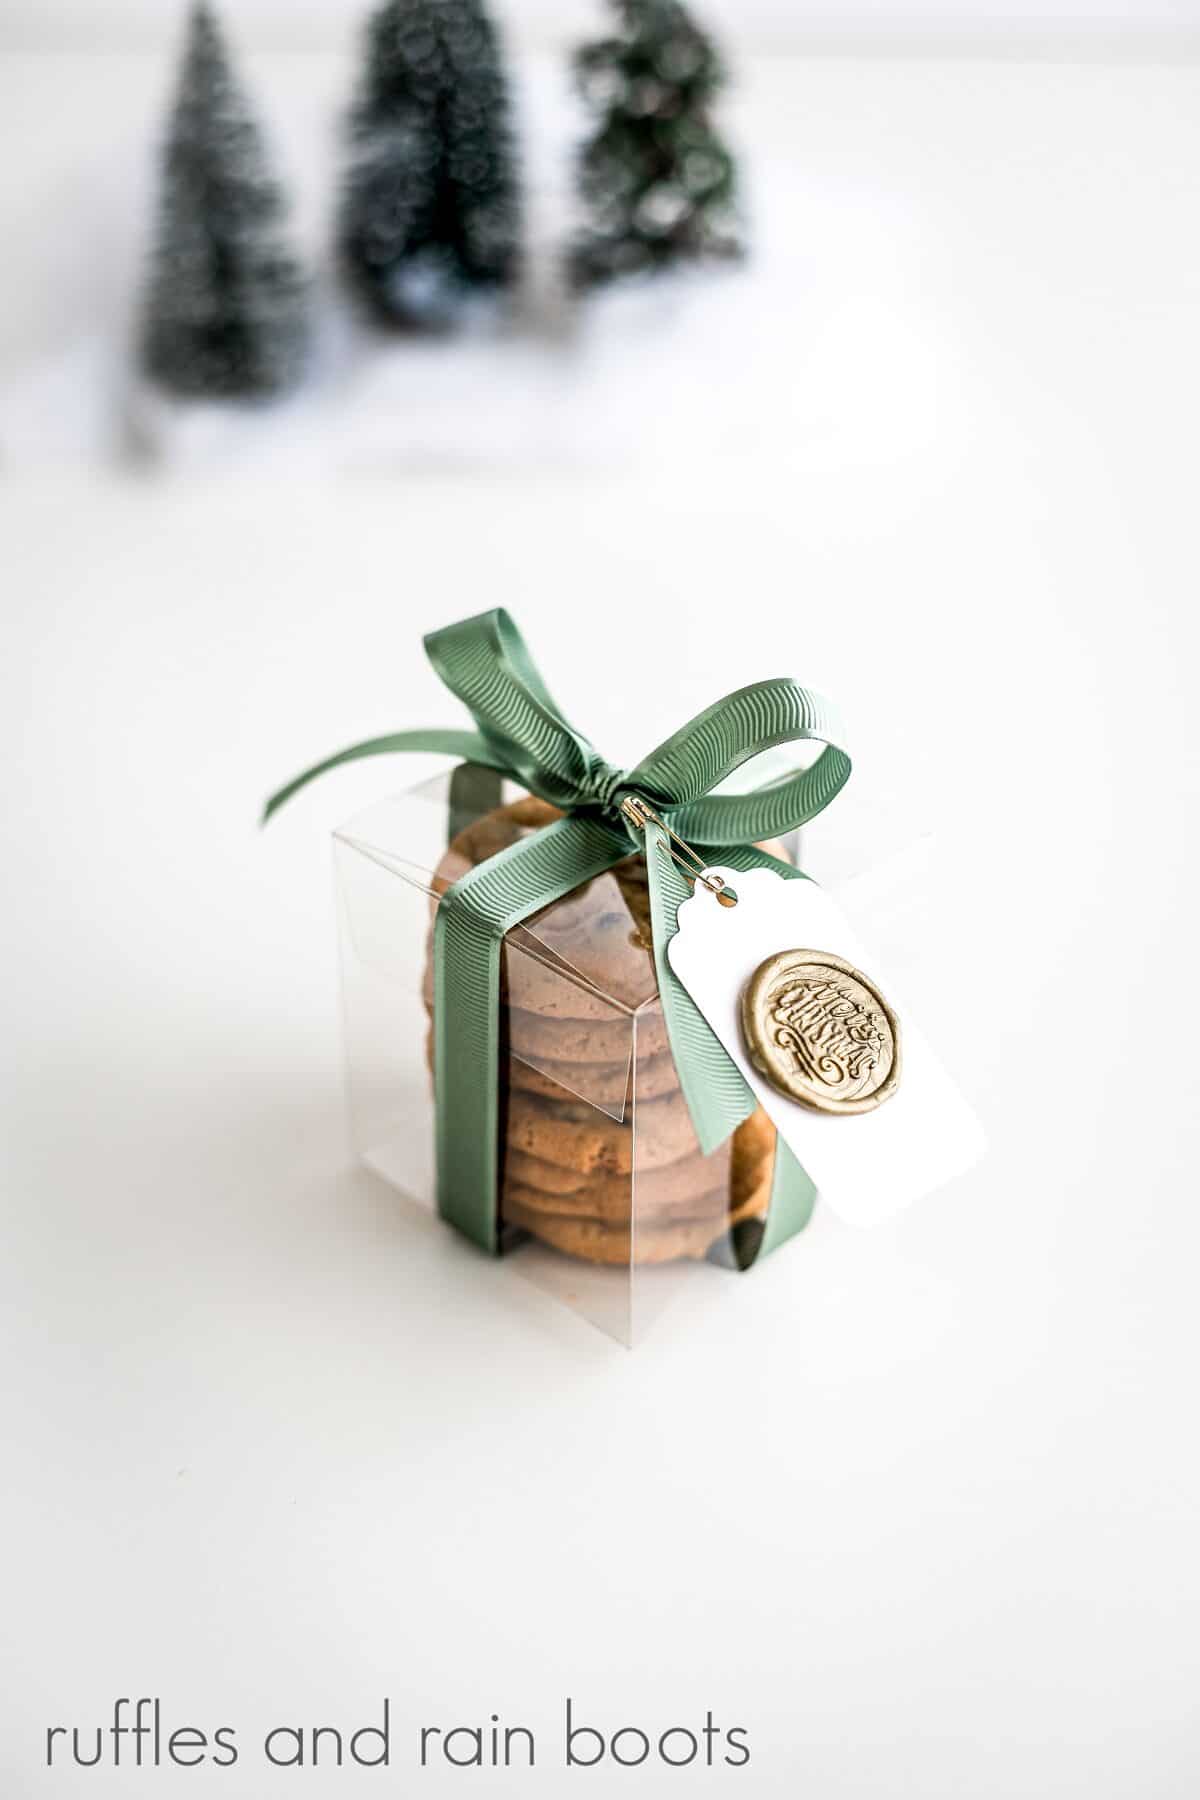
Step 7: Follow the manufacturer’s directions on the wax stick and seal for the tag.
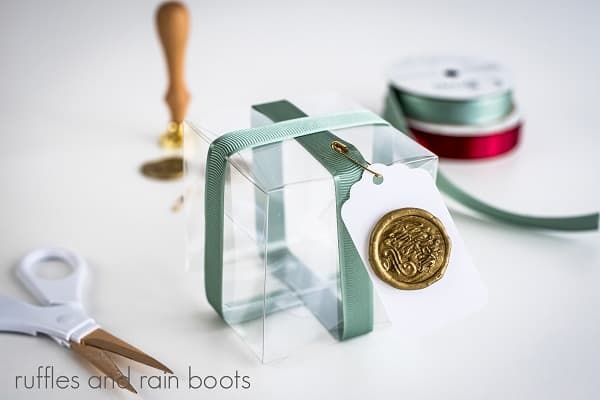
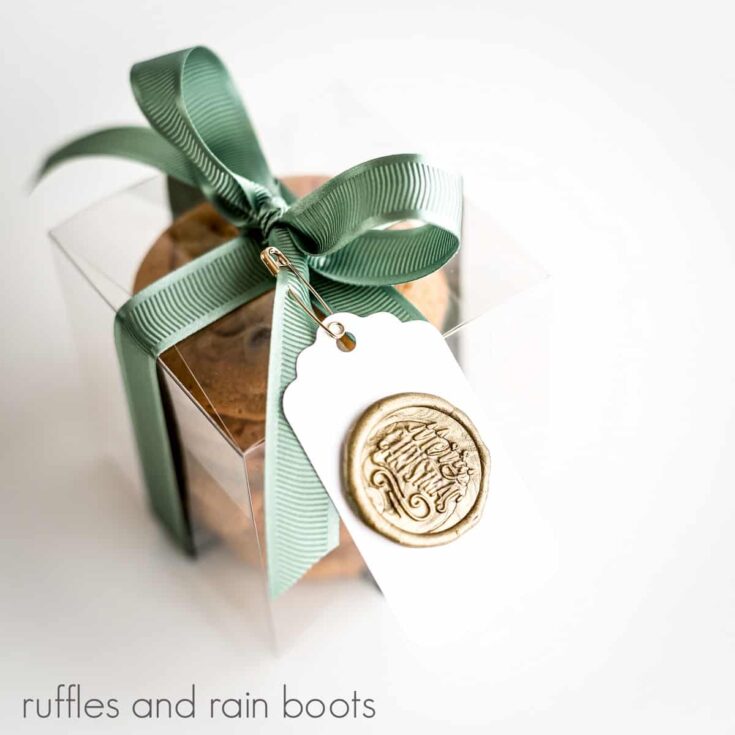
Step 8: Attach a decorative ribbon and the finished wax seal stamped tag to the box and you’re done.
Note: As I mentioned above, there are several choices of colored or foil acetate instead of the standard clear. Take this craft to a whole new level with one of these choices.
More Cricut Crafts You Might Enjoy
- Baby’s First Christmas SVG: Having a new baby during the holidays is the sweetest gift ever! Making and giving this easy craft would be such a cute keepsake
- Farmhouse Wooden Houses Christmas Cricut Craft: Do you love the rustic Farmhouse decor look as much as we do? Wooden houses made with your Cricut machine this Christmas is a craft that will fit in perfectly with your primitive home decor style.
- Make This Fun Ho Ho Ho Michey Christmas Craft: Add some Disney fun to your holiday table with this cute table centerpiece.
Cricut Cookie Gift Box
This Cricut cookie gift box idea makes a thoughtful handmade gift for friends or family or elevates your goodies for the kid's next bake sale
Materials
- 12 x 12 Acetate Sheets
- Card Stock
- 5/8 Inch Ribbon
- Wax Seal (Available on Amazon)
- Wax Sticks
- Double Sided Tape
- Small Safety Pins
- SVG File for Free Cookie Box
Tools
- Cricut Machine
- Standard Grip Mat
- Lighter
Instructions
- Upload the file to design space and select ungroup on the layers panel. Hihglight the fold line layer in the layer panel, click "line type" at the top toolbar, and select "Score" from the drop down.
- Now, select the main box and score lines layers and select "Attach." You will repeat steps one and two for both files of the box (the box is in 2 pieces to fit approx. 5-7 cookies at about 3” in diameter).
- Select Make to cut the box and change the settings to "Acetate" before loading your mat. Change the tool to a scoring wheel (or stylus) and load the machine. Cut the box.
- Fold the score lines.
- Place double-sided tape on the tabs on the back wall of the box (this was the green portion). Connect them together.
- Upload the tag file into the software, size it to your liking, and select Make. Select card stock from the materials list, add the card stock to the mat, and load a cut tool in the machine. Cut the tag.
- Create the wax seal on the tag
- Attach the tag onto the box, burning the ends of the ribbon with the lighter to prevent fraying. Use a small safety pin to secure the finished tag to the ribbon.
Notes
To make larger or smaller boxes, be sure ALL layers for both pieces are selected when resizing.
To fit both files on a single 12x12 sheet of acetate, rotate one 1 of the files to fit (preview via the Make button).
Score lines will be nearly invisible until it's time to fold; don't worry, you've done nothing wrong!
Recommended Products
As an Amazon Associate and member of other affiliate programs, I earn from qualifying purchases.


Please Save or Share
Your shares are how this site grows and I sincerely appreciate it. Please share this easy Cricut project to your favorite Cricut or Christmas pin board or share it on Facebook.
Meet the Creator
Hi there, I’m Sarah Nenni-Daher. I’m a crafty gal and always have at least 14 projects going at once. I am a crafter, designer, DIYer, and pattern maker. I share my creations here and in the Ruffles and Rain Boots® Shop.
Here at Ruffles and Rain Boots®, you’ll find DIY gnomes, crafts, gifts, cupcakes, laser crafts, and so much more. I love sharing video tutorials over on YouTube and chatting with other crafters in my Facebook groups. We’d love to have you!