
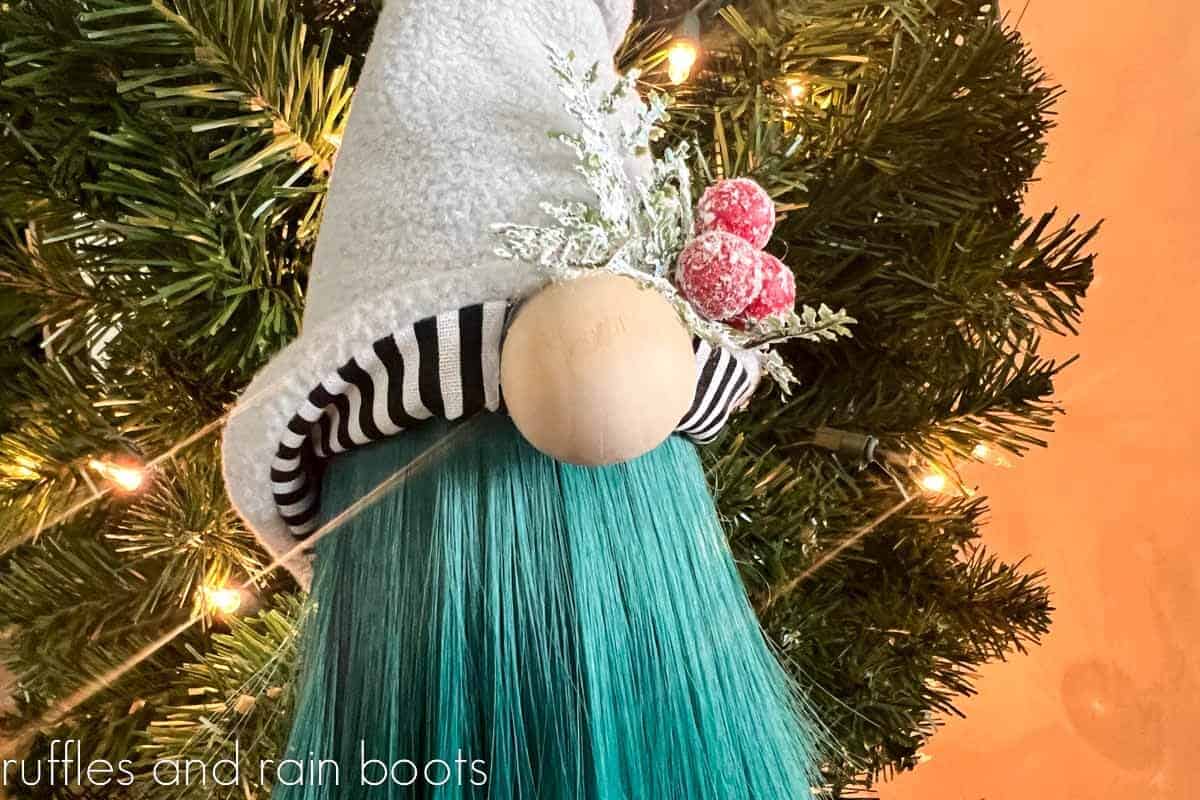
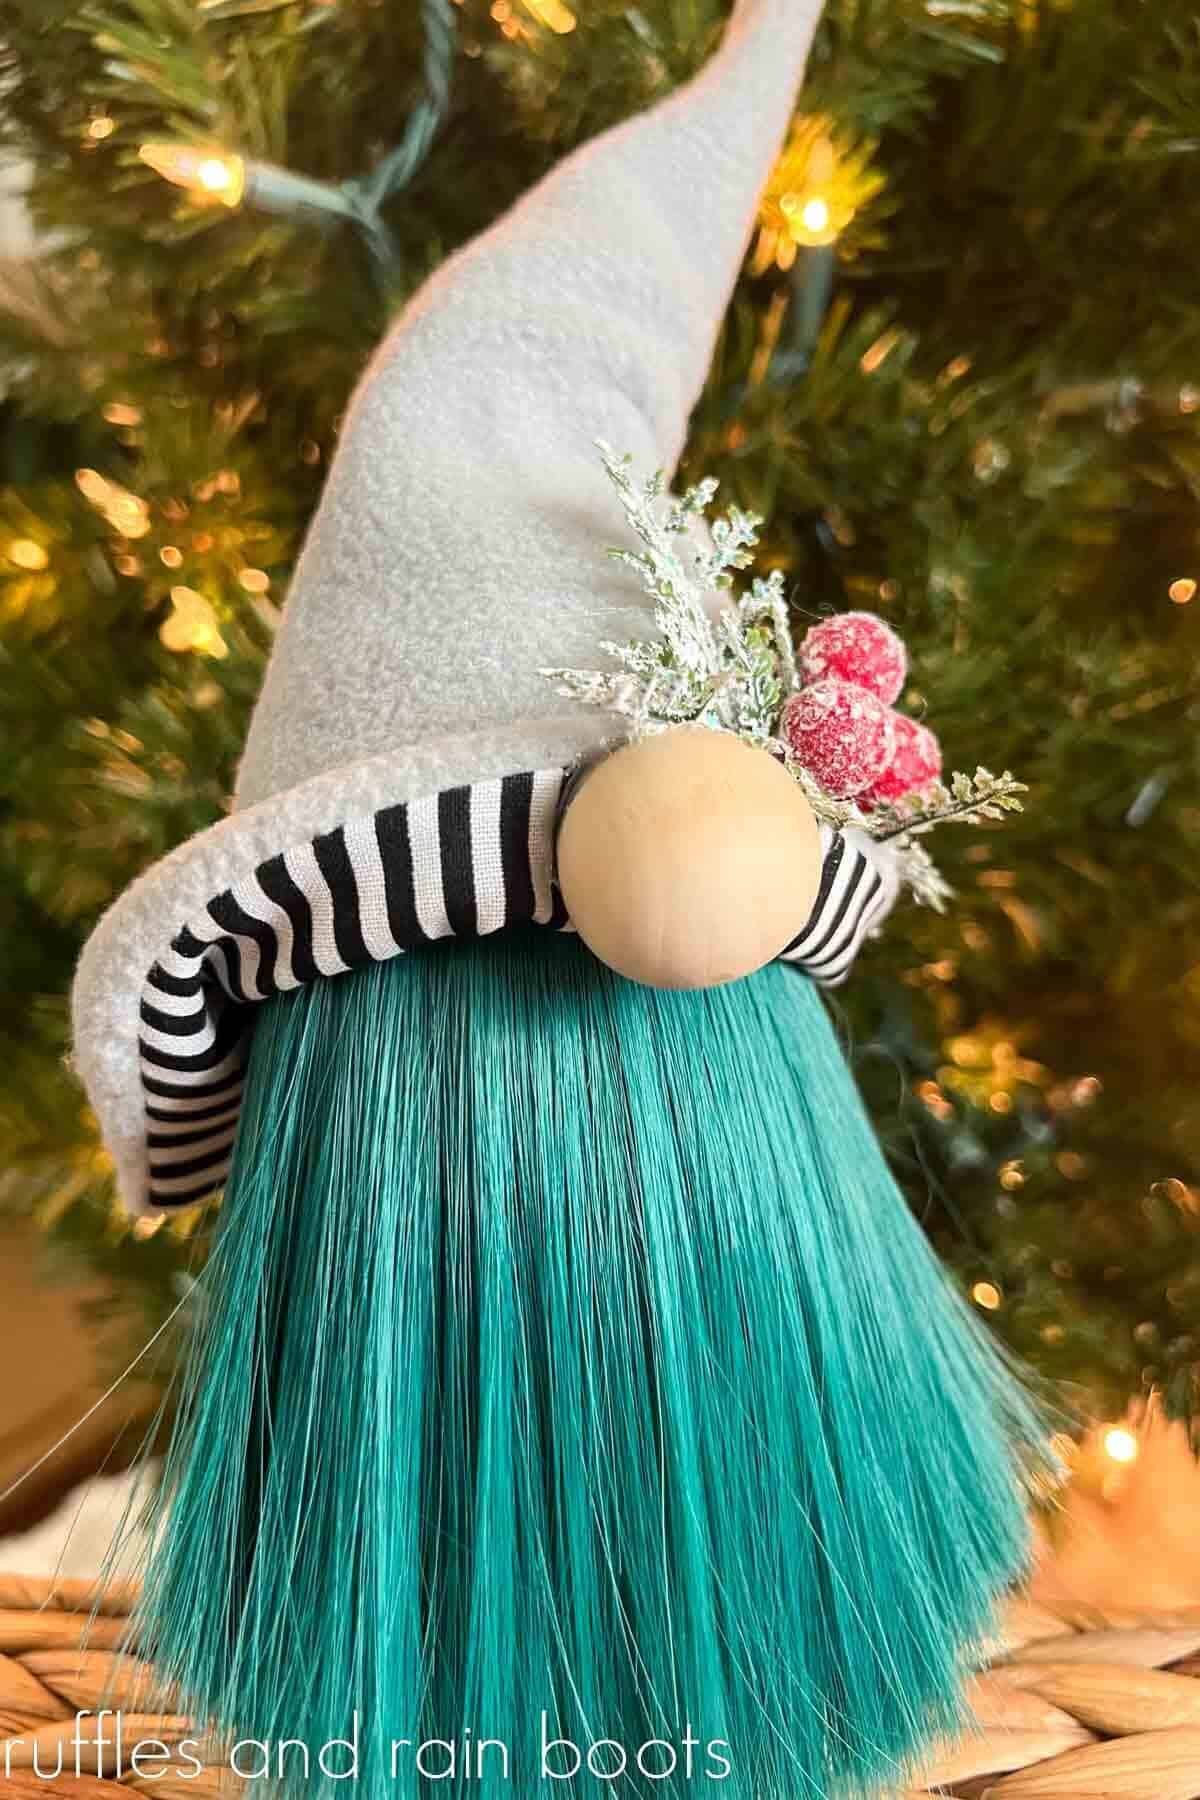
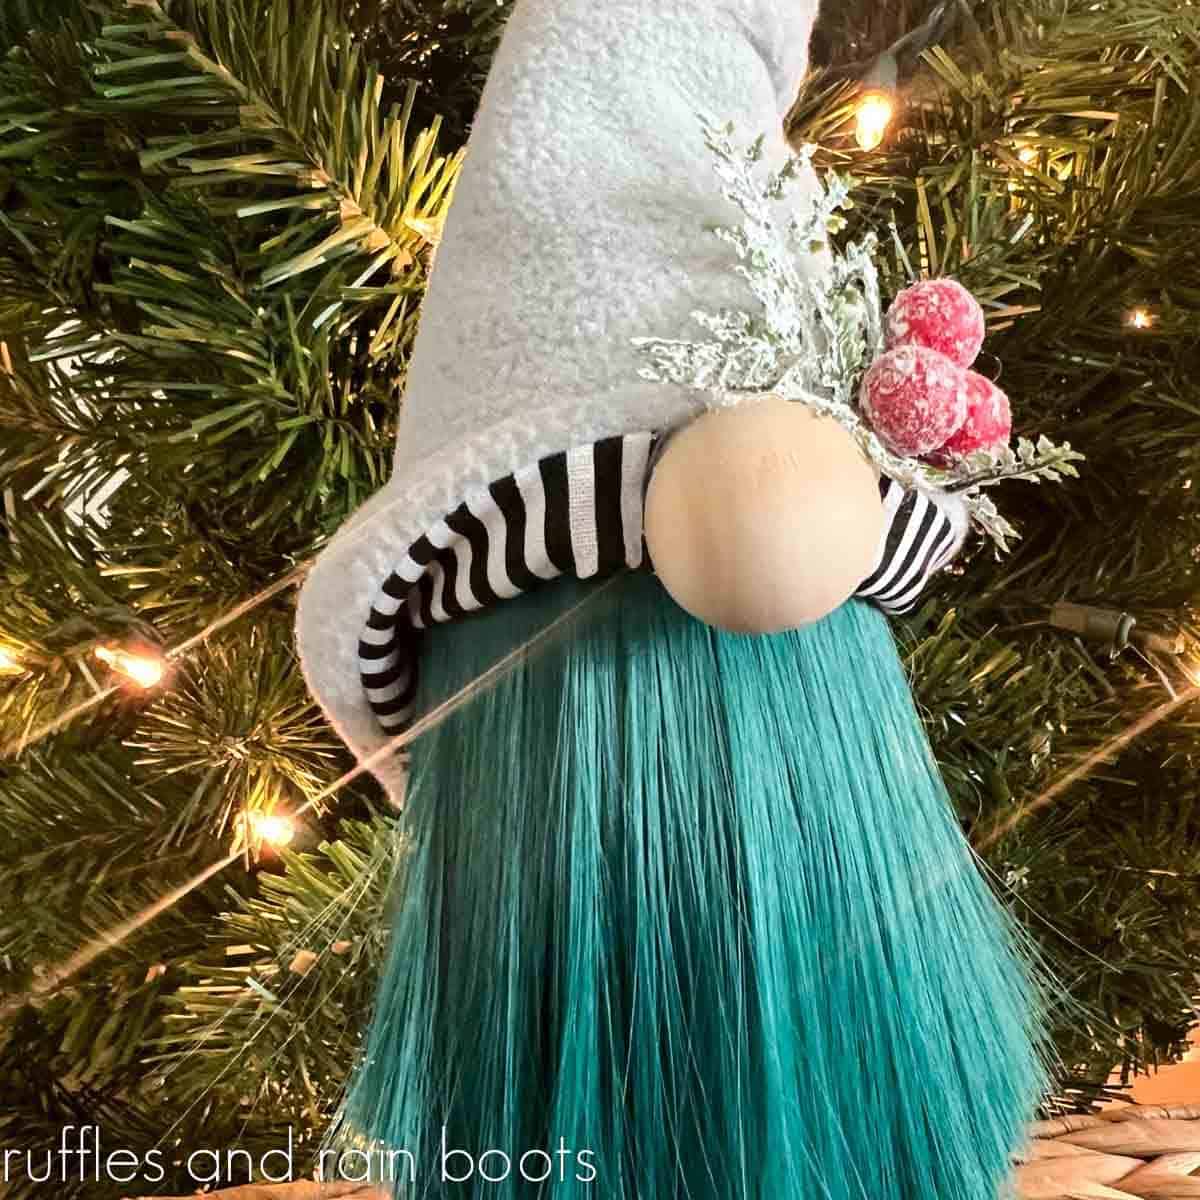
Holiday Gnome with Doll Hair Beard
This holiday gnome with a doll hair beard is a snap to put together once you know how to work with the wefts. In this tutorial, you will also learn to create this two layer hat with a fun peek-a-boo section up the back.
To create this DIY Christmas gnome, you will need fleece, cotton, doll hair wefts, and a few basic craft supplies like fill and weight. Gather up everything and let’s make him together.
RELATED READING: Get Inspired by These Christmas Gnome Tutorials
Doll Hair Beard Christmas Gnome
Here at Ruffles and Rain Boots, I try to create new and fresh ideas when it comes to gnomes. It keeps me challenged and that challenge bolsters my interest and creativity.
If you’re the same, try incorporating some doll hair wefts or wigs into your gnome making, replacing Mongolian faux fur, gorilla, or short pile furs. Previously, I’ve used the ridiculously curly doll hair in this Bob Ross gnome DIY and for this pine cone woodland gnome (isn’t he so cute)!?
Admittedly, this isn’t the easiest material to work with because it’s a very thin, fine, and ‘slippery’ material that tends to shift and move just when you don’t want it to. That said, it can help you really capture a look, color palette, or style when making a gnome beard with doll hair.
Need to Gather Supplies? Save or Share This for Later
If you need to pop over to an online shop for some doll wefts (I’ve linked some good ones below), save this to a holiday crafts pin board or share it to Facebook. Using the sharing buttons will make it easy and this fun Christmas decoration will be easy to find when you’re ready to begin.
As an Amazon Associate, I could earn from qualifying purchases. There could be affiliate links within this holiday decor article.
Tips to Keep in Mind While Making This Shelf-Sitter Gnome
- The best-selling pattern used to create this gnome is the Scandinavian Sweeties gnome pattern here. It’s a favorite DIY holiday gnome because it’s easy and quick to put together and I’ve shared TONS of inspiration for every holiday and occasion.
- Doll hair comes in a variety of colors, lengths, and textures so you can create just about anything you can dream up. I used this set of doll hair because I liked the colors, but this set of ringlet wefts is beautiful. And I just ordered this set of doll hair for gnome beards – I can’t wait to get it!
- You can create this easy Christmas gnome using a glue gun or a sewing machine (it’s my most popular gnome sewing pattern, too). If you want to glue the gnome body and hat, however,, I would recommend a detail-tip glue gun for the tightest seams.
- Fleece is used for the body of the gnome to hide the bumps of the weight and fill. If using a thinner fabric like cotton, add an interfacing first.
- If creating the two-layer gnome hat as shown in this gnome tutorial, use a thinner fabric such as cotton. Two layers of fleece would be very thick and the hat wouldn’t go down onto the body as well.
RELATED READING: Easy Cone Gnome Tutorials for Christmas
How to Make a Doll Hair Gnome for Christmas
Below you will find the written and printable tutorial. Keep this page open while you follow along and use the comments section to ask any questions.
If you’re a visual learner, I’ve created a video tutorial for this gnome with a doll hair beard. It’s pretty quick and shows what the overlapped hair looks like and how I attached it to the body.
Holiday Gnome with Doll Hair Beard
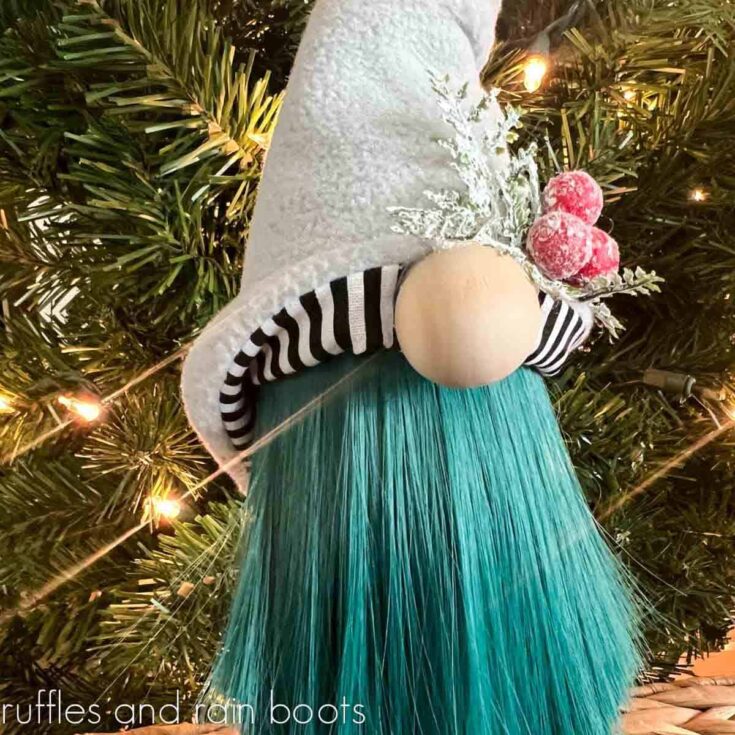
Learn how to create a two layered hat and make an elegant holiday gnome with a dolla hair beard. This gnome pattern can be glued or sewn and uses doll hair wefts to create a gnome beard. It is a fun way to add color and texture to your Christmas creations!
Materials
- Scandinavian Sweeties Gnome Pattern
- Fleece for Body and Hat (same color)
- Cotton Fabric
- Wire (for posable hat/body)
- Poly Pellets
- Poly-Fil
- Doll Hair Weft (any color)
- 1 inch wood ball
- Embroidery Thread (body color)
- Decorations
Tools
- Sewing Machine (optional)
- Hot Glue Gun and Glue Sticks
- Needle
- Scissors
Instructions
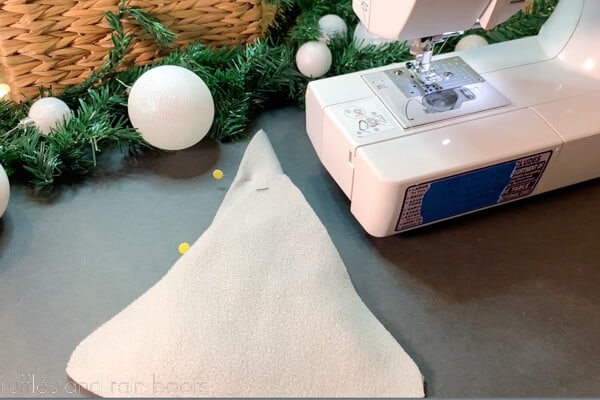
- Cut out the body, base, and hat pieces from fleece. Cut out the hat from cotton, as well. Determine whether you are assembling via glue or a sewing machine.

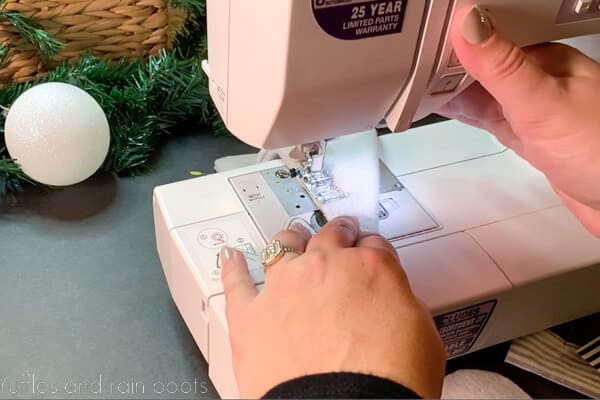
- Sew the body per the pattern instructions. Turn right-sides out and set aside. Sew the right sides of the two hat pieces together with a 1/4 inch seam allowance, leaving a couple inches open for turning.
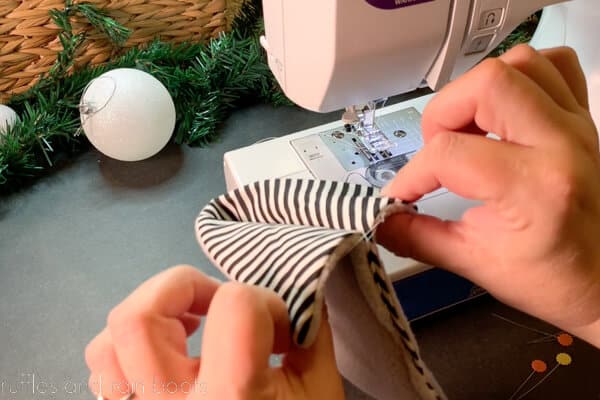
- Put the long sides of the hat together and sew closed, opting for the inside fabric to show along the back seam or not. I left about 1.5 inches open at the brim of the hat to split the back. Turn right-sides out and run seams through fingers to settle.
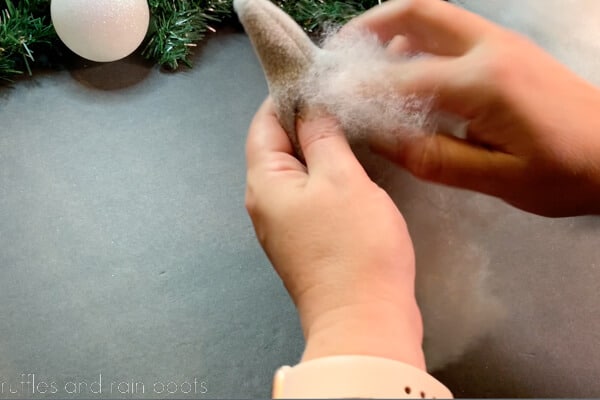
- Fill the body with 1 cup Poly Pellets and ripped pieces of Poly-Fil until it bounces back when squeezed.
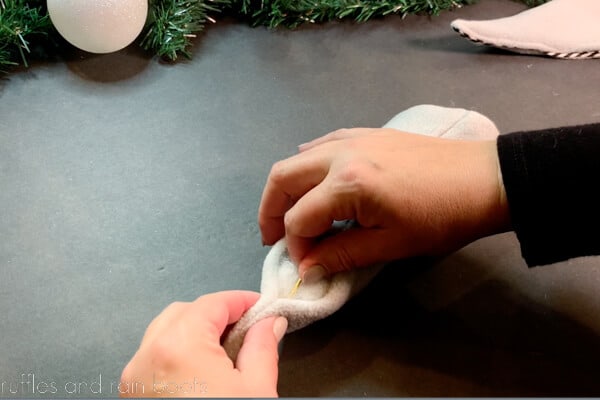
- Cut wire 1 inch longer than the full length of the body and bend the ends down before adding the wire from the tip of the body to the base. Sew the opening closed with the needle and embroidery thread, catching the wire in the channel to keep it in place.
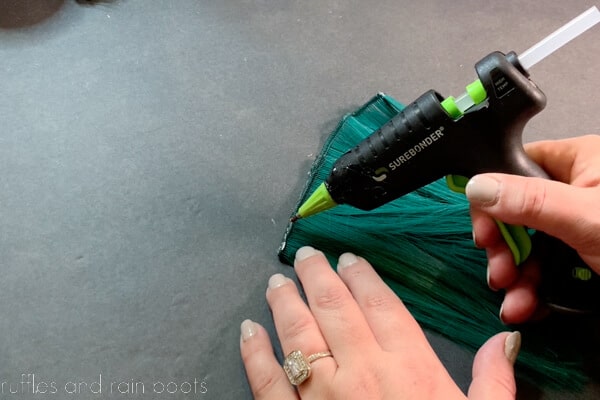
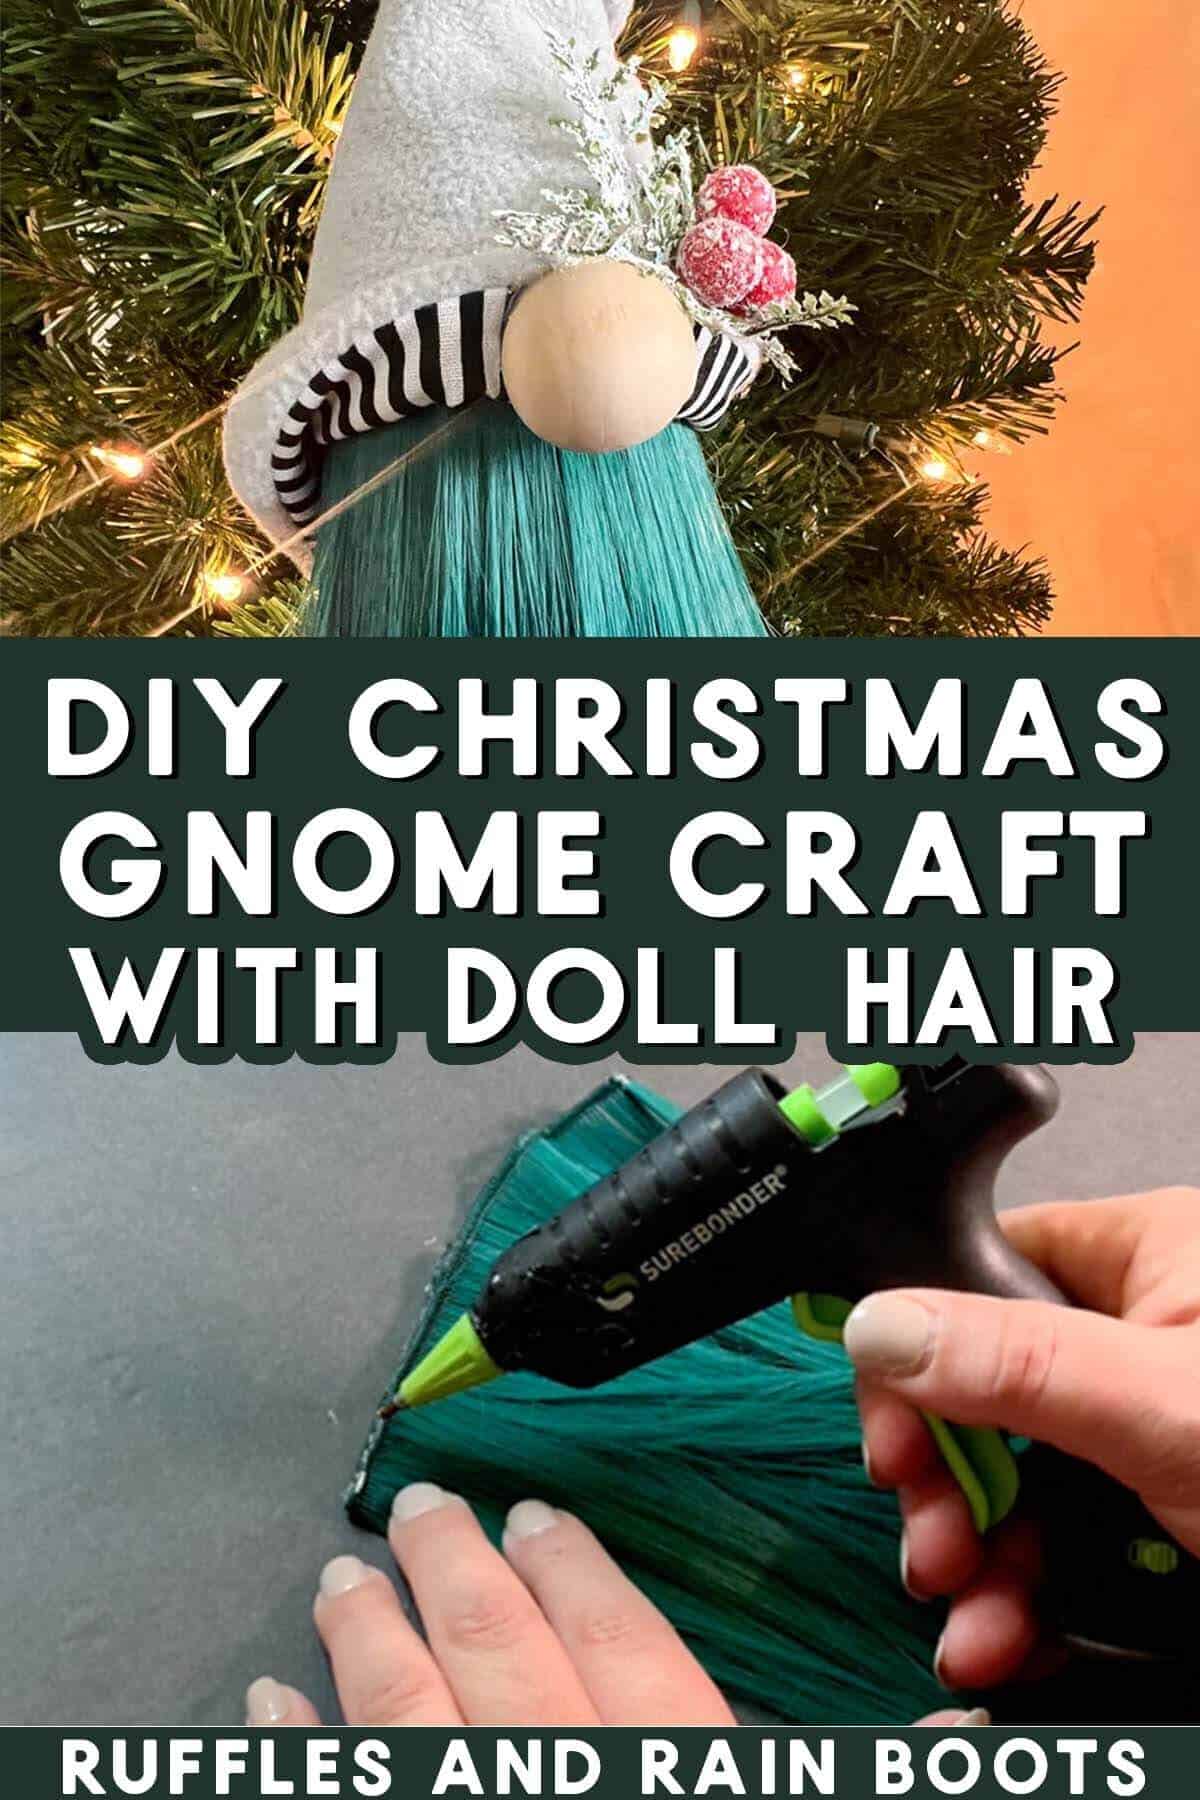
- Use the desired amount of doll hair by folding the sewn edge of the weft to the desired beard width and gluing in place. Repeat until the thickness is reached to form a single piece.
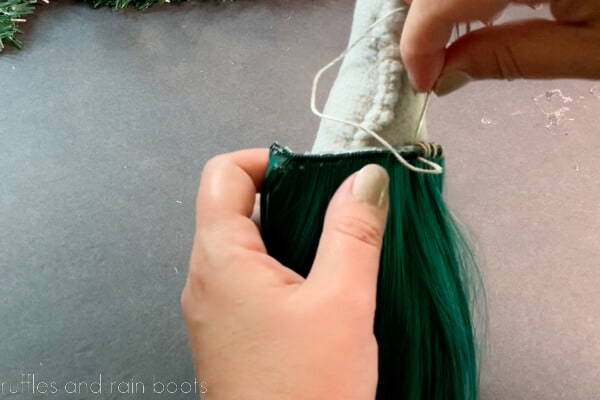
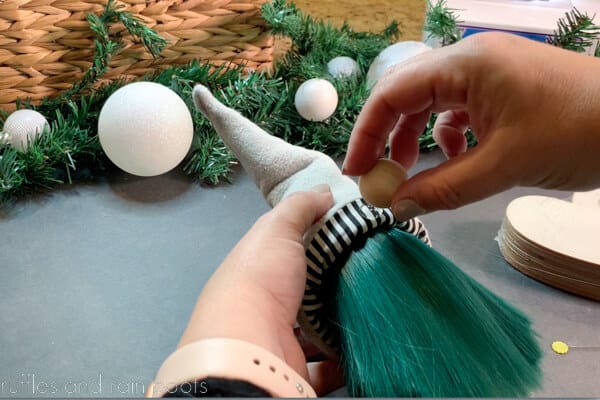
- Slip on the hat with the seam of the hat on the opposite side as the seam of the body to determine where the beard will go. Mark or eyeball it. Using the embroidery thread and needle, sew on the weft, going just under the glued line and into the body. Gluing this in place will fail, so I don't recommend skipping this step.
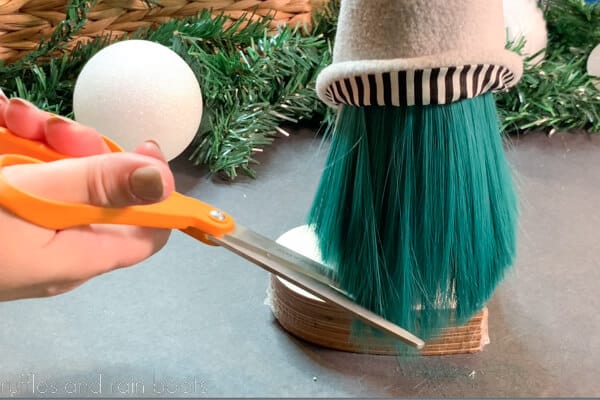
- Use sharp scissors to trim the beard into your desired shape.
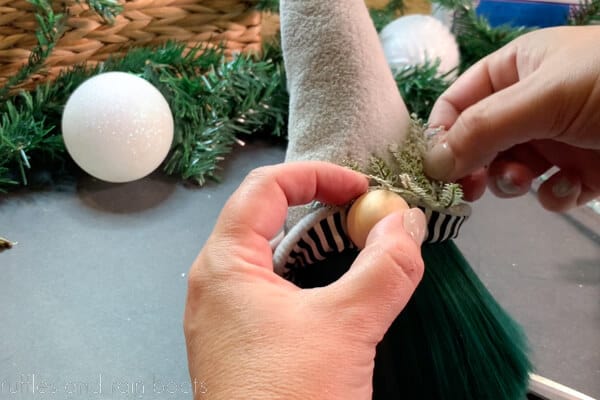
- Flip up the brim and glue the nose directly onto the brim, not the doll hair beard. Glue the brim of the hat to the body and glue along the back seam, as well.
- Use hot glue to affix greenery or decorations and your holiday gnome is done!
Notes
The doll hair wefts I purchased are more than enough to create two gnomes with full beards at least 5" high or one gnome with a beard and one with braids (or pony tails).
This pattern can be sewed or glued - visit the YouTube channel to see how this is done. Remember to catch the wire into the channel for stability by gluing it in place before closing up the body.
Recommended Products
As an Amazon Associate and member of other affiliate programs, I earn from qualifying purchases.


More Holiday Gnomes Made with This Same Pattern
- Nordic Gnome with Arms and Legs – This is one of the most traditional style gnomes you can make for Christmas (look at the little shoes).
- Easy Gingerbread Gnome DIY – An adorable take on a holiday classic, this gingerbread gnome is a no-sew tutorial using this same pattern.
- Elegant Angel Gnome – Create a memorial gnome or decor with white fleece, a few baubles, and even a free angel wing pattern.
Please Save or Share This
Your shares are how this site grows and I am sincerely grateful. Please save this to a DIY pin board or share it with a crafty group on Facebook.
Meet the Creator
Hi there, I’m Sarah Nenni-Daher. I’m a crafty gal and always have at least 14 projects going at once. I am a crafter, designer, DIYer, and pattern maker. I share my creations here and in the Ruffles and Rain Boots® Shop.
Here at Ruffles and Rain Boots®, you’ll find DIY gnomes, crafts, gifts, cupcakes, laser crafts, and so much more. I love sharing video tutorials over on YouTube and chatting with other crafters in my Facebook groups. We’d love to have you!