
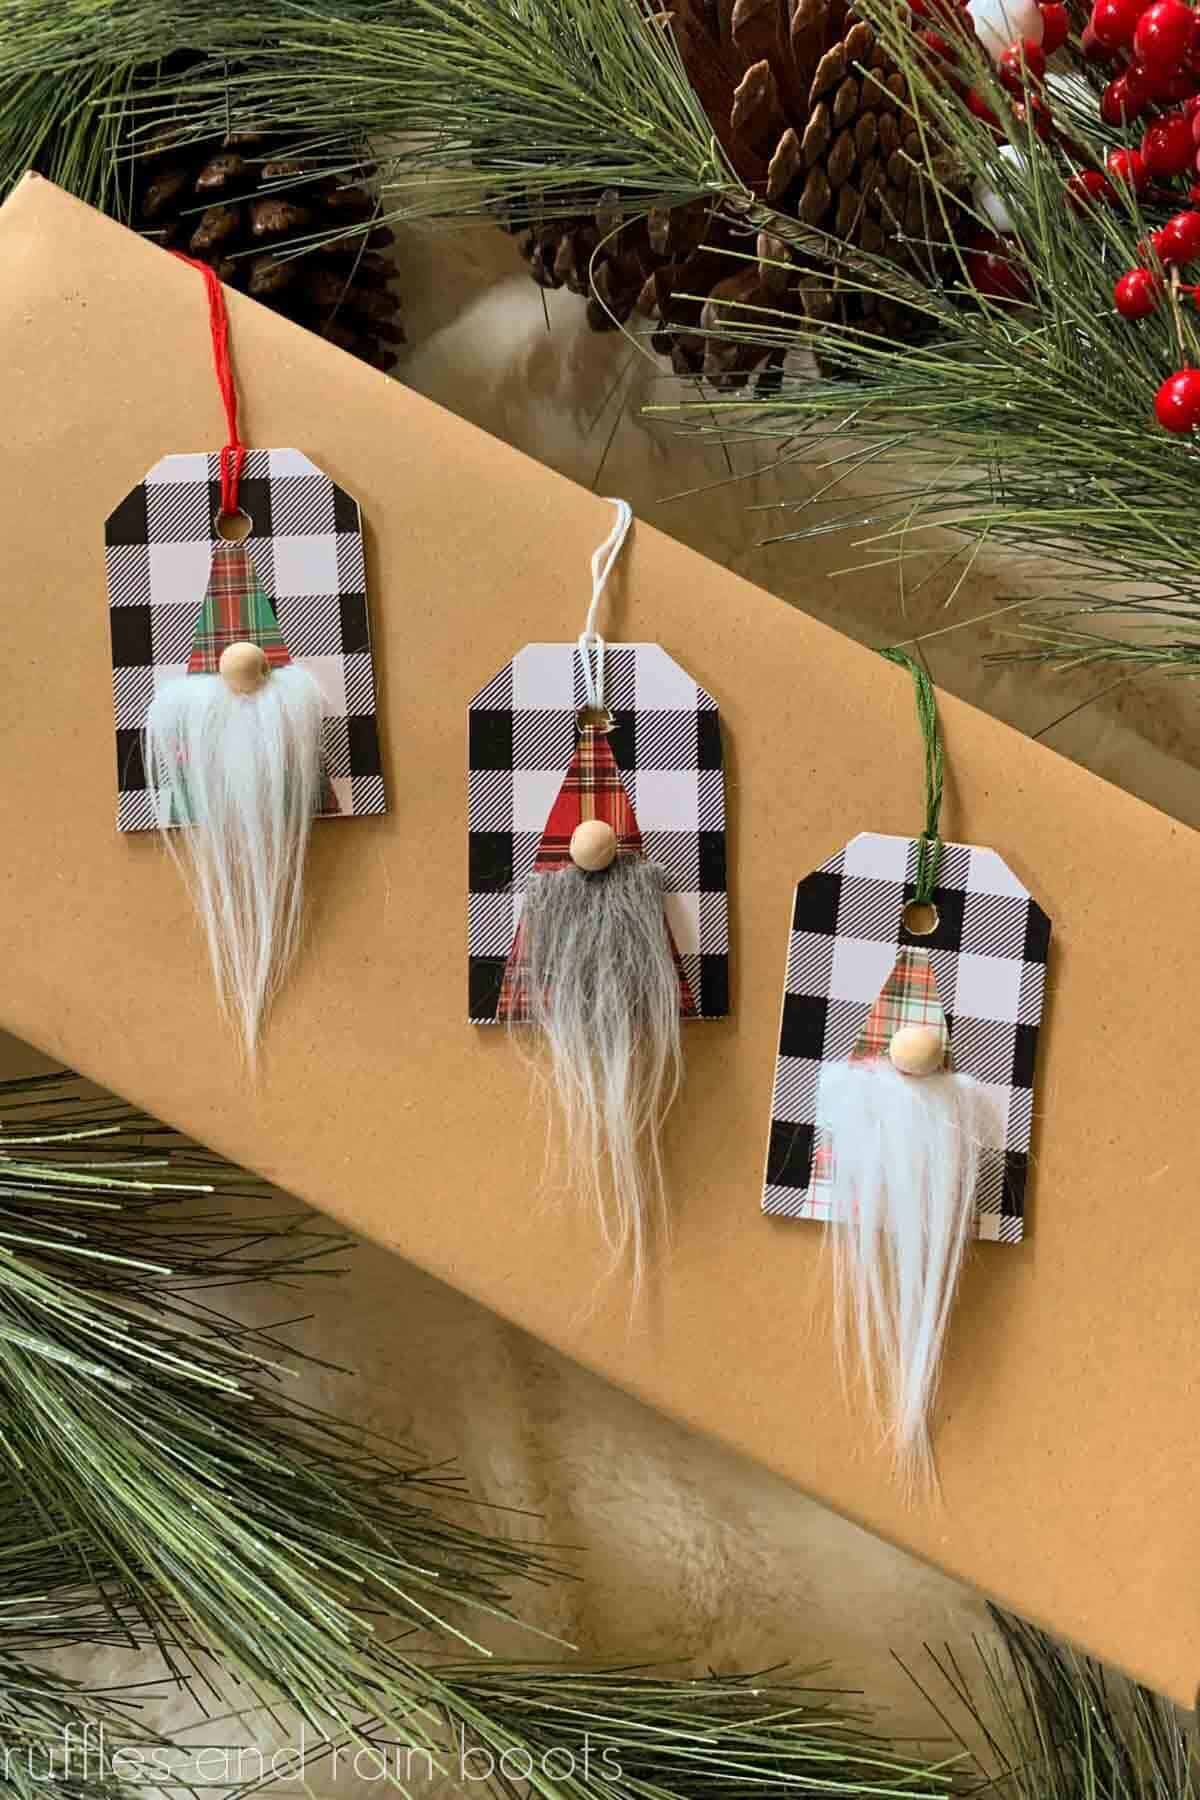
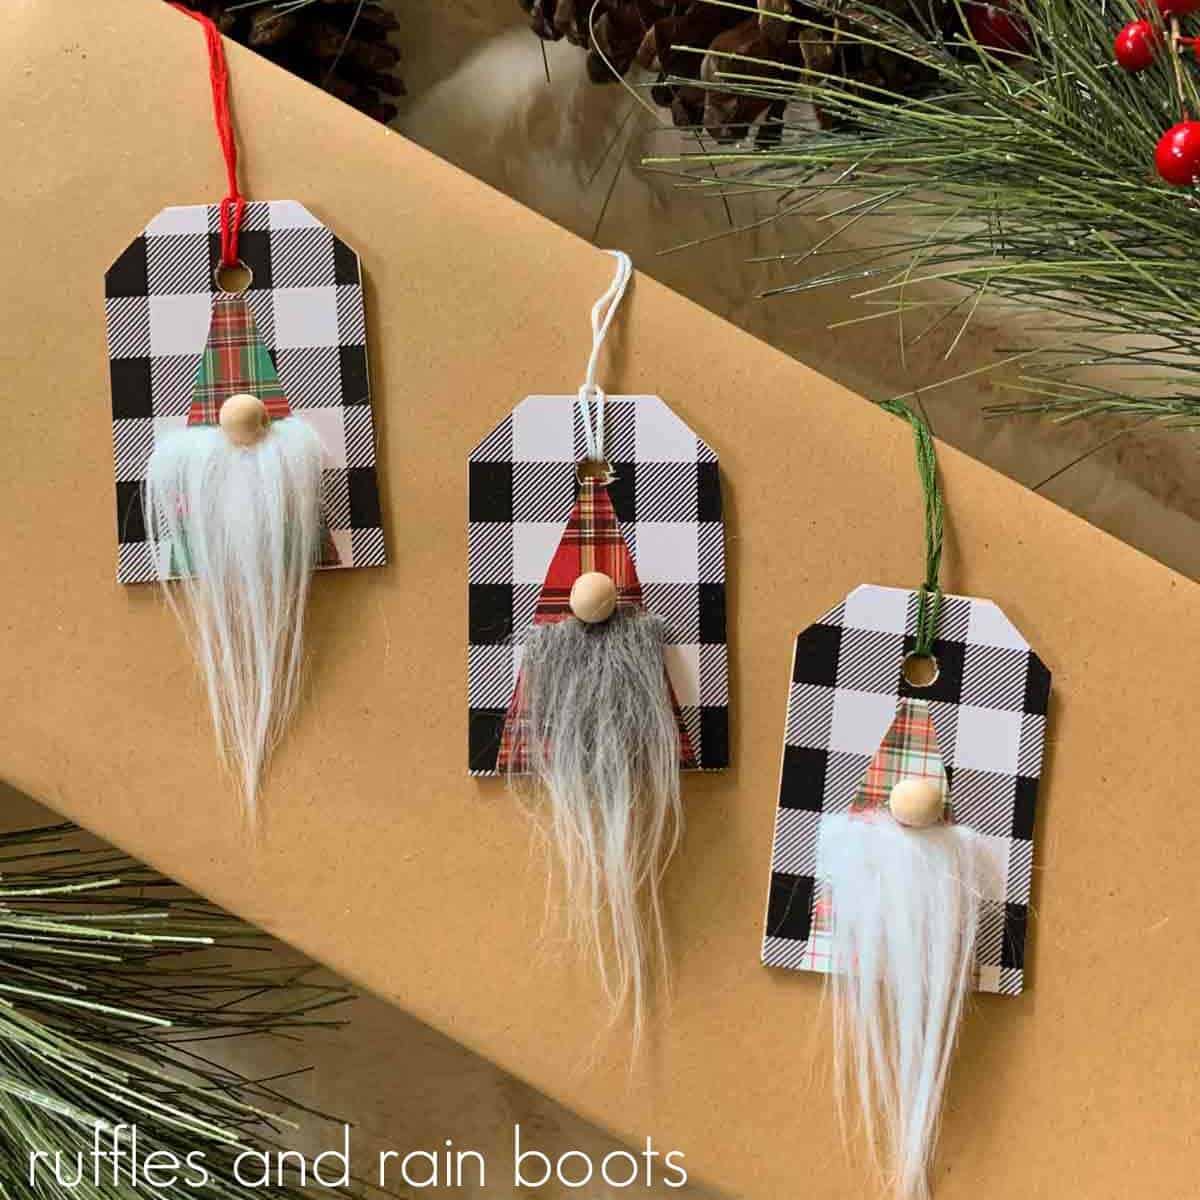
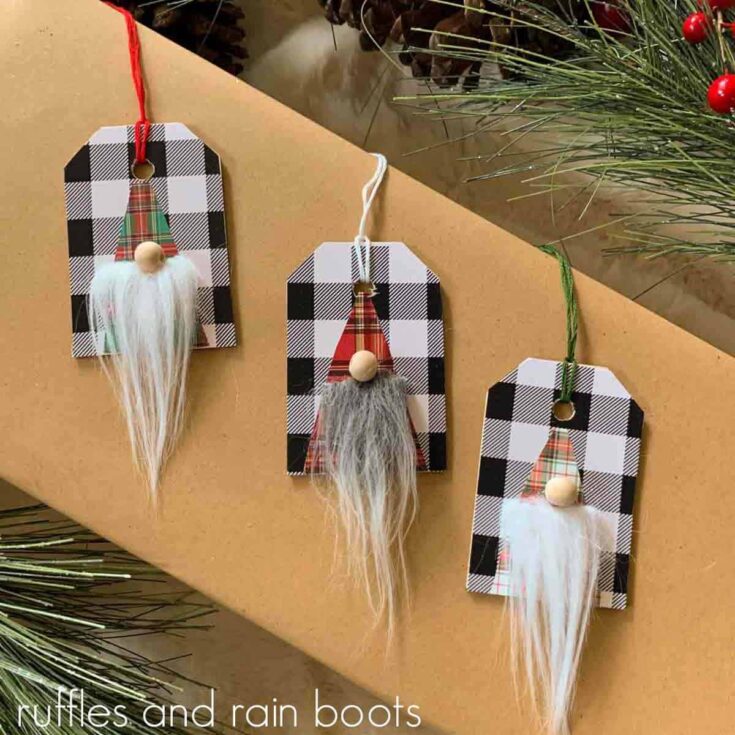
Handmade Wood Gnome Gift Tags
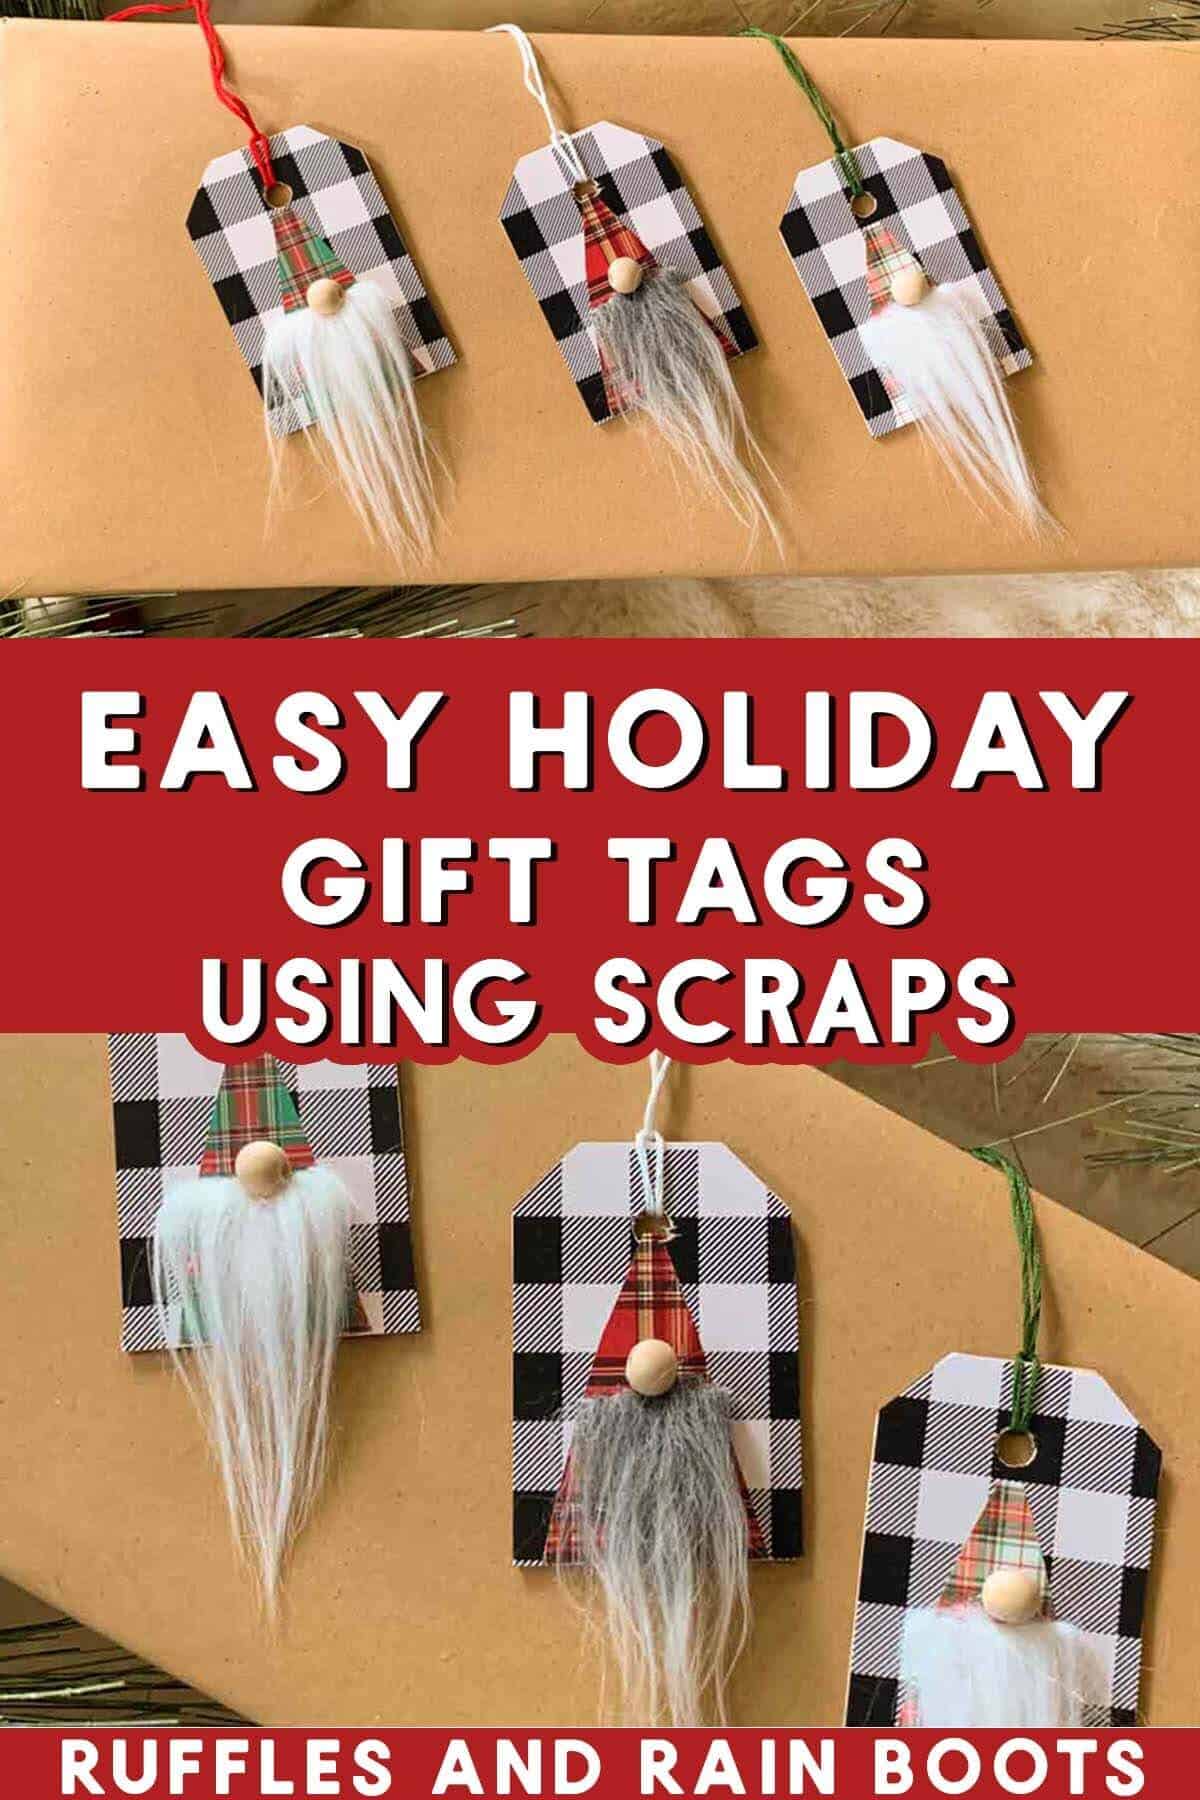
These adorable DIY gnome gift tags are the perfect way to add a touch of creativity and use up those faux fur scraps. You do NOT need a cutting machine like a Cricut to make these.
Head to the Dollar Tree or the craft store for some wood tags, basic, “sticker-type” vinyl, and a bit of thread to create this handmade gift tag idea for Christmas. And the best part is that they only take a couple of minutes to make!

RELATED READING: Free Printable Gift Tags for Christmas Gifts and DIYs
Gnome Gift Tags DIY
Here at Ruffles and Rain Boots, crafting all year round leads to a lot of scraps. Paper, vinyl, fabric, and fur – I save most of it in little bins to add to a piece here and there. At the end of the year, I try and use the expensive items (my accountant would be proud of me).
After finding a package of 36 wood gift tags at the craft store, I decided those would be a great way to whittle down the heaping scrap bins. Starting with the most expensive item, faux fur, I immediately decided to whip up a few gnome tags for my purchased and homemade gifts this year.
All three of these were made in just 10 minutes and honestly, you could work even faster if you did all of the tasks at once. I’ll make notes below in the tips section, so let’s get started.
Need to Gather Supplies But Love This Idea? Save or Share It
If you need to pop over to the craft store or gather up all your faux fur scraps, save this to a DIY pin board or share it on Facebook. Using the sharing buttons will make this easy to find this wooden gift tag DIY when you’re ready to begin.
As an Amazon Associate, I could earn from qualifying purchases. There could be affiliate links within this article.
Tips for Making Super Simple Gnome Tags for Gifts
- If the surface of the wood gift tag is rough or bumpy, consider sanding it before applying the vinyl. The surface should be clean and relatively smooth for the best adhesion.
- Layering permanent vinyl is easy – it’s basically a sticker. You can layer removable on top of permanent as I did here but I wouldn’t go the other way.
- I love using the Dollar Tree permanent vinyl for easy Christmas crafts like this. The Buffalo check styles are so popular during the holidays.
- If you plan on selling these, group them in sets of 3 or 5. They tend to sell well and it’s easy to vary the designs in those small amounts.
- Quality fur is best used on tiny cuts like this as craft fur might fall apart or fray. That said, try it – these are faux fur scraps we’re trying to use up, after all.
- I showed a friend these and she said that with a couple of beads and a different hanger, these would make cute ornaments for a mini Christmas tree.
- Finally, if you want to make a lot of these quickly for a craft fair, bazaar, or farmer’s market display, create an assembly line of sorts. Cut all of the tags from the vinyl (you can cut a couple of layers easily). Cut all the triangles, hang tags, and fur in groups, as well. Once you have those all done, assembly will be so fast!
RELATED READING: Easy, 5-Minute Gnomes Made from Gift Bags
Gnome Wooden Gift Tag Idea
Below is the written and printable tutorial for these easy DIY Christmas gift tags. Keep this page open and use the comments section below for any questions or print it out and follow along from there.
If you’re a visual learner like I am or want to see this all come together in a jiffy, watch the gnome gift tag video tutorial here on YouTube. While you’re there, subscribe – we have a lot of fun.
Wooden Gnome Gift Tags
The first in the DIY gift tag series are these wooden gnome gift tags made with faux fur scraps, vinyl, wood beads, and embroidery thread. These are done in just a few minutes and are a great craft to sell during the holiday season at craft fairs and online.
Materials
- Wooden Gift Tags
- Permanent Vinyl (I used Dollar Tree and Paper Studio)
- Faux Fur Scraps for the Gnome Beard
- 1/4 inch Wood Beads or Pompoms for Noses
- Embroidery Thread, Twine, or Ribbon for Hanging
Tools
- Scissors
- Pencil
Instructions
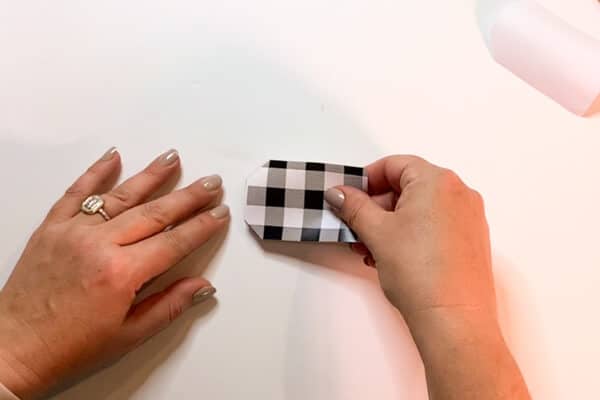
- Trace the full shape of the gift tag face down onto the back of vinyl and cut it out with scissors.

- Adhere the cut out to the front of the gift tag. Be sure to press out all of the bubbles and get it as flat as you can. Use the scissors to poke out and remove the vinyl from the hole.
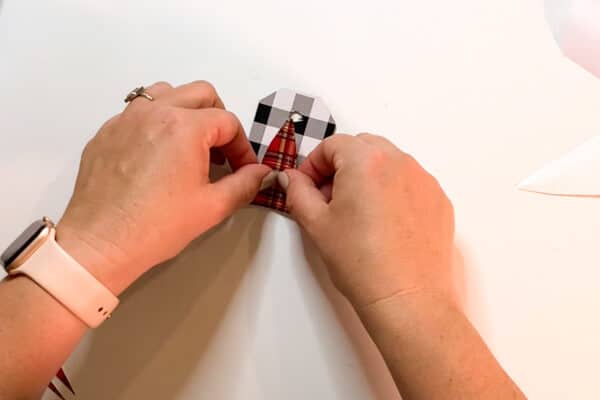
- In contrasting vinyl, cut out a small rectangle. Make sure it is thinner and shorter than the hole for the gift tag string. Lightly fold it in half and cut out a triangle. Adhere the vinyl triangle on top of the gift tag to create the gnome body.
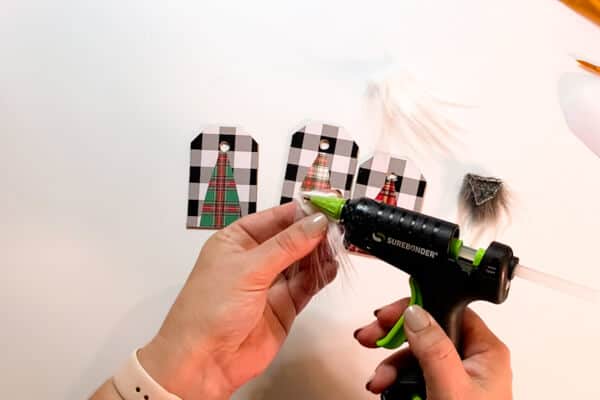
- With the fur pile down, cut a very small upside-down triangle of faux fur from scraps and bend down the top edge. Glue the top edge down to create a tailored beard and glue onto the center of the triangle gnome body.
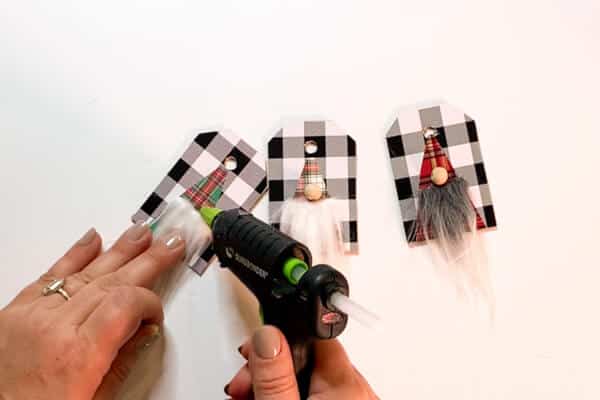
- Affix a small wooden bead or pompom to the tag (NOT the fur), just above the beard and in the center of the vinyl triangle.
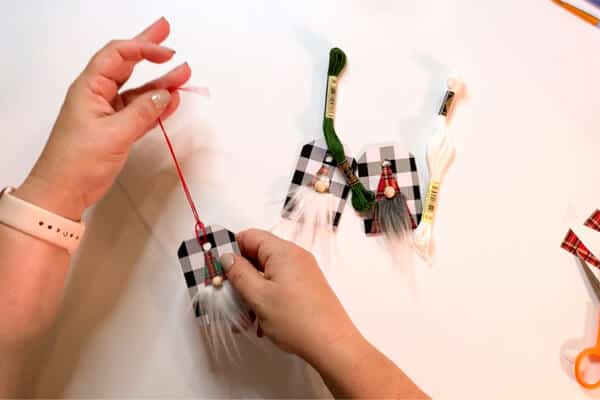
- Add a tie from embroidery thread and the gnome gift tag is ready!

Notes
If you have a bubble in the vinyl, use a pin or needle to pop it and press it out.
Depending on the quality of wood, you might need to sand the gift tag prior to adhering the vinyl. It's optimal to have a smooth surface for the best adhesion.
Recommended Products
As an Amazon Associate and member of other affiliate programs, I earn from qualifying purchases.

More Easy Gnome Craft Ideas You Might Like
- Reindeer Gnome Garland for the Holidays – Using a simple pattern and fur scraps, create this adorable gnome banner.
- Mini Gnome Ornaments – Use up even more tiny faux fur scraps by making these mini ornaments (psst: use a glove finger to make them quickly).
- Easy Gnome Cookie Jar – Take a thrift store find and turn it into a trendy, adorable Christmas decor idea.
- How to Paint an Easy, Adorable Christmas Gnome – This is one of my favorite projects because you do not need to know how to draw or paint to make this amazing DIY.
Please Save or Share This Christmas Craft Idea
Your shares are how this site grows and I am sincerely grateful. Please save wood gift tag idea this to a holiday DIY, unique gift ideas, or DIY gift tags pin board. Or, share it with a crafty group on Facebook – I’m sure they’d LOVE to see what you’re working on.
Meet the Creator
Hi there, I’m Sarah Nenni-Daher. I’m a crafty gal and always have at least 14 projects going at once. I am a crafter, designer, DIYer, and pattern maker. I share my creations here and in the Ruffles and Rain Boots® Shop.
Here at Ruffles and Rain Boots®, you’ll find DIY gnomes, crafts, gifts, cupcakes, laser crafts, and so much more. I love sharing video tutorials over on YouTube and chatting with other crafters in my Facebook groups. We’d love to have you!