
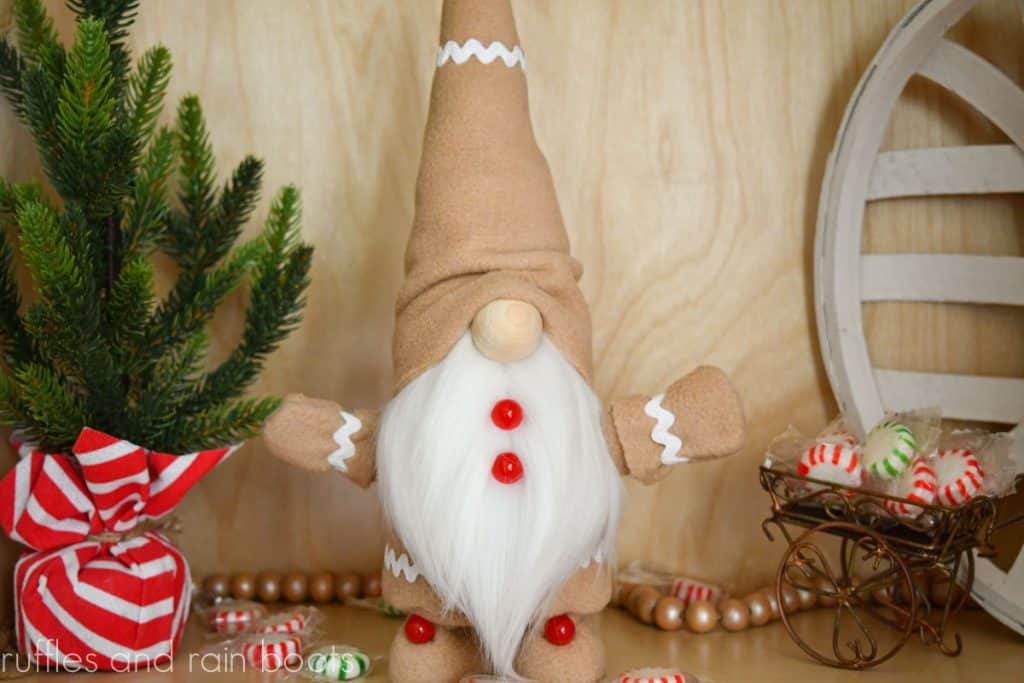
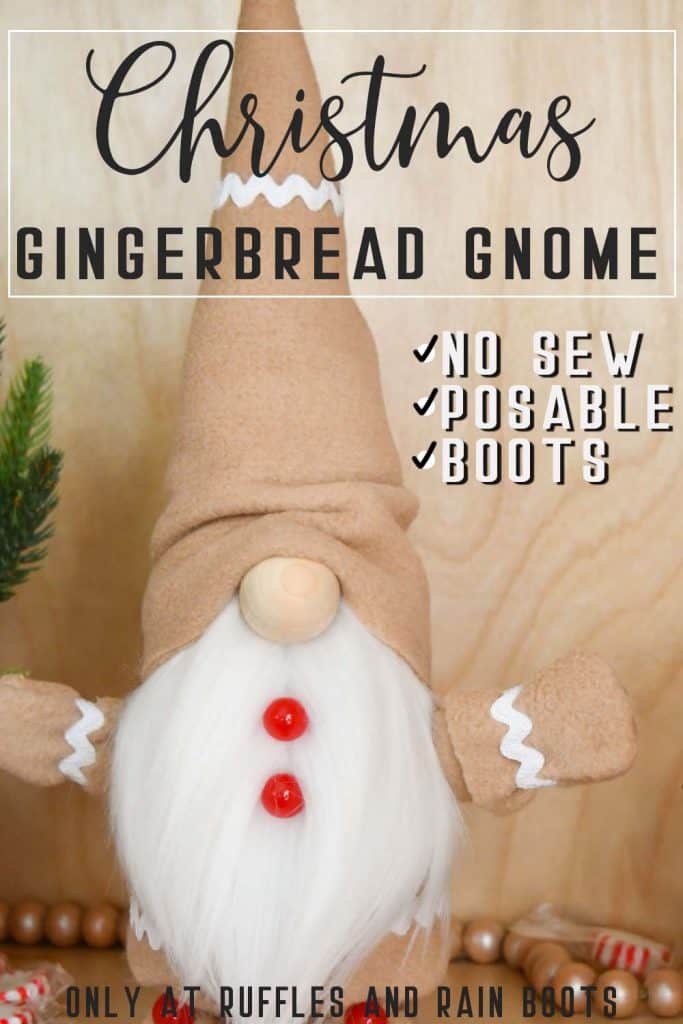
No Sew Gingerbread Gnome for Christmas
This gingerbread gnome is the perfect glue gun craft for Christmas. It comes together easily and would make for a fun family Christmas craft night.
RELATED READING: No Sew Santa Gnome for Christmas Decor
What You'll Find On This Page
Gingerbread Christmas Gnome with Posable Arms
Here at Ruffles and Rain Boots, I like to challenge myself to bring you affordable, easy crafts for the holidays. This gingerbread gnome is just that – you will use a glue gun, some fleece, Dollar Tree booties, and a few extras to make an adorable Christmas gnome.
The Dollar Tree party favor boots are found in the party supplies section for a baby shower. I’m using blue in this tutorial, however, they also come in pink – just keep your eye out because these are the easiest gnome boots you can make. Let’s get started.
No Time to Make This Christmas Gnome Now?
If you need to gather supplies or you want to remind yourself about this cute Christmas craft, please save this to a pin board or share to your favorite Facebook craft group.
As an Amazon Associate, I could earn from qualifying purchases. There could be affiliate links within this article.
Tips to Make This Posable Christmas Gnome
- Get the Scandinavian Sweeties gnome pattern here.
- I recommend using fleece for this pattern because you will have enough room to stuff the base of the body with the wood round. It’s a very forgiving fabric, so if you’re new to crafting gnomes, it’s perfect to hide imperfections.
- Use a wire that is pliable yet thick enough to hold something. You can extend the arms all the way or make them shorter so just the mittens are showing.
- If you cannot find the Dollar Tree booties, look for pre-made boot ornaments from any of the craft stores. Even the Dollar Tree has them in the ornaments section at Christmas!
- The fur matters, friends. Use the fur you can get from Amazon or a craft store. I’m using Mongolian fur in white (purchased on Amazon by the yard from the brand, Barcelonetta).
How Do I Make a Christmas Gnome?
I’m so glad you asked. Below is the written tutorial, however, I urge you to also view the full length No Sew Gingerbread Gnome video tutorial here on the YouTube channel. Psst: while you’re there, please subscribe.
No Sew Gingerbread Gnome for Christmas
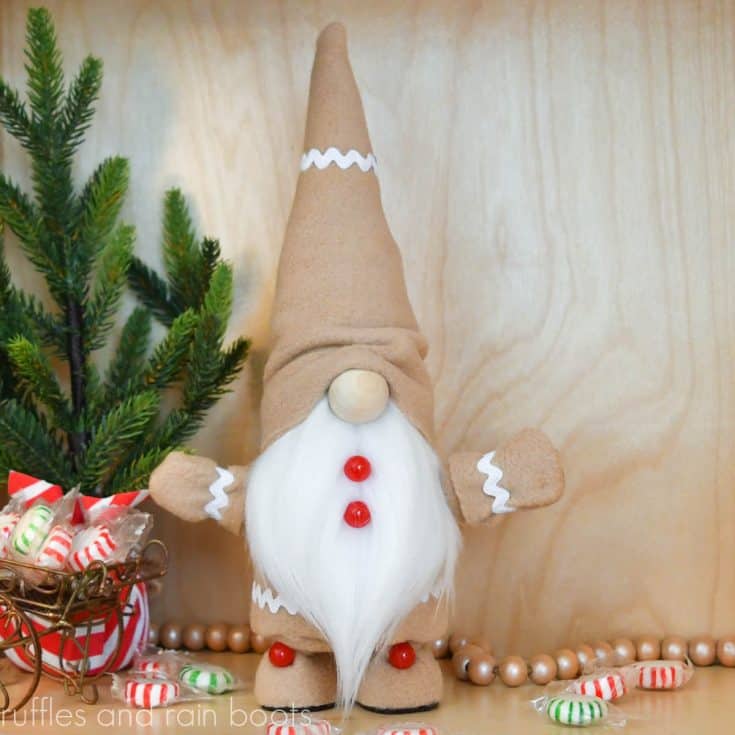
Grab a hot glue gun and make this no sew gingerbread gnome, perfect for Christmas decorations and gifts. The posable arms make it so that you can even add a little candy cane or other item!
Materials
- Scandinavian Sweeties Pattern
- 1/3 yard fleece in Color A (I used tan)
- Rick Rack in White
- Dollar Tree booties (or other shoes / boots)
- Poly Pellets (weight)
- Poly Fill
- Wood Round for Base (must fit inside the base piece size)
- Wire for Body and Arms
- Mongolian Fur in White
- 1 inch Wood Round (or other nose)
- Small Rocks
- Dark Felt for the Soles of the Shoes
- Buttons (optional)
Tools
- Scissors, Exacto Knife, and Cutting Mat
- Hot Glue Gun and Glue Sticks
- Optional Embroidery Thread and Needle
- Pins (sewing pins)
- Pen or Pencil
Instructions
- From fleece, but the following pattern pieces from the Scandinavian Sweeties pattern: one body, one base, one hat, two mittens (4 pieces), and two arms.
- Hot glue hem the pattern pieces as described in the full length video tutorial or follow the instructions in the pattern. Turn everything right-sides out.
- Add the wood round to the base, add weight, and the fill. Use the wire to add support in the body, bending over both ends. Secure in the seam channel and glue the opening.
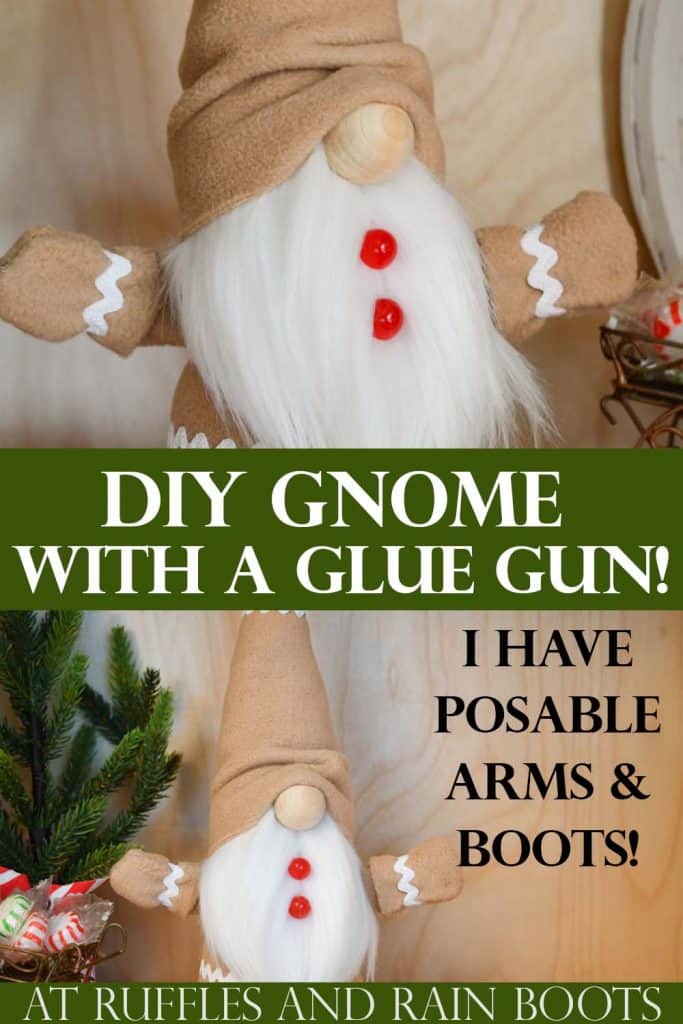
- Add the arms into the mittens and secure the top edge of the mitten with glue. Slip on the hat, pinning the back into place, making sure the two tips align. Scrunch up the front of the hat to indicate where the nose will be and pin in place.
- Bend over the wire and cut a small opening in the side of the body under the hat. Push the unbent end through and slip on the arm, securing it directly to the body with glue. Repeat with the other arm.

- Measure the beard to go from arm to arm and cut with the Exacto knife on the fabric backing only. Secure to the front of the gnome with glue.
- Split the fur to the fabric backing and add the nose and front buttons. Fold over the edge of the hat in front, securing it to the top of the nose. Secure the back of the hat to the body with glue. Add trim to arms and the top of the hat.
- For the shoes, cut a 6 inch long by 1.5 inch wide piece of fleece for each bootie. Starting in the front, attach the fleece at the bottom. Press in the front, securing the inside of the fleece to the front of the bootie and then trim off the excess material at the back (secure the top edge with glue).
- If using, add the buttons to the front of the shoes. Add weight to the shoes by putting glue inside, adding some rocks, and topping with glue. Make sure nothing pokes out over the top edge.
- Trace the outside edge of the finished shoe onto the stiff felt, cut, and adhere to the bottom of the bootie. Attach the gnome to the booties with hot glue and display your adorable gingerbread Christmas gnome!

Notes
The Scandinavian Sweeties pattern can be sewn or glued. For more no sew or sewing pattern gnomes, visit RufflesandRainBoots.com
More Christmas Gnomes You Might Like
- No Sew Santa Gnome – This easy Christmas gnome comes together in minutes and uses a lot of the same supplies as the gingerbread gnome.
- 3 Minute Sock Gnome – If you have access to some fuzzy socks, let’s make a quick Christmas sock gnome together.
- No Sew Scandinavian Gnomes – These holiday cuties are quite the pair and are made with a hot glue gun. Easy peasy.
Please Share or Save This Free Tutorial
Your shares are how this site grows and I am sincerely grateful. Please consider sharing it to your favorite crafting group on Facebook or to a holiday crafts pin board.
Meet the Creator
Hi there, I’m Sarah Nenni-Daher. I’m a crafty gal and always have at least 14 projects going at once. I am a crafter, designer, DIYer, and pattern maker. I share my creations here and in the Ruffles and Rain Boots® Shop.
Here at Ruffles and Rain Boots®, you’ll find DIY gnomes, crafts, gifts, cupcakes, laser crafts, and so much more. I love sharing video tutorials over on YouTube and chatting with other crafters in my Facebook groups. We’d love to have you!