
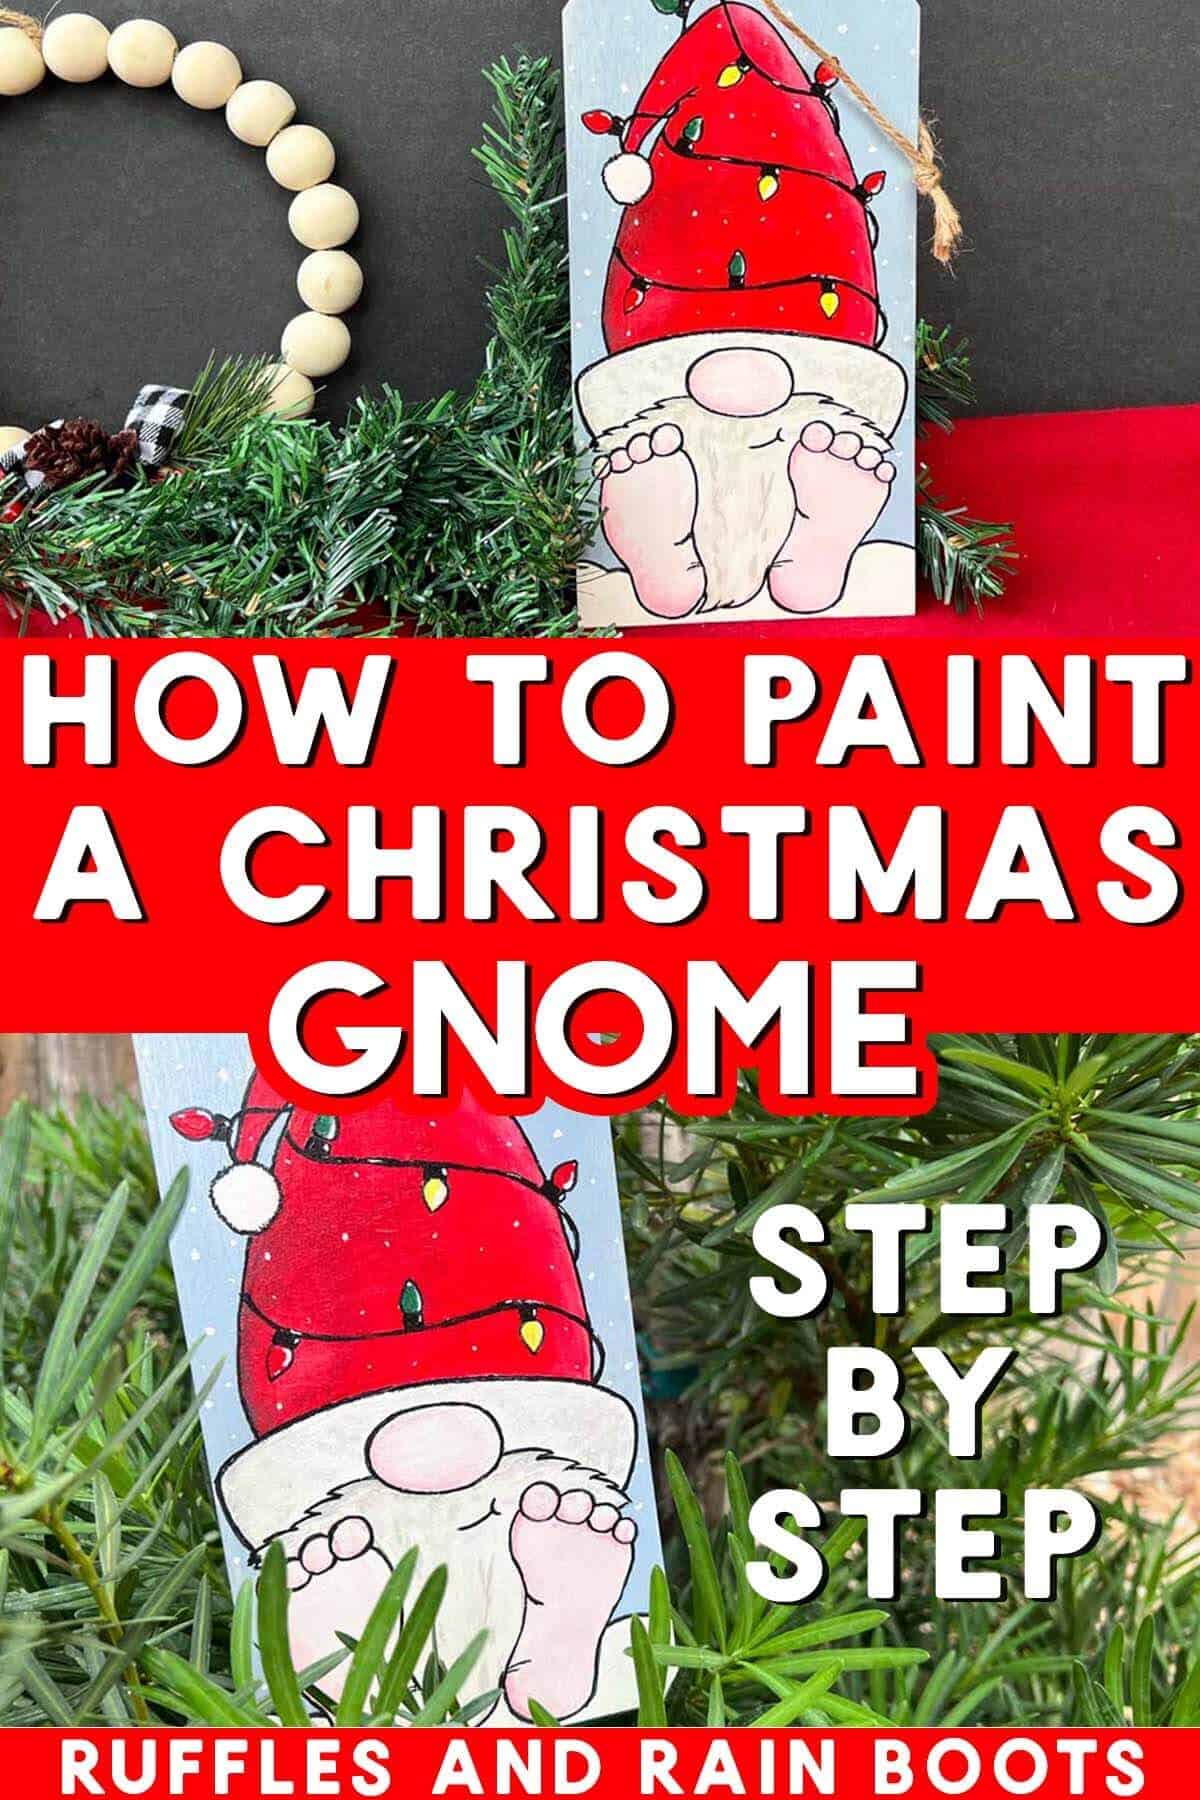
How to Paint a Gnome for Christmas
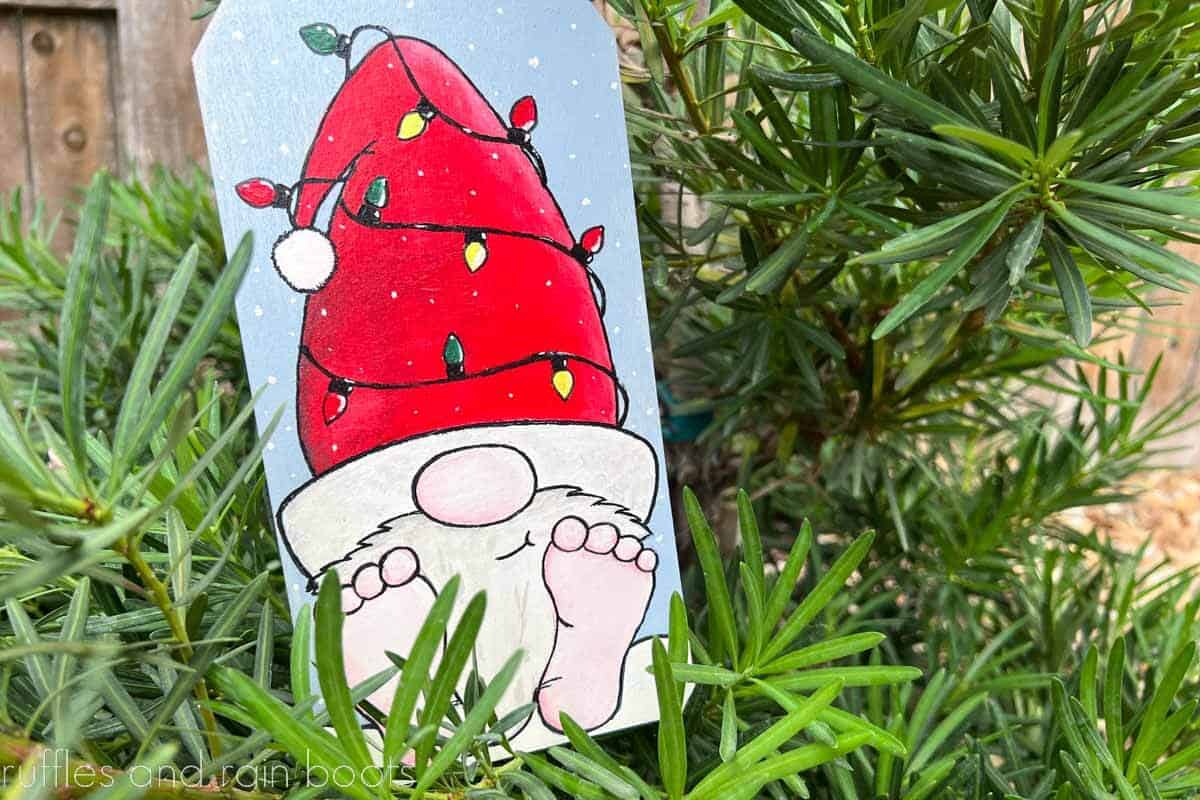
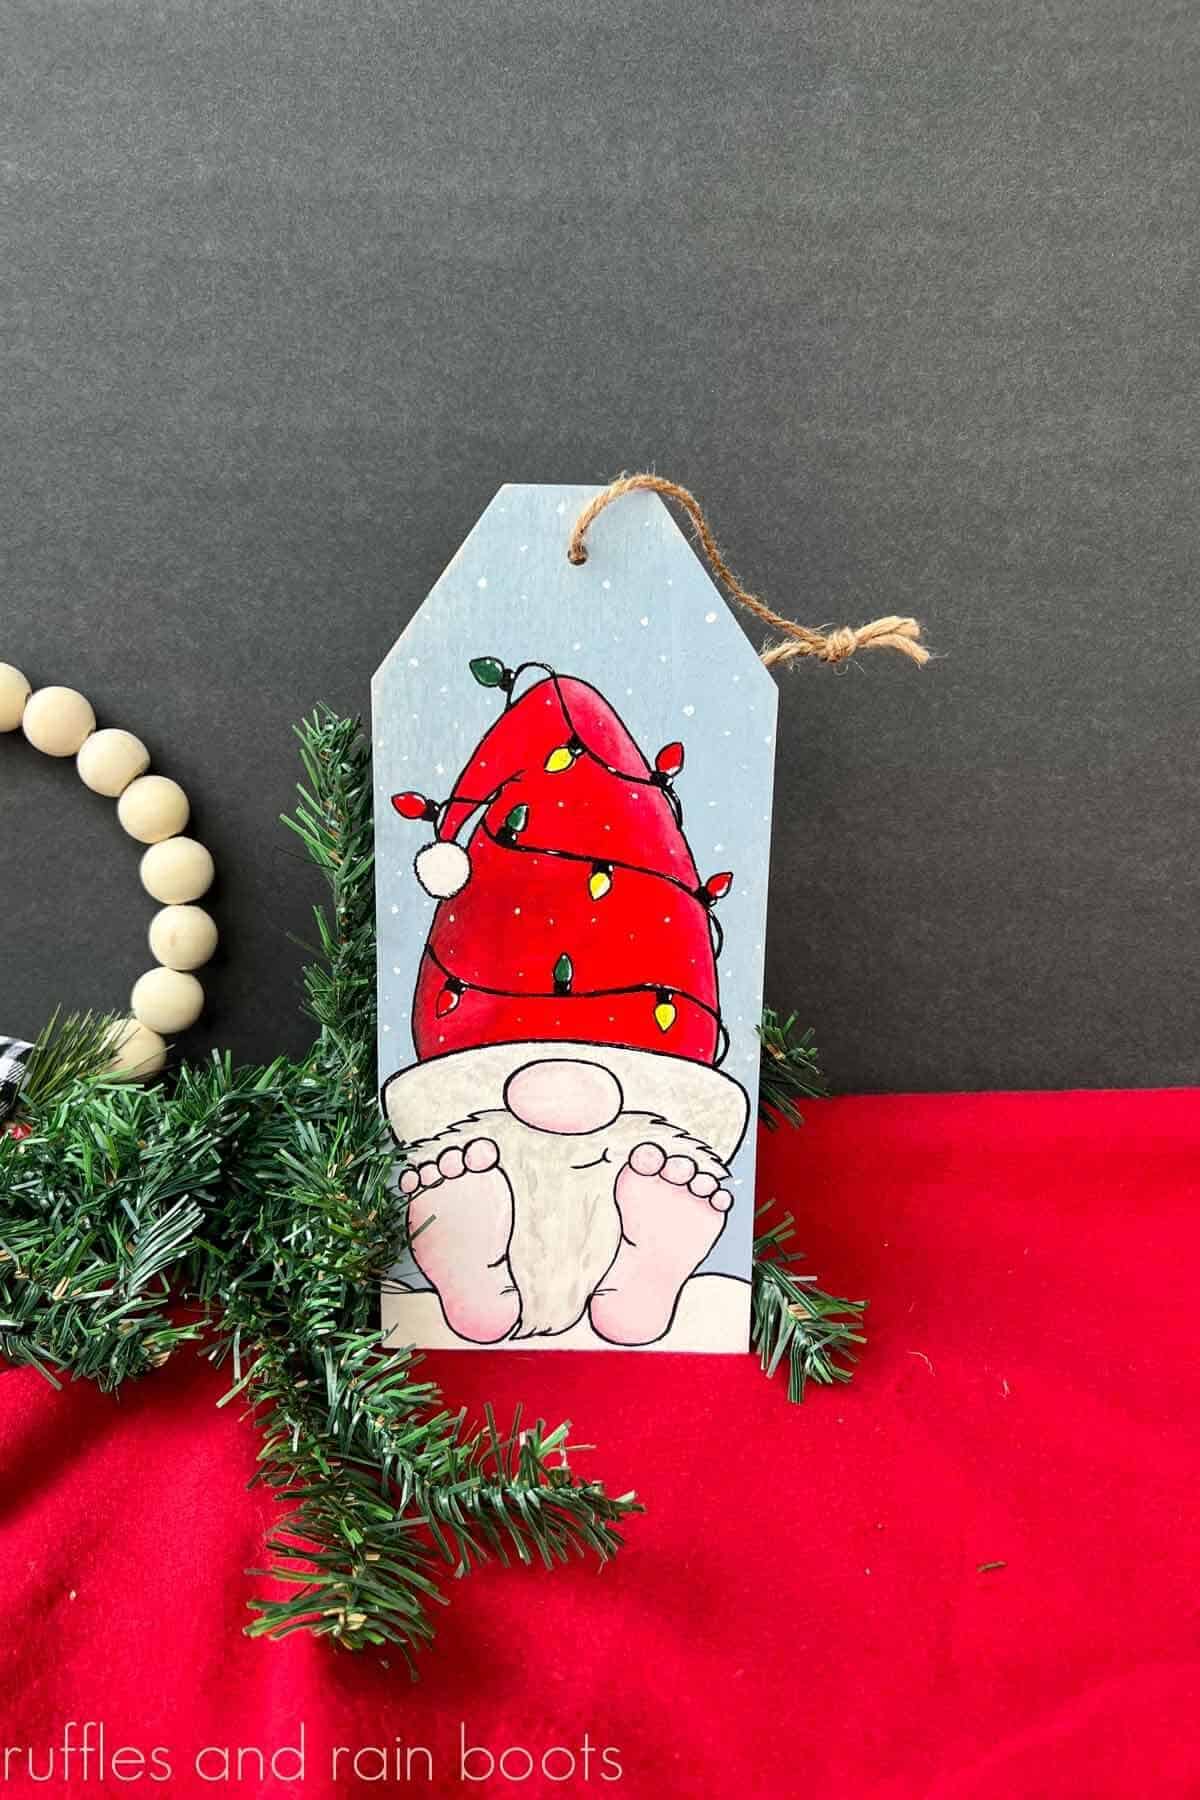
Learn how to paint a Christmas gnome using basic shapes and craft supplies. In this step-by-step beginner painting tutorial, you will create an adorable tomte tangled up in Christmas lights.
Plan on taking about 45 minutes to create this guy and a day or so for drying and sealing. Grab some paintbrushes, acrylic paint, and a pencil to get started.
How to Paint a Christmas Gnome – All Tangled Up!
Here at Ruffles and Rain Boots, I answer nearly all of my own emails even though I have a team of people who help me out (immeasurably). That’s why you might get an email at 2 in the morning from me – I have to fit it in when I can.
Each week, I have at least one email asking me how to paint gnomes (see, it’s not just me who loves these cuties). I often send those requests to my Christmas gnome rock painting tutorial or, if it’s spring, the tutorial I made on how to restore a garden gnome.
That said, I get many emails back asking for an actual scene. Friends, I am NOT a painter – really. I like to doodle, both with pen and paper and digitally, but I’m not trained in any of this stuff. So as one amateur to another, let’s get get to painting, step by step.
RELATED READING: Christmas Gnome Rock Painting Idea
Love This Adorable Holiday Gnome Painting? Save or Share It for Others
It’s no secret that this website grows from your shares and I would be grateful if you saved this to a DIY pin board or shared it on Facebook. Friends, family, and perfect strangers might find it helpful for a holiday craft idea.
As an Amazon Associate, I could earn from qualifying purchases. There could be affiliate links within this article.
Tips for Making This Easy Holiday Craft
- Don’t have a wooden tag on hand? No problem – any blank will do. Paint on rocks (I love sharing rock painting ideas) a canvas, wood blocks, cups, tumblers… The possibilities are endless and are probably in your craft stash.
- In this tutorial, I used chalk and acrylic paints. That said, all chalk or all acrylic can be used – I just used what I had on hand and you can, too.
- Do not skip the white paint step! It’s going to be the reason acrylic paint colors POP on wood or canvas.
- This shape, when kept to about 8-ish inches, can be done in under an hour. That said, you can break this up into different stages except for the parts in which you’re adding highlights and shadows (the paint should be wet).
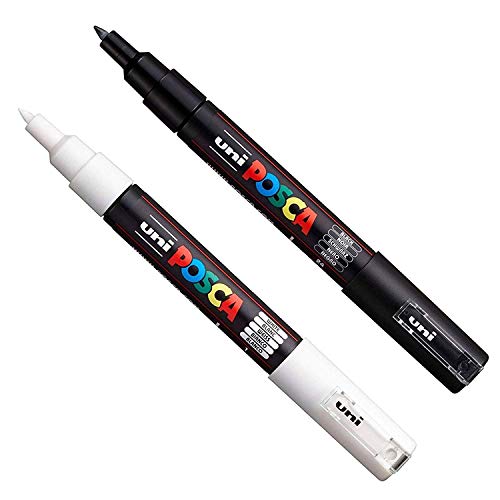
- When making this holiday gnome, I used both a Posca pen in black and acrylic paint with a fine-liner brush. Use one, use both – it doesn’t matter because they are interchangeable.
- Do not skip on the sealant because it protects your hard work AND it can really change the look of the piece. Be sure to watch the video and you’ll see the difference.

RELATED READING: How to Use Paint to Make a Wine Bottle Gnome
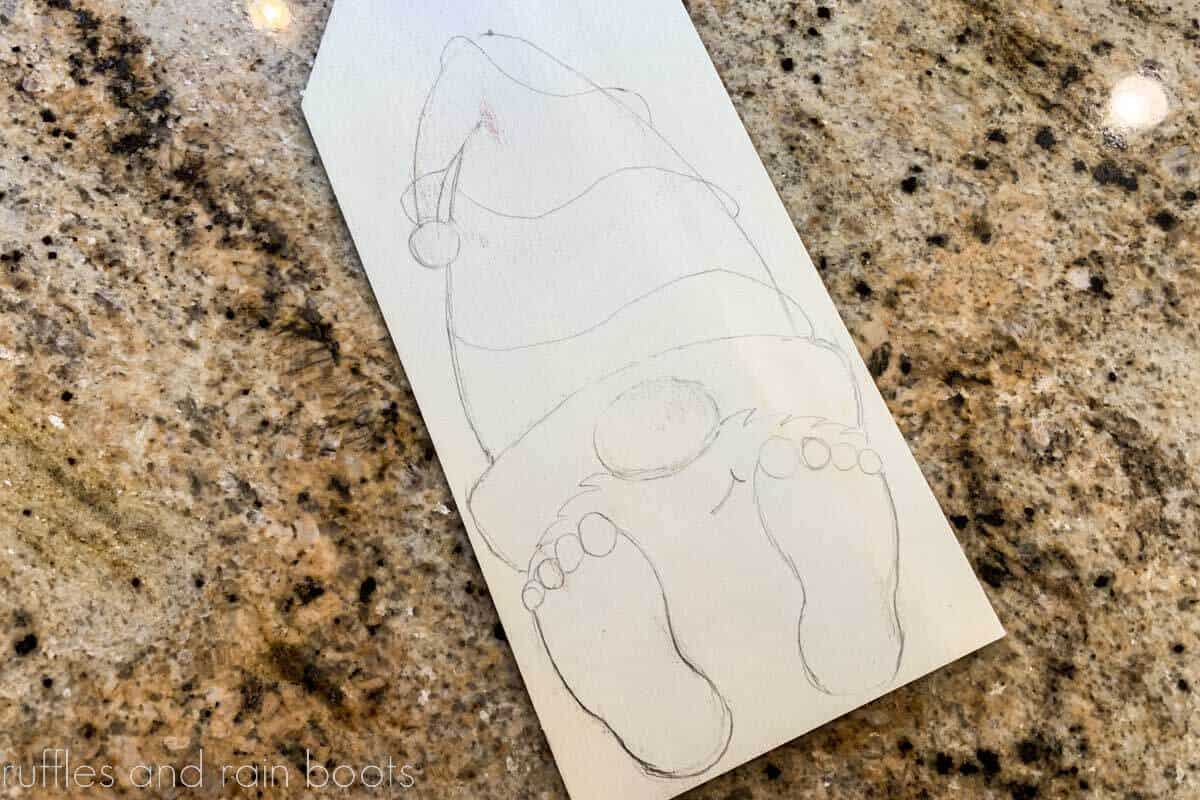
If you want to use my drawing as a reference, screen shot this or keep it open on your phone:
Step by Step: How to Paint a Christmas Gnome Tutorial
Below is the written and printable tutorial, however, I can’t do a step by step of the actual drawing portion. I encourage you to watch the full-length ‘how to paint a gnome for Christmas’ tutorial here on YouTube.
In the video tutorial, you will see how I use basic shapes to create a gnome. Additionally, you’ll see how simple (and fun) it is to add highlights and shadows, even when you don’t know how to paint!
How to Paint a Gnome for Christmas
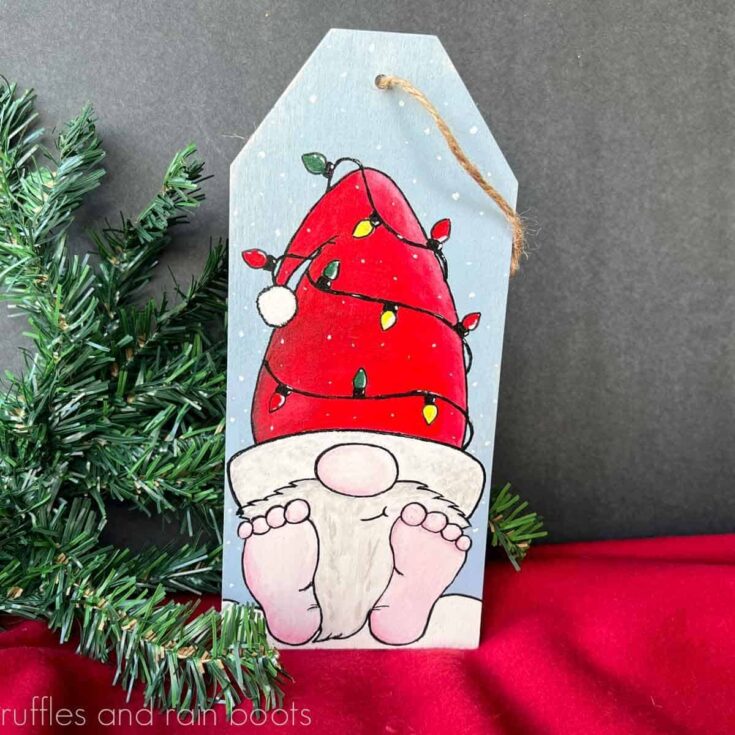
Learn how to paint a gnome using basic shapes. I will walk you through this beginner painting tutorial on how to use acrylic paints for a Christmas gnome. This easy holiday craft idea has an adorable barefoot gnome wrapped up in Christmas lights, sitting in a snowy scene.
Materials
- Blank or Canvas (I'm using a wood tag)
- Paints (white, gray, black, red, green, yellow and pale blue)
- Black Posca Paint Pen
- Krylon Spray Sealant
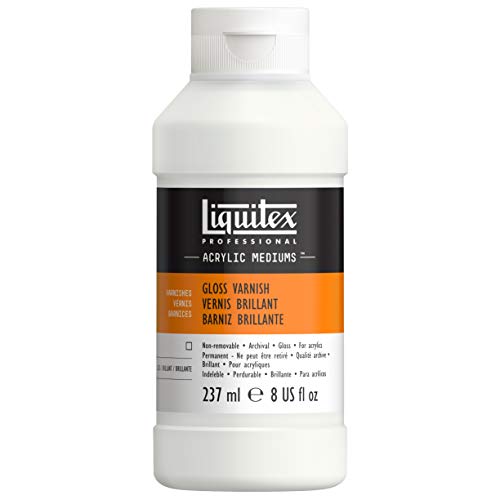
- Liquitex Glossy Sealant
Tools
- Pencil
- Paintbrushes (square, fine liner, small round)
- Water
- Towel or Paper Towel
Instructions
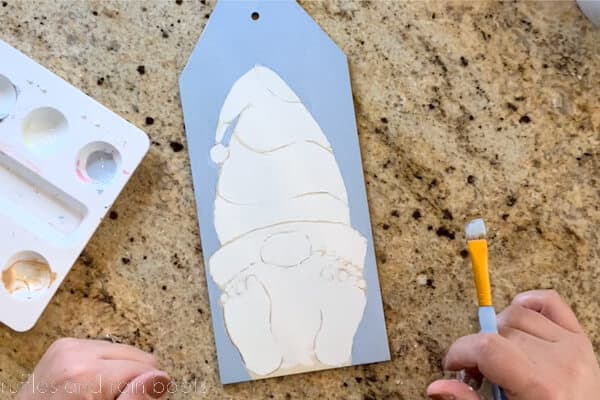
- If applicable, prepare the blank or canvas. If using wood, sand the item until it is smooth before drawing. Please watch the video on how to create the gnome drawing. I will put a picture here and in the article you can use of my outline so that you can refer or copy it.

- Use white paint and any brush to fill in the outlines for the entire gnome drawing. Use the pale blue paint and a straight edge brush to paint all around the gnome drawing for a background.

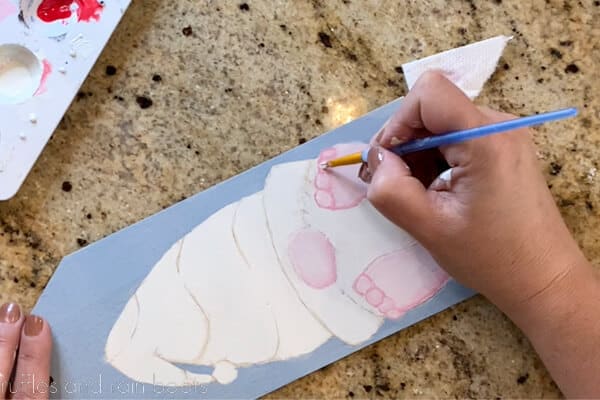
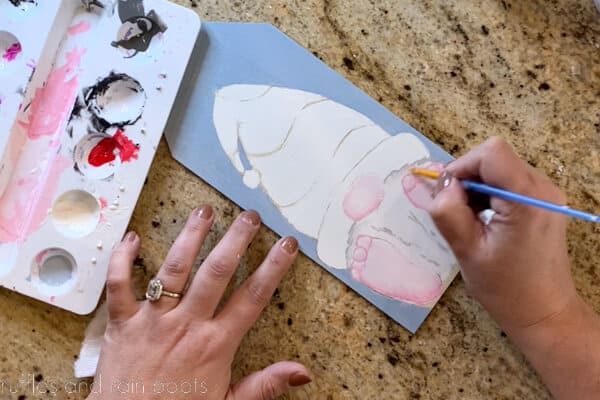
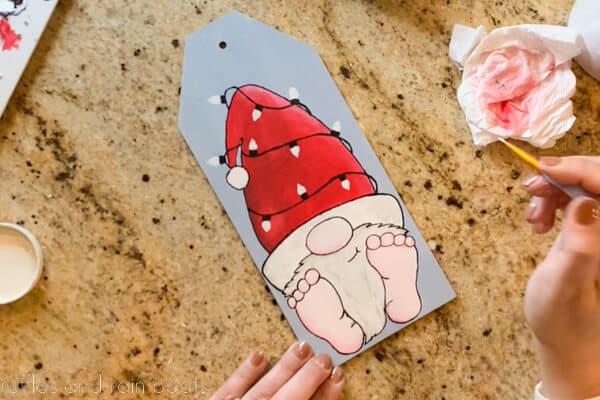
- Mix a small amount of red and white to form a medium pink and paint the nose and feet. Add a bit more white to that blend to create a pale pink and paint over what you just did (layering). Mix more red into the blend and use it for shadow to outline the toes and create crescent shapes on the feet. Add white highlights to the toes and feet, blending them out with a dry brush.
- Paint the brim of the hat with another coat of white paint, using a dotting motion along the top and side to create the illusion of fuzz. Mix white and gray paint to outline the beard and add dimension to the beard. Again, use a dry brush to blend any harsh lines out.
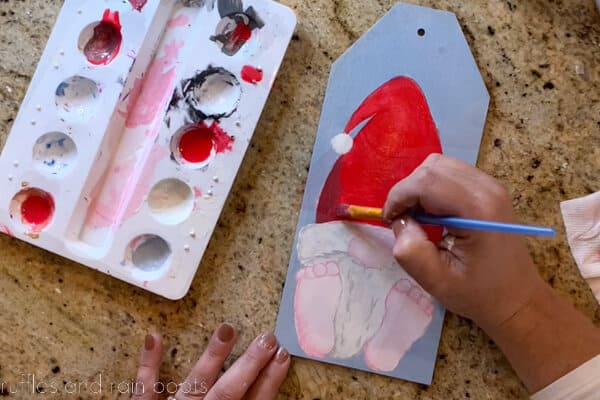
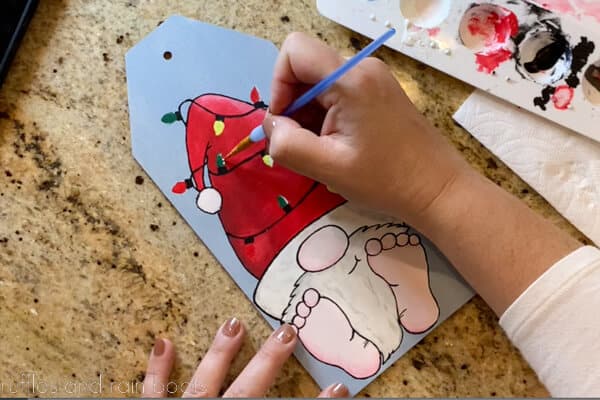
- Paint the hat red over two coats. Use a bit of black or gray mixed with red on the left side of the hat to create shadow and blend out. Use white paint in a dotting motion on the right side of the hat to add highlights. Blend out and let dry.
- Use a pencil to draw in the Christmas lights cord and paint over using a fine liner brush and black acrylic paint. Add small rectangles intermittently on the cord for the lights and snow on the blue background. Use white paint to create rounded triangles extending from each cord rectangle.
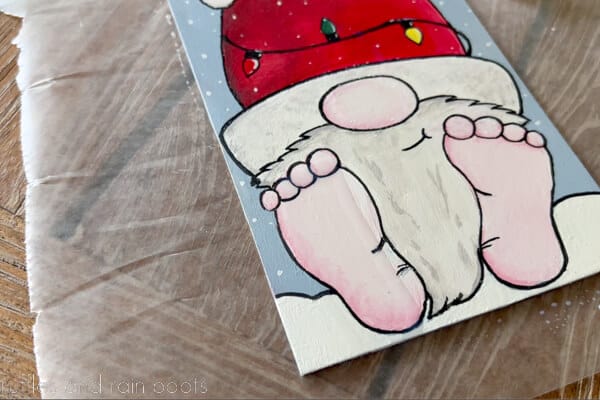
- Outline everything while the cord paint dries. Paint in a red, green, yellow pattern over the top of each light's white space. Add white highlights and outline each light in black. Add snow on the red of the hat to match the border and let dry.
- Lock in the color with a single coat of spray sealant and let dry. Use a large brush to apply Liquitex gloss sealant so the colors pop and the painting is protected.
Notes
The size of the blank won't matter, however, I find it a bit easier to paint on something less than an 8x8 canvas when creating a new piece.
Recommended Products
As an Amazon Associate and member of other affiliate programs, I earn from qualifying purchases.

More Painting and Gnome Crafts You Might Like
- Wine Bottle Gnome – Make a statement with this wine bottle gnome, a bit of fur, and some paint (you won’t believe how SMOOTH it looks).
- Christmas Rock Painting Ideas – From gnomes to gingerbread houses, paint a few of these for rock hiding or gifts.
- Adorable Summer Gnome Painted Rock – Let this cute little guy inspire you with a bright, fun palette.
Please Save or Share This Fun Christmas Gnome Painting Idea
Your shares are how this site grows and I am sincerely grateful. Please save it to a beginner’s painting ideas pin board or share it with a crafty group on Facebook.
Meet the Creator
Hi there, I’m Sarah Nenni-Daher. I’m a crafty gal and always have at least 14 projects going at once. I am a crafter, designer, DIYer, and pattern maker. I share my creations here and in the Ruffles and Rain Boots® Shop.
Here at Ruffles and Rain Boots®, you’ll find DIY gnomes, crafts, gifts, cupcakes, laser crafts, and so much more. I love sharing video tutorials over on YouTube and chatting with other crafters in my Facebook groups. We’d love to have you!