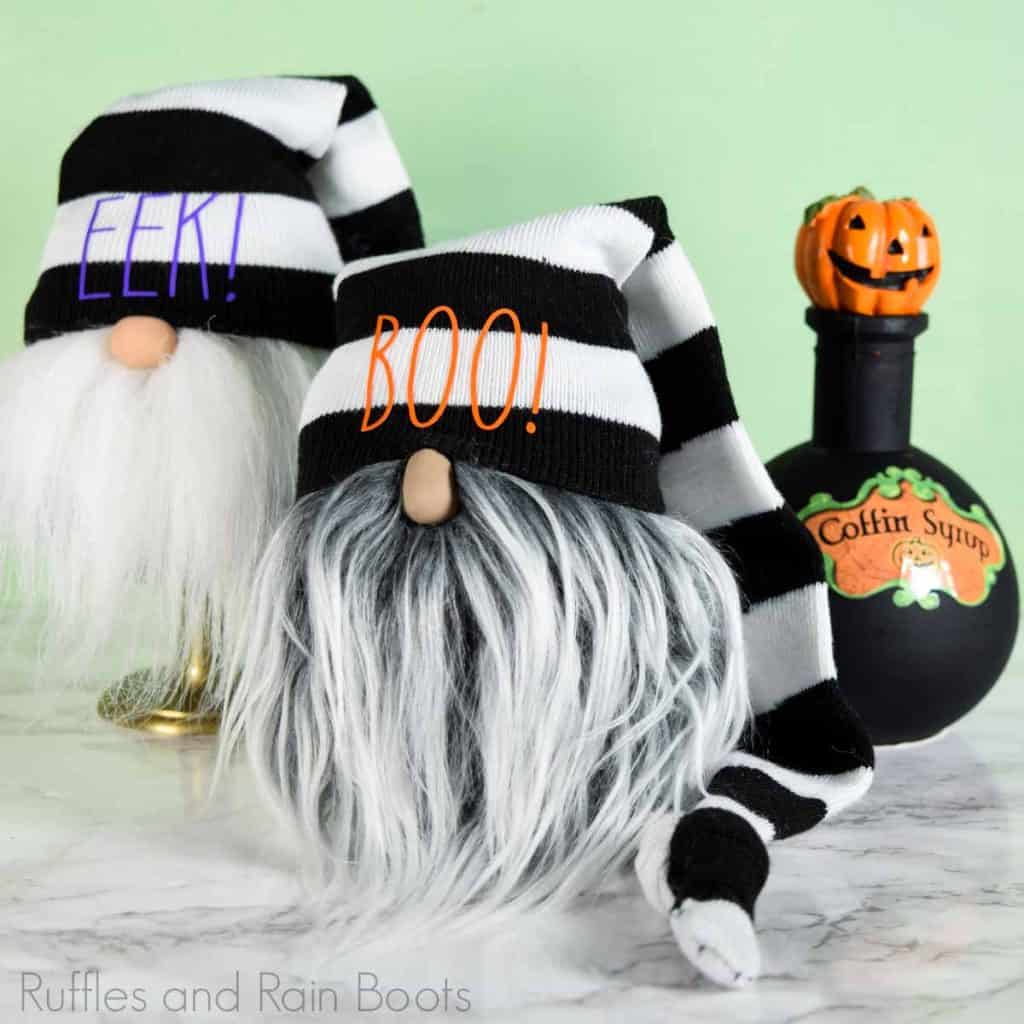
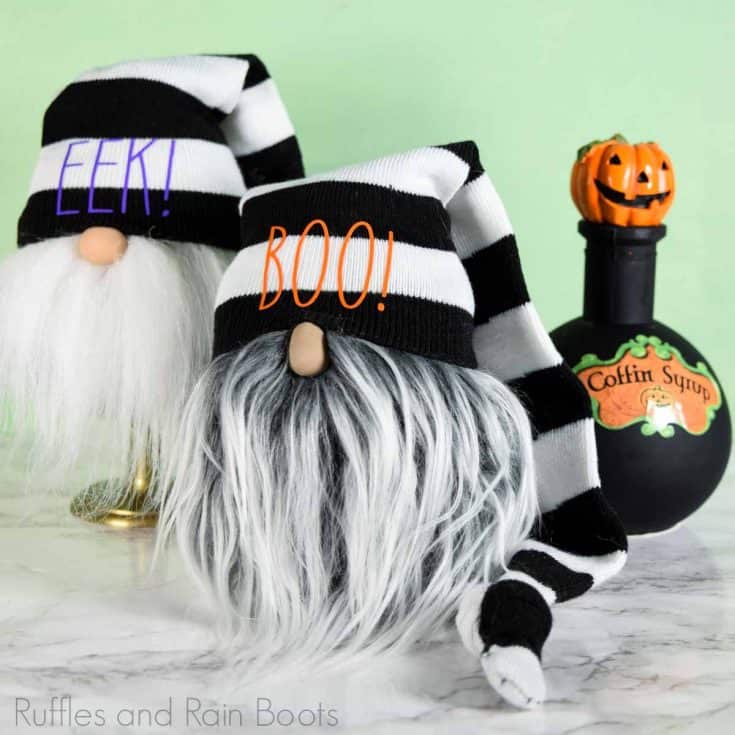
DIY Halloween Sock Gnome Tutorial with Video
This easy DIY Halloween sock gnome tutorial can be made in 20 minutes using Dollar Tree socks, some filler, and faux fur. It’s so easy to make, you can even create this popular Halloween craft idea with friends and family at a family craft night.
The sock gnomes come together in no time at all. You will learn how to cut faux fur in this easy gnome tutorial, as well, so let’s get started.

RELATED READING: DIY Halloween Gnomes to Make This Year
What You'll Find On This Page
Halloween Sock Gnome Tutorial with Free SVG Files
Here at Ruffles and Rain Boots, we have been crafting for Halloween for quite a while now. Because I needed a small accent for an entryway display, I thought small sock gnomes would be perfect!
Get Secret Gnomes, Tips, & Freebies Delivered!
What is the best pattern to use when you don’t want to sew? Do you know the secrets to a properly-proportioned gnome? Do you know where to get the best-priced fur?
Get all of this (and exclusive content just for you) delivered right to your inbox with the gnome-making series, free of charge. Sign up to get the once-weekly newsletter (and a jaw-dropping special offer)!

Not only were these Halloween gnomes easy to make (20 minutes, MAX), but they were a pretty inexpensive Halloween craft idea, too. I used a sock I found in the dollar bin, some Poly-fil, a little faux fur, and I was in business.
RELATED READING: FREE HALLOWEEN SVGs AND CUT FILES
No Time to Make This Halloween Sock Gnome Now? Save or Share for Later
If you love this little Halloween craft idea but can’t start on it now, save this Halloween DIY to a fall craft pin board or share it on Facebook. Either way will make it easy to find when you’re ready to begin.

RELATED READING: DIY Witch Gnome (No Sewing)
How to Make Halloween Gnomes Out of Socks
- Click here to get the free Halloween SVG files for this cute Halloween gnome tutorial.
- If you’re having trouble finding a black and white striped sock for your Halloween sock gnome, you can use this one. I found mine in the dollar bin at Target, but I wanted you to have this, just in case.
- If you have never cut faux fur before (or you have and it just doesn’t seem like it turns out as long and flowy as mine), here’s my trick: I flip the fur over, put down the scissors and get out an exacto knife. With that, I cut the back of the fur (just the fabric) with the knife. If you keep from cutting the fur, when you separate the pieces, you’ll have long, flowy fur!

What You Need to Make Sock Gnomes for Halloween
Below are the items I used for these 5 minute sock gnomes, but check what you have on hand. Stuffed animal fur can work for a gnome beard, poly pellets for weight, and the inside of a pillow for stuffing.
- one sock (I used a men’s, black ankle sock)
- one striped or decorative sock
- weight (I used poly pellets but dry rice or beans are popular)
- stuffing (I used Poly-Fil, but the inside of a pillow will work)
- a gnome nose
- optional: SVG for vinyl accent
What Socks are Best for Sock Gnomes?
In all honestly, I’ve used everything from baby socks (they’re perfect for mini gnomes or ornaments) to men’s compression socks for my gnomes. But I do have my favorites.
Best Socks for Gnome Bodies
I prefer using a men’s ankle or crew sock for the body because you can create a larger gnome using them. They can be tied at the top which reduces the need for hat stuffing, as well.
Best Socks for Floppy Gnome Hats
As used for these Halloween gnomes, I chose the knee high socks for a floppy hat. You can cut them into a point, tie them off, or cut them down to your desired size.
Best Socks for Standing Gnome Hats
Fuzzy socks or decorative socks both work to create gnome hats. Dollar stores have a TON of fuzzy hats during the winter months, so stock up. The decorative crew socks are also a great find and you can pick them up at dollar stores, big box retailers, or online.
RELATED READING: Sock Gnome Tips and Tricks (High End and Elegant Creations)
DIY Halloween Sock Gnome Video Tutorial
I am a visual learner, so video tutorials really help me watch things come together. If you are creating a DIY gnomes playlist or prefer it, watch the Halloween sock gnome video tutorial.
Be sure to subscribe. We have a lot of fun on the channel!

More Halloween Gnome Tutorial Ideas You Might Like
- Dollar Tree Bat Gnome – Oh my word, he’s adorable and so easy.
- Pumpkin Gnome – His pumpkin butt is the cutest thing on the planet–I just want to take a bite of it!
- Hocus Pocus Gnomes – This trio of Sanderson Sisters gnomes is so fun to make, and even funner to enjoy around the house.
- Gnome Costume and Gnome Hat for Kids – Make this easy Halloween costume for the kids!
- Devil Gnome DIY – Using hot glue, make this adorable gnome for Halloween.
Please Save or Share This DIY Halloween Gnome Idea
Your shares are how this site grows and I am sincerely grateful. Know a friend who’d like this? Please share it on Facebook or save it to your favorite DIY Halloween crafts pin board.

How to Make a Halloween Sock Gnome
I’m so glad you asked. Below is our written tutorial. If you’re making a gnome tutorials playlist on YouTube, here is our Halloween sock gnome tutorial Halloween sock gnome video tutorial!
Halloween Sock Gnome

Confession: I love Halloween almost as much as I love Christmas. And this Halloween sock gnome tutorial with free SVG files is so cute--and you can make it in 20 minutes!
Materials
- sock (men's ankle sock in black)
- black and white stripe knee-length sock (I used a kid's sock from the dollar section in Target)
- poly beads for weight and polyfill fiber for stuffing
- nose (wooden bead or clay)
- SVG Files
Tools
- rubber band
- hot glue gun
- scissors
- pencil
- needle and thread (optional)
Instructions
- Roll down the sock and fill with enough poly beads to keep the sock level and stable.
- Stuff the rest with polyfill fiber, leaving enough room to secure a rubber band on the top.
- Cut off any sock excess.
- Turn the striped sock inside out and sew into a point (from one edge to a point or joining both edges to a point - your choice).
- Cut off the extra material, leaving about 1/4 inch in place.
- Turn the sock right side out and pop out the point with the eraser end of a pencil.
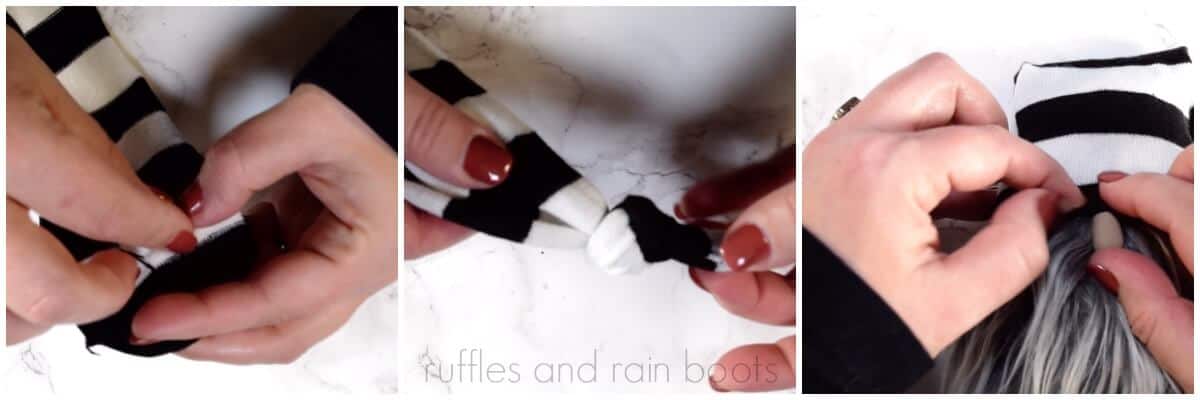
- Tie the end of the sock in a knot.
- Cut a piece of faux fur nearly the diameter of your stuffed sock body.
- Taper it to a point (it will resemble a wide, squatty triangle). Be sure to cut it with a razor and ONLY cut the backing, not the fur.
- Hot glue the faux fur onto the body of the gnome, lining up the point of the beard with the center of the gnome's body.
- Pull the sock down onto the gnome body until it's about halfway down.
- Lift up the front of the sock and hot glue on the nose.
- If you'd like to add a saying to the gnome, use the free cut files I've created for you. Size them up or down to what you need by measuring the available space on the gnome hat. If you do not have a cutting machine, use a paint pen to write on the sentiment (do not do this before stretching and filling, as it will spread).
- Enjoy!
Notes
For more Halloween gnome tutorial ideas, visit Ruffles and Rain Boots!


Hello and thanks for the tutorials. I looked for the Sanderson Sister Gnomes, but just got an error message. I also searched in the search this web but there appears to be nothing. Is it a tutorial that is coming I would really like to make them for Halloween. I love your Gnomes and I too need a support group Lol. Hello my name is Debbie and I love these Gnomes!
Debbie, the Sanderson sister gnomes are publishing on September 3rd. Sorry, got a bit ahead of myself (you’re going to love them)! :)