
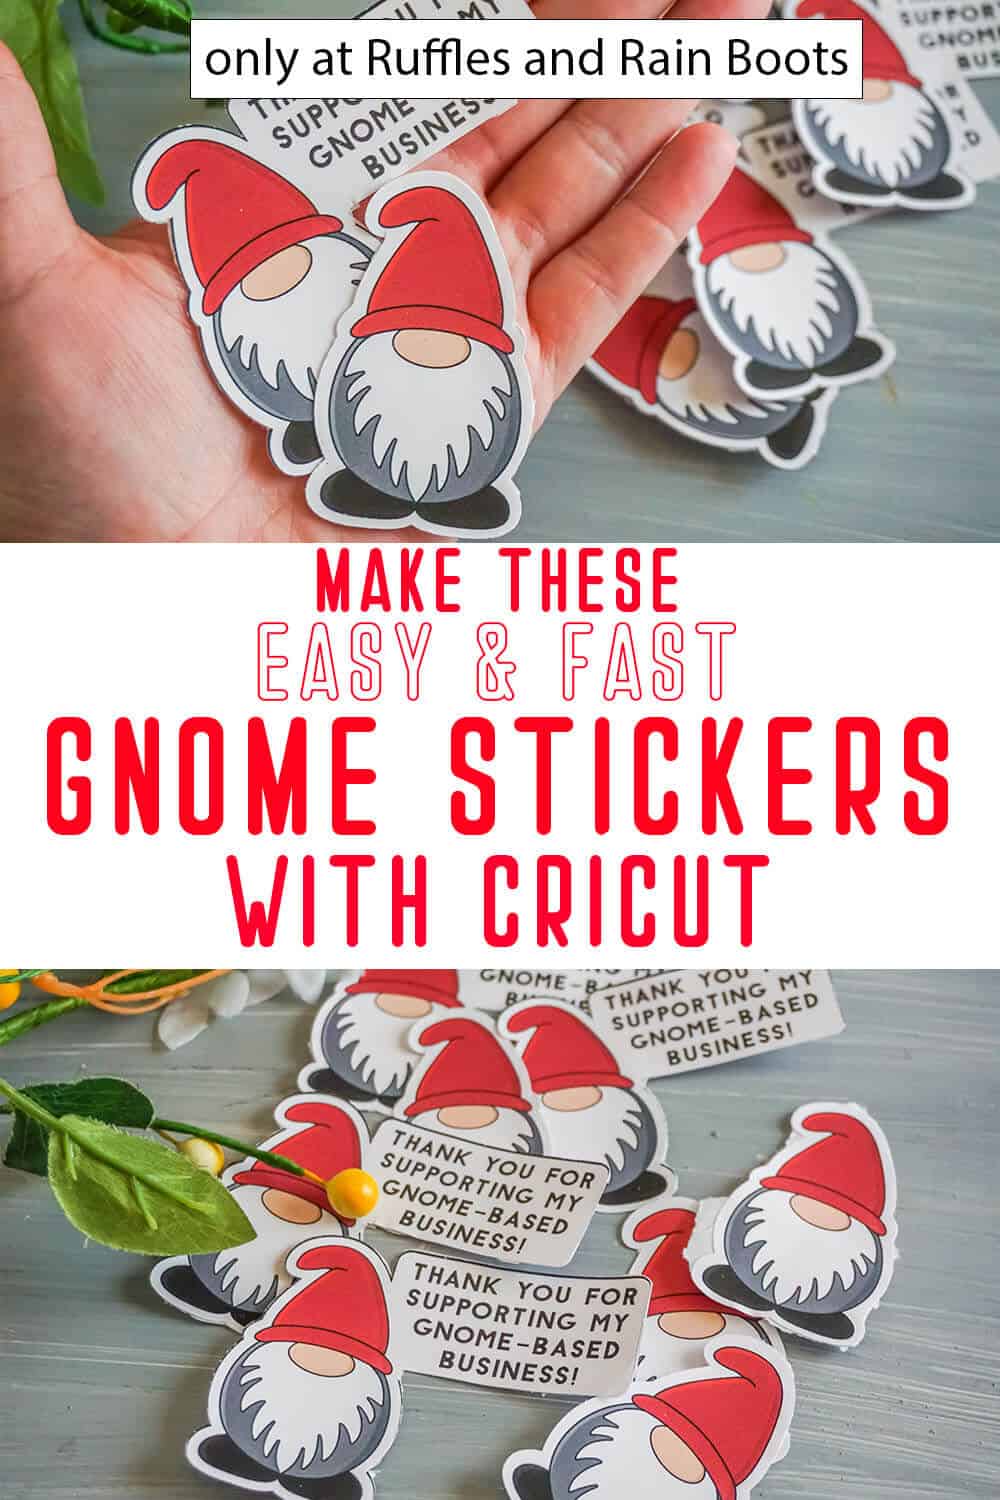
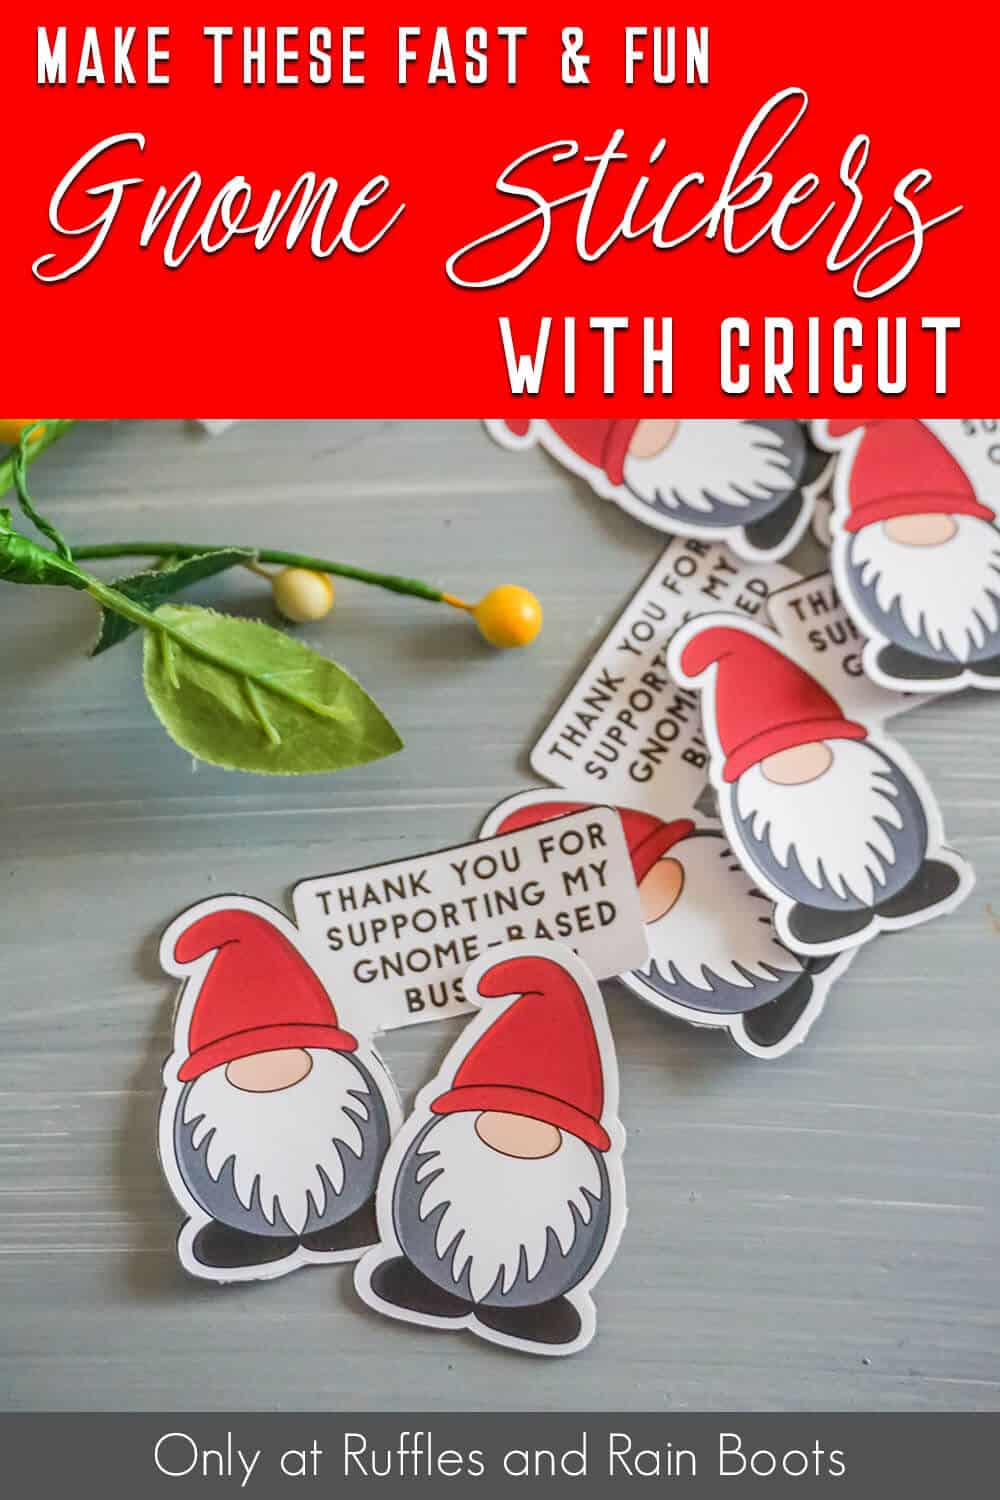
Learn to Make Stickers with Cricut – Gnome Stickers
If you want to know how to make stickers with a Cricut machine, make these gnome stickers with some fun files I designed. Making your stickers can be done with or without Access and is a relatively quick craft.
I’m using gnomes to make my stickers, but remember that even if you do not design your own there are TONS of pre-made sticker packs. I’ll share a few to get you started.
What You'll Find On This Page
Gnome Stickers
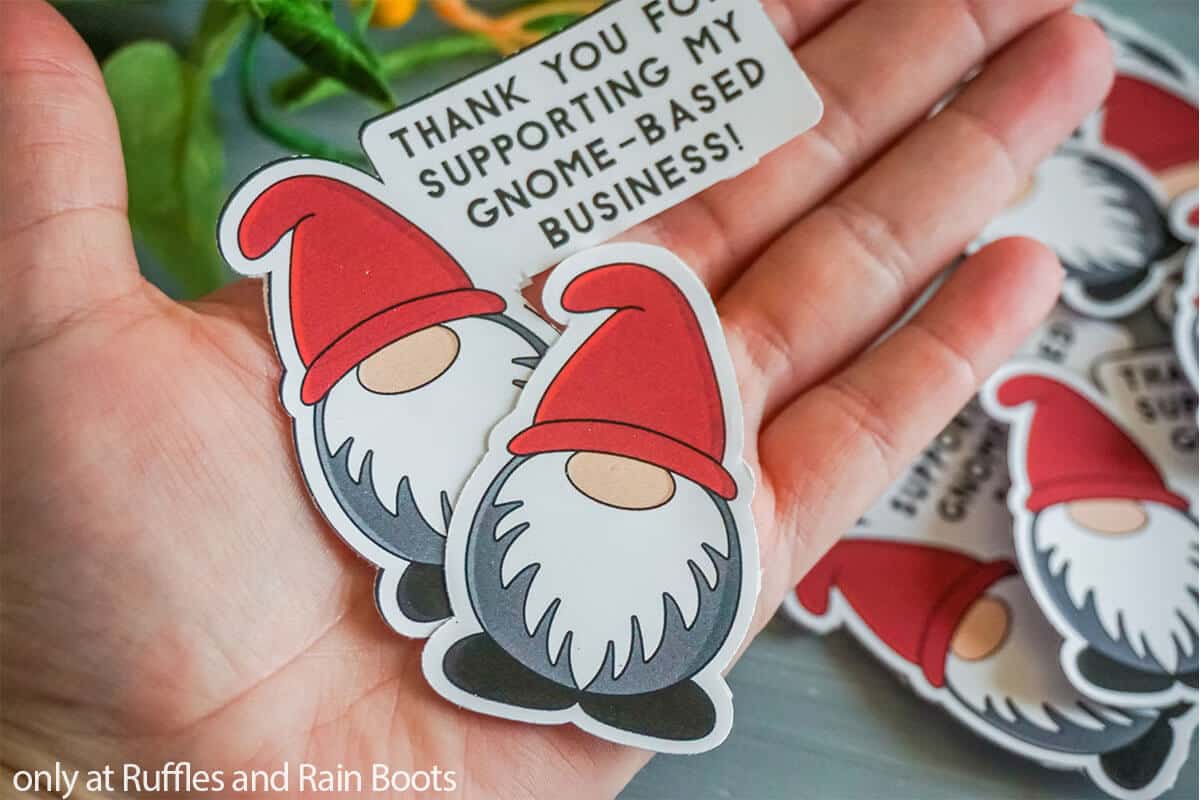
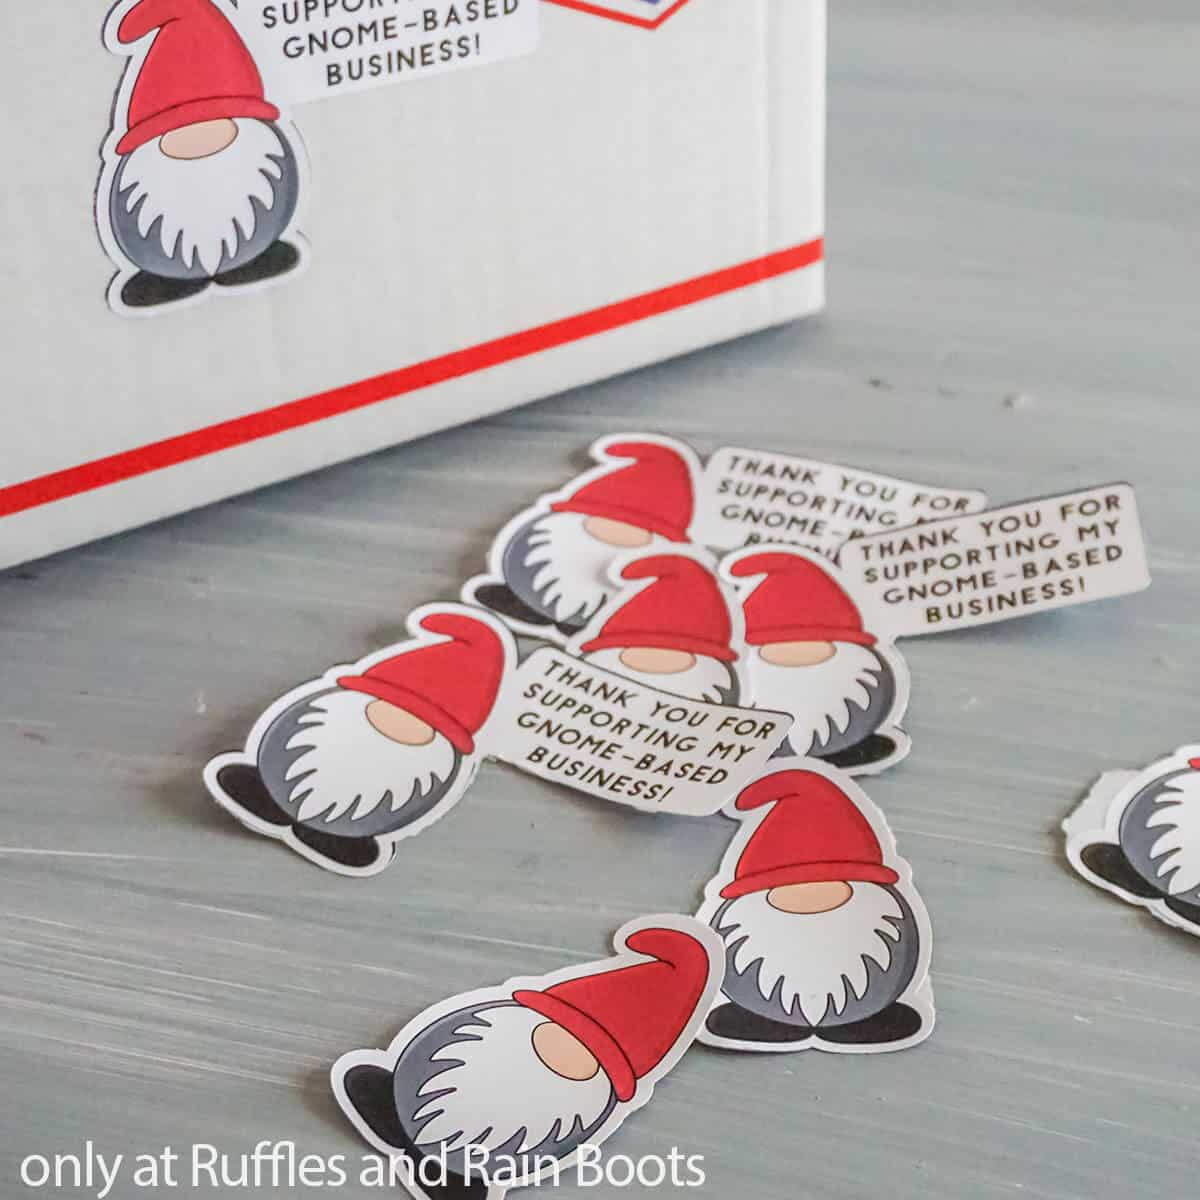
Here at Ruffles and Rain Boots, I am always looking for fun ways to make little gifts to toss into a box with one of my gnomes. I may not sell my gnomes, but I send a lot to friends and charities and who doesn’t love a surprise inside a package?
First I had to learn how to make stickers with Cricut – which is similar to print and cut projects, but once I was done testing all the methods, I made a bunch of stickers. If you’re ready to learn how to make stickers with your Cricut, let’s get started.
RELATED READING: 100 BEST CRICUT PROJECTS TO MAKE AND SELL
No Time to Make This Now? Save or Share for Later
If you need to read through the list and gather some supplies, save this to a Cricut crafts pin board or share it on Facebook. When saved, it is a lot easier to find when you’re ready to begin.
As an Amazon Associate, I can earn from qualifying purchases. There could be affiliate links within this article.
Tips to Make Stickers with Cricut
- Click here to get the cute gnomes I used to make this adorable set of gnome stickers. You can purchase anything in the shop, but these files are ones I drew specifically for this.
- If you want some sticker designs other than gnomes (shocking), here are some free sticker packs: unicorn stickers, perfect fall sticker pack, adorable dinosaur sticker pack.
- You can use regular sticker sheets (I have this printable sticker paper) to make your gnome stickers, but that’s just paper with an adhesive backing. If you want your handmade stickers to be more robust and last a little longer, I recommend using printable vinyl.
- You will need an inkjet printer for this craft as lasers will not deposit ink.
- I used a Cricut Maker for this beginner project but the Cricut Explore Air 2 and other cutting machines will work, as well.
- In the tutorial, I provide instructions for Cricut Design Space software, however, you can use a different cutting machine which allows for print then cut projects.
- What do you do with your stickers? Put them on the side of your packages you mail, can include them in packages, put them on the back of your computer, and if you use printable vinyl, you can even put them on tumblers!
How to Make Stickers with Cricut Machines
Below is the written and printable tutorial for making these gnome stickers (or any stickers). If you’re making a Cricut crafts playlist on YouTube, here is the how to make stickers with Cricut video tutorial which shows both methods (kiss cut and full cut).
Gnome Stickers

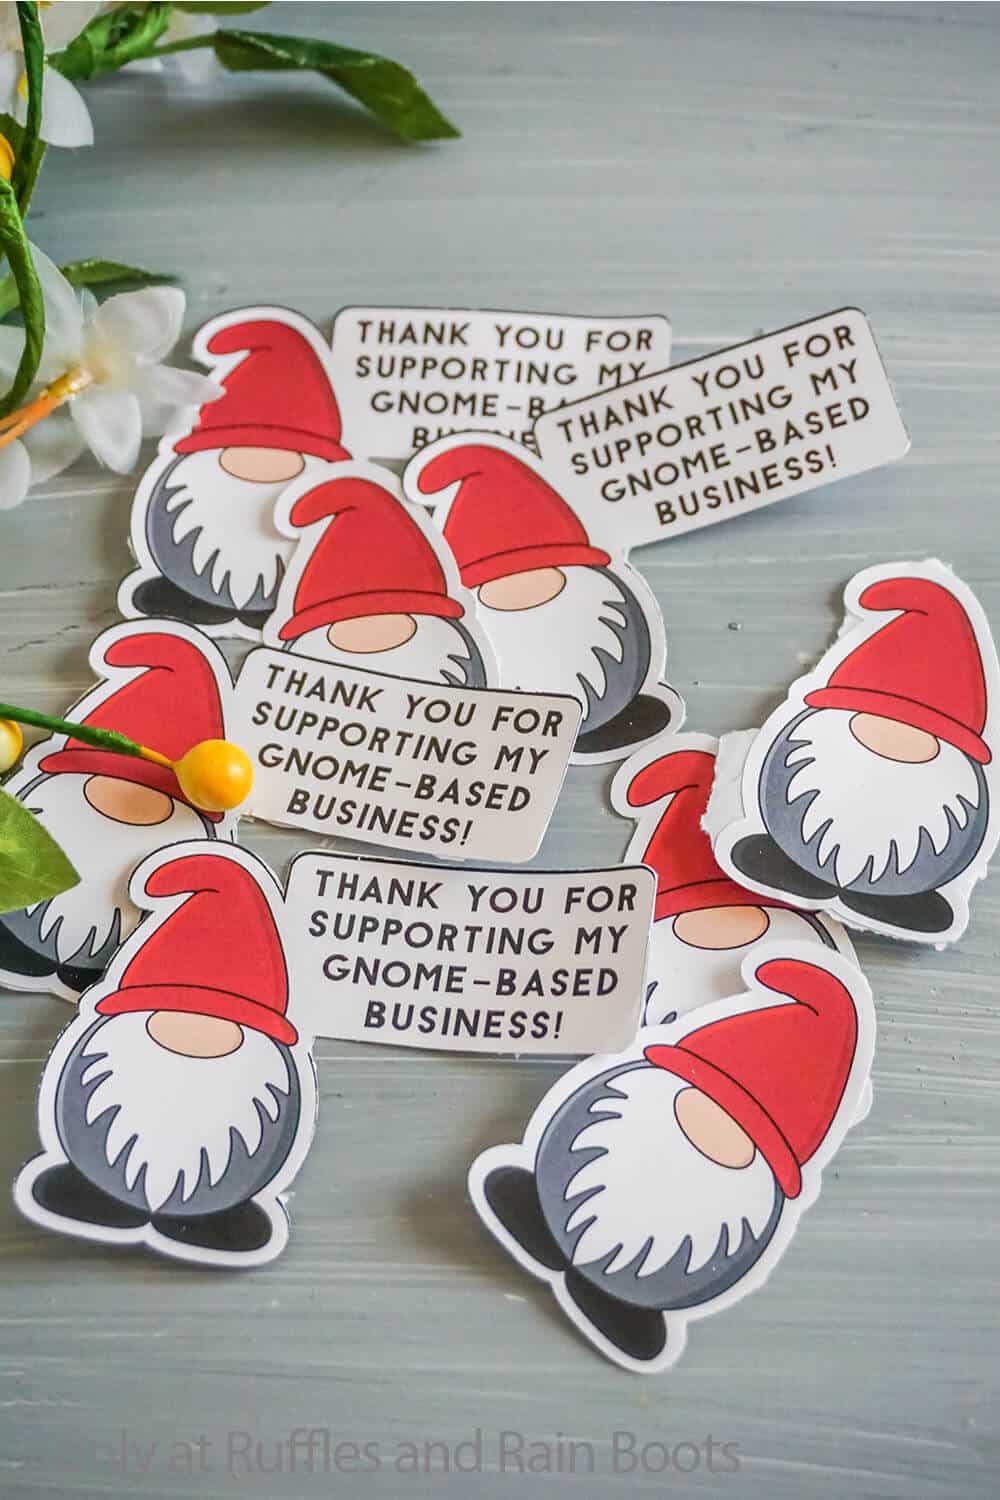
Making these gnome stickers was so easy. Once you figure out how to make stickers with your Cricut, you will have so much fun.
Tools
- Cricut Explore Air 2 or Cricut Maker
- Light Grip Mat
- Fine Point Blade (standard blade)
- Printer
Instructions
- Download the gnome sticker cut file then upload it to Design Space. When asked, follow the prompts to import it as a complex image, do not erase any of the shape, just continue as a print-and-cut image.
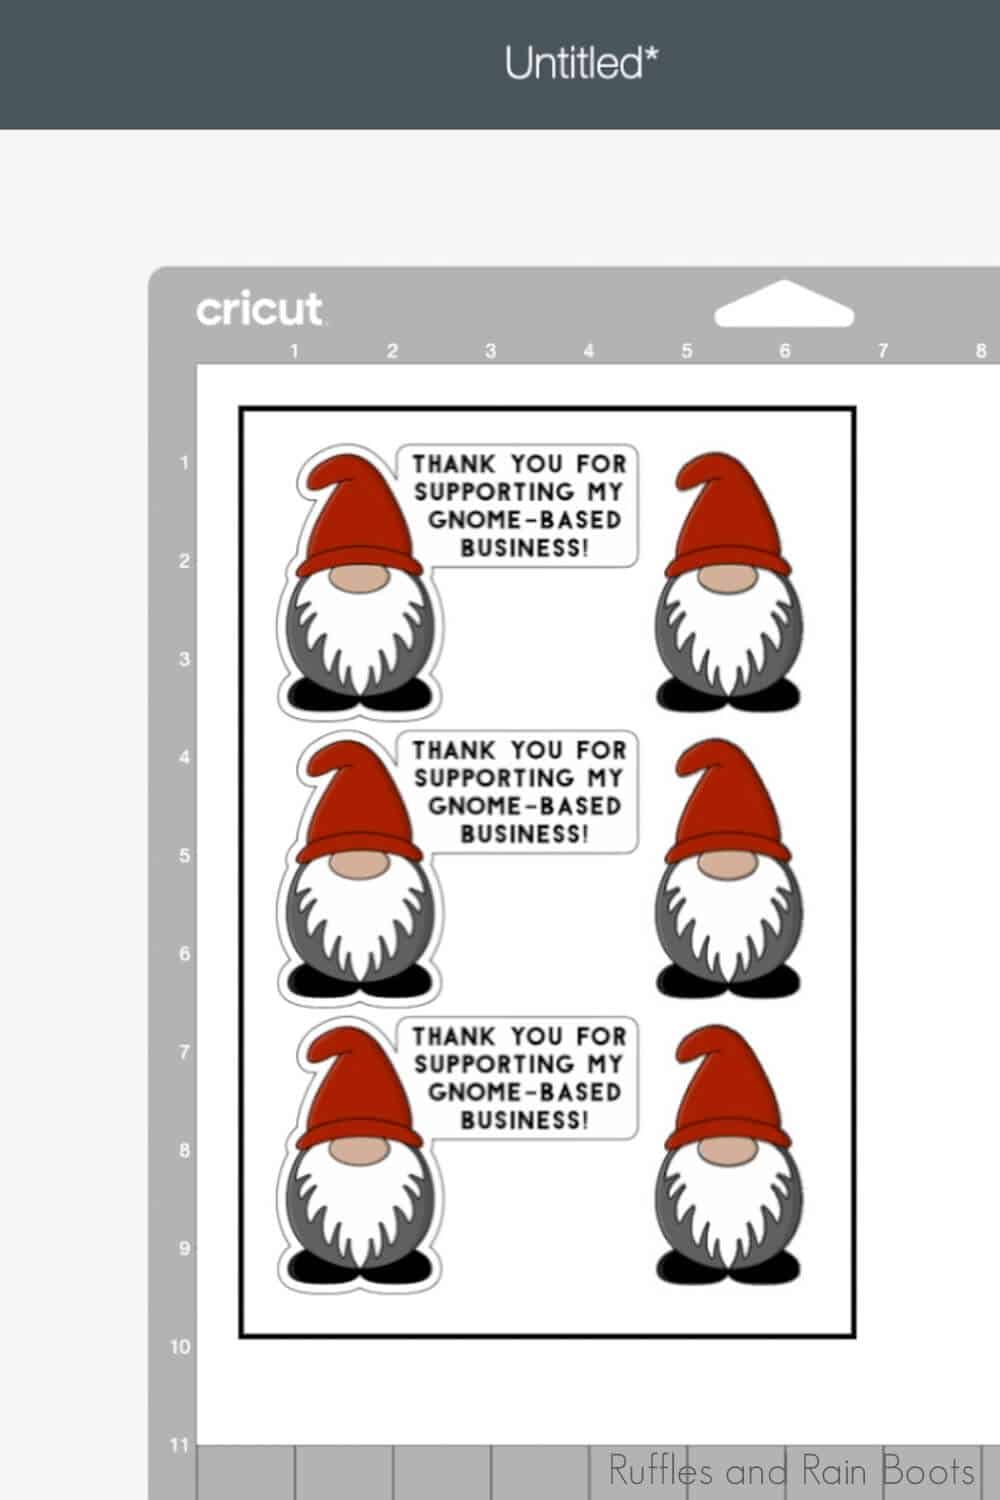
- Once uploaded, open a new canvas and insert the gnome sticker image(s). Resize the image to be whatever size you want. I decided to do roughly 3-inches, that way I could get several on the same sheet.
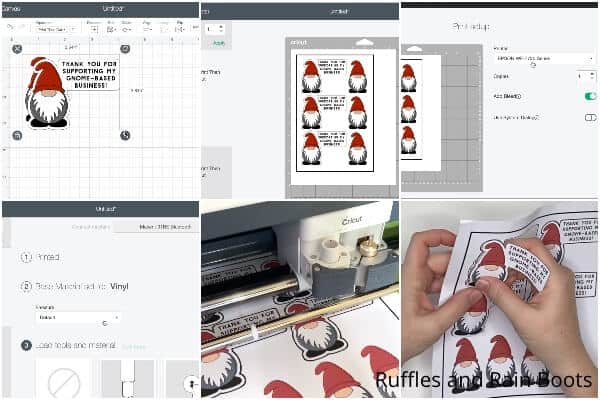
- Duplicate the correctly-sized gnome image for the total number of stickers you want (I could fit between 6-9 on a page, depending on the design and sizing). Select "make it".

- When prompted, select "continue" and "send to printer". Load your printable vinyl or sticker paper into your printer, then give Design Space the "print" command by pushing the button.
- Once printed, place your vinyl sheet printed-side-up on the light grip mat then load the mat into the machine.
- Modify the settings in Design Space to note that you're cutting vinyl or sticker paper, whichever is applicable.
- Modify the settings in Design Space to note which level of pressure you want to use. Using "Less" pressure on your blade will result in a "kiss-cut" where the vinyl or paper on top is cut, but the backing sheet is not cut. This is great for a sheet of stickers you want to keep at home and use yourself. Using "Default" pressure resulted in a semi-cut-through of both the vinyl and the backing, but was not adequate enough to separate the two. Using the "More" pressure on the blade resulted in a nice, clean cut through the vinyl or paper and the backing sheet as well, allowing me to separate the stickers nicely. I will note that not every machine works exactly the same, so you might want to play around with your settings and find the "sweet spot" for yourself.
- Once you have defined the settings, press the "go" button on the machine and allow the cutting to occur.
- Once cut, press the button to unload the mat, then remove the stickers and use them!

Notes
For more fun Cricut crafts, visit Ruffles and Rain Boots!
More Gnome Cricut Crafts You Might Like
- Drop Cloth Gnome Pennant Banner – A quick and fun project that you can make for any season.
- Succulent Gnome Pattern – Did you know you could make an entire gnome with the Cricut?! It’s epic.
- Beginner Cricut Mug Tutorial – Learn how to use some basic techniques to create custom mugs with your Cricut machine and the Dollar Tree.
Please Save or Share This
Your shares are how this site grows and I am sincerely grateful. Know a friend who’d like this? Please save it to a Cricut project pin board or share it on Facebook.
Meet the Creator
Hi there, I’m Sarah Nenni-Daher. I’m a crafty gal and always have at least 14 projects going at once. I am a crafter, designer, DIYer, and pattern maker. I share my creations here and in the Ruffles and Rain Boots® Shop.
Here at Ruffles and Rain Boots®, you’ll find DIY gnomes, crafts, gifts, cupcakes, laser crafts, and so much more. I love sharing video tutorials over on YouTube and chatting with other crafters in my Facebook groups. We’d love to have you!