
I Love How Easy This Faux Mitten Wood Sign Cricut Craft Is!
This is the most fun little faux mitten wood sign Cricut craft. You can whip it up in just a few minutes!
Faux Mitten Wood Sign Cricut Craft
Here at Ruffles and Rain Boots, I am SO EXCITED about the holidays, I am having ideas in the mid of night for all sorts of new decor options. The neat thing is that I can have the idea, make the digital elements and have the decor piece made in just an afternoon. So much fun.
RELATED READING: RUSTIC FARMHOUSE WOOD HOLIDAY SIGN
Today’s fun creation was this awesome faux mitten wood sign Cricut craft. Fast, fun and really cute, you’re going to love having this little faux sled sign, so let’s get started.
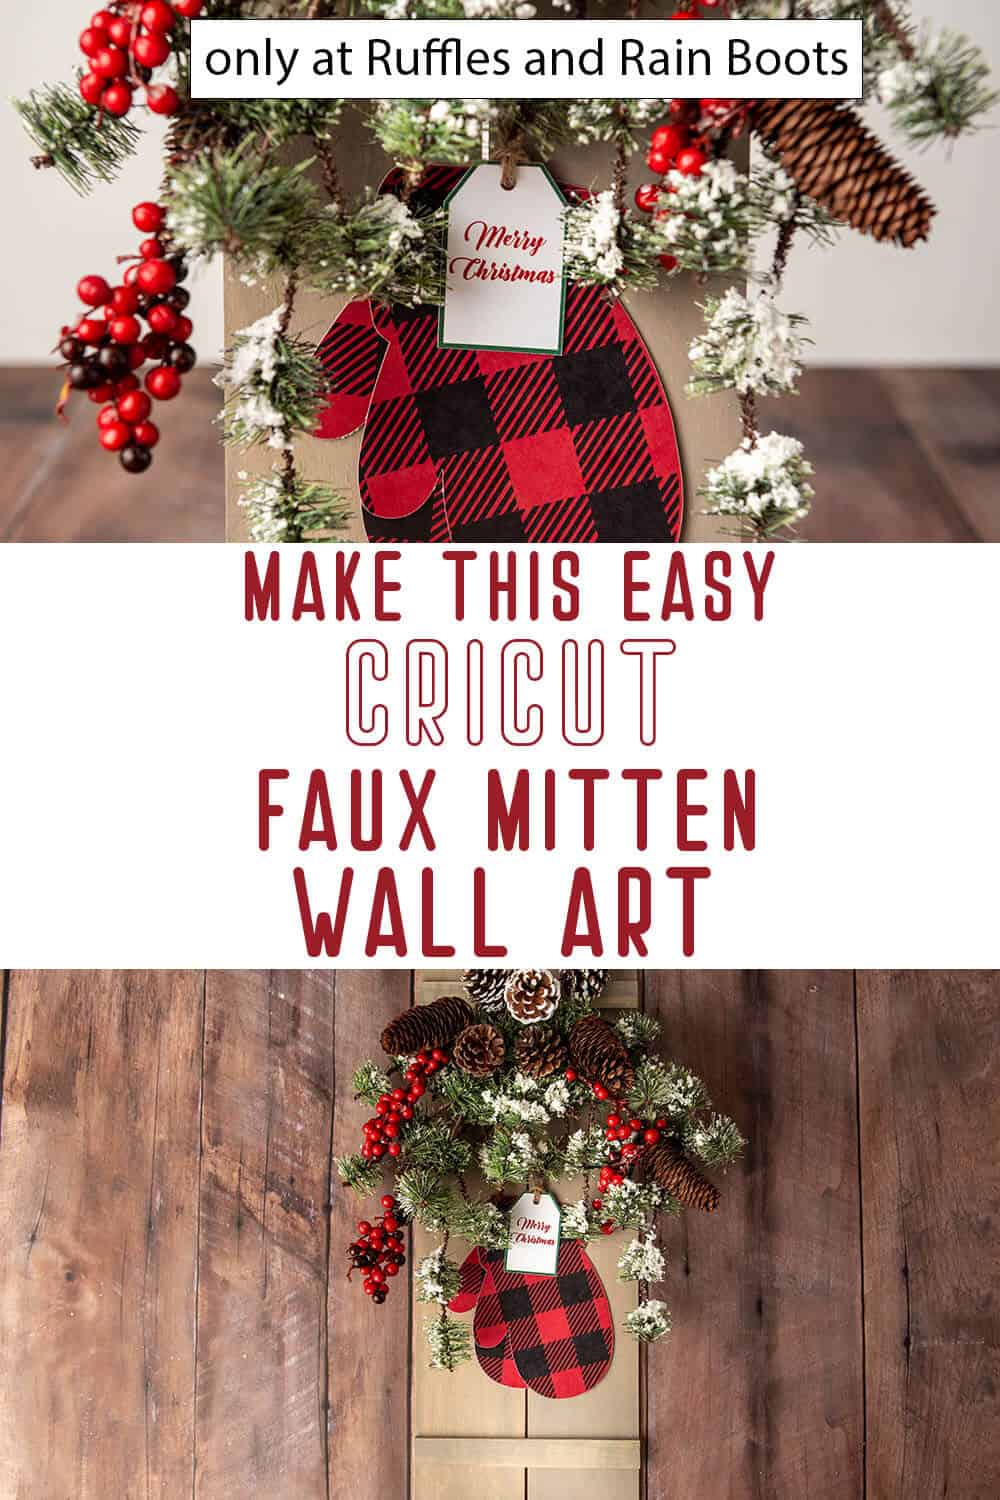
No Time to Make This Now? Pin it for Later
You’re busy, I get it. Pin this to your favorite Cricut craft board on Pinterest and it’ll be here when you’re ready.
As an Amazon Associate, I can earn from qualifying purchases.
Tips to Make a Winter Mitten Wall Hanging
- First, grab the free mitten cut files here. That will allow you to cut out the mittens while you’re putting together the wood backing. If you don’t want to use a cutting machine, that’s no problem – just print out the design and cut it out by hand. It’s not an overly complex design, so cutting with scissors wouldn’t take too long or be too much of a hassle.
- Then, you can make your own gift tag or you can use the one included in the above linked mitten cut file set. It’s a simple enough shape, so even if you just wanted to use a piece of card stock cut down and then hand-lettered, that would be fun, too!
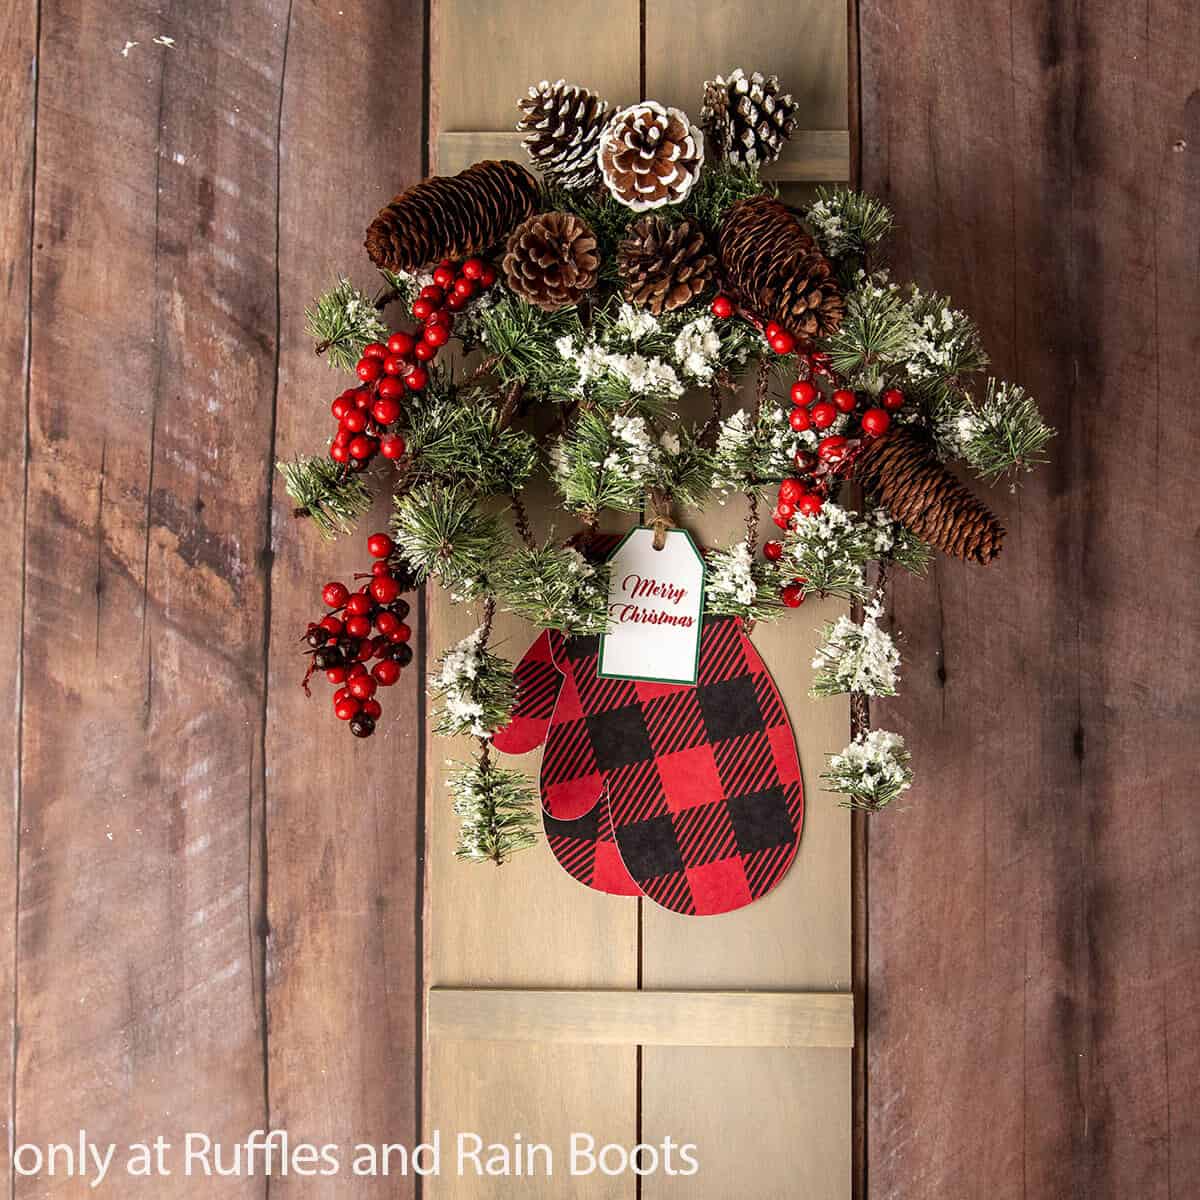
- I thought this would make a GREAT door hanger, but I have a million door hangers, so while I was thinking about where to hang it, I leaned it against the side of the fireplace and BAM! It has a new home and it’s amazing. Definitely a great place for it to sit.
How Do I Make this Faux Mitten Wood Sign Cricut Craft?
I’m so glad you asked. Below is our written tutorial.
Faux Mitten Wood Sign

For a fun and easy Cricut craft, this faux mitten wood sign is a great DIY holiday decor piece!
Materials
- Varathane Classic Weathered Oak Stain
- Cut File for Mittens and Tag
- Card Stock Paper
- Thin String
- 2 Christmas Stems
- Picture hangers for back of sign, optional
Craft Wood
- (2) 3/16” x 4” x 24” craft wood
- (1) 3/16” x 1” x 24” craft wood
Tools
- Sponge brush or paint brush
- Hot Glue Gun
- Craft Wood Knife
- Utility Knife
- Printer & Ink
- Cricut or other cutting machine
- Blue or Green Grip Mat
- Weeding Tool
- Tape measure
Instructions
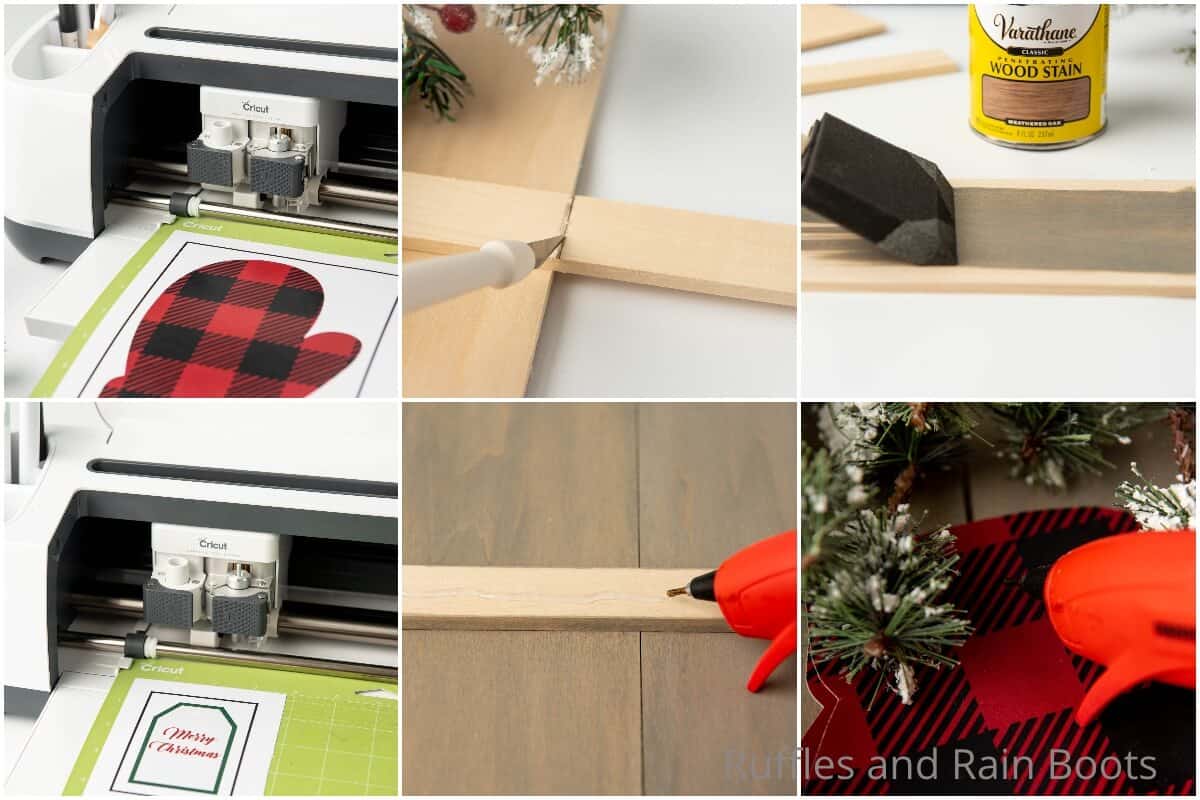
- Cut Wood to (2) 3/16” x 4” to 24” length (or desired) and (1) 3/16” x 1” to 8 ¼” length (or desired length) twice.
- Stain along the grain of the wood with a sponge brush in a well ventilated area, then wipe the wood when the color is as dark as desired. Allow the stain to dry completely.
- Download the cut files then upload them into Design Space.
- In layers panel, select just the mitten, then select "flatten" and hit "make it" button.
- Select "continue" located at the bottom right of the screen, then, send to the printer and print on the card stock paper.
- Place the printed card stock onto the cutting mat then load the mat into the cutting machine and adjust material setting to card stock and hit “go”. Repeat until you have 2 mittens and a Christmas tag cut.

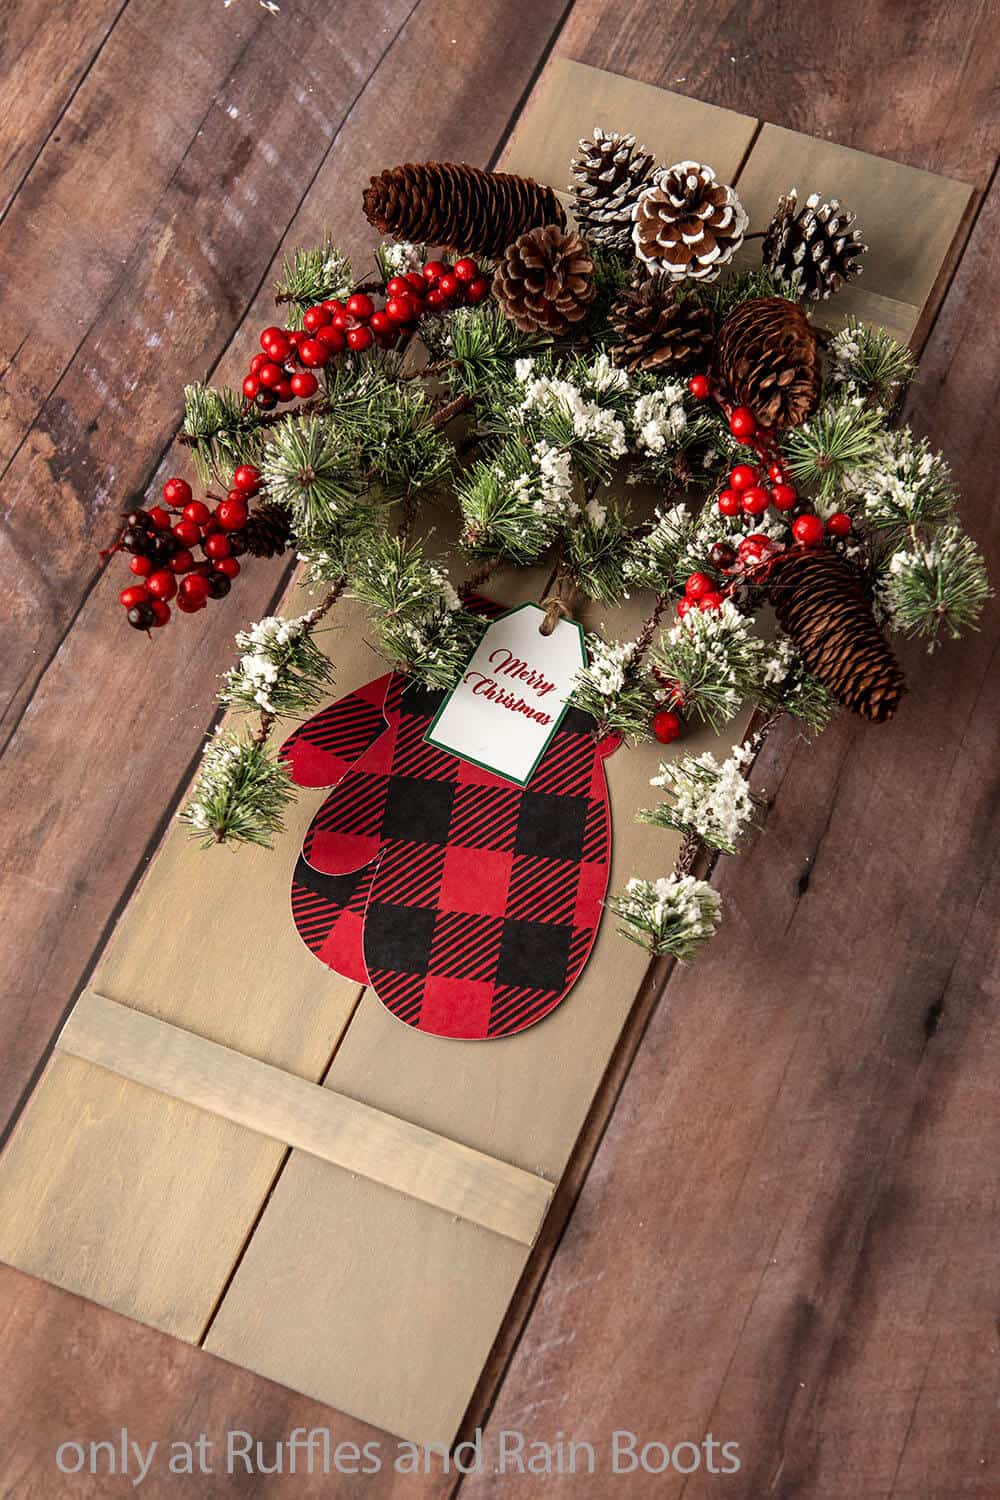
- Assemble the sign by placing both base pieces of wood side-by-side on a flat surface with only a small space between the two pieces.
- Place the two smaller pieces of wood about 3 1/4-inches from the top or bottom of the base pieces, respectively and glue to base, edge to edge.
- Shape the two Christmas stems into a "V" shape and glue the two stems to the top horizontal wood piece.
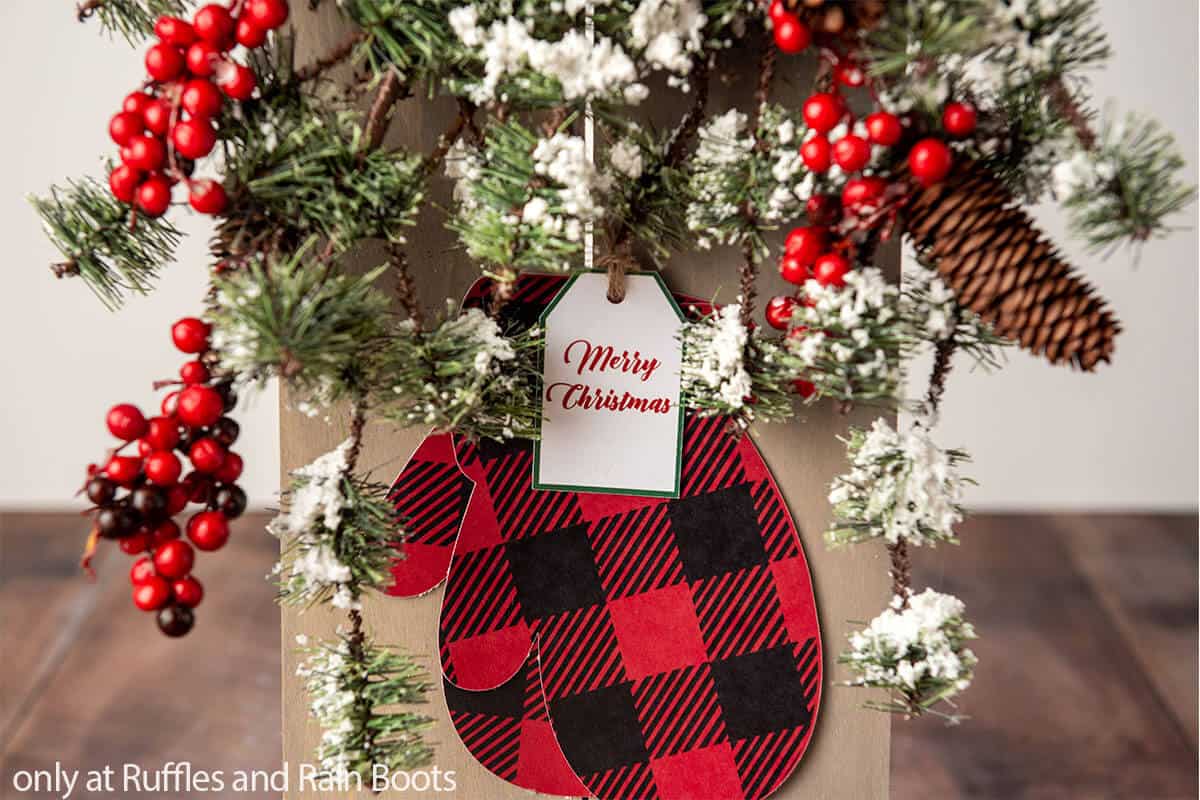
- Stack the two mittens on top of each other, with the majority of the second one showing behind the top one, then glue them together this way. Allow the glue to dry completely.
- Glue the stacked gloves into the center of the sign, squarely between the Christmas stems.
- Cut the string to length needed to hang the tag near the top of the mitten and tie the string together after looped through the tag.
- Glue the top of the string slightly under the Christmas stems, leaving the tag dangling over the top of the mittens. Then it's time to display your new sign!


Notes
For more fun Christmas Cricut crafts, visit Ruffles and Rain Boots!
More Cricut Christmas Wall art You Might Like
- True Story Cut File for Wall Art – Such a beautiful cut file that is just made to hang on the wall in an entryway or kitchen.
- Night Before Christmas Wood Round Sign – One of the easiest way to bring the season’s cheer right to your door or wall!
- Baby It’s Cold Outside Wood Round Sign – I love this fun winter wood sign. It’s fast, fun and super cute!
Please Save This to Pinterest
Your shares are how this site grows and I am sincerely grateful. Know a friend who’d like this? Please share it on Facebook or save it to your favorite holiday craft board on Pinterest.

Meet the Creator
Hi there, I’m Sarah Nenni-Daher. I’m a crafty gal and always have at least 14 projects going at once. I am a crafter, designer, DIYer, and pattern maker. I share my creations here and in the Ruffles and Rain Boots® Shop.
Here at Ruffles and Rain Boots®, you’ll find DIY gnomes, crafts, gifts, cupcakes, laser crafts, and so much more. I love sharing video tutorials over on YouTube and chatting with other crafters in my Facebook groups. We’d love to have you!