Dollar Tree Sweater Pumpkin DIY
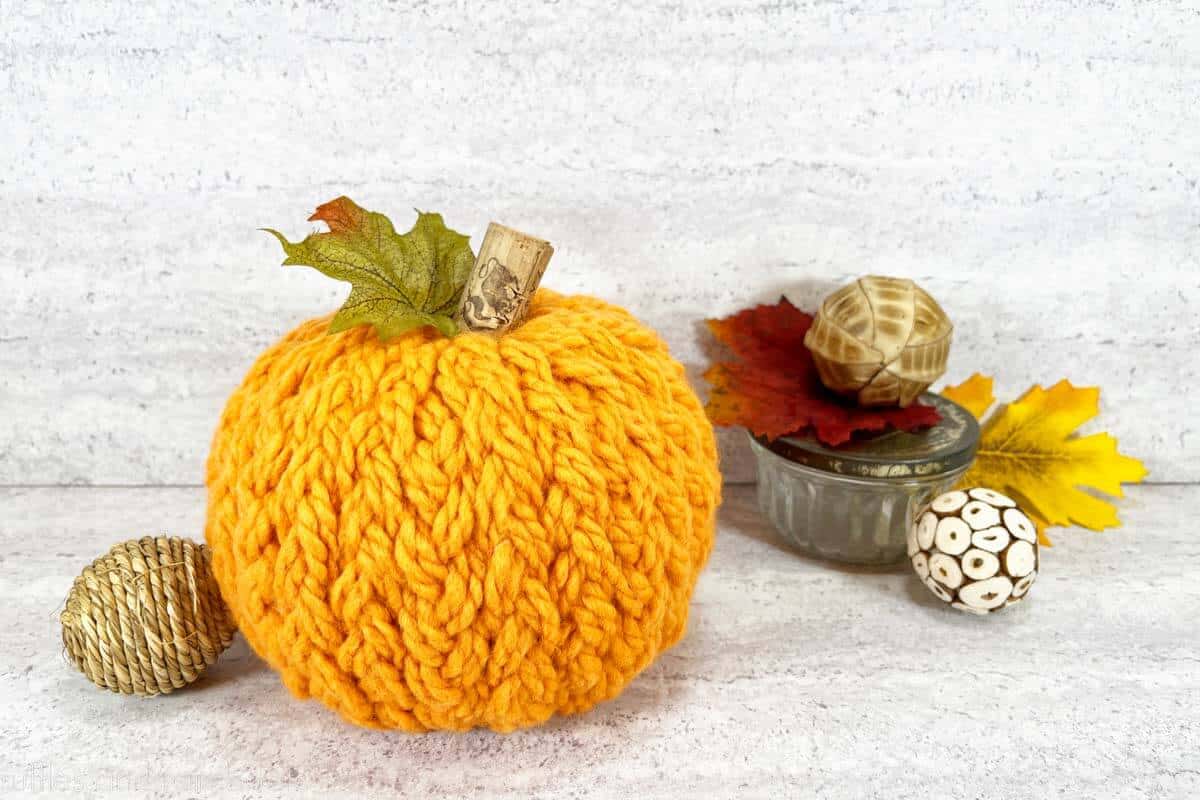
Make a faux sweater pumpkin using Dollar Tree supplies that will fool everyone into thinking it’s high-end decor! This easy fall craft idea is easily customized to any color or texture by swapping just one item.
Head to the store (or check your stash) because you will need a Dollar Tree foam pumpkin, some yarn, and a hot glue gun. Let’s get started with easy pumpkin decor.
RELATED READING: Faux Terra Cotta Pumpkin DIY – SO Easy and Elegant
Easy Sweater Pumpkin Craft
Here at Ruffles and Rain Boots, I really want to shop my stash when I can especially if it’s dollar store supplies. I have a tendency to walk in for one or two things and spend twenty dollars every time.
If you’re like me and have a carveable, dollar store pumpkin on hand, you can get started with this cute pumpkin craft idea in just minutes. These are insanely popular finds from the dollar store and I love coming up with new ways to use them each year. Displays differ, but here’s a shot of the popular foam pumpkin.

Another main supply for this craft is yarn and really, I have oodles upon oodles of skeins of this stuff. The dollar stores have really stepped up their game recently with yarn and I’ve found so many types – even the fuzzy chenille yarn has made an appearance!
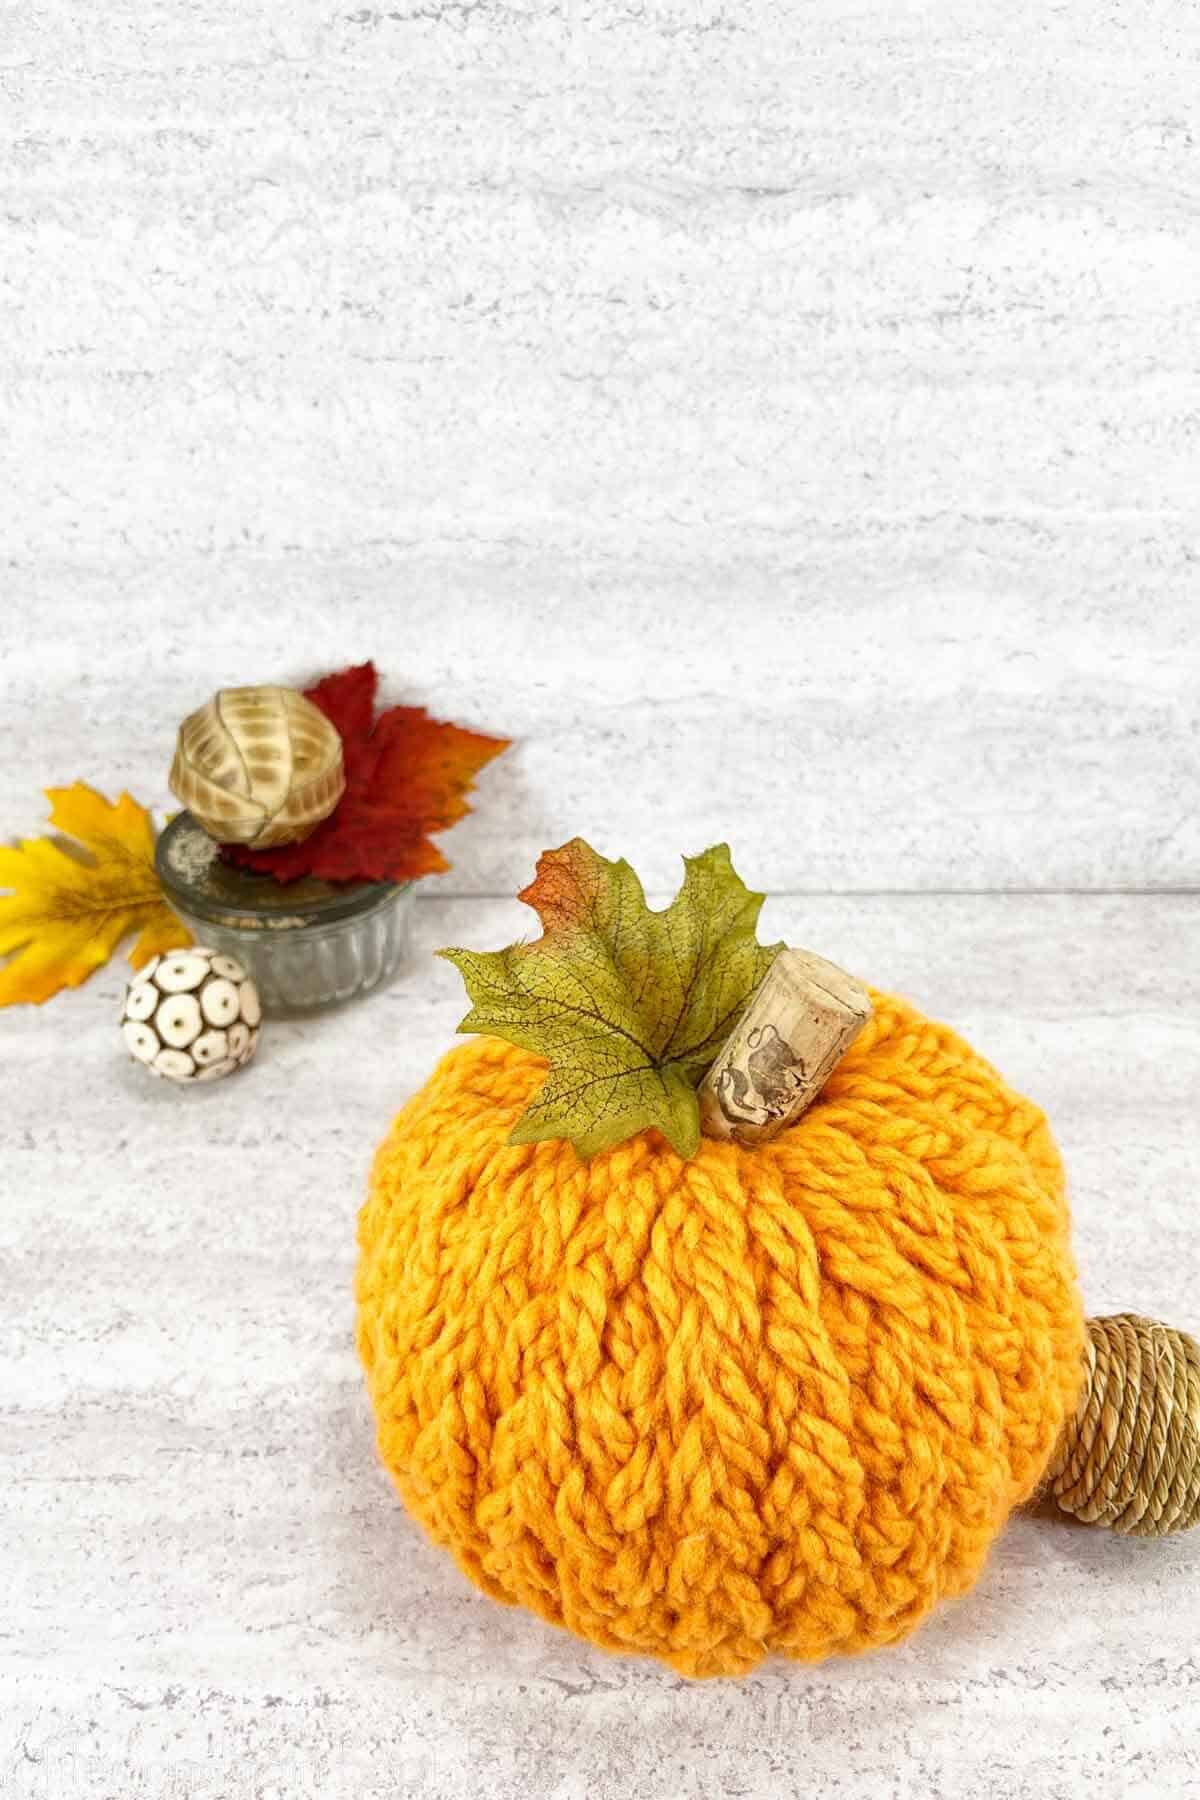
I’ll share more about this in the tips section below, but stick to a thinner yarn for this pumpkin craft idea. It’s going to make it easier to see the braiding (providing an easier faux sweater look) and it will be easier to work into the center of the pumpkin. Let’s get started.
No Time to Make This Easy Pumpkin Craft Idea Now? Save or Share It!
If you need to check your stash or run out for some more glue sticks, save this to a fall crafts pin board or share it on Facebook. I really appreciate it and either way will make it easier to find when you’re ready to begin.
As an Amazon Associate, I could earn from qualifying purchases. There could be affiliate links within this article.
Tips for Making Faux Sweater-Style Pumpkins
If you don’t have a sweater on hand, don’t worry – we’re going to make our own braided look. Here are a few more things to keep in mind when making this fall DIY project.
- The yarn you choose should be on the thinner side. The dollar stores have tons of this yarn in neutrals and warm fall colors, so it shouldn’t be a problem to match your decor.
- Create the center hole slowly. When working with these foam pumpkins, there is a tendency for them to break off in chunks. If you create the hole slowly, there is less of a chance you’ll knock out a large portion.
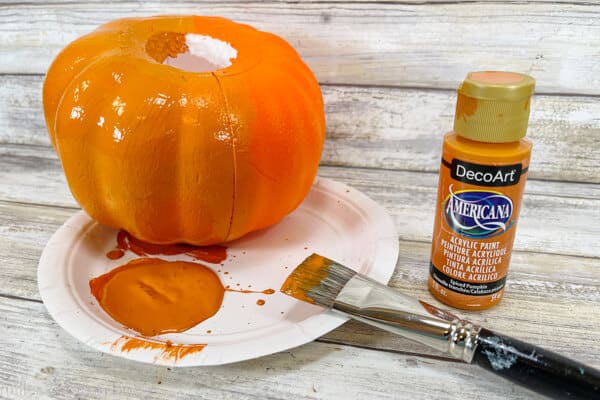
- Painting the pumpkin is entirely optional but… they are NEON orange. Unless you’re using the same color yarn, paint the pumpkin with at least one coat of acrylic or chalk paint to dull it down a bit.
- Neutrals are HUGE in fall decor and this would look amazing in a light taupe or beige. A navy yarn with a white stem (from air dry clay or Model Magic®) would also look very on-trend and high-end.
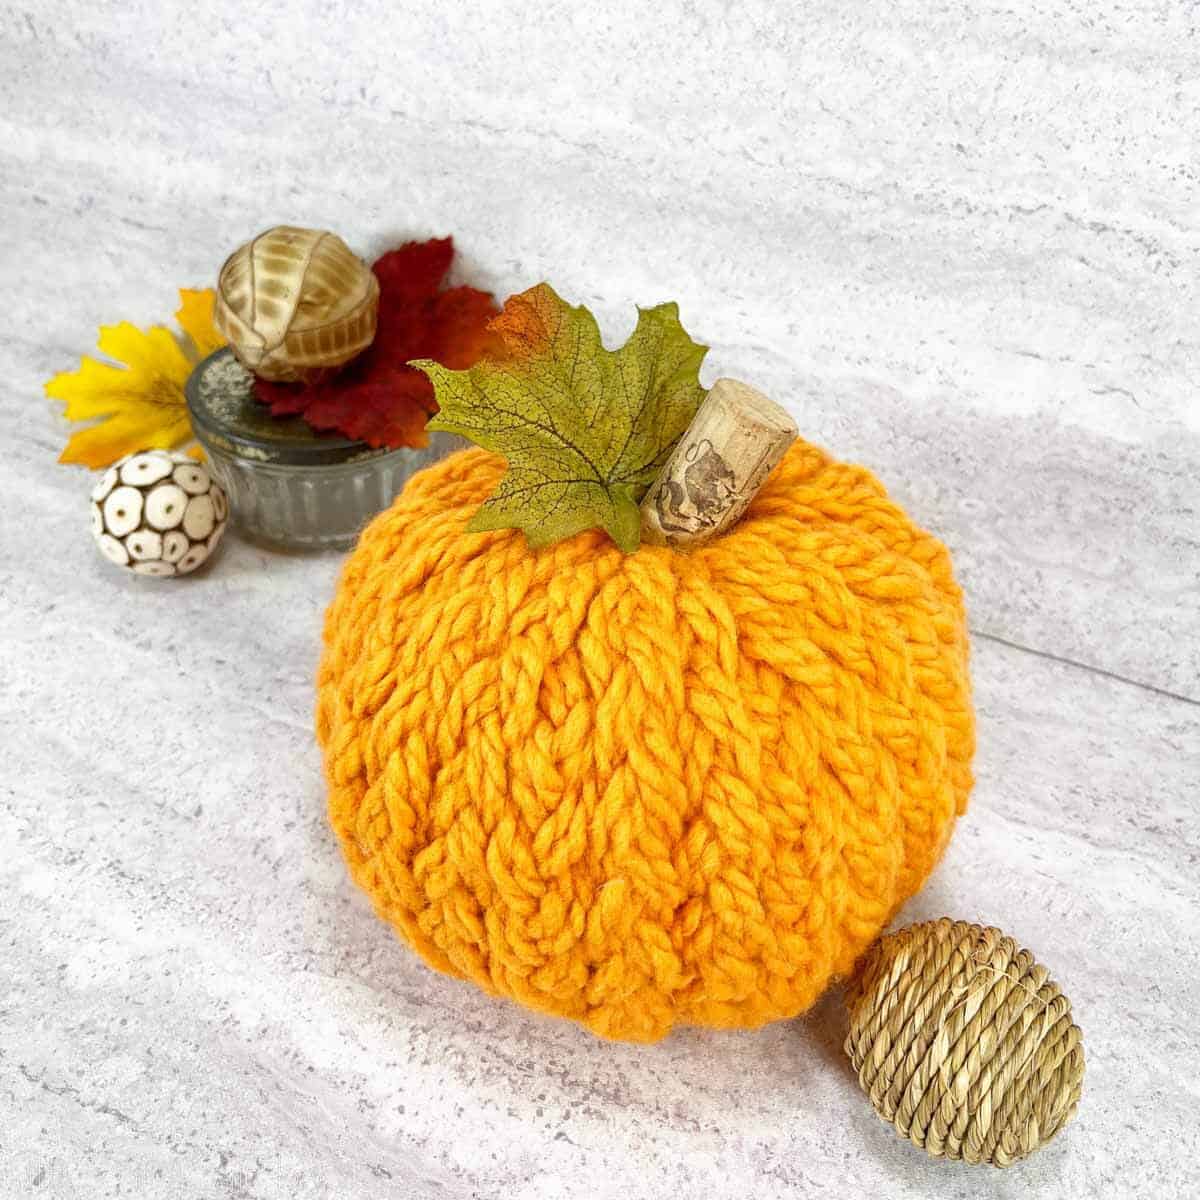
How to Make a Faux Sweater Pumpkin for Fall
Below is the written tutorial for this easy craft idea for fall. If you have any questions, please use the comments section. And don’t forget – I’d LOVE to see your creations in the Facebook group (join here).
Note: I’ve been asked if paper pumpkins (paper maché pumpkins) will work for this and the answer is, yes. Be sure to use a light coat of paint (or leave natural) and, if you want to reinforce it, stuff the inside with newspaper or fabric scraps.
Faux Sweater Pumpkin - Dollar Tree DIY
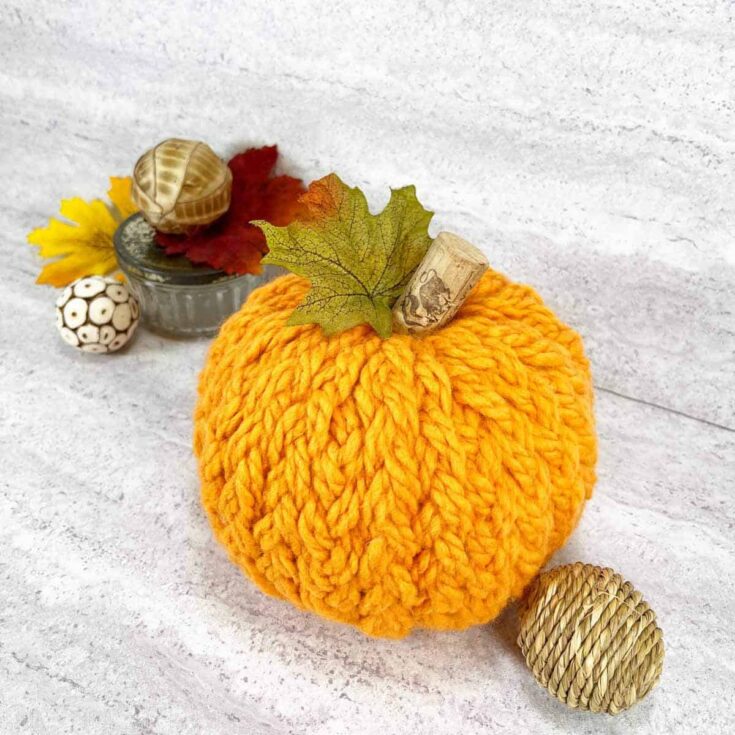
Head to the Dollar Tree to pick up some simple fall supplies to make a high-end faux sweater pumpkin. This is a relaxing fall craft that can be made in any style: colorful, farmhouse, or even monotone for that crisp, modern look.
Materials
- Foam Pumpkin
- Yarn
- Acrylic Paint
- Twine
- Faux Leaf
- Wine Cork (or Other Stem)
Tools
- Glue Gun and Glue Sticks
- Scissors
- Serrated Kitchen Knife
- Paintbrush
- Ruler
Instructions
- Use the knife to create a 2 inch hole in the top of the pumpkin.
- Add a single coat of paint to match the yarn (as best you can) in order to mute the bright orange of the foam pumpkin. Set aside to dry.
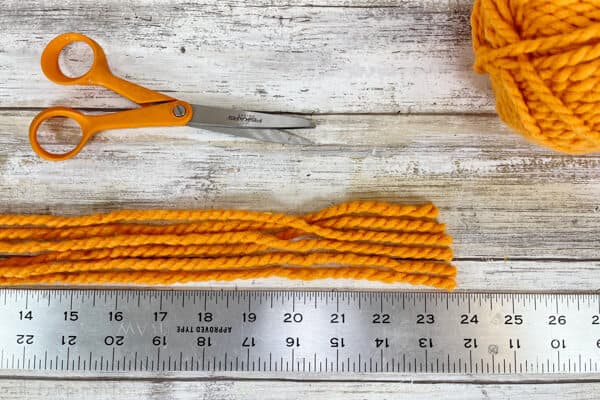
- Cut 72 lengths of yarn at 26 inches each and create 12 bundles of six strands. It might sound like a lot, but honestly it goes so fast when you're watching a show or listening to an audio book.
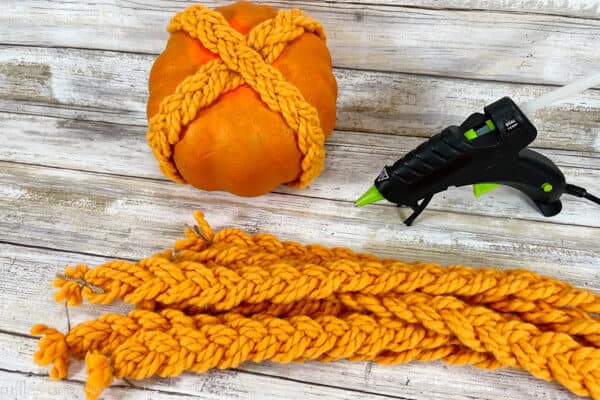
- Tie the top of each 6 strand bundles with twine to secure, loosely braid the yarn (no holes), and secure the bottom with twine, as well. Repeat for a total of 12 braids.
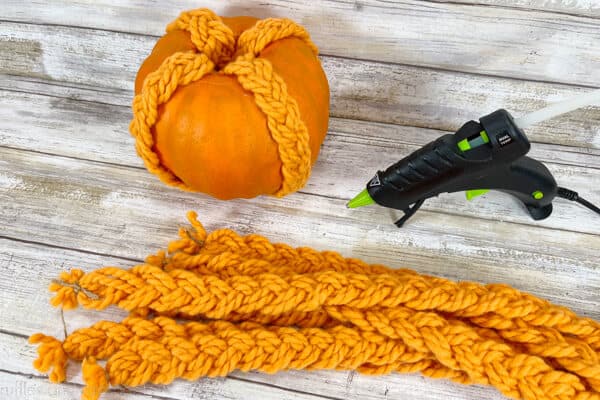
- Line up the center of a braid with the bottom of the pumpkin and secure with glue. Create a cross pattern with a second strand and secure.
- Once cooled, tuck each braid end into the center hole, secure with glue, and repeat until the pumpkin is covered.
- Use the wine cork as a stem, inserting into the center top of the pumpkin and securing with glue. Attach a faux leaf with glue to the back of the stem and display.
Notes
To change up this easy fall DIY idea, create pumpkins using braided chunky yarn, textured yarn, and even fabric scraps torn for a shabby chic look.
A few ideas for stems include corks, sticks from the yard, dowel scraps, twine-wrapped foam, and even the stem of faux florals painted brown.
If creating this craft with children, it is safest for them to create the braids while an adult works the glue gun.
More Fall Pumpkin Crafts You Might Like
- DIY Wood Bead Pumpkin – These wooden beads are so plentiful, why not make a fun fall DIY from them?
- Embroidery Hoop Pumpkins – Turn a Dollar Tree find into a fun DIY with embroidery hoops and a bit of paint.
- No Carve Pumpkin Crafts for Kids – Using Dollar Tree pumpkins (or anything you have on hand), the kids will love to make any of these easy pumpkin crafts.
Please Save or Share This
Your shares are how this site grows and I am sincerely grateful. Please save this high end pumpkin craft to a fall DIY Dollar Tree pin board or share it on Facebook.


