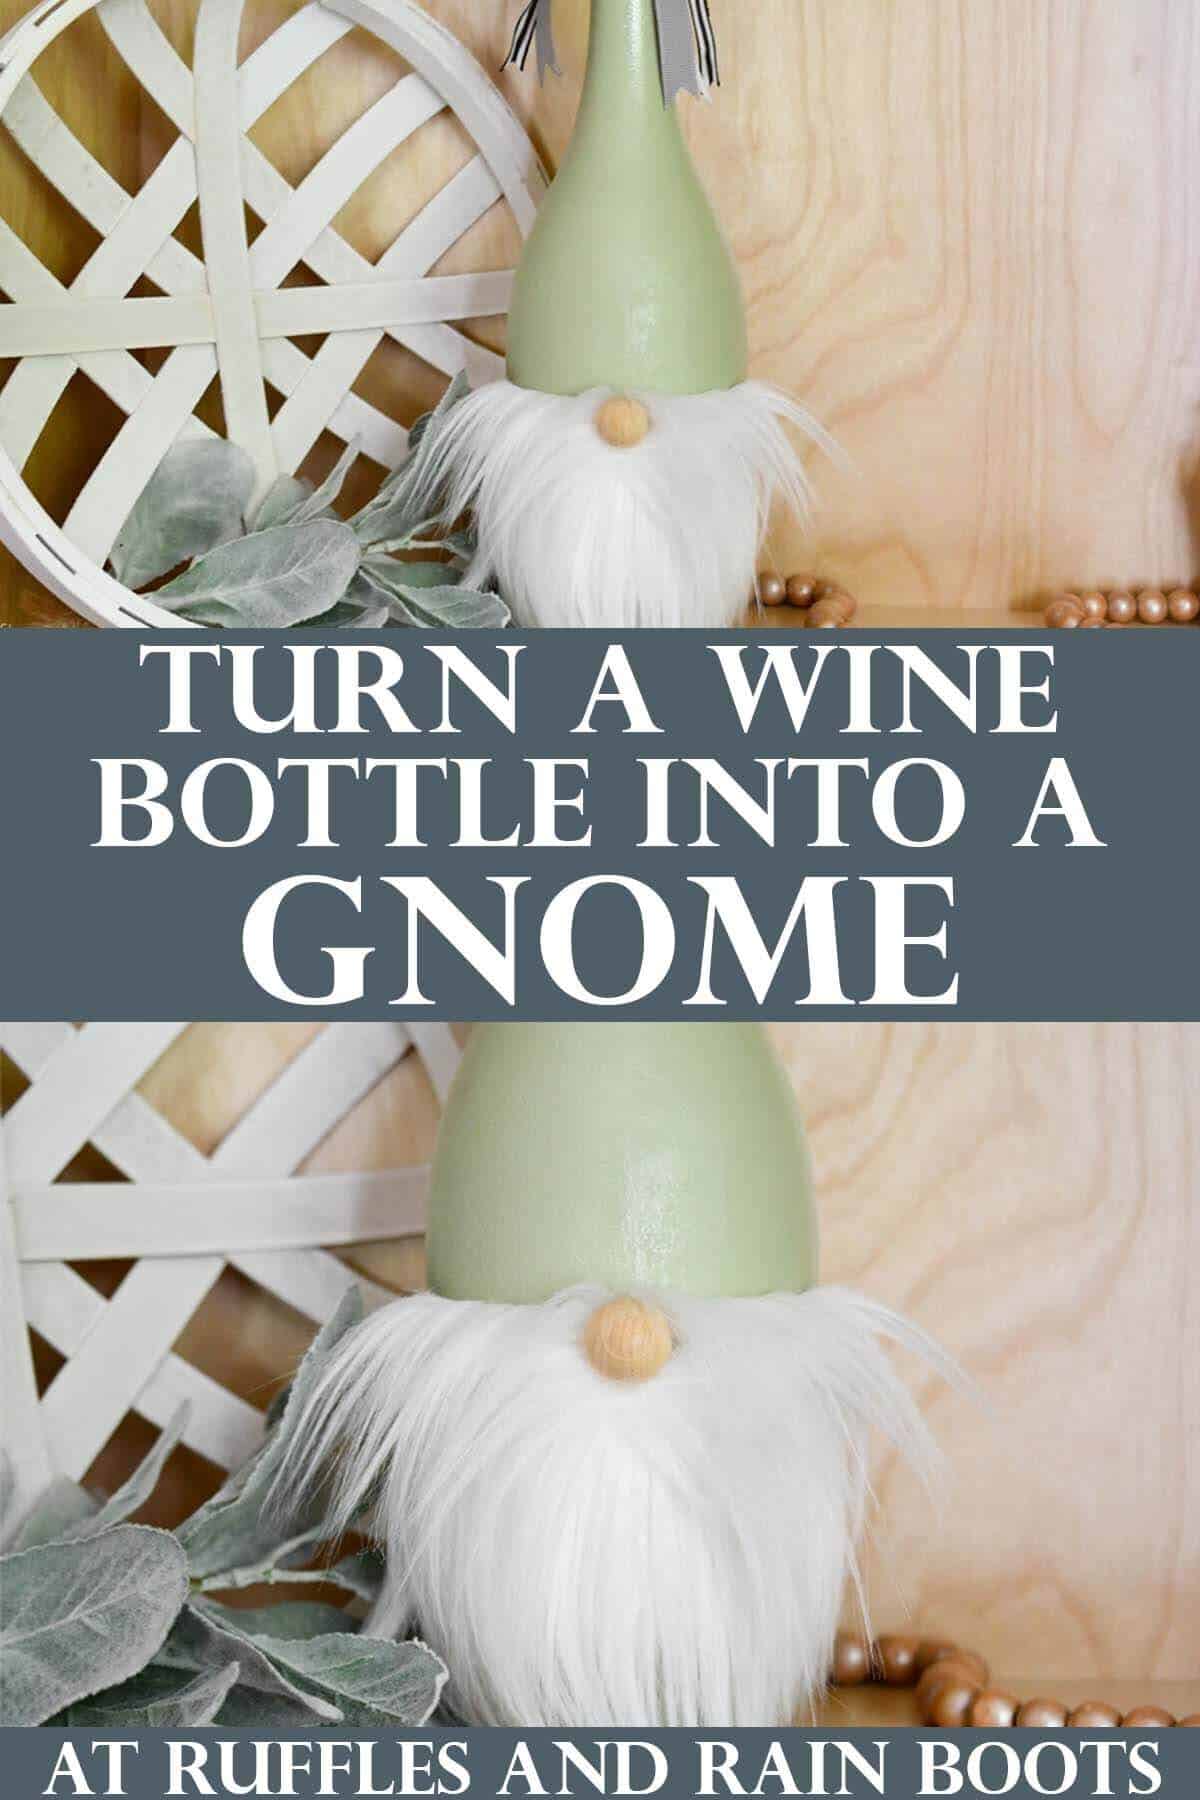
Elegant Wine Bottle Gnome DIY
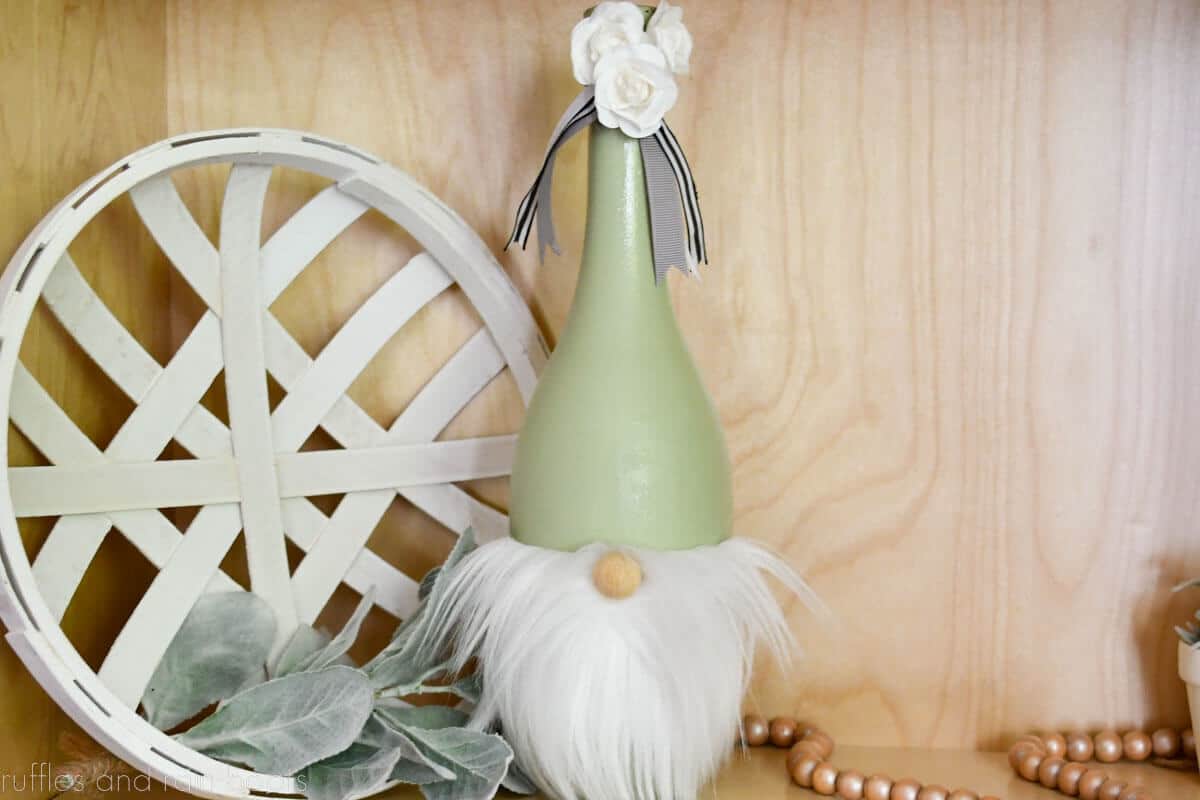
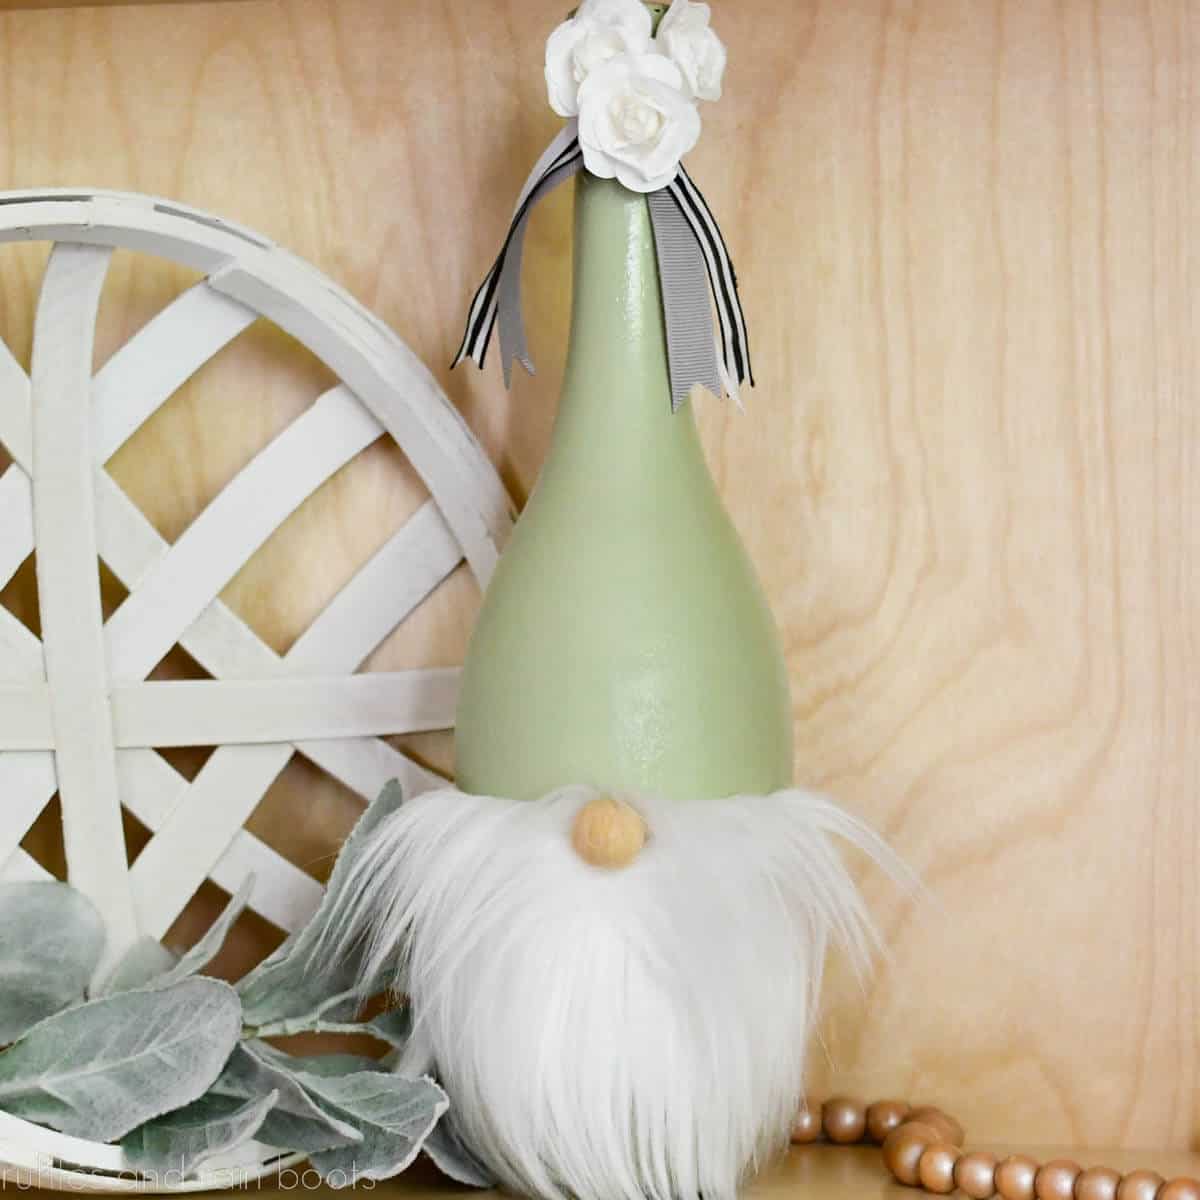
If you love to recycle, this elegant wine bottle gnome craft is for you! Clean a wine bottle, grab some paint and join me for this easy DIY gnome that doesn’t require any sewing or gnome pattern.
You will need a clean bottle (of any kind), paint, a scrap of faux fur, and a wood ball or bead to get started. Grab some friends and make this a craft night idea for the holidays.
RELATED READING: Christmas Gnome Wine Bottle Topper and Gift Bag
Easy Wine Bottle Gnome Craft
Here at Ruffles and Rain Boots, I love a hearing from readers and getting challenges and requests. This gnome bottle was one a reader sent in back in April of 2021 and by May it was completed.
Get Secret Gnomes, Tips, & Freebies Delivered!
What is the best pattern to use when you don’t want to sew? Do you know the secrets to a properly-proportioned gnome? Do you know where to get the best-priced fur?
Get all of this (and exclusive content just for you) delivered right to your inbox with the gnome-making series, free of charge. Sign up to get the once-weekly newsletter (and a jaw-dropping special offer)!

And I promptly forgot about it until 18 months later…
That’s the way it goes with me: sometimes I am hyper-focused on getting something done and published on YouTube and here on the site; sometimes crafts sit for years until they’re completed or shared. What can I say? I like the actual crafting part best of this job.
Even though I’m just getting around to sharing this cutie, I figured he was definitely worth putting out there. It’s an easy craft and one that can be put down and picked up at your leisure. Who doesn’t love that?! Let’s get started.
No Time to Make This Now? Save or Share for Later
If you need to drink a bottle of wine (no judgement here) or gather up some supplies, save this to a DIY pin board or share it on Facebook. Either will make this easy to find when you’re ready to begin and I thank you for the share.
As an Amazon Associate, I could earn from qualifying purchases. There could be affiliate links within this article.
Tips for Making This Style of DIY Gnome Decor
- If you don’t have glass paint, use a chalk paint (my choice) or gouache paint. Both provide an opaque finish in just a few coats.
- Do not skip sealing the paint. All types of paint should be sealed when working on the outside of glass. Chips and dings will flake off and scratches will show easily if the paint isn’t sealed.
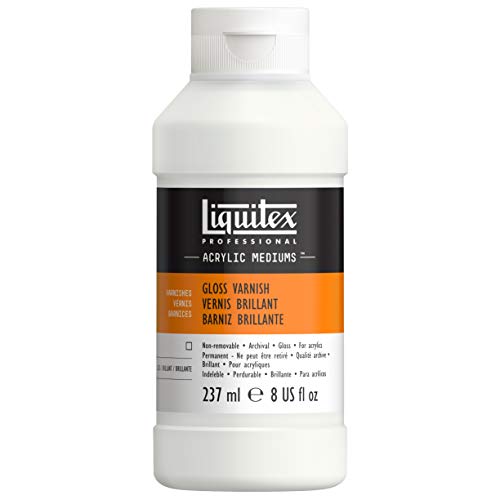
- Ideas for sealant: Liquitex varnish (my choice), polyurethane sealant (I prefer the spray-on style), and ModPodge are all good options. Apply sealant in long, light brush strokes or long, thin passes with the spray can.
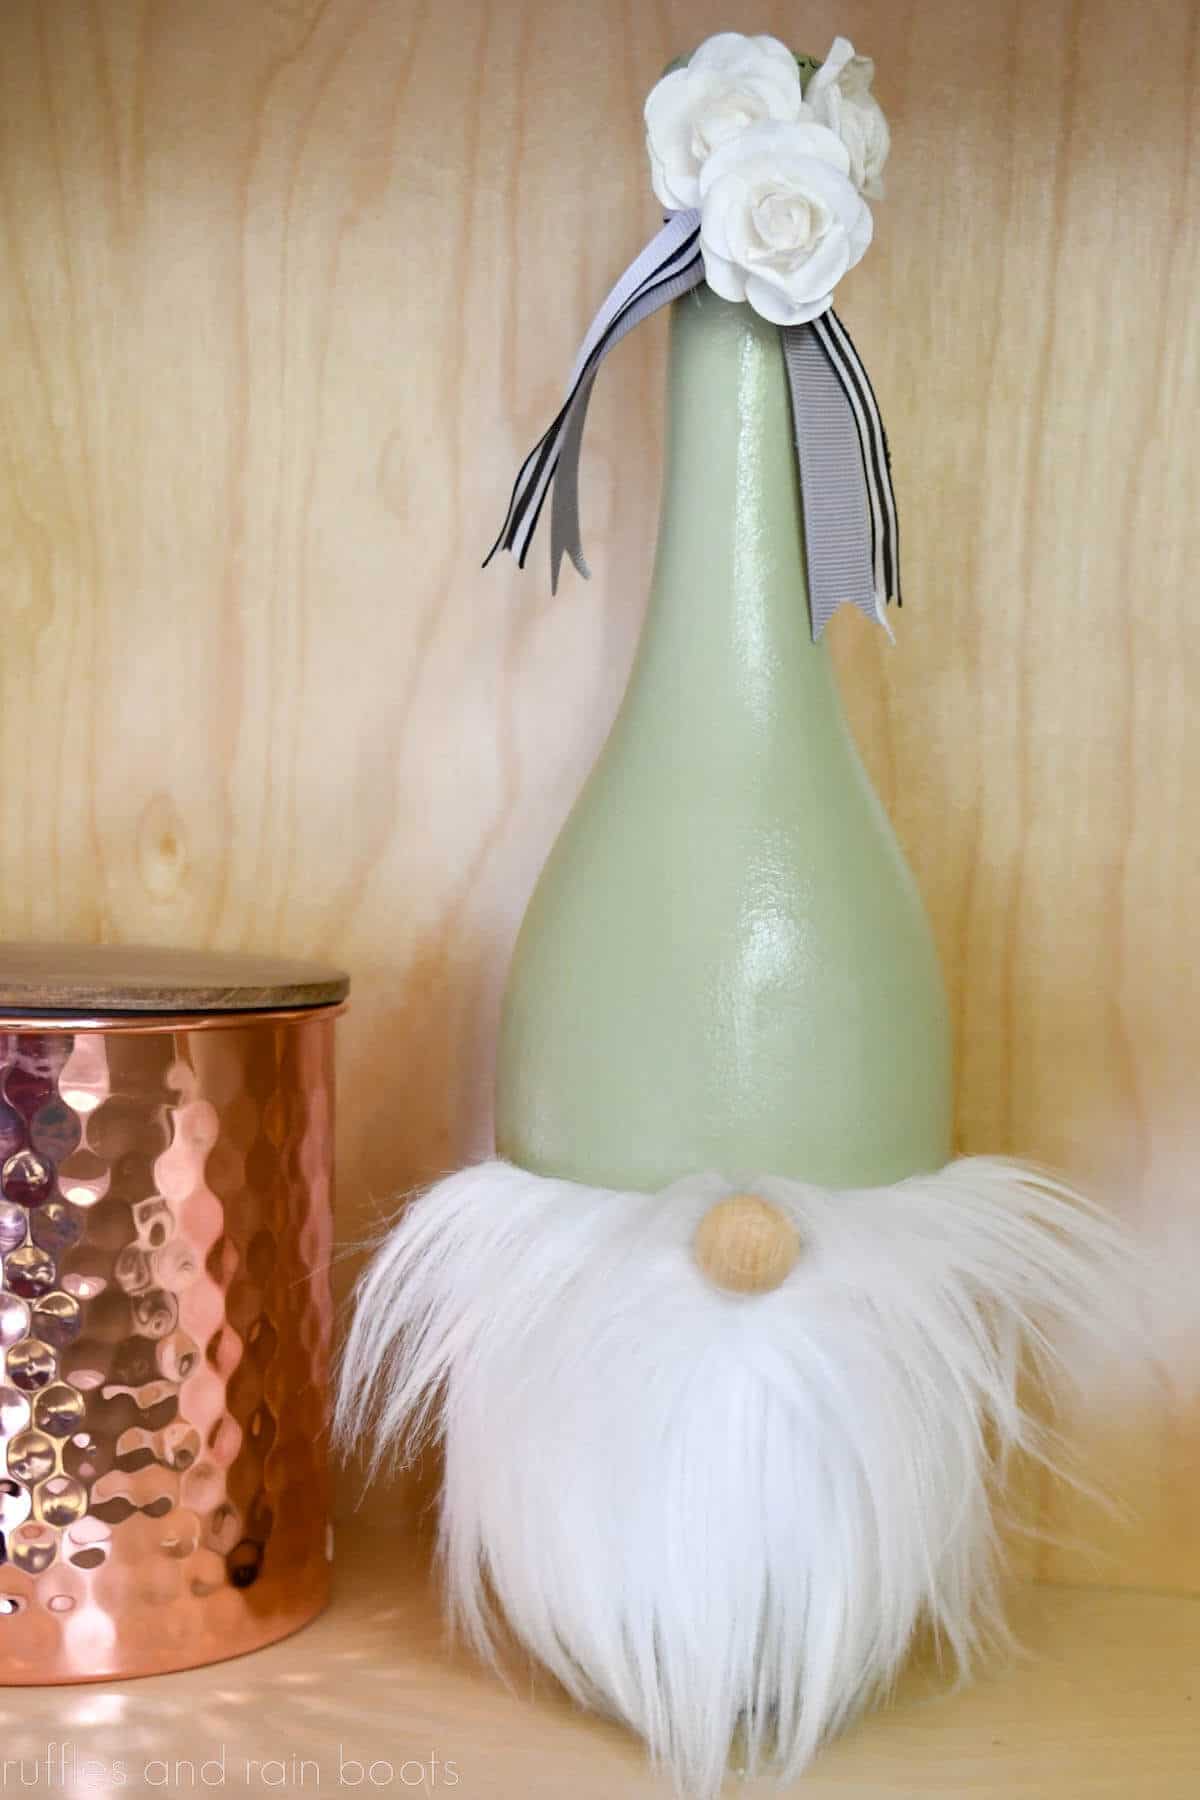
- For a modern look, use a smaller triangle of faux fur (any style, any pile length) fo rthe gnome beard. For a more traditional look, use a rectangle or triangle of faux fur which extends from side to side.
- The gnome nose I used was a wooden ball (no holes), but you can use a wooden bead, a round of fabric stuffed with Poly-Fil, or even a button.
- Make this a year-round gnome easily. Choose a neutral color for the body paint and swap out the decorations on the top for each season, holiday, or event. Head over to the Dollar Tree or other discount stores to pick up small accents.
- I’d love to see if you make this into a Christmas gnome! Come share it in the Facebook group here.
RELATED READING: Easy Gnome Bottle Topper
DIY Wine Bottle Gnome Instructions
Below is the full written and printable step-by-step tutorial on creating this easy gnome craft idea using a bottle for the gnome body and hat. If you are a visual learner, watch the short wine bottle gnome tutorial here on YouTube.
Be sure to subscribe – we have a lot of fun there with gnomes and other crafts!
Wine Bottle Gnome DIY

Use a wine bottle to create a gorgeous display for any season, decor, or holiday. You will need paint, faux fur, and a few bits and bobbles for decorations to fit your theme.
Materials
- Wine Bottle, cleaned
- Chalk Paint
- White Faux Fur
- Wood Ball (3/4 - 1 inch)
- Ribbons
- Paper Flowers or Other Accent
Tools
- Sponge Dobber
- X-Acto Knife
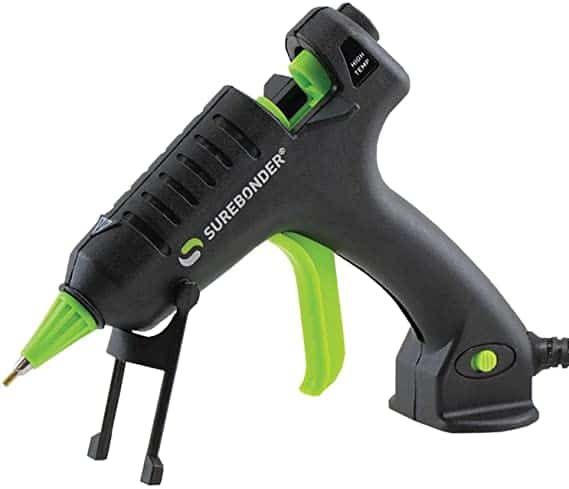
- Hot Glue Gun and Glue Sticks
- Scissors
- Brush or Comb
- Sealant and Brush (or Spray)
- Lighter, Optional
Instructions
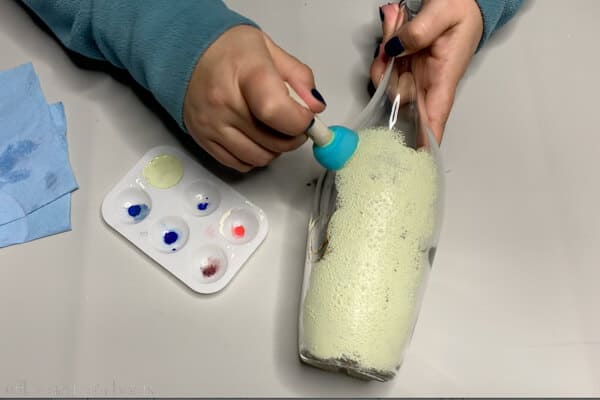
- Use the sponge dobber to apply a thin coat of chalk paint to the outside surface of the wine bottle, covering it completely but sparsely. Air dry or use a heat gun to speed up the process.
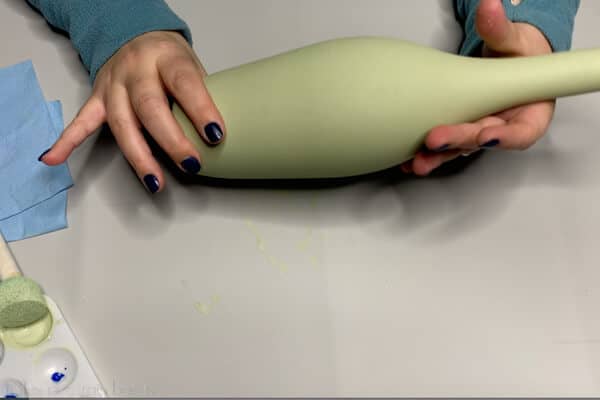
- Apply a second and (possibly) third coat to make the paint opaque.
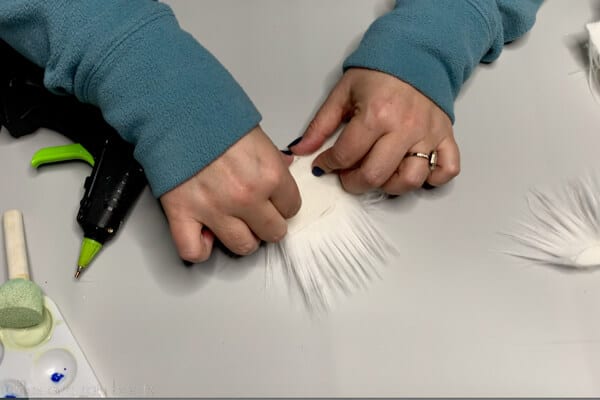
- Cut a faux fur beard rectangle using an X-Acto knife or a razor blade, cutting through the fabric-backing only. The width and height are dependent upon your preferences and your bottle. Mine is approximately 4 inches wide by 2.5 inches high.
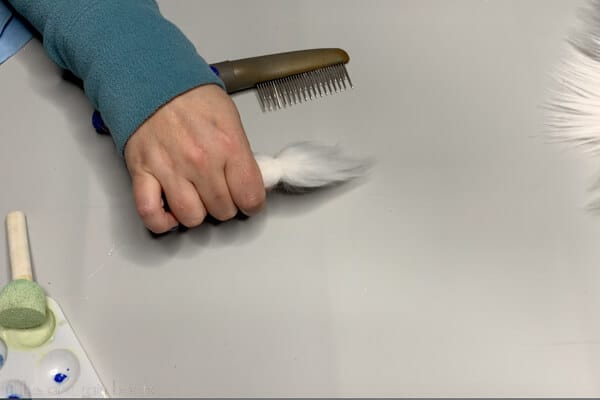
Fold down and use hot glue to secure the top 1/4-1/2 inch (fur pile pointed down) to create a tailored look to the top of the beard. - Create a faux fur mustache (optional) by cutting a thin rectangle (1/3 the height of the beard) and gluing the top and bottom into the center back. Brush from the middle to each of the ends to create separation.
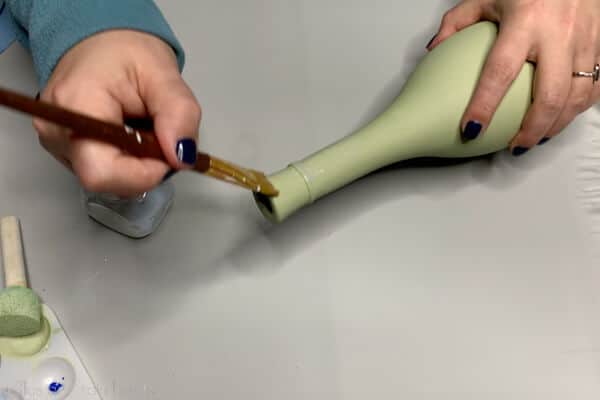
- Seal the paint by coating the entire bottle in a sealant (I used Liquitex and a paintbrush). Allow to dry completely.
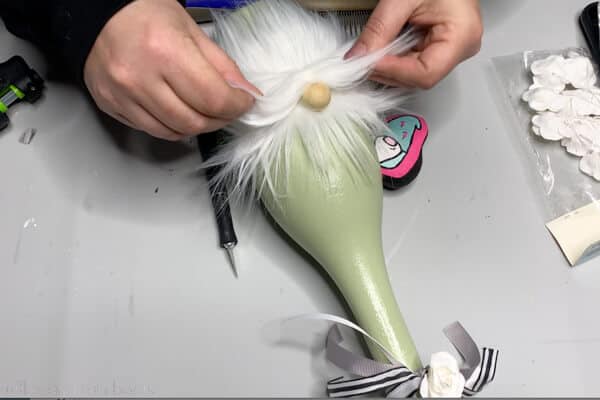
- Use hot glue to secure the beard to the front of the bottle and brush up the top 1/4 inch.
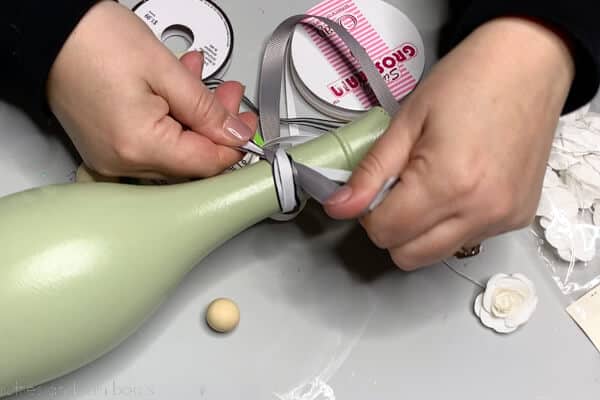
Add the gnome nose wood ball with hot glue and attach the mustache to the bottom of the nose with glue (back toward the gnome beard). - Tie on decorative ribbons to the top of the wine bottle and add paper flowers. Display the wine bottle gnome.
Notes
Sealant can be a spray, a varnish, or ModPodge. Use long, even brush strokes or passes to minimize texture.
If you would like to change out the bottle for holidays, seasons, or events, do not secure the ribbon and decorations with glue.
Recommended Products
As an Amazon Associate and member of other affiliate programs, I earn from qualifying purchases.
More Gnome Crafts You Might Like
- Gnome Bottle Topper – This is a reader favorite because it’s SO easy to put together, you can literally make it right before gifting a bottle of wine.
- Elegant Gnome Wine Bag – Take gifting to the next level and make it look like you spent a fortune (when you really didn’t). :)
- Easy Gnome Ornaments – Have 5 minutes? Make these popular gnome ornaments using scraps!
- 3-Minute Sock Gnome for Christmas Gifts and Decor – Kids and adults alike will all love to create this cutie that requires NO gnome pattern at all.
Please Save or Share This
Your shares are how this site grows and I am sincerely grateful. Please save this adorable gnome idea to a DIY crafts pin board or share it with a crafty group on Facebook.
