Dollar Tree Santa Pillow (Pillow Gnome)
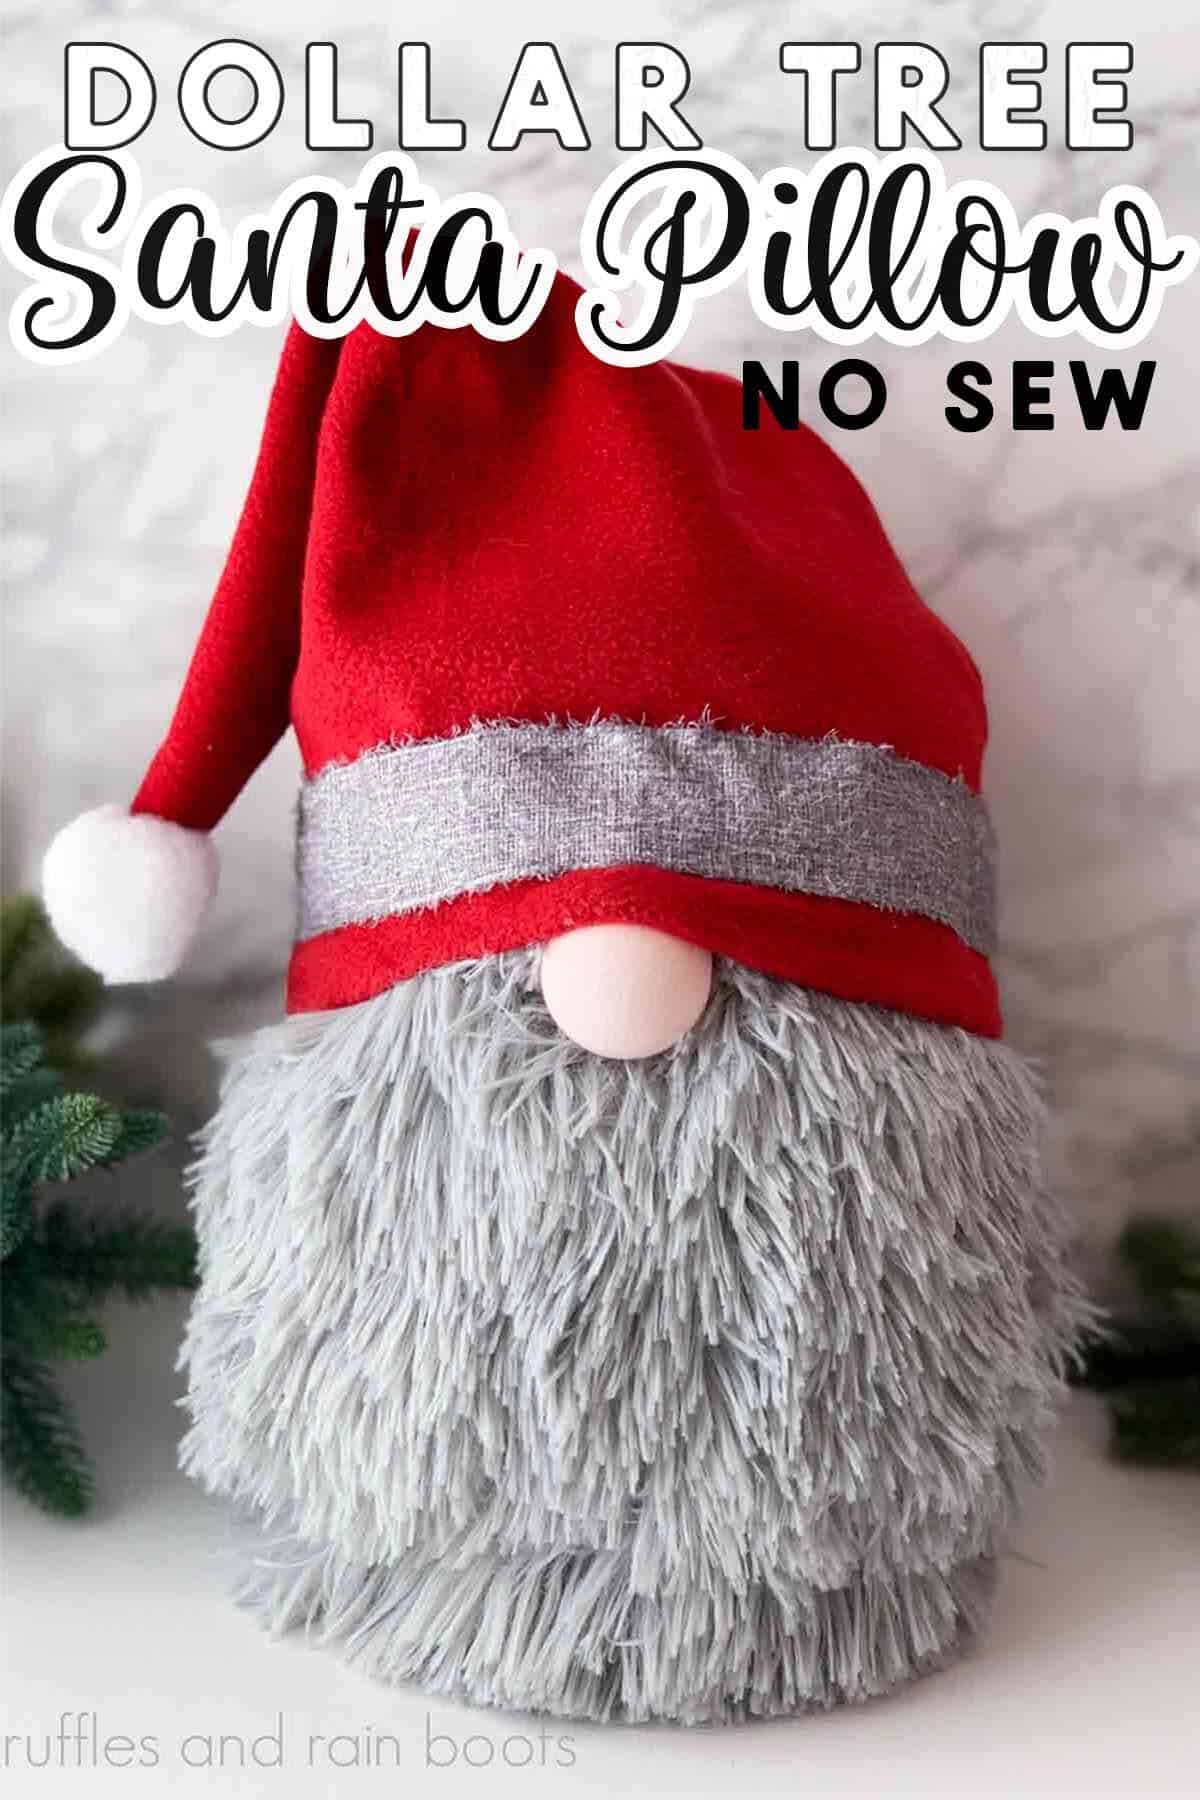
This Dollar Tree Santa pillow is made in about 10 minutes using fleece, a pillow, and a ping pong ball. Add on a pom pom and a piece of ribbon, and you have the cutest Dollar Tree Christmas DIY of the season!
There is no sewing required for this fun holiday craft idea so if you don’t want to sew, you don’t have to. It’s a great idea for a Christmas craft fair because it’s large but inexpensive and is easy to ship because it can be compacted in a small box.

RELATED READING: Make This No-Sew Pillow Gnome (Any Fabric, Any Holiday)
What You'll Find On This Page
DIY Large Gnome or Santa Pillow
Here at Ruffles and Rain Boots, I’m known for sharing new and creative DIY free gnome tutorials. There are hundreds in my Christmas gnome making series, free for everyone!
Get Secret Gnomes, Tips, & Freebies Delivered!
What is the best pattern to use when you don’t want to sew? Do you know the secrets to a properly-proportioned gnome? Do you know where to get the best-priced fur?
Get all of this (and exclusive content just for you) delivered right to your inbox with the gnome-making series, free of charge. Sign up to get the once-weekly newsletter (and a jaw-dropping special offer)!

Today, I was working on some holiday decor and my daughter asked for more “big stuff.” I thought about picking up one of those 6 foot nutcrackers and plopping that in her room, but quickly came to my senses.
We came across this fun pillow in the Dollar Tree plus section and I immediately grabbed it because I’ve used it on this Dollar Tree Grinch and this Dollar Store Gnome Tree Topper.
If you love this project but need to make a trip to the store, save this to a DIY Christmas craft pin board or share it to Facebook. Either way will make this fun Santa pillow easy to find when you’re ready to begin.

As an Amazon Associate, I could earn from qualifying purchases. There could be affiliate links within this article.
Tips to Make a Large Dollar Tree Pillow Gnome
- Any pillow shape will work, however, oval and round are going to be the easiest to work with.
- I used a ribbon to decorate my Santa hat, but a thick, chunky yarn is also a great trim idea and is easy to find at craft stores.
- If you want to add arms, attach them INSIDE the hat. This will allow you to breakdown the gnome from the pillow to use separately or just for easy storage.
- A slouchy hat will work best for this Christmas gnome, as the item should remain soft and without wires. To create a standing hat, use interfacing to ‘stiffen’ the hat or reduce the height so that it stands without stuffing.
DIY Dollar Tree Santa Pillow Video Tutorial
If you’re a visual learner like I am, watch the Dollar Tree Santa Pillow video tutorial here. I’ll share the real-time step by step process to make this fun Christmas craft idea.
While you’re there, be sure to subscribe. We have a lot of fun over there!

Supplies to Make a DIY Santa Pillow
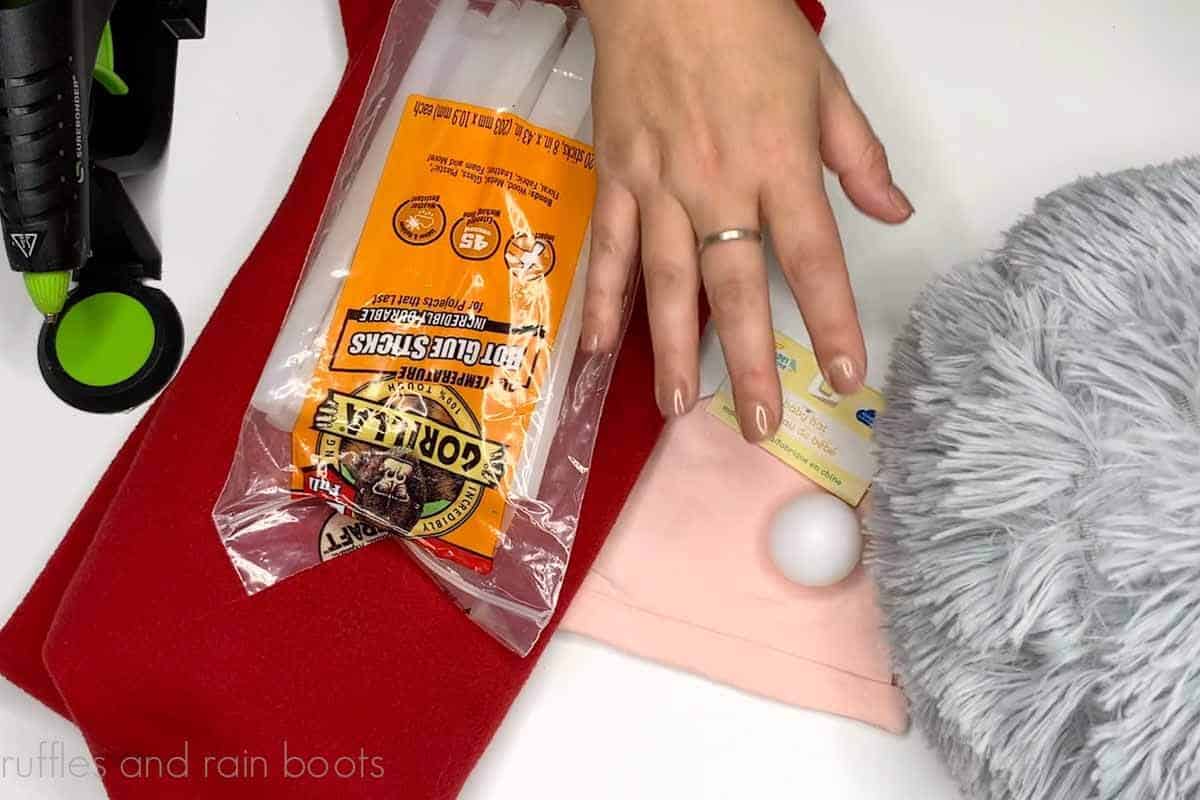
Below are the items I used to share how to make a pillow gnome with you today. Everything was from the Dollar Tree except the fleece.
If you want to pick up everything from the dollar store to make this cute Christmas Santa, look for the pre-made holiday hats. They come in plaid, red, and quite a few with a glitter option (I stay away from those).
- Dollar Tree Shaggy Pillow (Dollar Tree Plus)
- Dollar Tree Ping Pong Ball
- Dollar Tree Baby Hat (pink) or Other Fabric
- Embroidery Thread and Needle (or Rubber Band)
- Fleece (or Dollar Tree Santa Hat)
- Dollar Tree Pom Pom (Large)
- Ribbon
- Scissors and a Hot Glue Gun

RELATED READING: How to Make Mini Pillow Gnomes
How to Make This Santa or Gnome Pillow
Below is the written tutorial for each of the steps I used to create this large gnome DIY or pillow Santa. Keep this page open and follow along, using the comments for any questions.
If you prefer a printable tutorial of this Dollar Tree gnome without images, scroll to the bottom of this page. You can choose to print or save as a PDF.
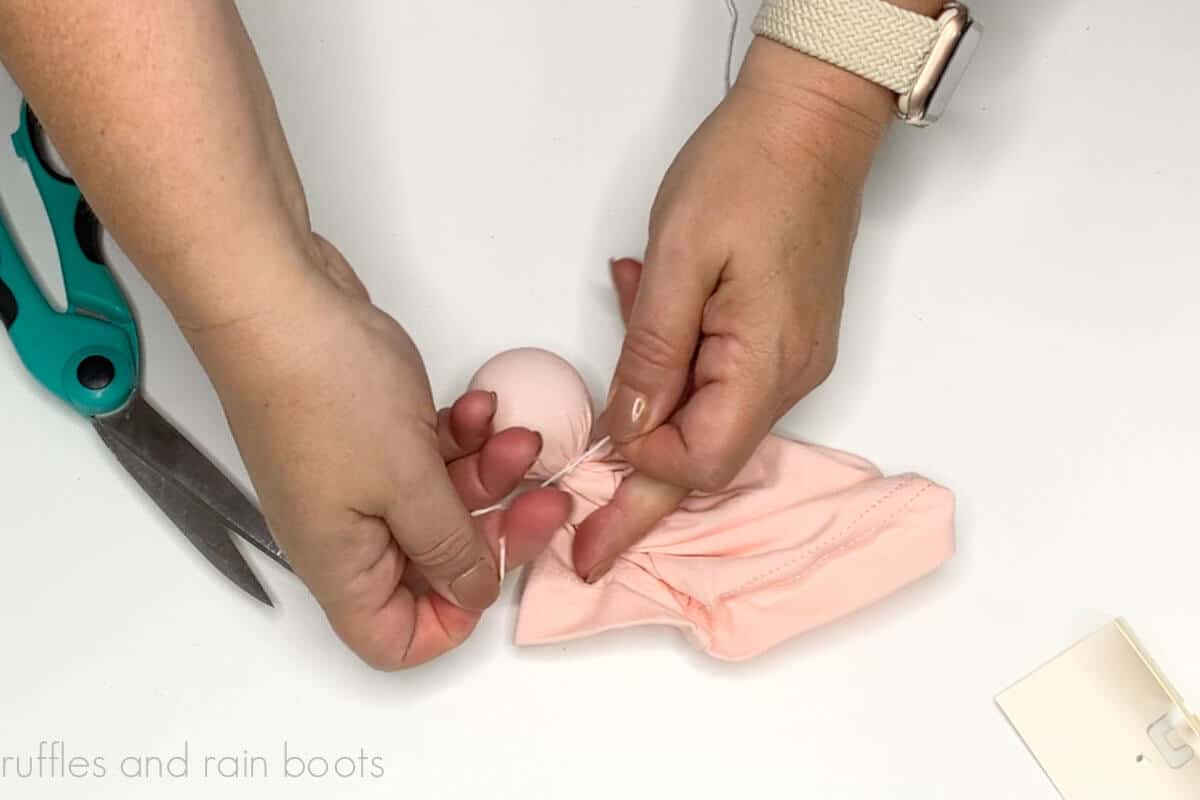
First, wrap the ping pong ball in the baby hat (or other fabric). Tie off with a bit of thread or string and set aside.

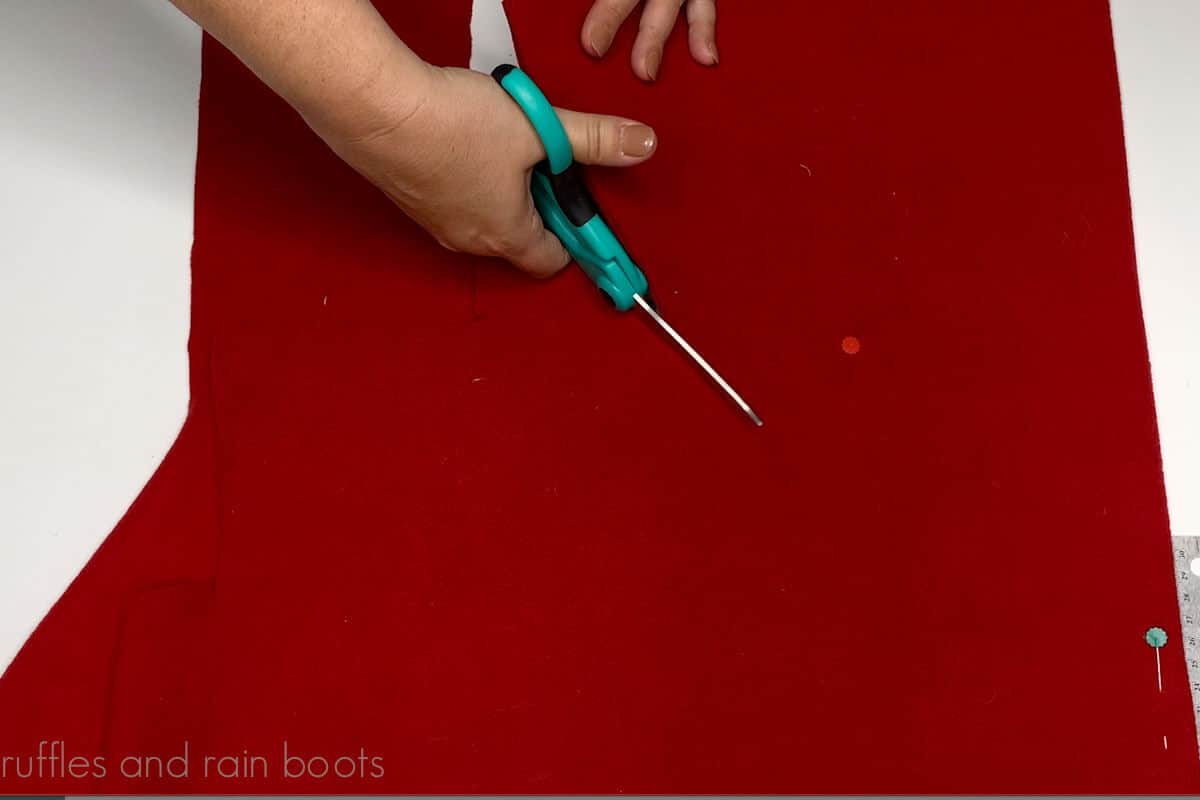
Lay the fleece out so that the stretch is on the horizontal plane. Wrap it around the pillow and overlap it by an inch (that is the width).

For the height, it is your preference. You can cut a short, standing hat or a higher hat that the top flops over (my choice) at 16 inches high. To cut the hat, fold and pin the fleece together, cut a rise UP from the bottom edge 3 inches, and cut the triangle to the fold. Remove the pin.

Use hot glue to hem the base of the hat into a brim on the wrong side of the fabric.

Put the right sides of the fabric together and glue along the triangle edge, leaving the brim side open. Let the glue dry.

Trim the seam of the baby hat off and glue the fabric to the inside center of the gnome hat (opposite the seam). Glue the second layer down. Turn the hat right sides out.

Put the seam in the back and slip the hat onto the pillow. Add a ribbon around the bottom edge of the hat with hot glue.

Use glue or sew on a pom pom to the tip. Display your giant gnome as a fun and festive holiday pillow!

More Christmas Craft Ideas You Might Like
- DIY Pillow Gnome – The original pillow gnome is SO easy to make and done in 15 minutes.
- Mini Pillow Gnomes – If you need a dough bowl or display filler, whip up these very inexpensive and adorable gnomes.
- Easy DIY Gnome Pillow – Have a great fabric or pre-made pillow cover? Make this cutie!
Please Save or Share This Dollar Tree Christmas Craft
Your shares are how this site grows and I am sincerely grateful. Please save this “how to make a big gnome” to a DIY holiday craft ideas pin board or share it with a crafty group on Facebook.

HOW TO

