
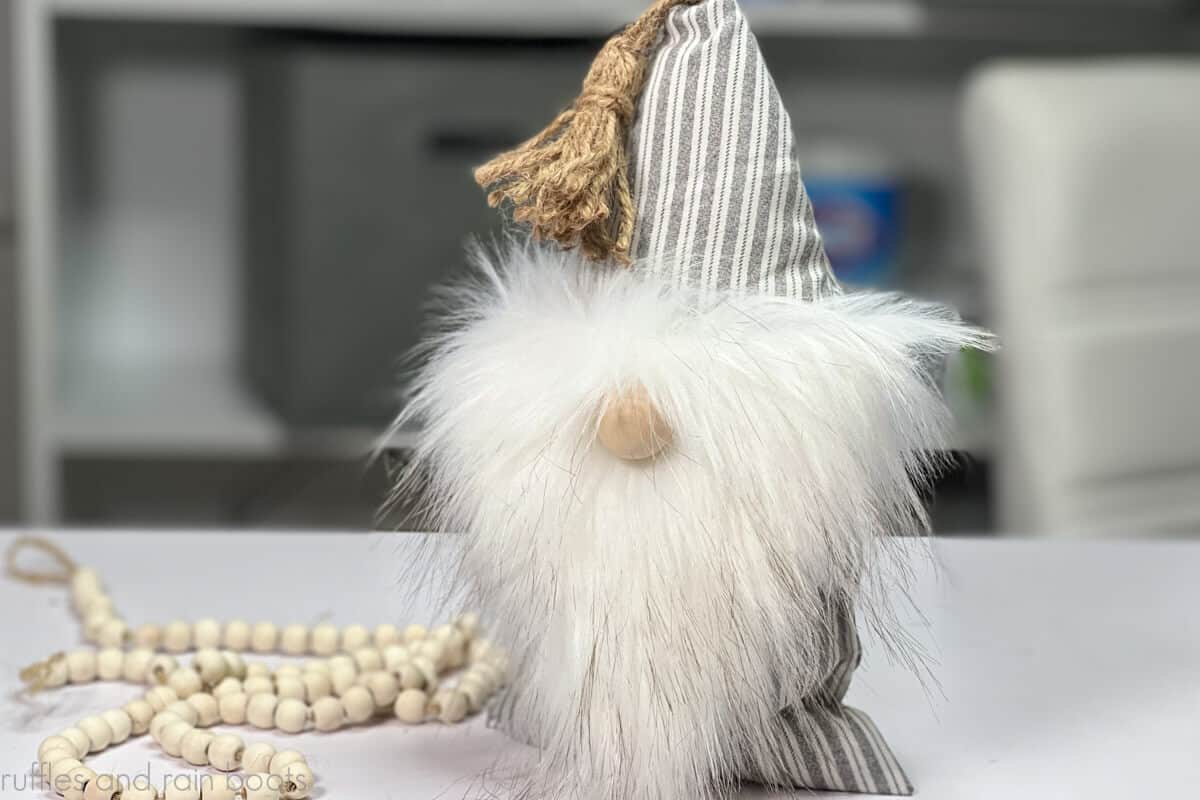
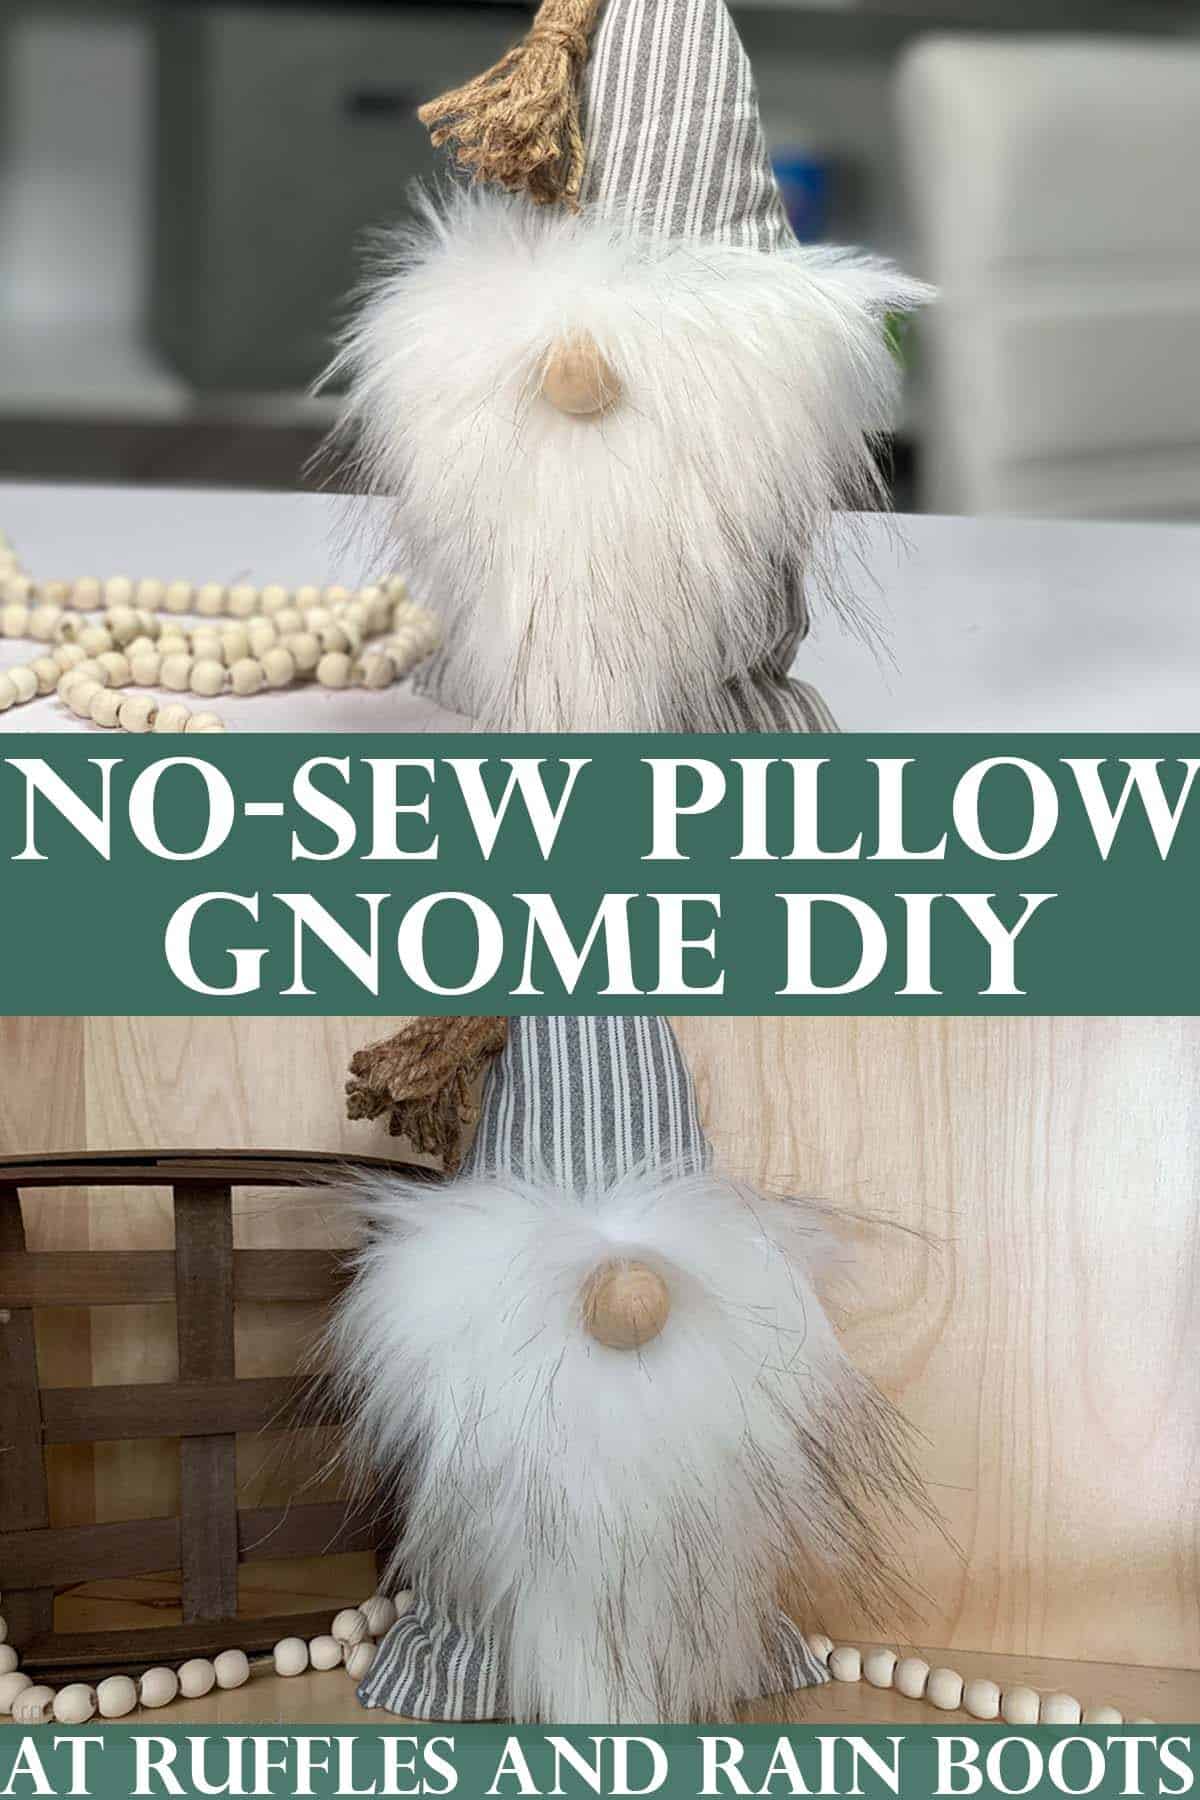
DIY Pillow Gnome – Easy, No-Sew Gnome
This DIY pillow gnome is so easy and fun to make and can be customized for any decor, season, or holiday. If you need a quick crafting win and want to make a cute little friend, keep reading.
For this easy gnome craft idea, you will need fabric, fur, weight, and stuffing, The twine and wood round nose are optional – be sure to read the tips for additional ideas.
RELATED READING: Make a DIY Gnome with a Face (Those Little Cheeks!)
Gnome Pillow DIY Craft
Here at Ruffles and Rain Boots, it’s been a whirlwind of packing up my craft room (and the rest of the house…). As I write this, every scrap of fabric, all Cricut supplies, and even my cuts of faux fur are packed away.
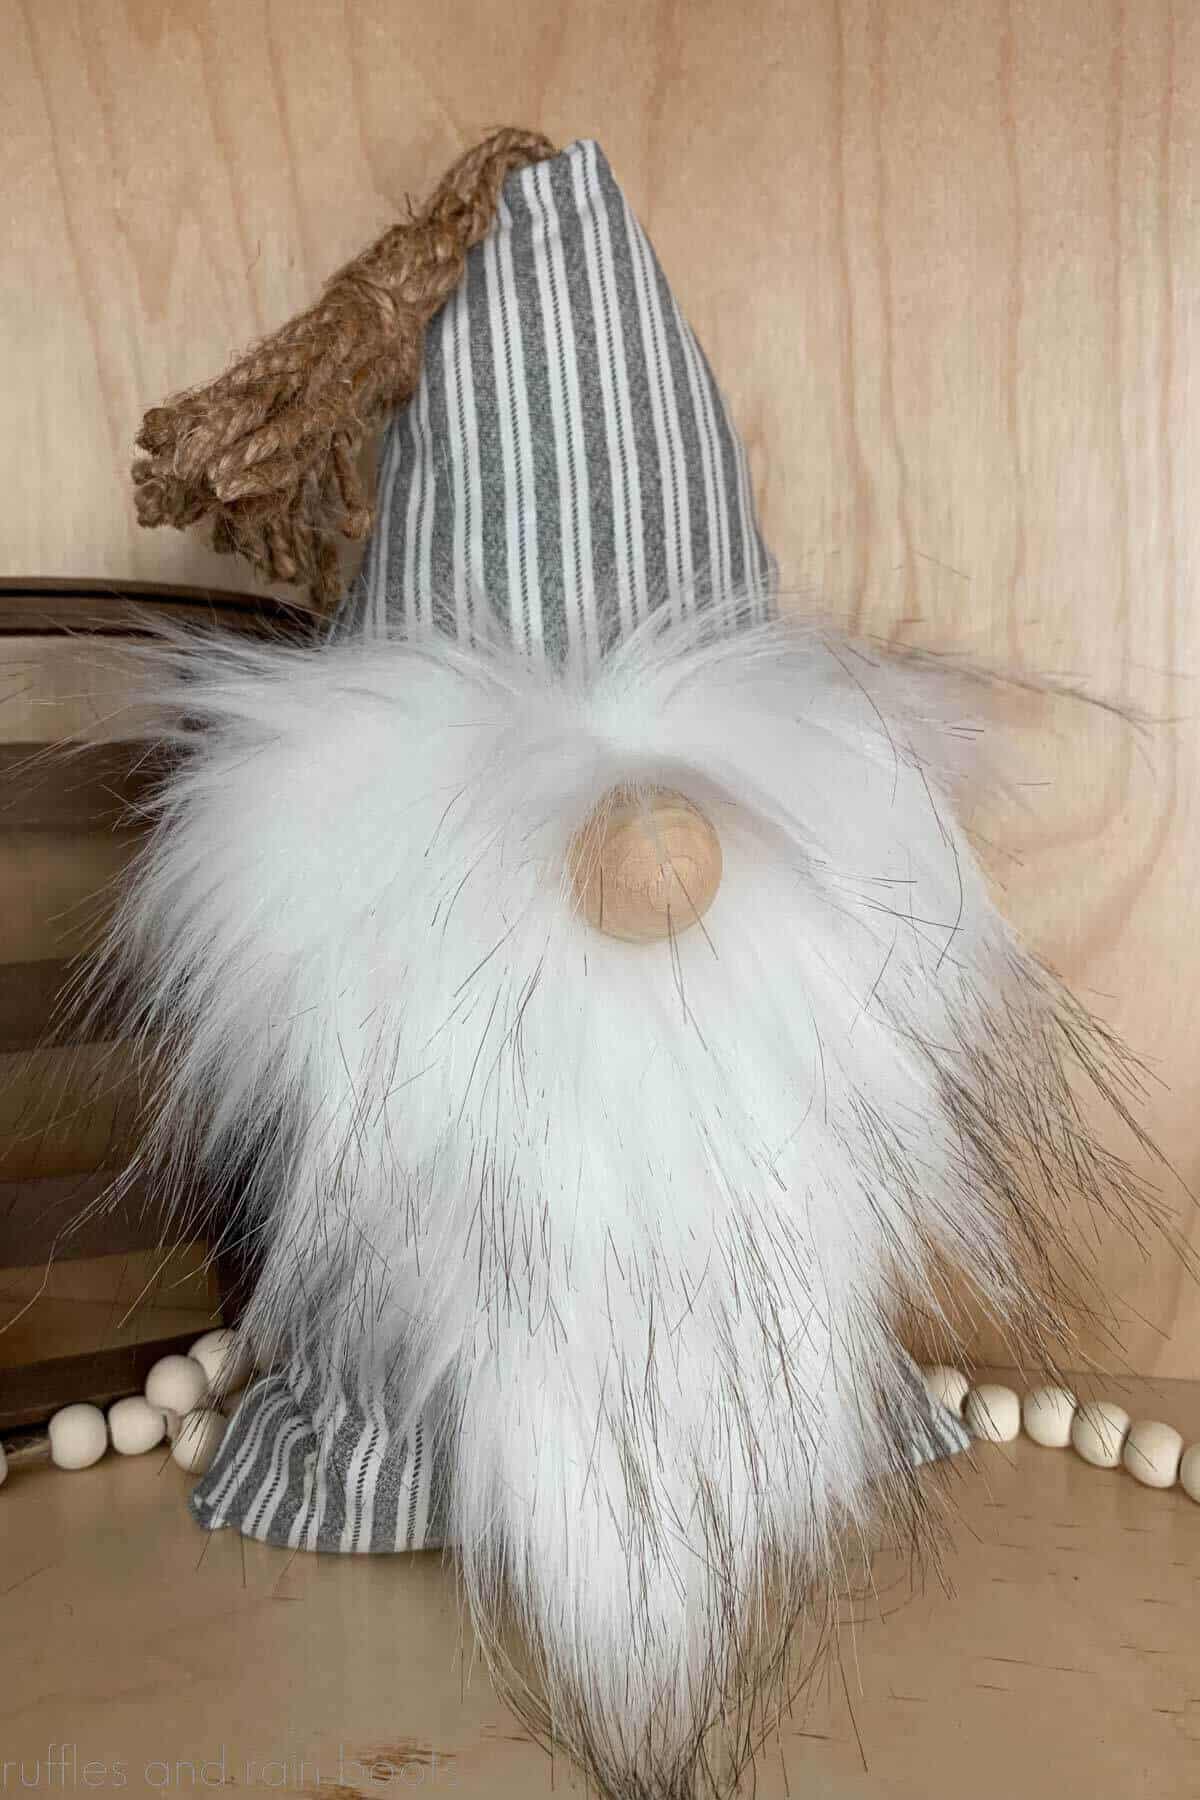
Before closing that last box, I whipped up this easy gnome craft idea that is perfect for a “quick crafting win.” You will be able to recreate this exact gnome in any size, change up the personality using fabric and fur, and even be able to gift them with pride. Let’s make one together.
No Time to Make This Now? Save or Share for Later
If you’re gathering supplies or want to make this on craft night (it’s perfect for that!), save it to a crafty pin board or share it on Facebook. Both will make this easy to find when you’re ready to begin.
As an Amazon Associate, I could earn from qualifying purchases. There could be affiliate links within this article.
Tips for Making Gnome Pillows
- This can be made ANY size – small, medium, or large, the only thing you have to measure is the body. The beard and any supplies will be dependent only on that.
- Stuff the gnome body well. This is where I get a lot of questions, so I want to harp on this: stuff the gnome so it bounces back when squeezed.
- The fabric I’m using is a hickory print or a railroad stripe fabric print (available here, too). That said, you can substitute a ticking stripe (it is a popular print and easily found in craft stores) if you want this look, as well.
- Fabric blends which will work well with this project: cotton, fleece, and blends (cotton / rayon). Knit fabrics are usually too thin to hide the Poly-Pellets unless you create a lining or double up the layers.
- If you’re building this around an existing rectangle pillow (a bed pillow, for example), tie up the top two corners so they come to a point. A few hand stitches are a good idea to ensure that shape doesn’t come apart.
- When cutting the faux fur gnome beard, make sure the pile of the fur (the length which hangs down) is pointed DOWN. Cut only the fabric backing with an X-Acto knife, a razor blade, or a very short-blade extension on a box cutter.
- I’m not sure I need to say this but my attorney will be happy I did: this is NOT A TOY to be given to young children or pets.
- If you want a fully soft gnome pillow, use fabric to make a nose or replace the wood ball with a pompom. That said, you can also use a wood bead and secure it directly to the body with a needle and thick thread.

RELATED READING: Make a Farmhouse Sock Gnome in Minutes
How to Make a Pillow Gnome
Below are the instructions to make this easy, no-sew gnome body style. The written and printable pictorial step by step process is included, however, if you learn visually, I encourage you to watch the DIY pillow gnome video tutorial here.
No Sew Pillow Gnome Pattern
Choose the easy way to make an adorable plush pillow gnome for decor (not a toy). Create any size stuffed gnome by following these easy steps and tips.
Materials
- Fabric (cotton, knit, or fleece)
- Faux Fur
- Wood Round (1 inch) or Other Gnome Nose
- Poly-Fil
- 1 Cup Poly-Pellets
- Optional, Twine (for Tassel)
Tools
- Hot Glue Gun and Glue Sticks
- Scissors / Pinking Shears
- Razor or X-Acto Knife
Instructions
Create Cuts and Gnome Body
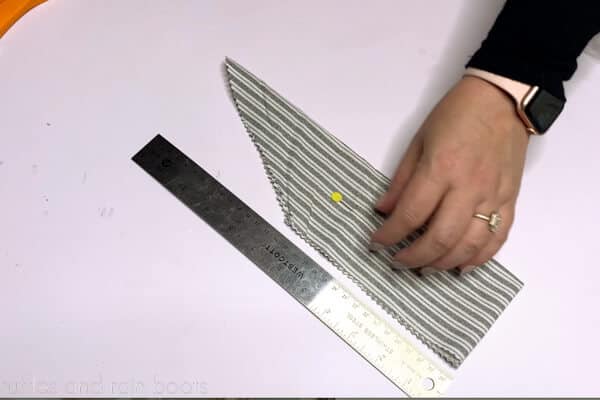
- Cut a rectangle of fabric 7 inches wide by 12 inches high. Cut the faux fur into a v-shape (6 inches wide at the top of the V by 6 inches tall).

- Fold the right sides together along the vertical (the long) edge (3.5" wide). Cut a "roof" shape into the fabric from the fold to the outside (open) edge 6 inches from the bottom.
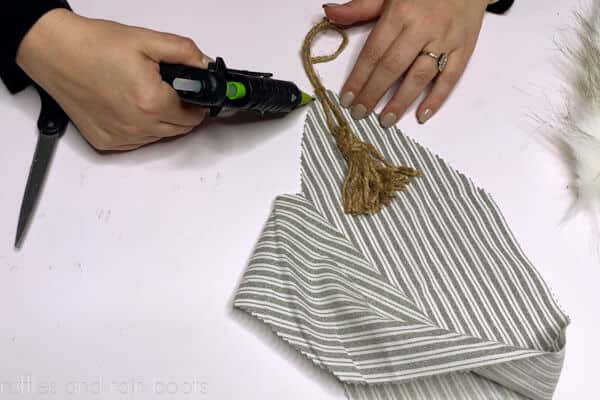
- With right sides still together, glue the fabric edges, leaving a 3 inch opening to turn out the pieces. If adding a tassel, point the tassel into the body with strings hanging out of the top secured with hot glue.
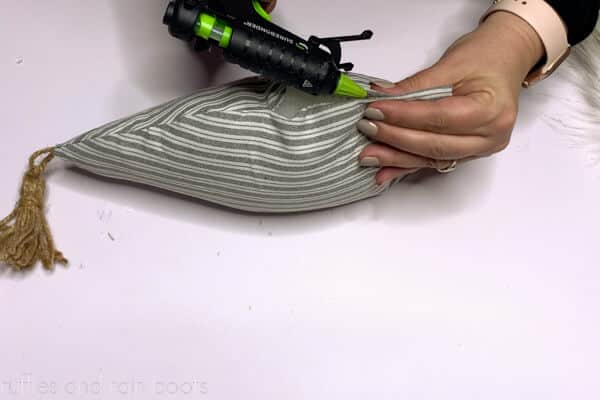
- Turn the fabric right sides out, poking out any corners and then stuff using Poly-Fill. Get all corners and the majority of the gnome body done before add 1 cup of Poly-Pellets for weight. Continue stuffing the body until it bounces back when squeezed.
- Close up the opening by turning down the edges and securing with hot glue.


Create the Gnome Face
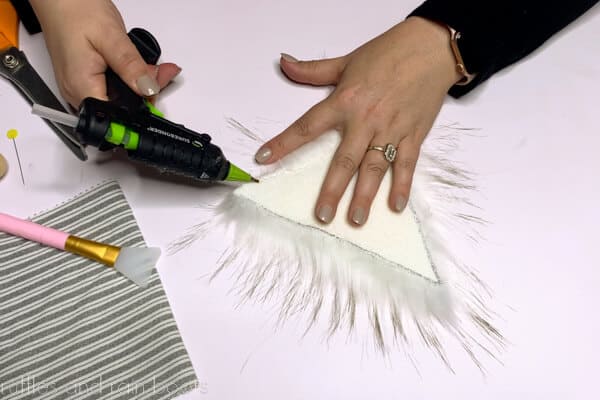
- Working on the back side of the faux fur, fold down the top 1/4 inch of the fur and use hot glue to secure it down to the fabric backing. This will create a clean line when assembling the gnome.
- About 3/4 inch down from the top edge of the beard, split the fur to the fabric backing, add a generous amount of hot glue and add the wood ball for a nose.
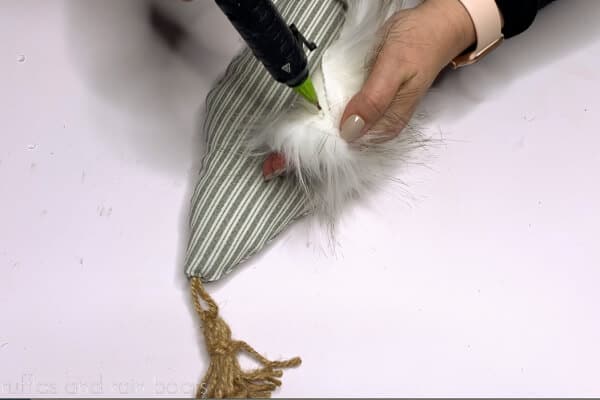
- Glue the gnome beard to the front of the stuffed gnome body, lining up the top edge of the beard with the "roof" corners of the body.

Notes
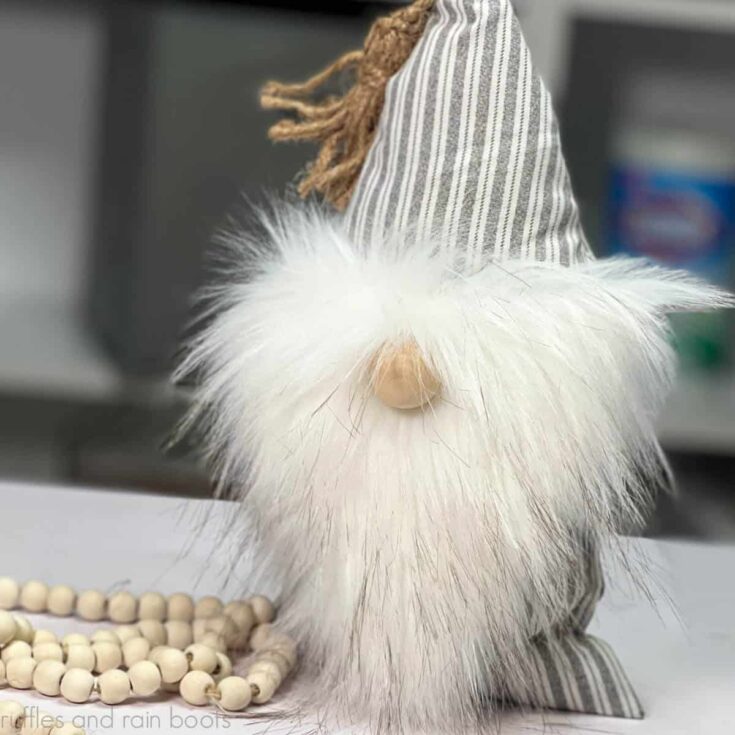
This pillow gnome can be made to any size you would like. My measurements are for a 6 inch wide by 12 inch high stuffed gnome.
No gnome crafts on this site are toys; please do not give this DIY gnome to small children or pets.
More Gnome Crafts You Might Like
- Easy Farmhouse Gnome – If you’re new to making gnomes, gather up a sock and some ticking stripe fabric to make this no-sew sock gnome.
- Drop Cloth Gnome DIY – Everyone’s favorite working fabric is put to the test with this no sew gnome made one of two ways: you decide!
- Mini Bee Gnome Craft – Head to the recycling bin to make this adorable gnome without sewing anything.
Please Save or Share This DIY Gnome
Your shares are how this site grows and I am sincerely grateful. Please save this to an easy crafts pin board or share it to Facebook.
Meet the Creator
Hi there, I’m Sarah Nenni-Daher. I’m a crafty gal and always have at least 14 projects going at once. I am a crafter, designer, DIYer, and pattern maker. I share my creations here and in the Ruffles and Rain Boots® Shop.
Here at Ruffles and Rain Boots®, you’ll find DIY gnomes, crafts, gifts, cupcakes, laser crafts, and so much more. I love sharing video tutorials over on YouTube and chatting with other crafters in my Facebook groups. We’d love to have you!