
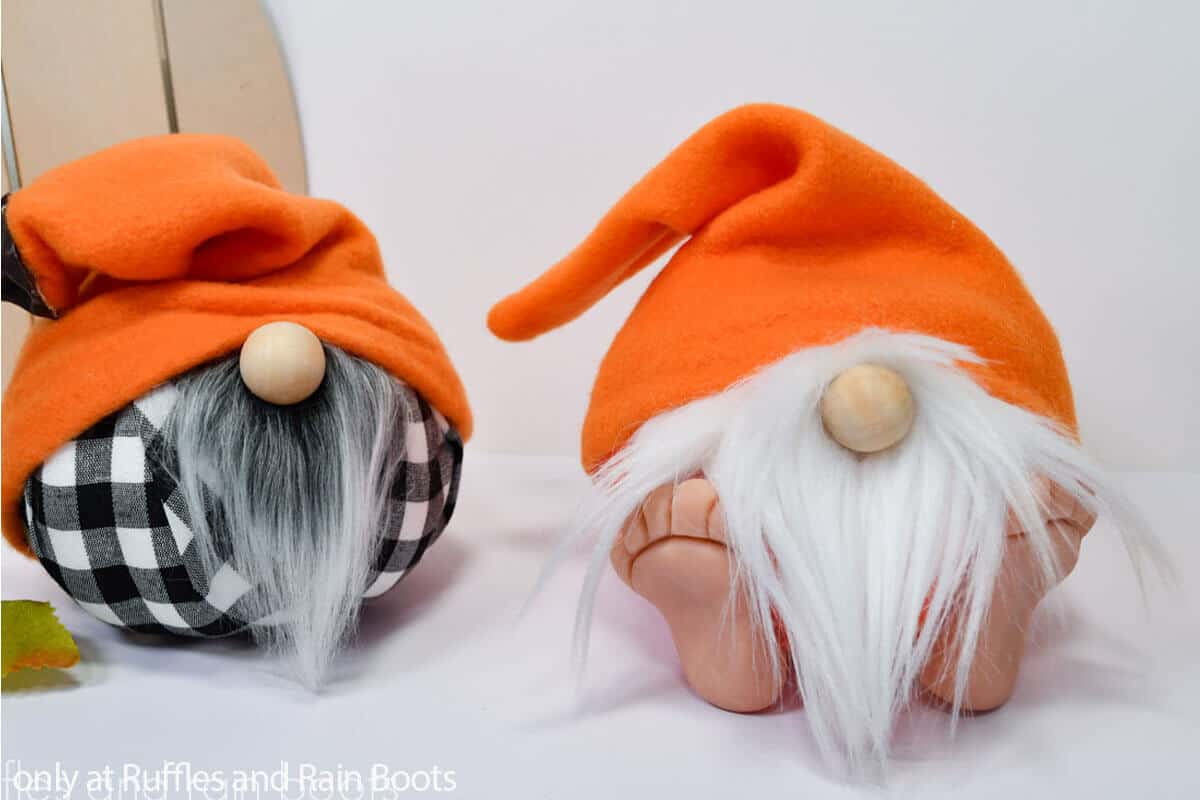
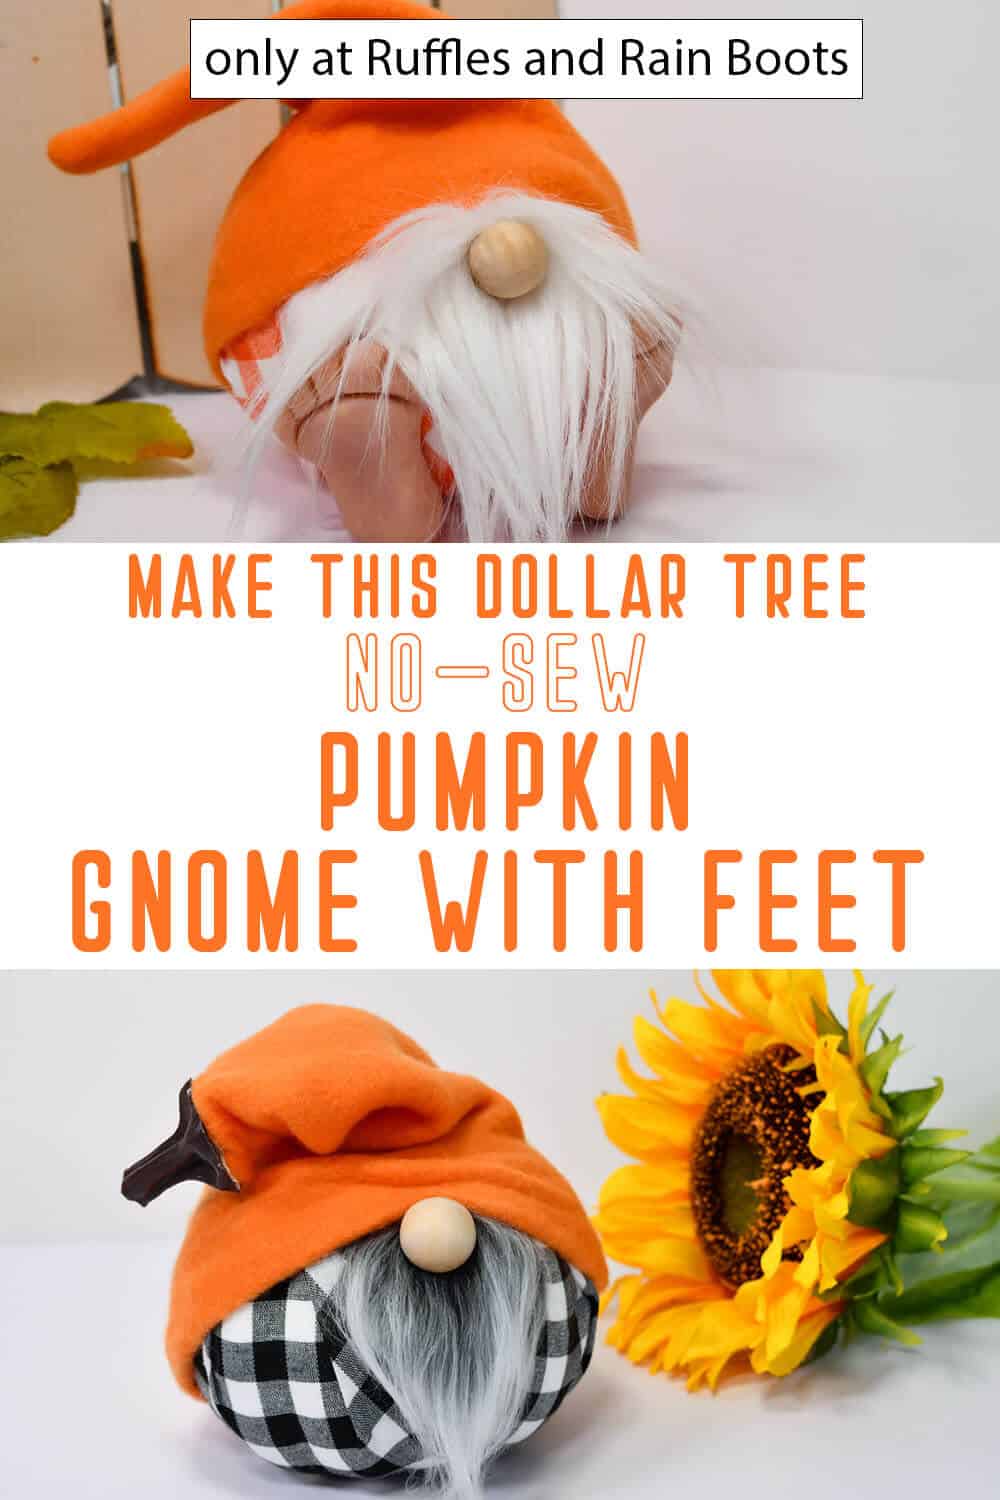
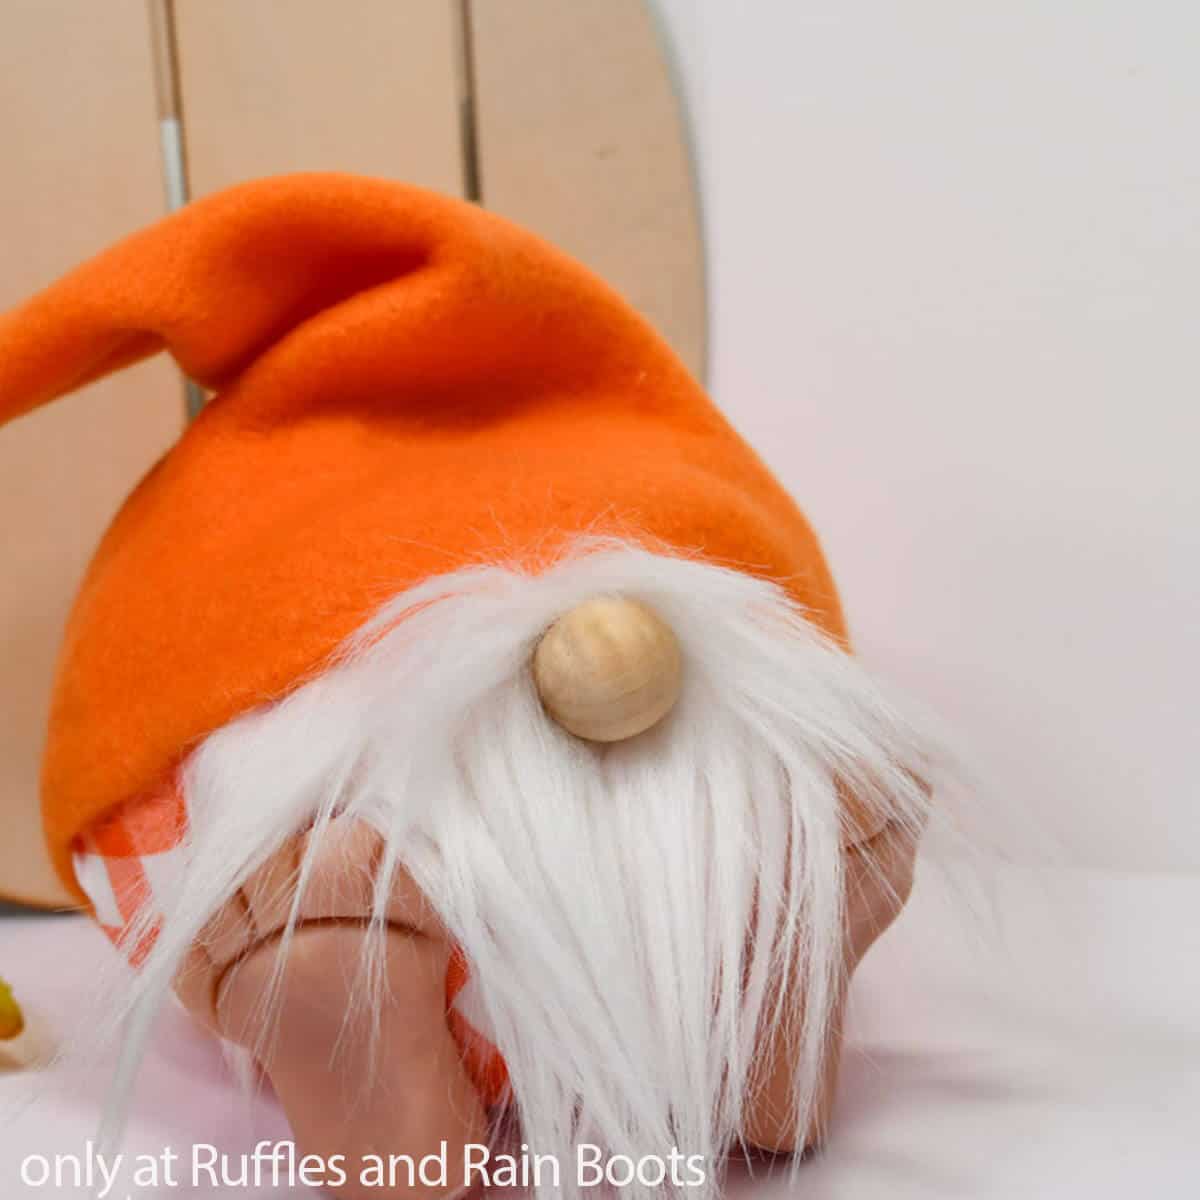
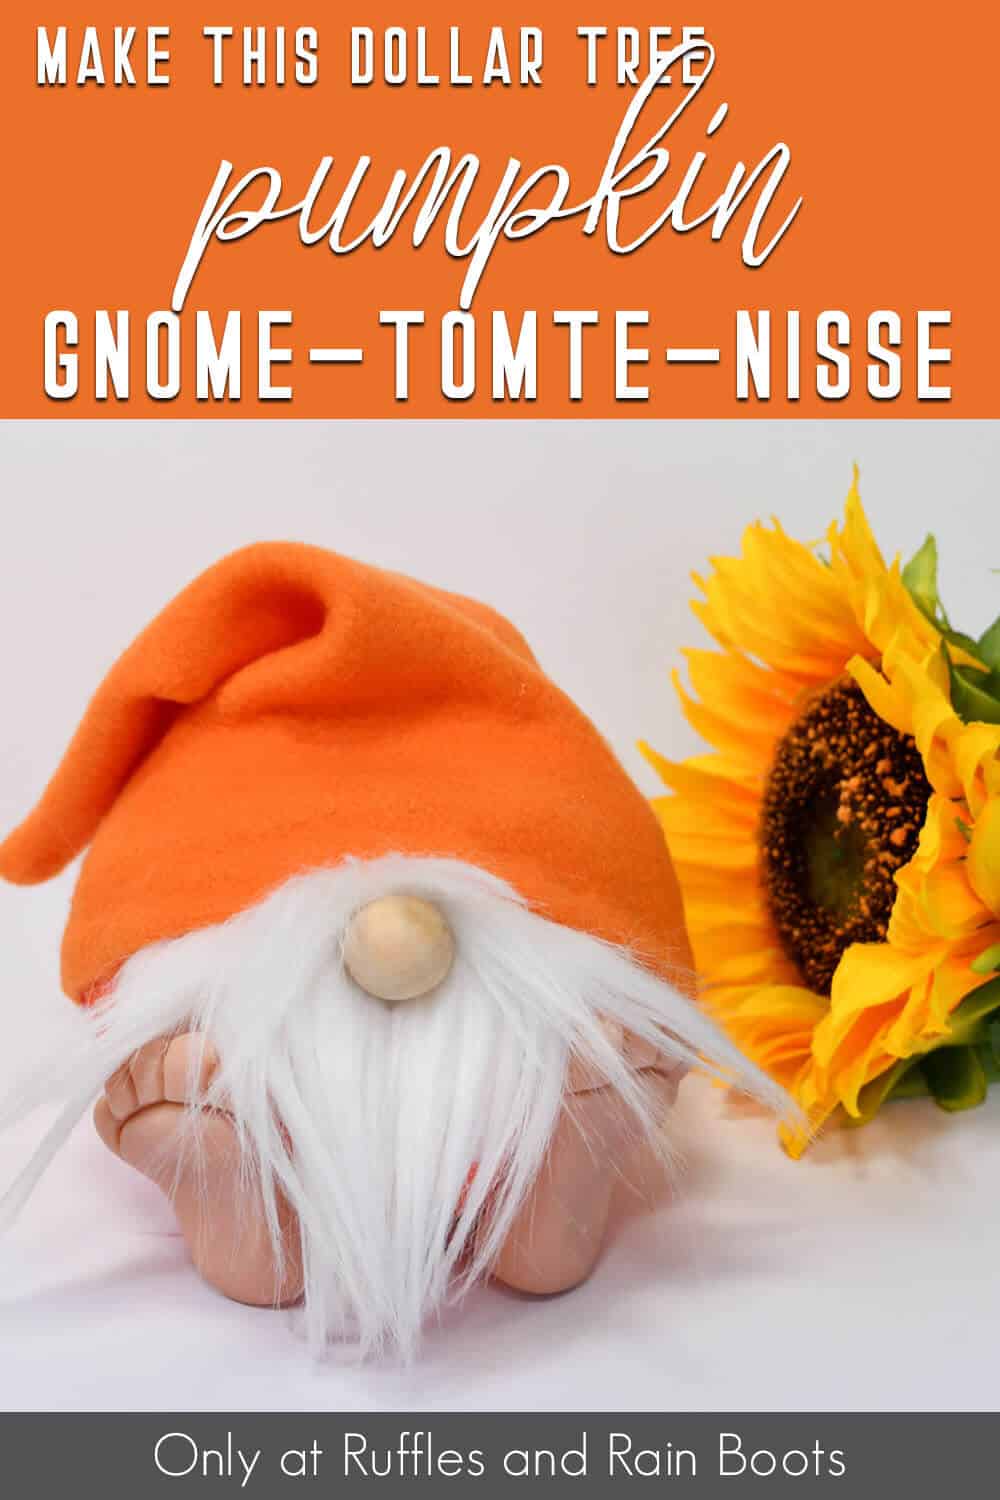
Dollar Tree Pumpkin Gnome with Feet (or Without)
I ran by my local store and found the supplies to make this Dollar Tree pumpkin gnome with feet (or without) and now I’m fall-ready! This fun fall craft ideas comes together in minutes and has a free gnome hat pattern.
Create this fun DIY fall gnome to your liking. Use the step by step instruction and pumpkin gnome video tutorial to make this cute gnome for Autumn.
What You'll Find On This Page
DIY Dollar Tree Gnome from A Pre-Made Pumpkin
Here at Ruffles and Rain Boots, I like to challenge myself to create DIY Gnomes that easy, fast, and adorable. Who want’s a gnome that’s not so whimsical that it doesn’t FORCE a smile?! Not me.
This fun pumpkin gnome with feet fits that description perfectly! All I had to do was hit up my local Dollar Tree for a pre-made pumpkin and I had everything I needed to make this quick and clever fall decor.
RELATED READING: Make a Pumpkin Spice Gnome for the Season
No Time to Make This DIY Pumpkin Gnome Now? Share for Later
If you don’t have everything you need, share this to Facebook or save it to your favorite crafting pin board. Either way will make this easy to find when you’re ready to begin.
As an Amazon Associate, I could earn from qualifying purchases. There are affiliate links in this article.
Free Gnome Hat Pattern
Included in the instructions below is a free hat pattern. Please note that there is no printed pattern for this.
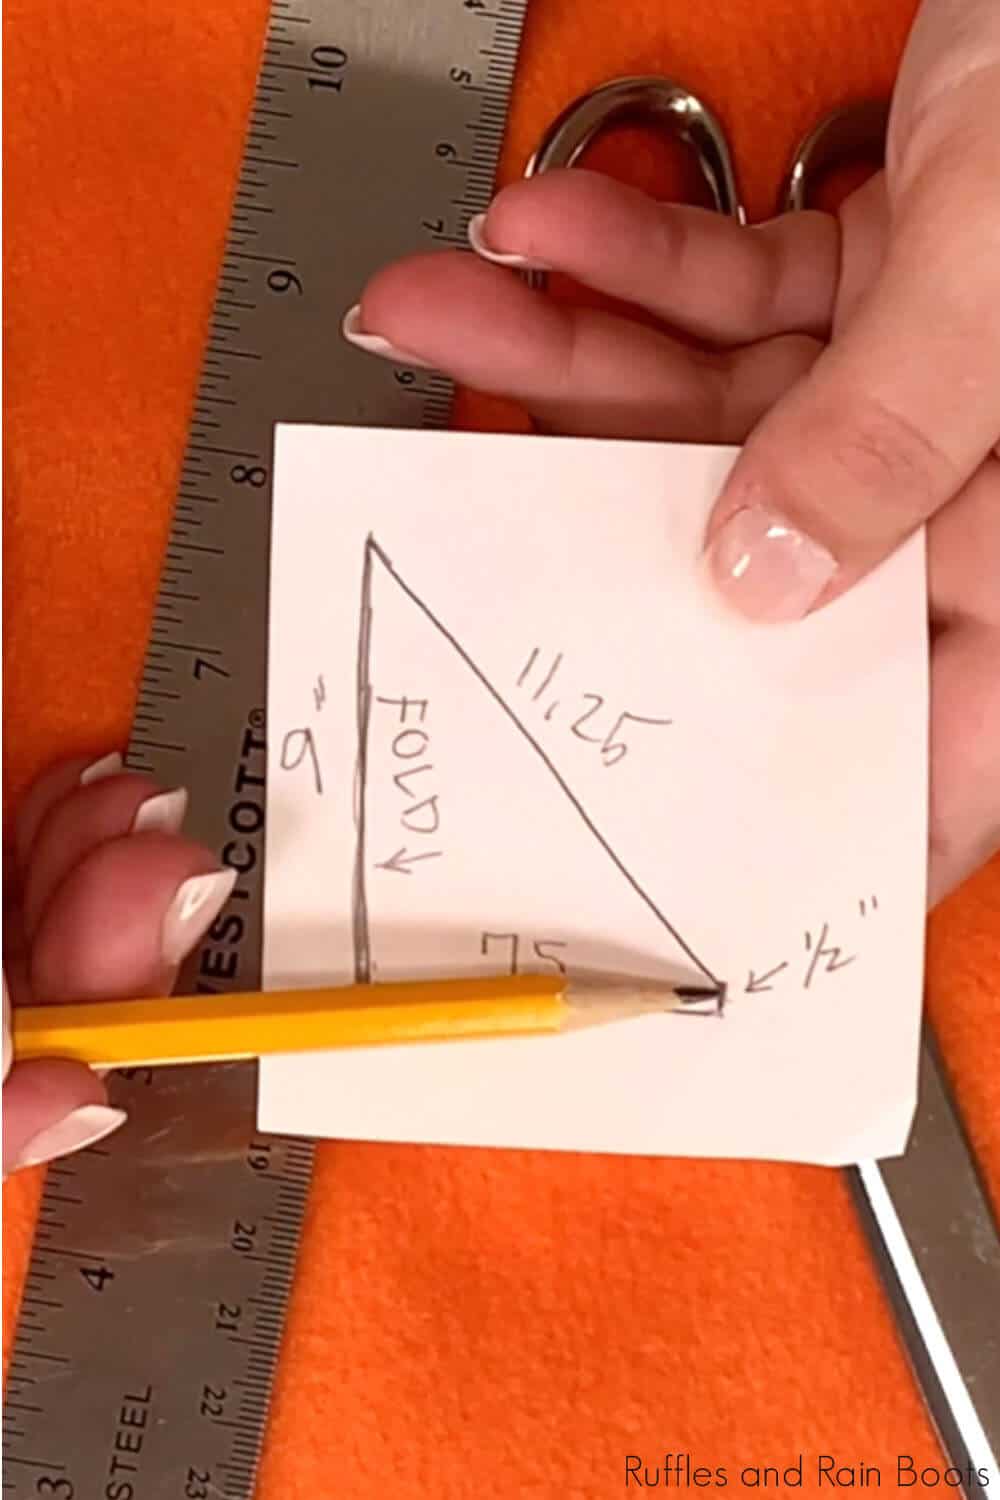
The measurements are (best shown in the video): it is a triangle with 9-inches on the fold, 7.5-inches on the base, a 1/2-inch rise, and the long angled measurement is 11.25-inches.
The free gnome hat pattern cannot be used interchangeably with the ‘carvable’ Styrofoam pumpkins at the Dollar Tree (the bright orange or white ones). The pattern will need to be adjusted to fit those because they are bigger.
Tips to Make This Easy Fall Pumpkin Gnome
- The stars of this gnome craft are the pre-made gnome feet I picked up from one of my favorite gnome makers. You can get your own set right here!
- For the hat, use a stretch fabric like fleece. In order to tug it into place, we need something with a bit of give and fleece is the most cost-effective fabric which also offers structure.
- For the hair, I chose to make two different faux fur shape beards (a rectangle and a square), but don’t be limited by my suggestions. A robust mustache, a tiny bit of fluff, a set of pigtails – the opportunities are endless.
- If you have one, use a fine detail hot glue gun. I prefer this one as it has lasted the longest without any issues (and I’ve tried so many).
- Wood beads, balls, pom poms, or clay noses can be used on these. Just be sure to split the fur to the fabric backing when adding them on.
Dollar Tree Pumpkin Gnome Video Tutorial
I am a visual learner and like to create step by step instructions a couple of ways. Scroll down for the written and printable tutorial or watch the fall Dollar Tree pumpkin gnome tutorial on YouTube.

More Fall Gnomes You Might Like
- Fall Shelf Sitter Gnome – A wrap-around beard and long, dangly legs (includes a free gnome boot pattern) make this guy irresistible!
- No-Sew Fall Gnomes – These simple gnomes whip up in just minutes with a hot glue gun and a bit of fall flair. Check out those hats and all that fall farmhouse gnome charm.
- Tiered Tray Scarecrow Gnome – Oh my goodness, this is one of my favorite gnomes ever! The little booties, the peek-a-boo hat – just darling.
Please Save or Share This Easy Pumpkin Gnome for Fall
Your shares are how this site grows and I am sincerely grateful. If you know a friend who would like this, save it to a fall crafts pin board or in your favorite Facebook crafting group!
How to I Make a Fall Gnome from a Dollar Tree Pumpkin
Below is the step by step written tutorial. If you prefer, you can use the print button to take a copy with your or keep this page open and craft along.
Dollar Tree Pumpkin Gnome

This adorable pumpkin gnome is nearly done when you get started! Use the free gnome hat pattern, pre-made gnome feet, and a bit of fur to create this fall gnome that will steal your heart.
Materials
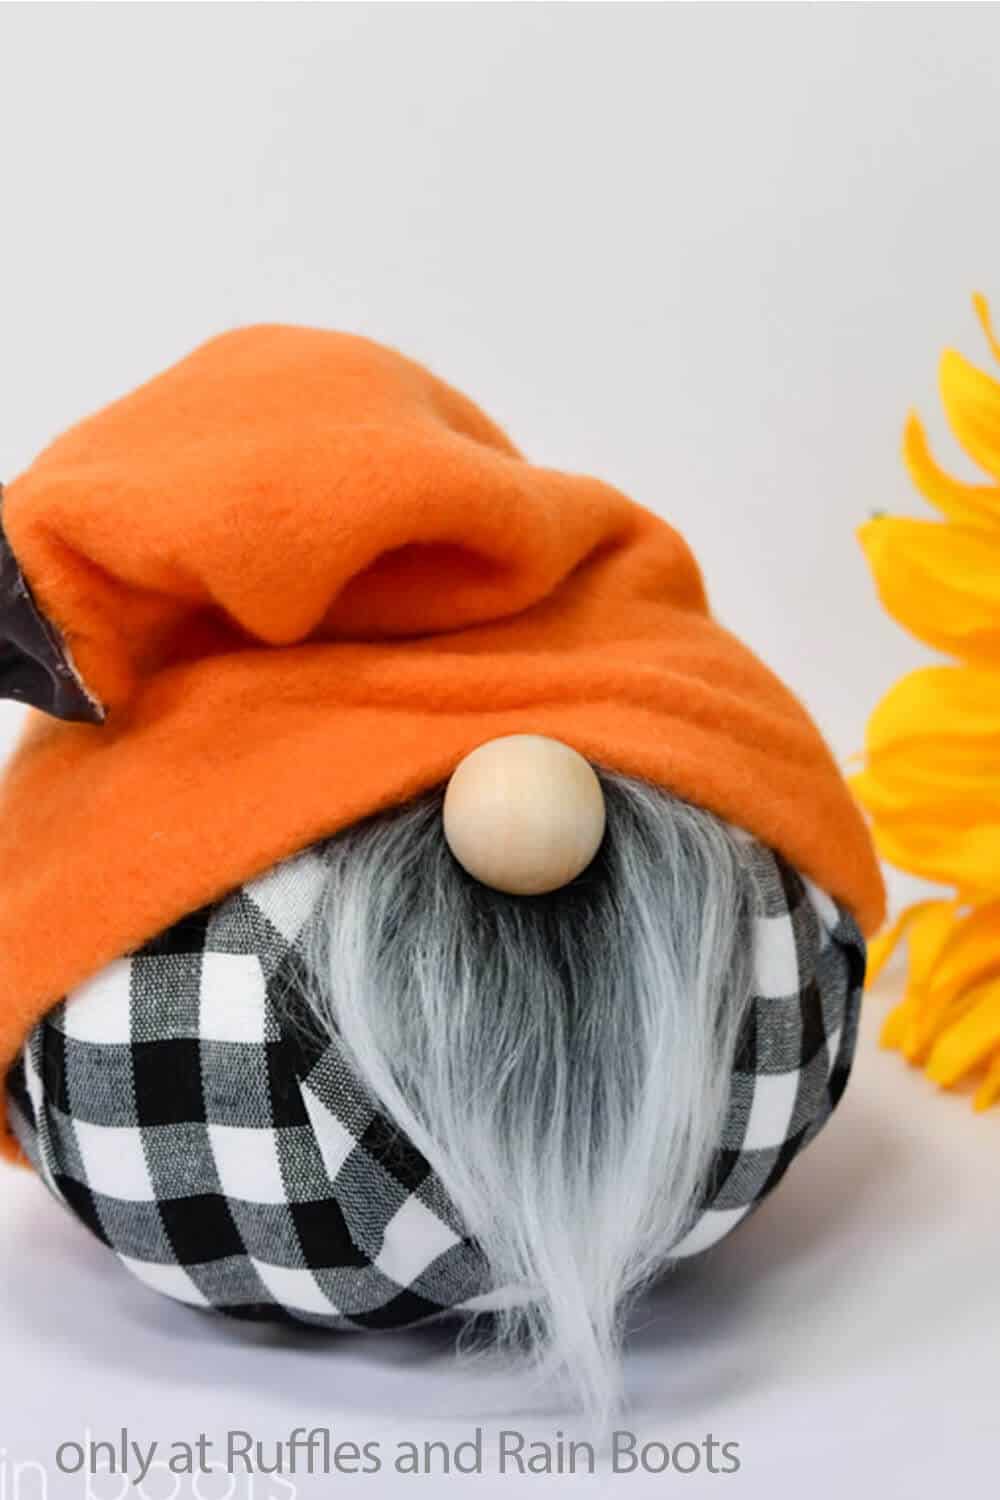
- Dollar Tree Buffalo Check Pumpkin (SKU 314034)
- Fleece (1/3rd yard) or Similar STRETCH Fabric
- Faux Fur Scraps (or Other Beard Material)
- Pre-Made Gnome Feet (optional, but recommended because they're PERFECT)
- Nose (I used 3/4 inch wood rounds, but you can use pompoms, nylon stuffed with fill, wood beads, etc.)
Tools
- scissors and razor or straight blade
- glue gun and hot glue sticks
- ruler
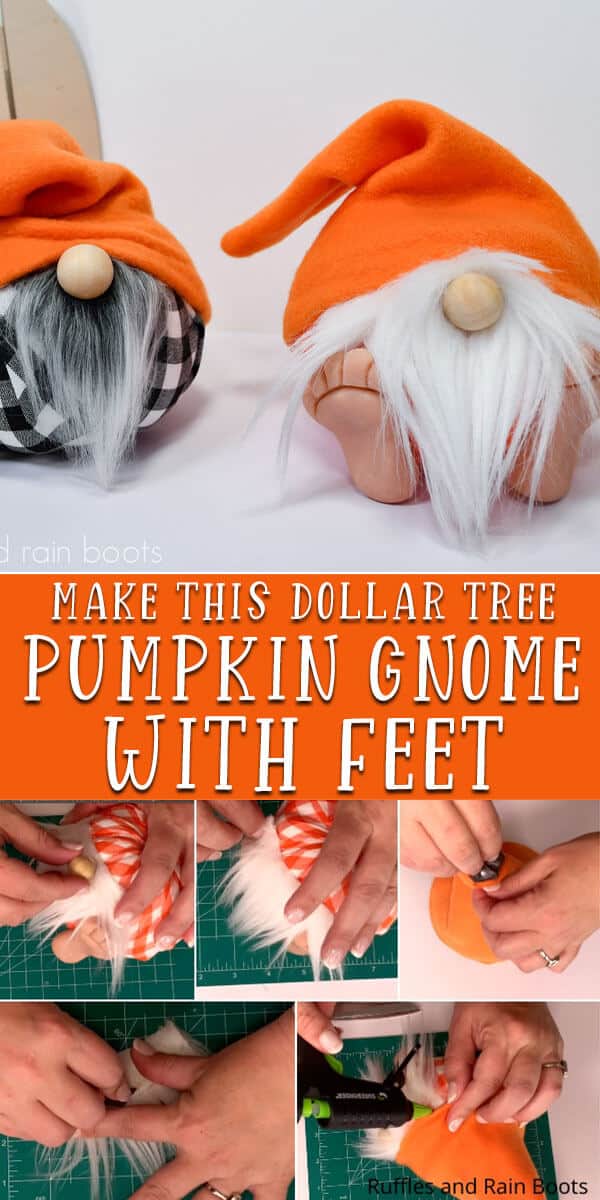
Instructions
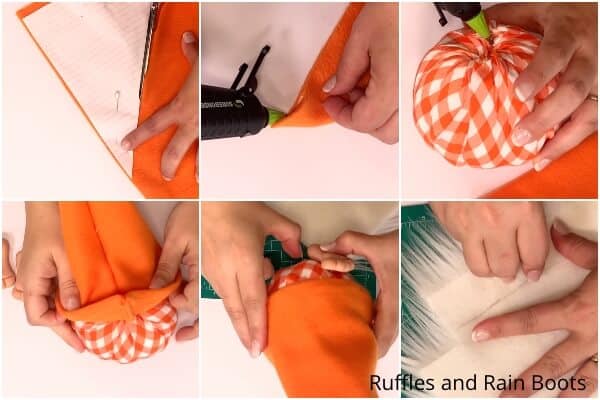
- Make a hat pattern with the measurements: 9 inch tall (along the fold), 7.5 inch for the base, 1/2 inch rise, and 11.25 inch for the angle.

- Fold fleece and align the 9 inch side along the fold. Cut hat.
- Flip up the bottom 1/2 inch on the wrong side of the fabric and hot glue to create a hem.
- Fold the hat right sides together and hot glue hem the entire long edges together. Once dry, test seams and flip right sides out.
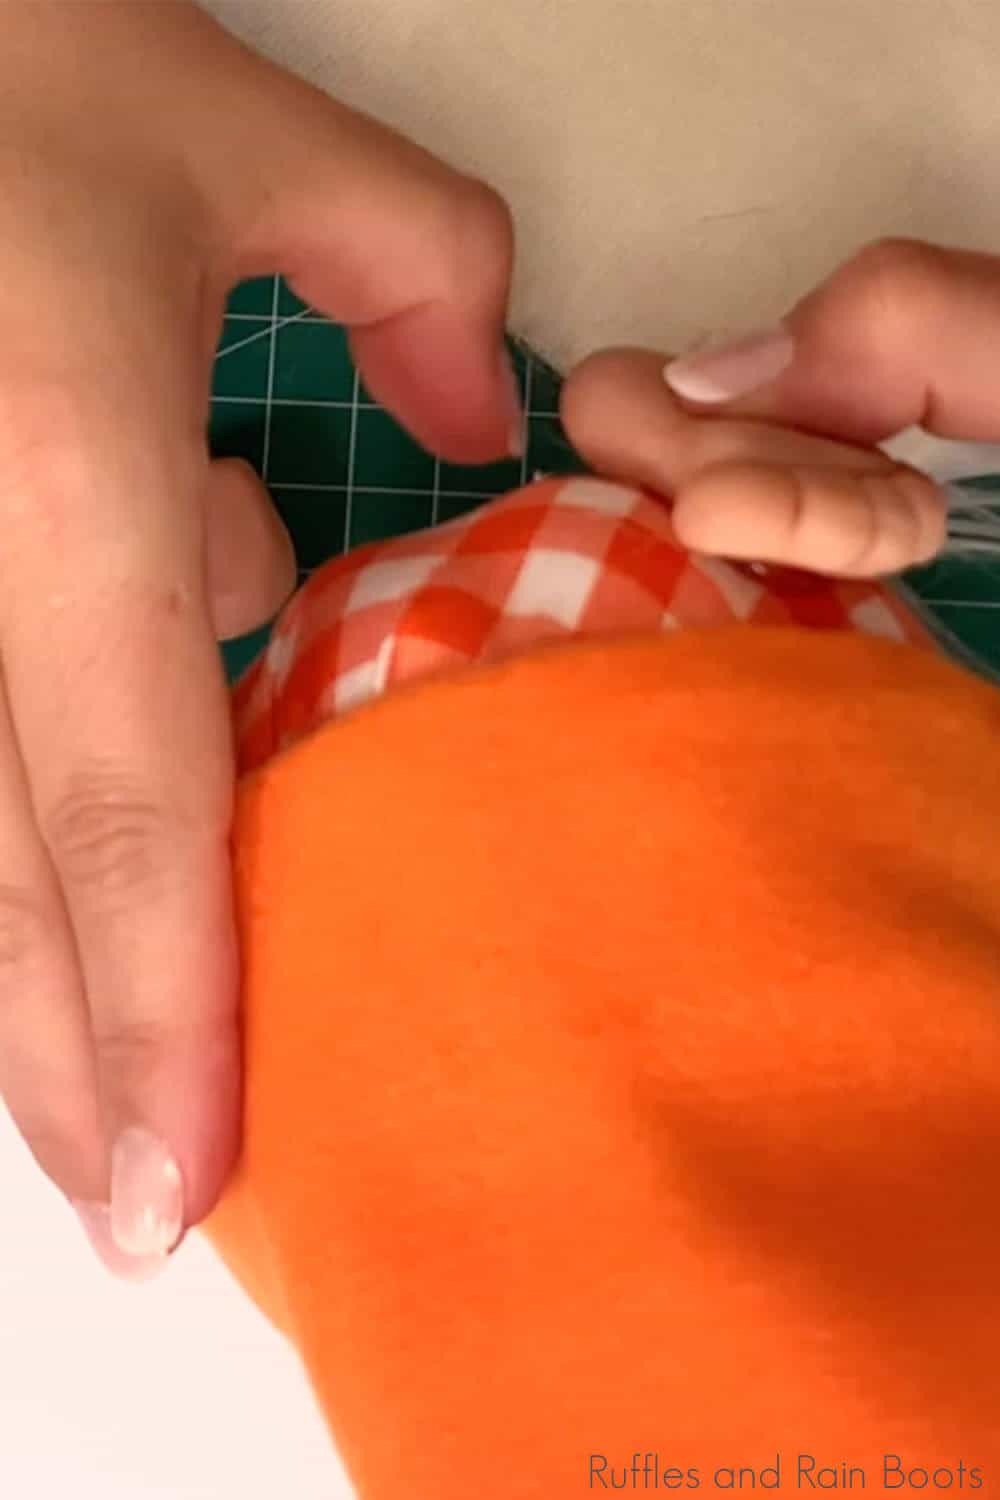
- Remove the plastic stems from the plaid pumpkins. Secure any upset fabric back down with hot glue.
- Slip the hat onto the pumpkin, taking care to tug the fleece hat all the way down so that the pointed bottom of the hat goes UNDER the pumpkin. We'll secure that in a later step, but for now we need to measure where to put our feet.
- Glue the feet to either sides of the center of the gnome. Keep the glue in the middle of the foot so no glue seeps out. Be sure to align the heels to the table so that our gnome is level.
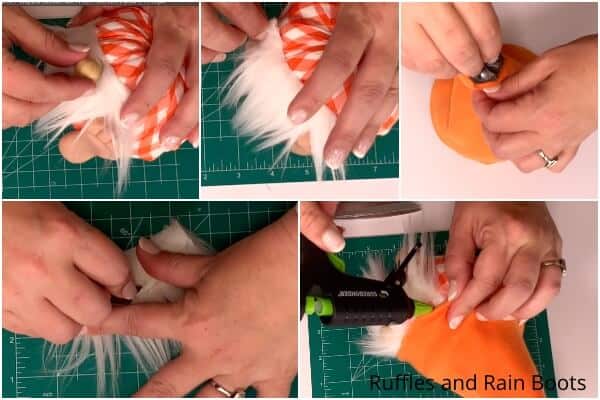
- Cut the beard material. My measurements were 1 inch by 3 inches wide. Take care to cut the fabric backing of the fur fabric only. If you would like, round off the rectangle into a wide U-shape.

- Make sure your hat is where you'd like it and hot glue the fur to the pumpkin. Note: mine was quite high but the hem of the hat covered it just barely.
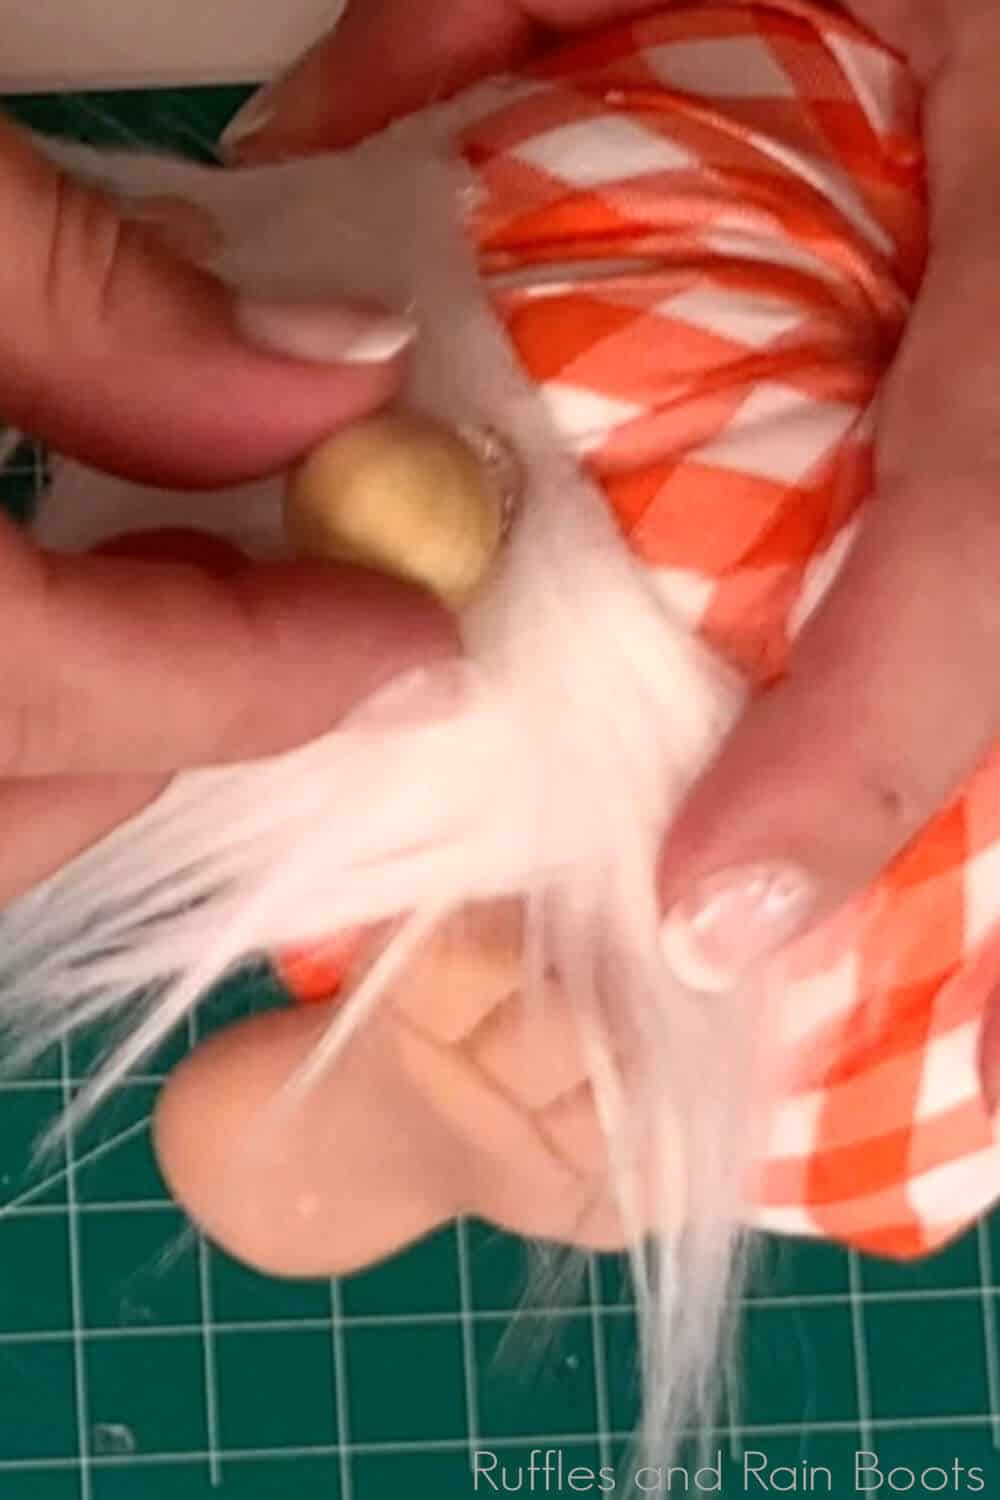
- Split the fur to the fabric backing, add a generous portion of hot glue, and press the nose into the glue, holding it in place until it sets.
- Optional: add a small 1/2 inch by 1 inch wide rectangle of fur to the top of the nose for a peek-a-boo look. Secure it to the top of the nose before gluing down the hat.
- Once the nose is secure, tuck the pointed back portion of the hat under and secure the bottom one inch up (match up the seams).
- Once dry, secure the hat again and secure it around with hot glue. If you want arms, cut rectangles of fleece, secure the long sides with glue, and add wood rounds for hands. Tuck those up under the edge of the hat, and secure them to the body. Finally, secure the hat to the arms.
- Optional Hat: make the hat exactly as above, however, snip off the top half inch. Poke the stem removed from the plaid pumpkins into the hole, add glue along the bottom (it is wide), and pull the fleece up and around.
Notes
Want more gnomes? Visit RufflesandRainBoots.com for TONS of free patterns, premium patterns, and inspiration.
Recommended Products
As an Amazon Associate and member of other affiliate programs, I earn from qualifying purchases.


Meet the Creator
Hi there, I’m Sarah Nenni-Daher. I’m a crafty gal and always have at least 14 projects going at once. I am a crafter, designer, DIYer, and pattern maker. I share my creations here and in the Ruffles and Rain Boots® Shop.
Here at Ruffles and Rain Boots®, you’ll find DIY gnomes, crafts, gifts, cupcakes, laser crafts, and so much more. I love sharing video tutorials over on YouTube and chatting with other crafters in my Facebook groups. We’d love to have you!