This Dollar Tree Duster Wreath is Easy Farmhouse Christmas Decor!
You’re not going to find a faster and cheaper farmhouse Christmas decor piece than this dollar store duster wreath. Just $5 and you’re in farmhouse fluffy wreath heaven!
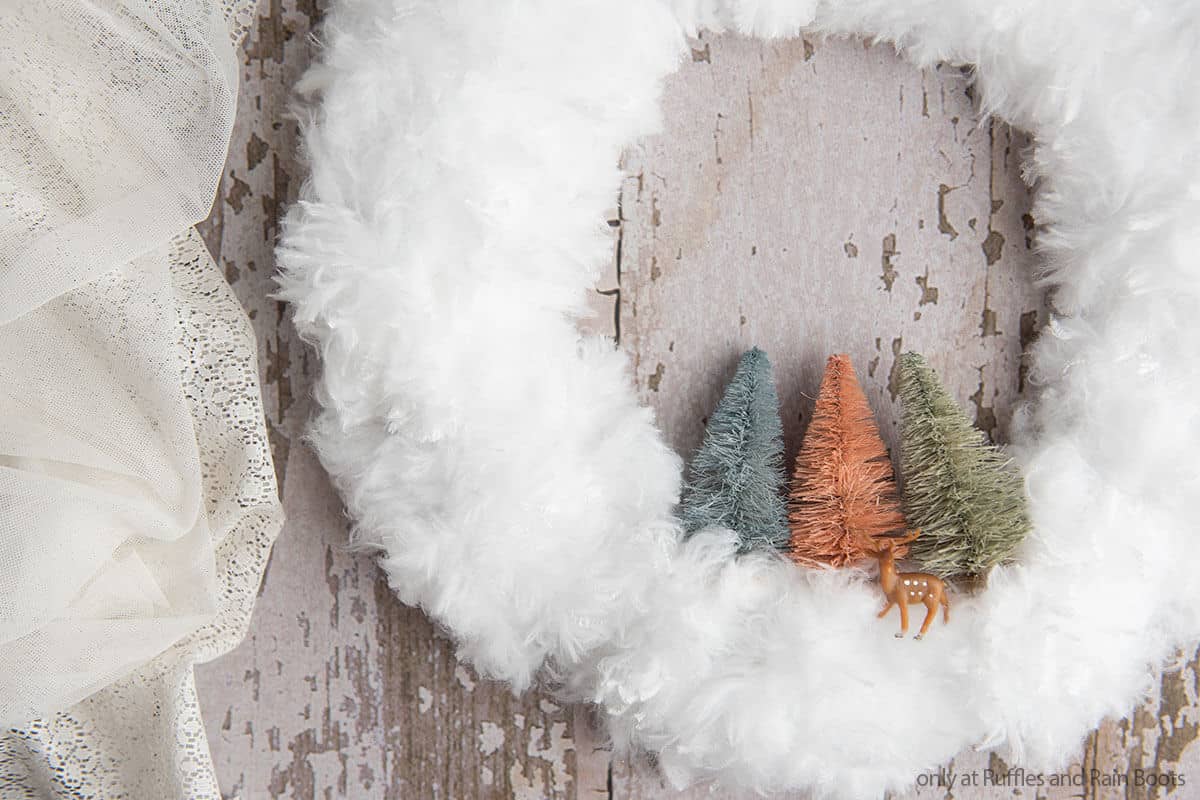
Dollar Store Duster Wreath
Here at Ruffles and Rain Boots, we are all about getting the most fun projects made that to either put in the house or give as gifts. This time, it’s a gift. I have a friend who’s moving into a new home and she was lamenting the loss of a favorite “fluffy white wreath” as she called it. Apparently, it just didn’t survive the move. So, I made her this quick and fun dollar store duster wreath just for her!
RELATED READING: FARMHOUSE GNOME PORCH DECOR WITH LOGS
Of course, after I made her one, I decided I might need one, too. So, don’t tell anyone, but I might be making a second…we’ll see. If you’re ready to make a fun dollar store wreath for your own, let’s get started.
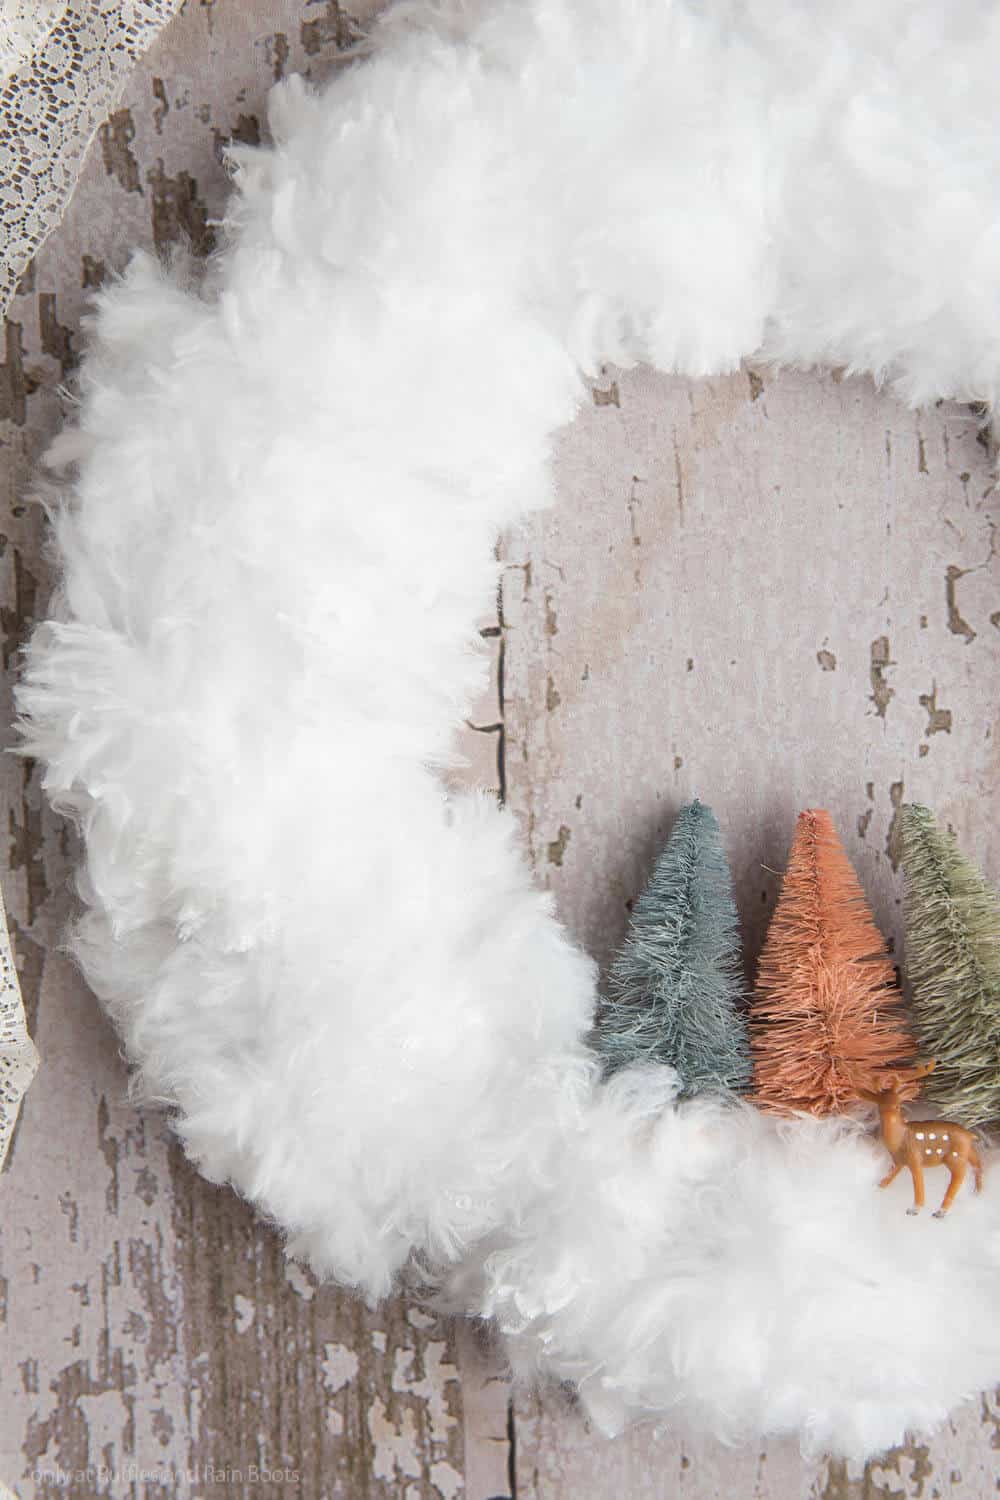
No Time to Make This Now? Pin it for Later
You’re busy, I get it. Pin this to your favorite farmhouse crafts board on Pinterest and it’ll be here for when you’re ready.

As an Amazon Associate, I can earn from qualifying purchases.
Tips to Make This Dollar Store Wreath
- Everything you need to make the basic wreath is available at the Dollar Tree. But if you don’t have a Dollar Tree nearby, you can find most of the elements at any dollar store. We’re talking a box of duster wipes and a wire wreath form, so you’re not going to need to hunt too far for the goods.
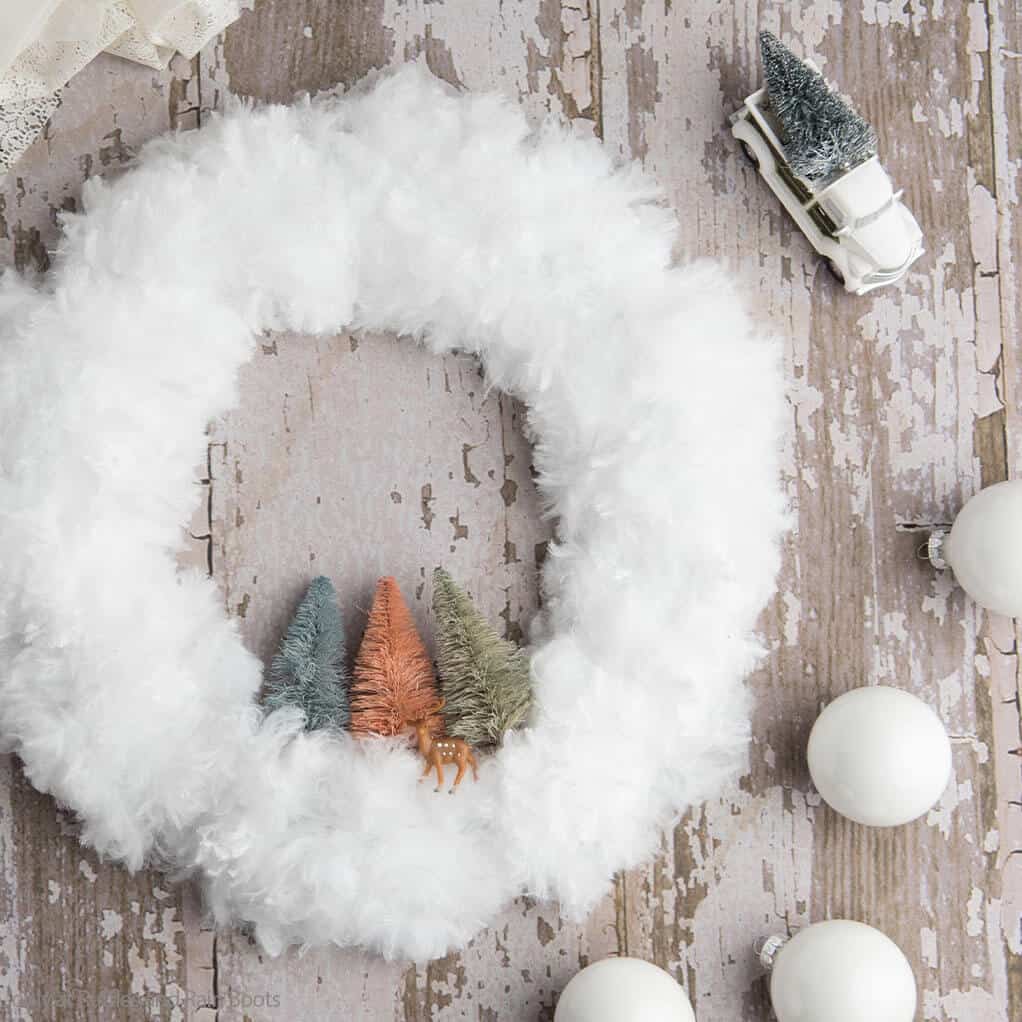
- You can decorate your dollar store wreath with anything, really. Although I finally settled on multicolored sisal trees and tiny reindeers, I debated about putting a tiny truck on the center, or even a few pretty glass ornaments. So, really, it’s just up to you what you’d like to see on your wreath.
- I toyed with the idea of coloring the duster portion of the wreath. I know it will work if you use watercolor or even fabric dye. But you could try lightly spray painting it too. Only if you want a pop of color, though.
How Do I Make this Dollar Store Duster Wreath?
I’m so glad you asked. Below is our written tutorial.
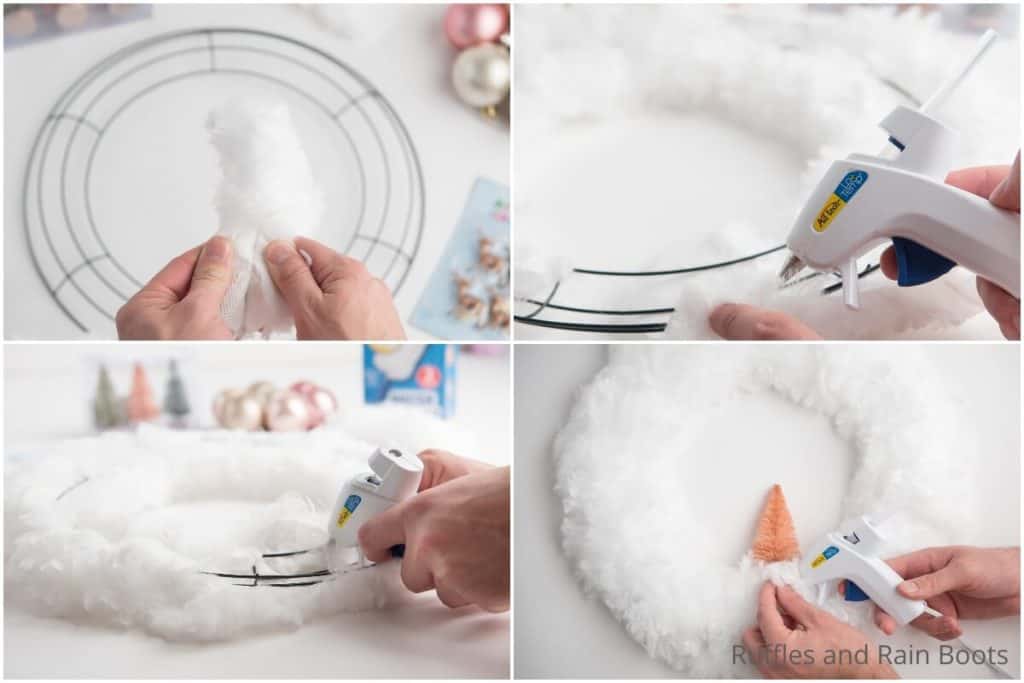
First, place both thumbs inside one duster pocket where the handle would typically be placed. Pull your thumbs apart, tearing the duster on ONE side. You want to leave the other side intact so we have more to work with later.
Place the torn duster down on the table, then place the wire wreath frame face-down on top of it.
Pull the corners of the duster around the frame, hot gluing them tightly around the frame.
Repeat with the remaining 3 dusters, overlapping the edges slightly around the wreath frame to cover the entire thing. If there are any bare spots, fill those with bits of fluff that fall off the duster. If the cheesecloth portion of the duster shows, tuck it behind the wreath frame and hot glue in place.
Add your chosen embellishments. I glued my little trees in place by using the inner wire of the wreath frame as my anchor, as that provided additional stability.
If you plan to use ornaments, I recommend cutting a small hole in the fluff and placing the ornament top-down in the hole, hot gluing it to the wire frame.
More Farmhouse Crafts You Might Like
- DIY Farmhouse Beads – An idea for every occasion, you can customize your farmhouse beads in just a few minutes!
- Farmhouse Gnome Ornament with a Bead Nose – Speaking of fun things to do with wooden beads, this is one of my favorite craft ideas.
- DIY Farmhouse Gnomes from Socks – You’re not going to find a faster and easier way to make a gnome than with a sock–and this tutorial has it all!
Please Save This to Pinterest
Your shares are how this site grows and I am sincerely grateful. Know a friend who’d like this? Please share it on Facebook or save it to your favorite easy DIYs board on Pinterest.
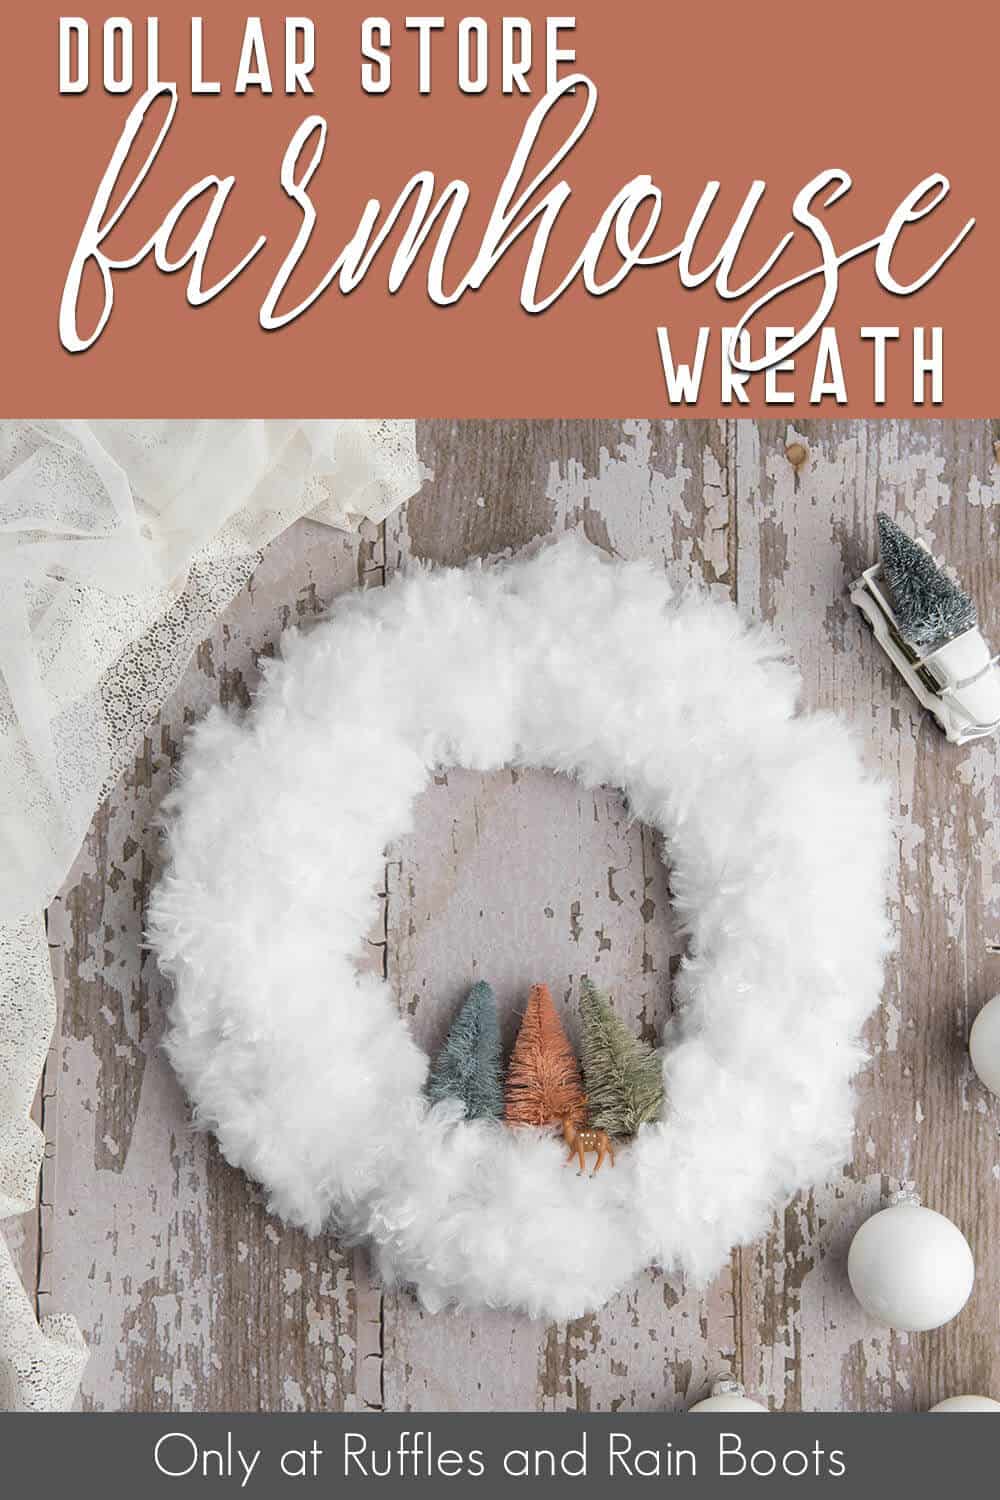
Dollar Store Duster Wreath
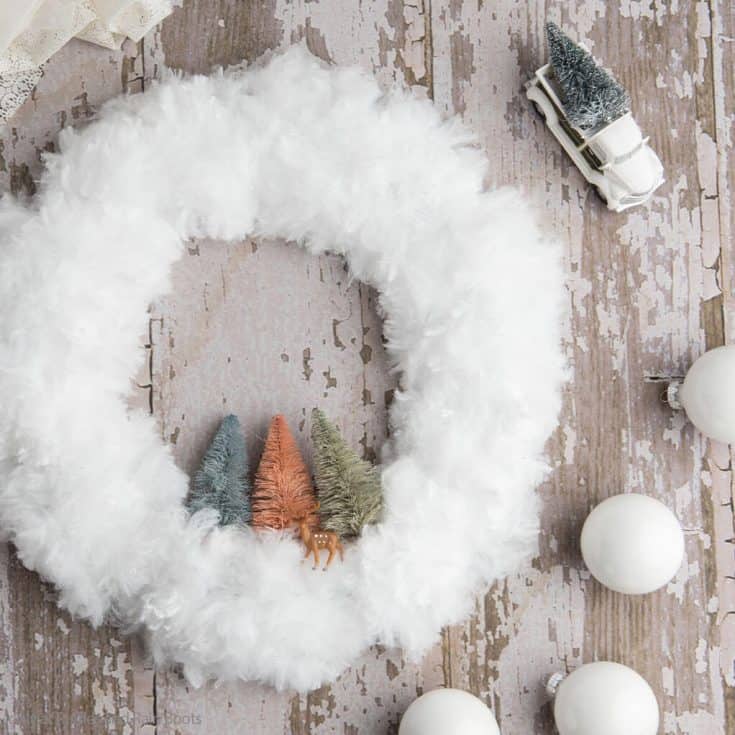
Check out how fast and easy making this dollar store duster wreath is to make! It's about $5 for the basic wreath, then you just decorate your dollar store craft with anything you want.
Materials
- Wire Wreath Form
- 4 Boxes Scrub Buddies Feather Dusters
- Ornaments, Bottle Brush Trees or other Christmas Embellishments
Tools
- Scissors
- Hot Glue Gun & Glue
Instructions
- Place both thumbs inside one duster pocket where the handle would typically be placed. Pull your thumbs apart, tearing the duster on ONE side. You want to leave the other side intact so we have more to work with later.
- Place the torn duster down on the table, then place the wire wreath frame face-down on top of it.
- Pull the corners of the duster around the frame, hot gluing them tightly around the frame.
- Repeat with the remaining 3 dusters, overlapping the edges slightly around the wreath frame to cover the entire thing. If there are any bare spots, fill those with bits of fluff that fall off the duster. If the cheesecloth portion of the duster shows, tuck it behind the wreath frame and hot glue in place.
- Add your chosen embellishments. I glued my little trees in place by using the inner wire of the wreath frame as my anchor, as that provided additional stability. If you plan to use ornaments, I recommend cutting a small hole in the fluff and placing the ornament top-down in the hole, hot gluing it to the wire frame.
Notes
For more fun farmhouse crafts visit Ruffles and Rain Boots!


8 or 12 inch frame?
I think this was an 12 inch frame (I can’t check because I only got two wreaths down so far) but honestly, either would work. Right now, I know my Dollar Tree only has the smaller ones in stock.