
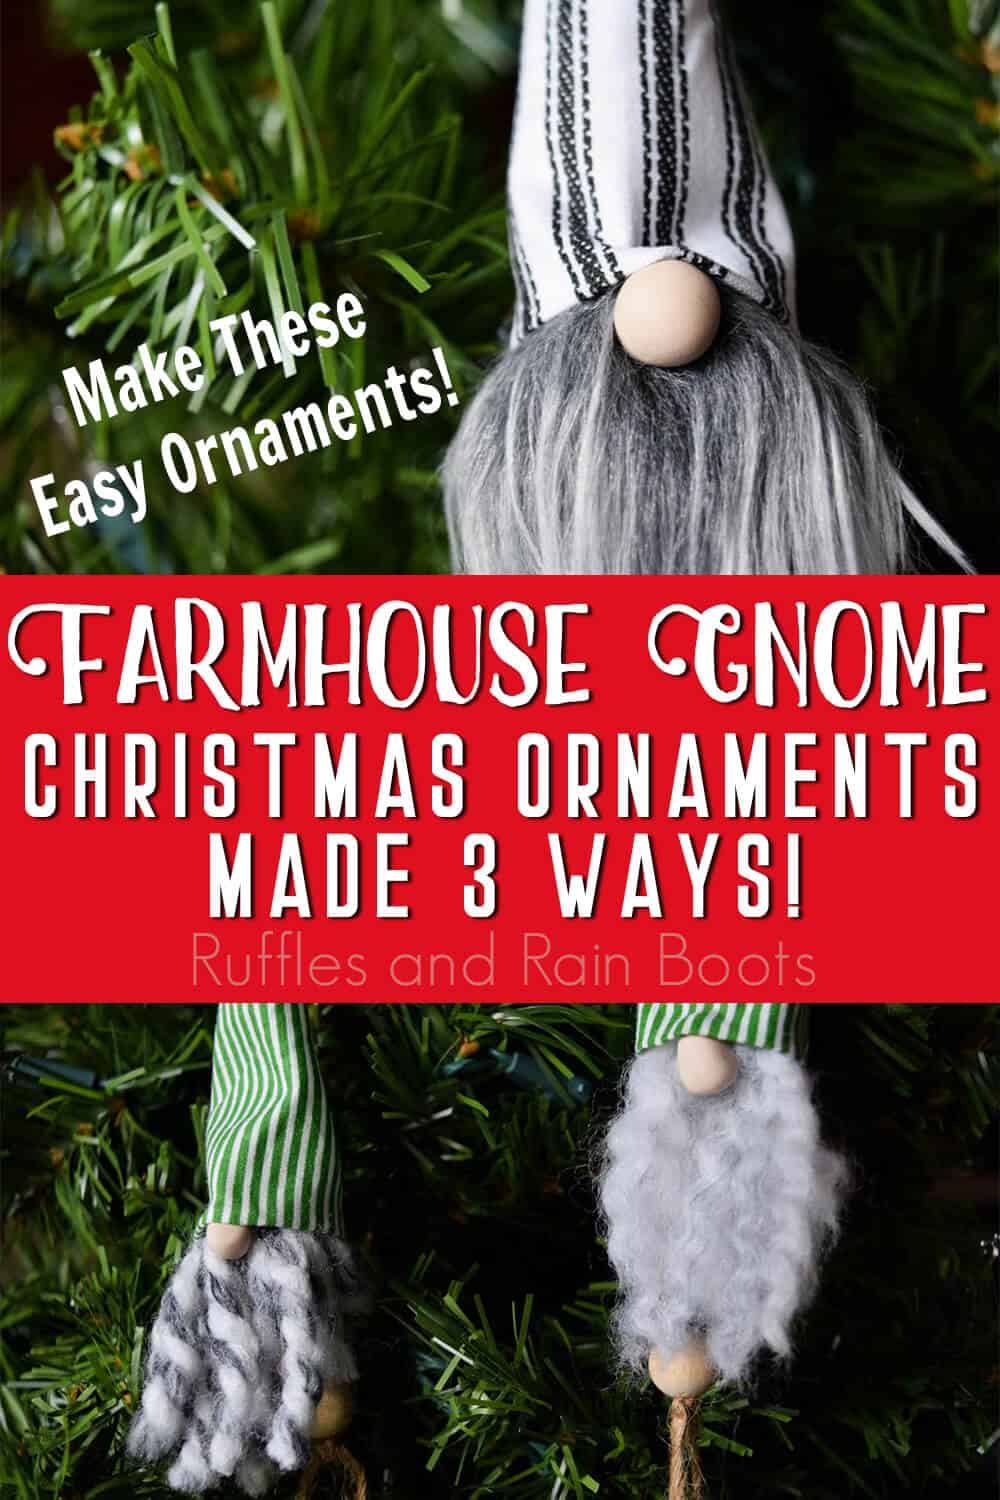
Make This Bead Nose Farmhouse Gnome Ornament – 3 Ways!
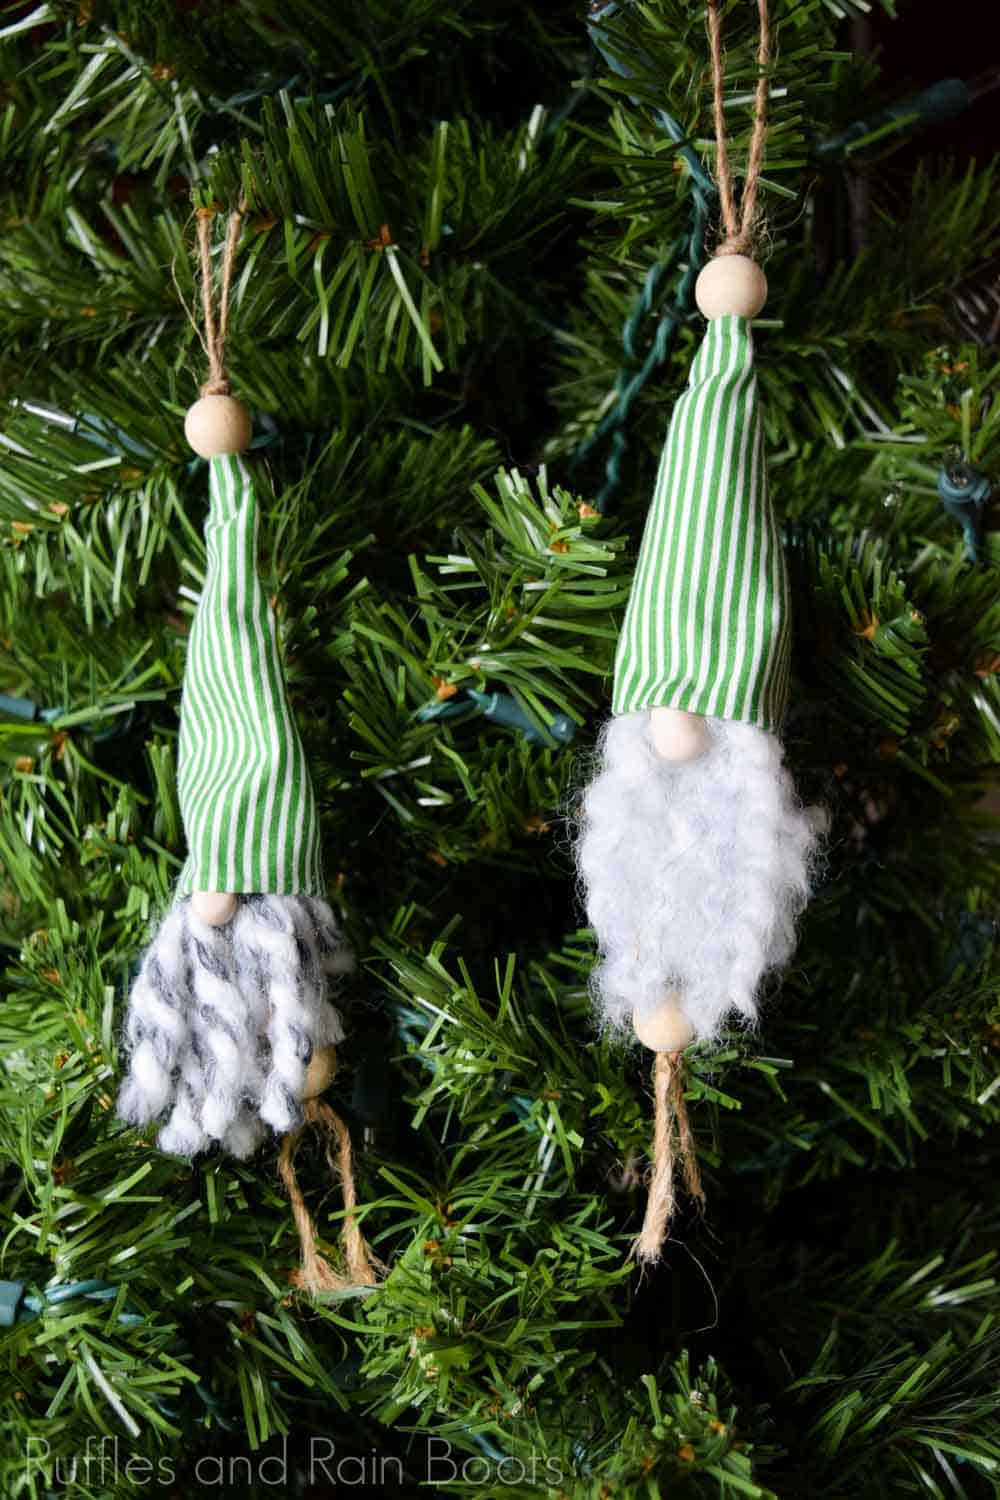
I love making gnomes and this easy farmhouse gnome ornament is the newest addition to my farmhouse Christmas tree. It’s so cute, is a no sewing required kind of craft (my favorite), and you’ll be done in about 15 minutes.
Hit up your craft stash for fabric, beads, fur, yarn, and those bits and baubles you can never find a use for. Grab it all because you can make ornaments, package tags, and even wreath picks using this single tutorial.

What You'll Find On This Page
Farmhouse Gnome Ornament
Here at Ruffles and Rain Boots, I like making simple crafts that draw the eye. When looking through my scrap fabric bin (my overflowing scrap fabric bin), I had the idea to whip up a few of the farmhouse gnome ornaments to go on the little tree in our kitchen. It’s only 3 feet tall so I could keep them small and have them make a pretty big impact.
RELATED READING: 30+ GNOME ORNAMENT TUTORIALS
I’m asked a lot about this fabric so I thought I would start off by saying it is a black ticking stripe you can get at most fabric stores. Mine is a thicker cotton which allows it to keep a good bit of its shape without any stuffing, but you can use anything you have on hand or can find locally.
No Time to Make This Now? Save it for Later
If you need to check your craft stash before making these, save this to your favorite Christmas pin board or share it to a crafty Facebook group. It will be easy to find when you’re ready to make these cuties.

As an Amazon Associate, I can earn from qualifying purchases. There could be affiliate links within this article.
Tips to Make Gnome Christmas Ornaments
- These ornaments are very easy and you don’t need a pattern. Grab your glun and just have fun using up what you have on hand.
- I like to make my gnome beards from craft fur, yarn, mops, and pretty much anything that makes a fun drape below a nose and cute hat. My favorite, however, is what you see above – Mongolian fur. It’s the soft, long grey beard with the dark and light sections and is just so beautiful.
- To make a gnome nose, use anything round. A few ideas for gnome noses are pom poms, wood rounds or balls, half wood rounds, or even felted wool balls. For these, I used wood beads to make the gnome noses and just tucked the openings into the fur and under the hat.
- Grab a festive embellishment for the hat. If you want to embroider a snowflake into the front of the hat, that would look cute. For mine, I used seed beads (I have about a million rolling around my craft room). If you don’t, look for pre-made items like these pretty poinsettia flowers. They’re fast, easy and super cute.
- I made this entire gnome a no-sew pattern by using hot glue to make all my hems, but you could use a sewing machine.
- If you’ve never cut Mongolian fur before, flip the fur over and cut the fabric only with an Exacto knife.

How to Make Farmhouse Gnome Ornaments
Below is the written and printable tutorial for this set of gnomes. If you’re a visual learner or making a DIY Christmas crafts playlist on YouTube, here is my farmhouse gnome ornament video tutorial.
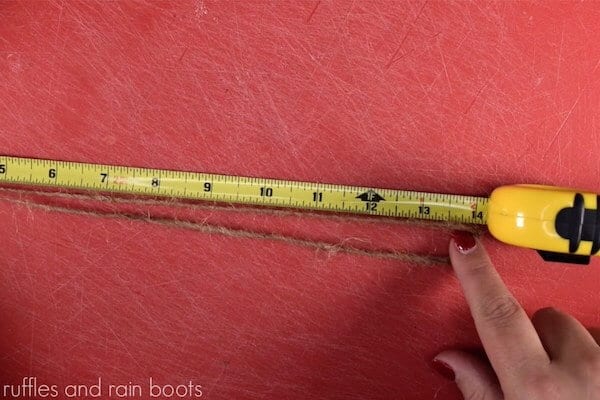
First, measure 28 inches of twine per ornament and fold in half. Set aside.
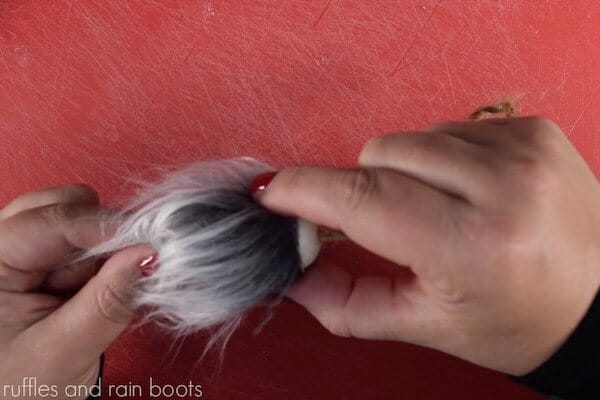
Place a large wood bead onto the fur or measure the diameter of the bead and cut that amount. If you are cutting faux fur, be sure to only cut the backing. If you are using yarn, double each strand over (you will glue the fold).

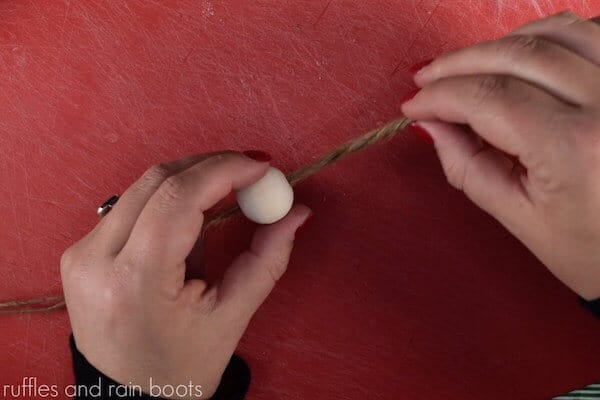
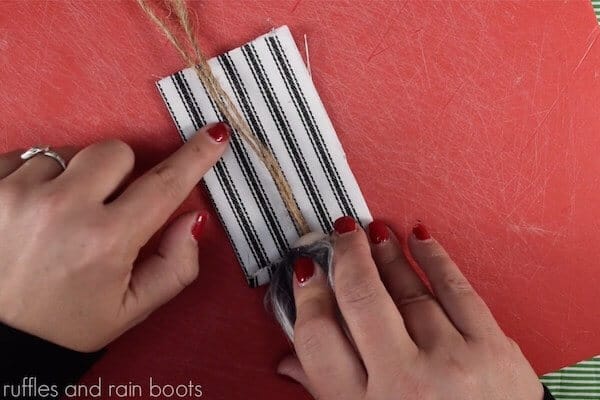
Thread the large bead onto the folded twine and glue on the faux fur in the middle of the bead, making sure to wrap it around all the way.
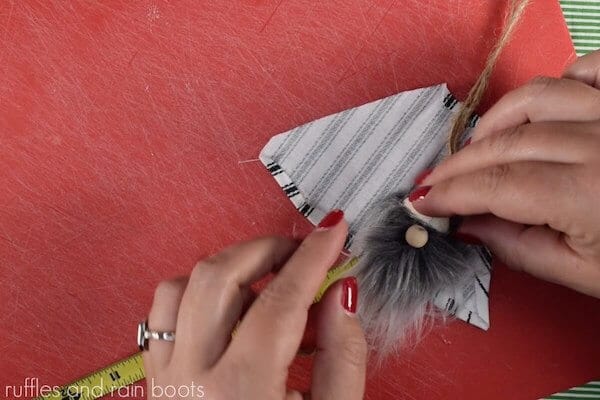
To make the gnome hat, lay out the fabric and cut it so that it can wrap around the entire bead (over the beard) and add an additional 1/2 of an inch for seam allowance. Be generous over stingy here – we can always take fabric away).
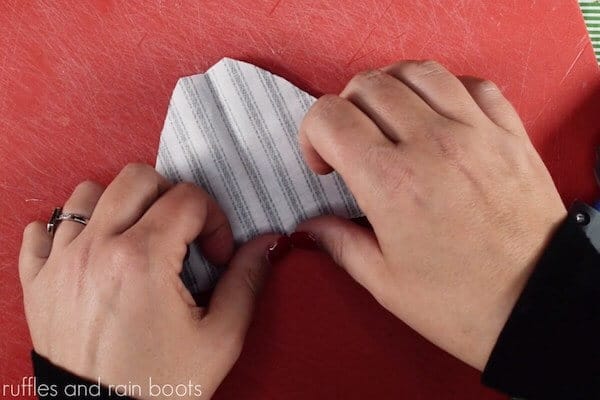
Pick up the piece of fabric, fold it on one side so it is half the width. Hold the fold and cut a rounded bottom. Then, move up from the bottom edge by 1/4 of an inch and cut into a flat-topped triangle.
To estimate the height, know that the top of the hat will start at 5 inches down the looped twine to allow for an ample hanging cord.


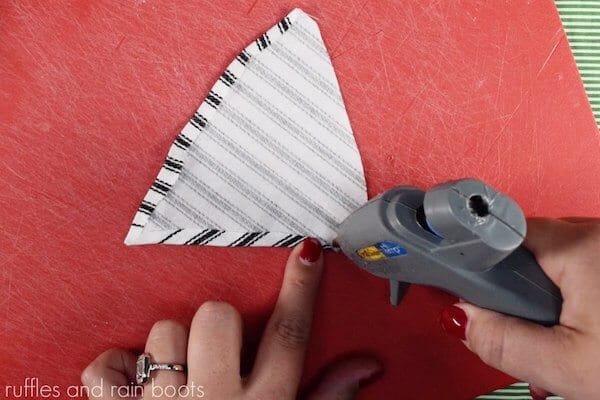
Glue the hat hem by folding up the bottom edge of the fabric. Glue the far right hem, as well. Fold down the flattened top and hem it with glue.
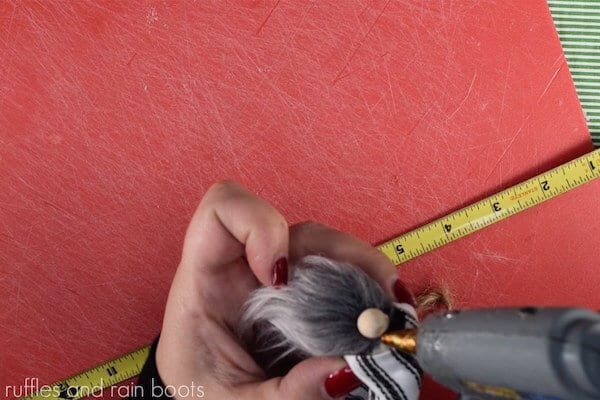
Position the bearded bead down the twine and line up the hat so the top of the hat sits at 5 inches. Add glue to the hat and secure the twine hanger.
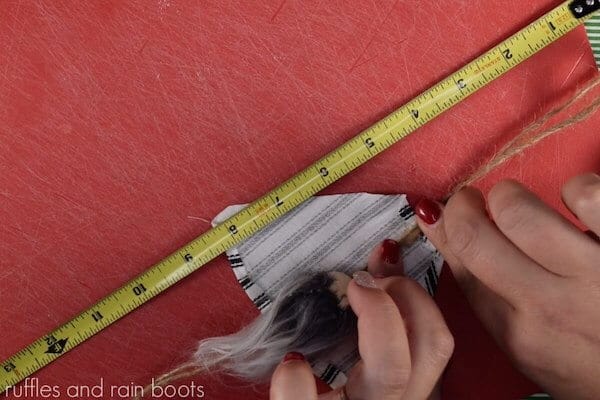
Turn the gnome body over to the front and split the faux fur. In the middle of that split, add a small wood bead for the nose. Position the hat’s bottom brim in the center and glue to the nose.
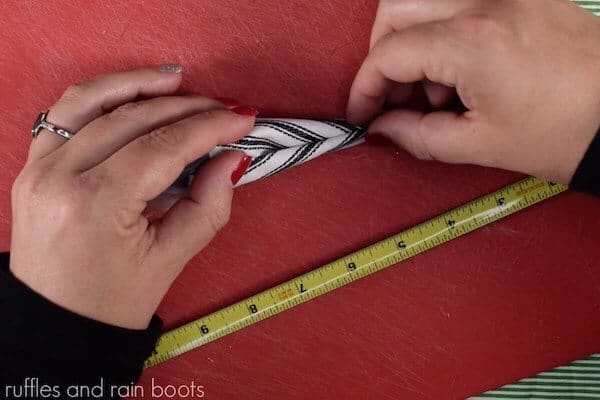
Wrap the hat closed, starting with the non-hemmed side and rolling the bottom to the body of the gnome. Skip the middle and secure the very top of the hat. If you are making a poofy hat, fill with poly fiber and glue the middle closed.
Note: if there is excess fabric, roll the hemmed side inward and secure. I tried to match the pattern and this helped to do so.
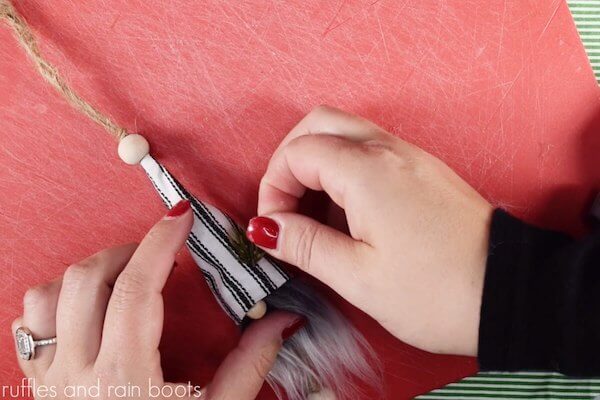
To finish the gnome, string a wood bead over the looped part of the twine and secure with a knot. On the twine just under the beard, make a knot, slide on a bead, and then make a split knot to secure.
Pull the bead down just over the top of the knot to ensure the twine stays down.


Decorate the gnomes however you’d like and you’re done!
More Gnome Ornament Tutorials You Might Like
- Adorable Wooden Gnome Ornaments – A cut file so you can make little wooden gnomes on your cutting machine?! Oh, yes.
- Cute Mitten Gnome Ornament – I love this little gnome-in-a-mitten ornament. It’s so easy to make and you get this adorable gnome who is INSIDE a mitten. I can’t get over it.
- Plaster Gnome Ornaments – This is a fun craft-ivity that uses up those little wood slices you have in your craft stash.
- Christmas Gnome Ornaments – By far, this is the most popular gnome tutorial–and when you see it, you’ll know why. They’re easy, fun and so so cute!
Please Save or Share This
Your shares are how this site grows and I am sincerely grateful. Know a friend who’d like this? Please share it to a crafty Facebook group or save it to your favorite DIY Christmas pinboard.
Farmhouse Gnome Ornament

If you have ever wanted to add a gnome ornament to your farmhouse Christmas decor, this farmhouse gnome ornament is perfect! Plus it's a super easy gnome tutorial that anyone can do!
Materials
- 1, 3/4 inch wood bead
- 3, 1/4 inch wood bead for nose and decorations
- beard material (faux fur scraps, yarn, twine, etc.)
- twine (28 inches)
- fabric for hats (small square or rectangle no less than 3 inches high and wide)
- decorations for hats (small bells, sprigs and berries, buttons, etc.)
Tools
- Hot glue gun & glue
- Scissors
- Razor blade or exacto knife
- Skewer, optional
Instructions
- Measure 28 inches of twine per ornament and fold in half. Set aside.
- Place a large wood bead onto the fur or measure the diameter of the bead and cut that amount. If you are cutting faux fur, be sure to only cut the backing. If you are using yarn, double each strand over (you will glue the fold).
- Thread the large bead onto the folded twine and glue on the faux fur in the middle of the bead, making sure to wrap it around all the way.
- To make the gnome hat, lay out the fabric and cut it so that it can wrap around the entire bead (over the beard) and add an additional 1/2 of an inch for seam allowance. Be generous over stingy here - we can always take fabric away).
- Pick up the piece of fabric, fold it on one side so it is half the width. Hold the fold and cut a rounded bottom. Then, move up from the bottom edge by 1/4 of an inch and cut into a flat-topped triangle. To estimate the height, know that the top of the hat will start at 5 inches down the looped twine to allow for an ample hanging cord.
- Glue the hat hem by folding up the bottom edge of the fabric. Glue the far right hem, as well. Fold down the flattened top and hem it with glue.
- Position the bearded bead down the twine and line up the hat so the top of the hat sits at 5 inches. Add glue to the hat and secure the twine hanger.
- Turn the gnome body over to the front and split the faux fur. In the middle of that split, add a small wood bead for the nose. Position the hat’s bottom brim in the center and glue to the nose.
- Wrap the hat closed, starting with the non-hemmed side and rolling the bottom to the body of the gnome. Skip the middle and secure the very top of the hat. If you are making a poofy hat, fill with poly fiber and glue the middle closed. Note: if there is excess fabric, roll the hemmed side inward and secure. I tried to match the pattern and this helped to do so.
- To finish the gnome, string a wood bead over the looped part of the twine and secure with a knot. On the twine just under the beard, make a knot, slide on a bead, and then make a split knot to secure. Pull the bead down just over the top of the knot to ensure the twine stays down.
- Decorate the gnomes however you’d like and you’re done!
Notes
For more gnome ornaments, visit Ruffles and Rain Boots. A few things to keep in mind when making these:
- use a skewer and push it through each bead to clear the hole and remove shards.
- set up an assembly line if you’re making many of these gnome ornaments.
- test out different beard materials to achieve your desired look. A few ideas are Mongolian fur, crinkle fur, yarn, brushed out yarn, and twine.
Recommended Products
As an Amazon Associate and member of other affiliate programs, I earn from qualifying purchases.


Meet the Creator
Hi there, I’m Sarah Nenni-Daher. I’m a crafty gal and always have at least 14 projects going at once. I am a crafter, designer, DIYer, and pattern maker. I share my creations here and in the Ruffles and Rain Boots® Shop.
Here at Ruffles and Rain Boots®, you’ll find DIY gnomes, crafts, gifts, cupcakes, laser crafts, and so much more. I love sharing video tutorials over on YouTube and chatting with other crafters in my Facebook groups. We’d love to have you!