
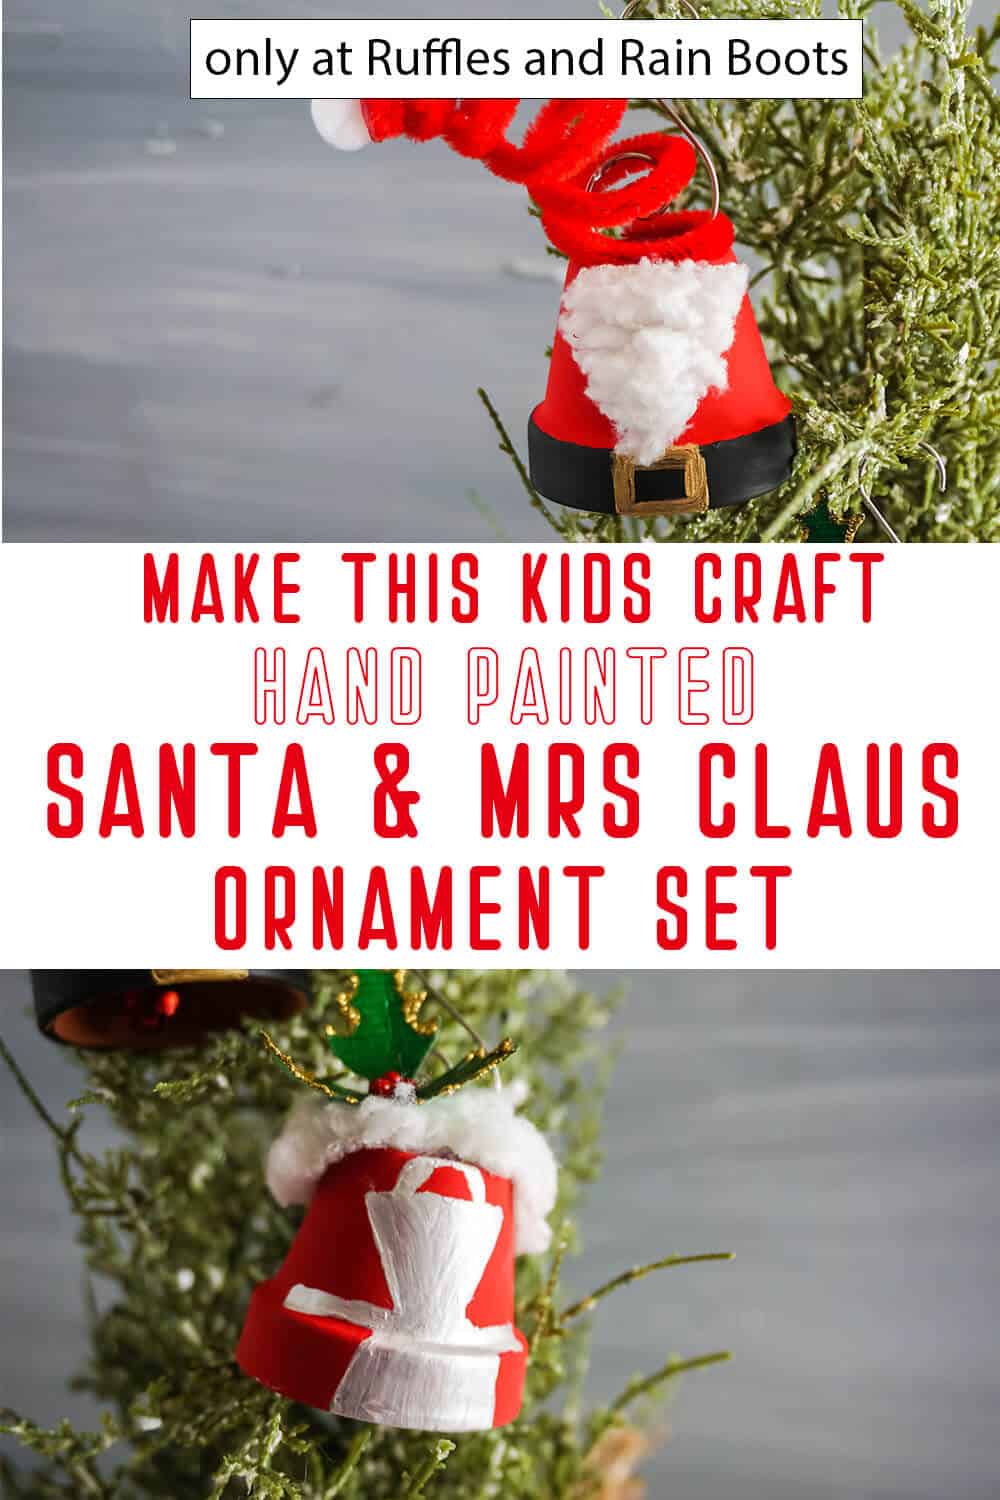
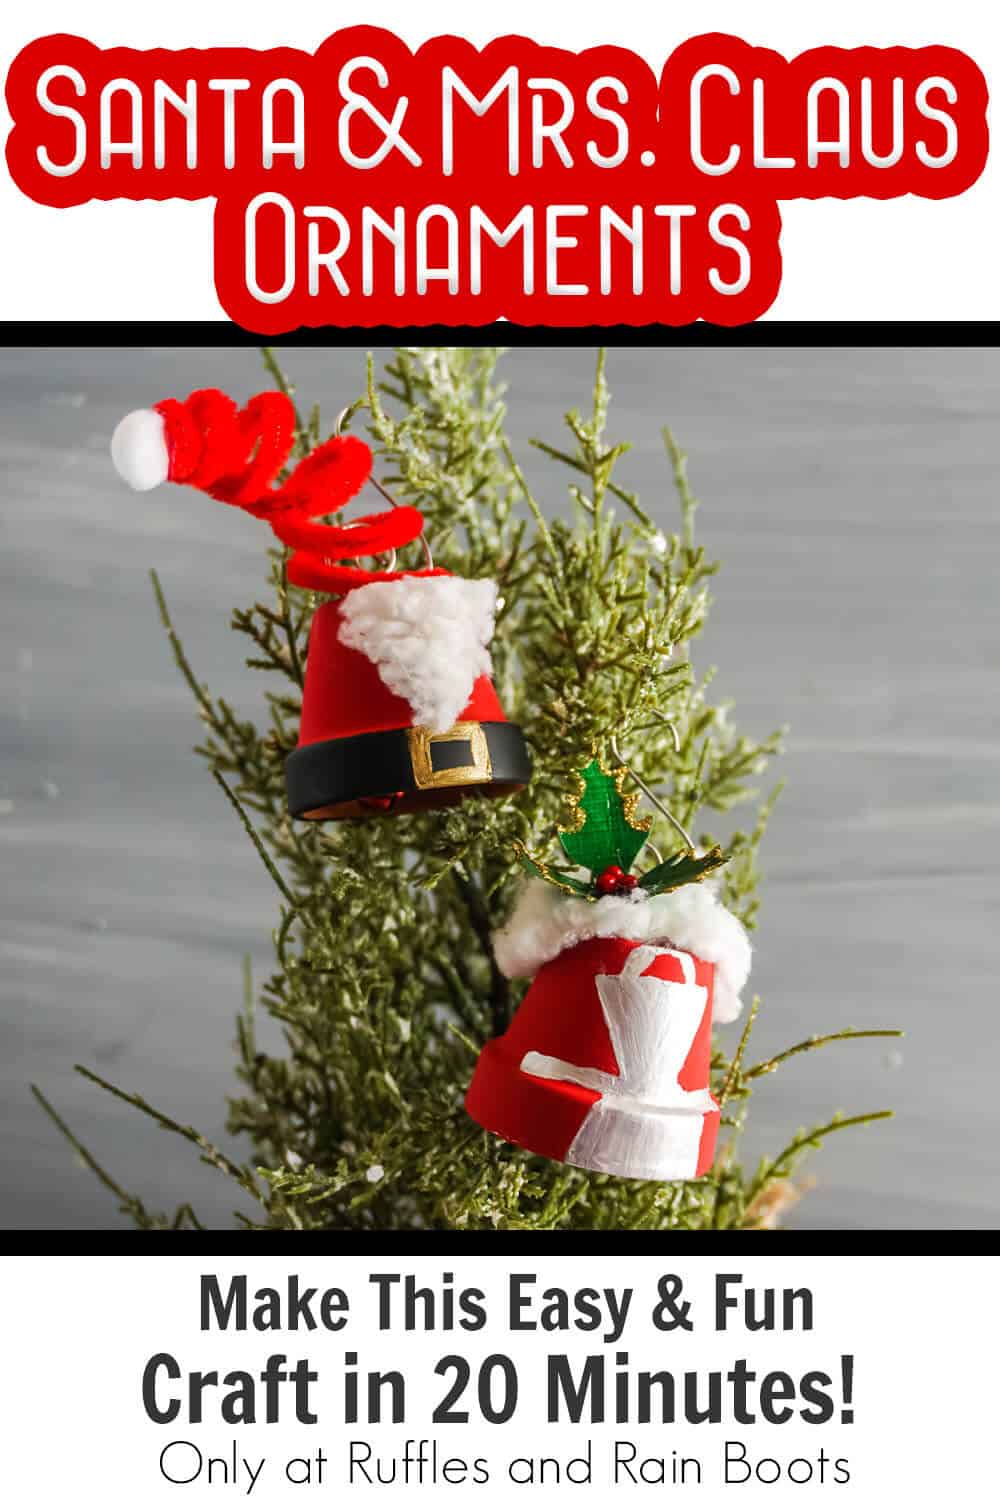
Easy DIY Santa and Mrs Claus Ornaments are a Fun Holiday Craft!
I decided to make these fun and easy Santa and Mrs Claus ornaments with the kiddo and, might I say, they turned out fabulous for little homemade ornaments!
Santa and Mrs Claus Ornaments
Here at Ruffles and Rain Boots, we are all about making handmade holiday crafts with the kiddo this year. It’s been non-stop asking if we can make something new. So, when the littlie asked to make a Santa Claus and Mrs. Claus ornament set, I knew what we needed to do!
RELATED READING: EASY POM POM GNOME TUTORIAL
We broke out the paint, some simple supplies and got to work making our very own little Santa couple ornaments that are also bells. If you’re ready to make a fun Christmas ornament set, let’s get started.
No Time to Make This Now? Pin it for Later
You’re busy, I get it. Pin this to your favorite Christmas crafts board on Pinterest and it’ll be here when you’re ready.
As an Amazon Associate, I can earn from qualifying purchases.
Tips to Make Santa Ornaments from Pots
- Start by grabbing some 2-inch terra cotta pots like these. We’re going to have several different ornaments to make in the coming week so I got several!
- To make these easy Santa and Mrs. Claus ornaments into an even more fun craft for the kiddo, you could ask them to make several as gifts for grandparents, aunts and uncles. You know that everyone would love to have a little bit of handmade cheer on the tree.
- If you want your handmade ornaments to last and not get scratched with handling over the years, I recommend sealing them with mod podge when you and the kiddos are done painting the ornaments.

How Do I Make Santa and Mrs Claus Ornaments?
I’m so glad you asked. Below is our written tutorial.
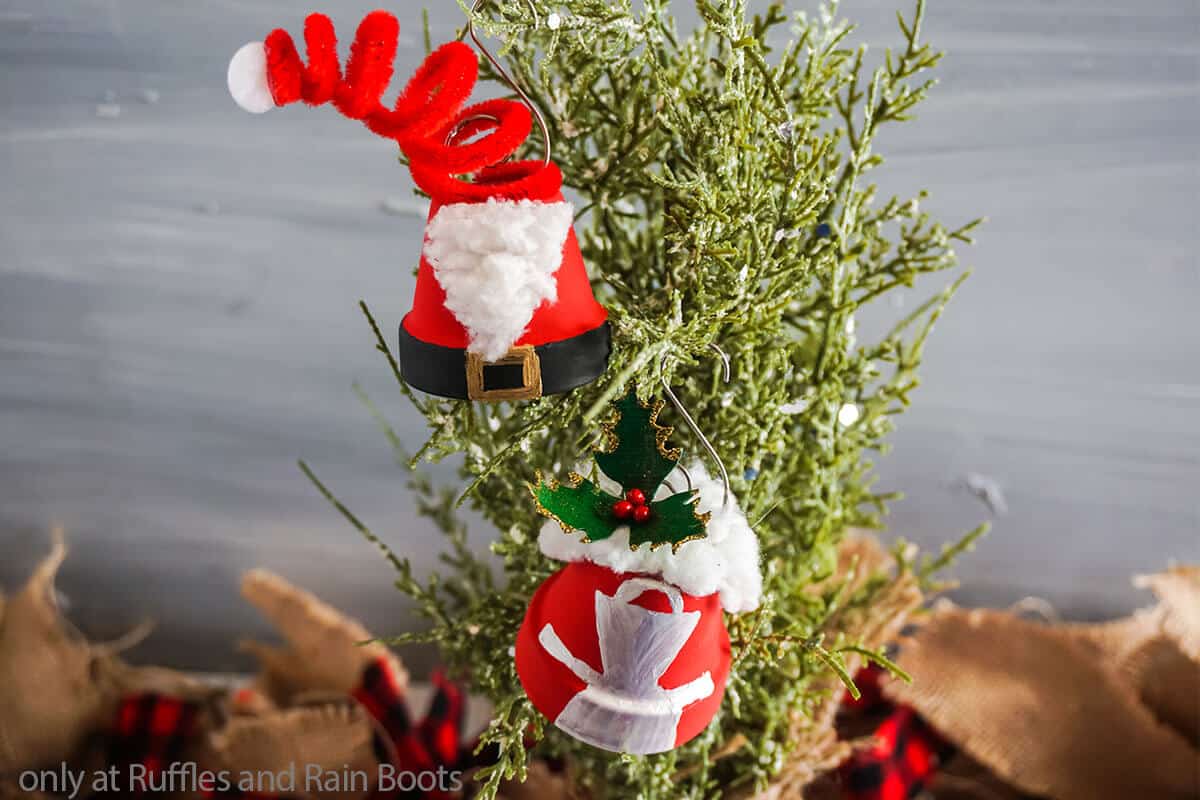
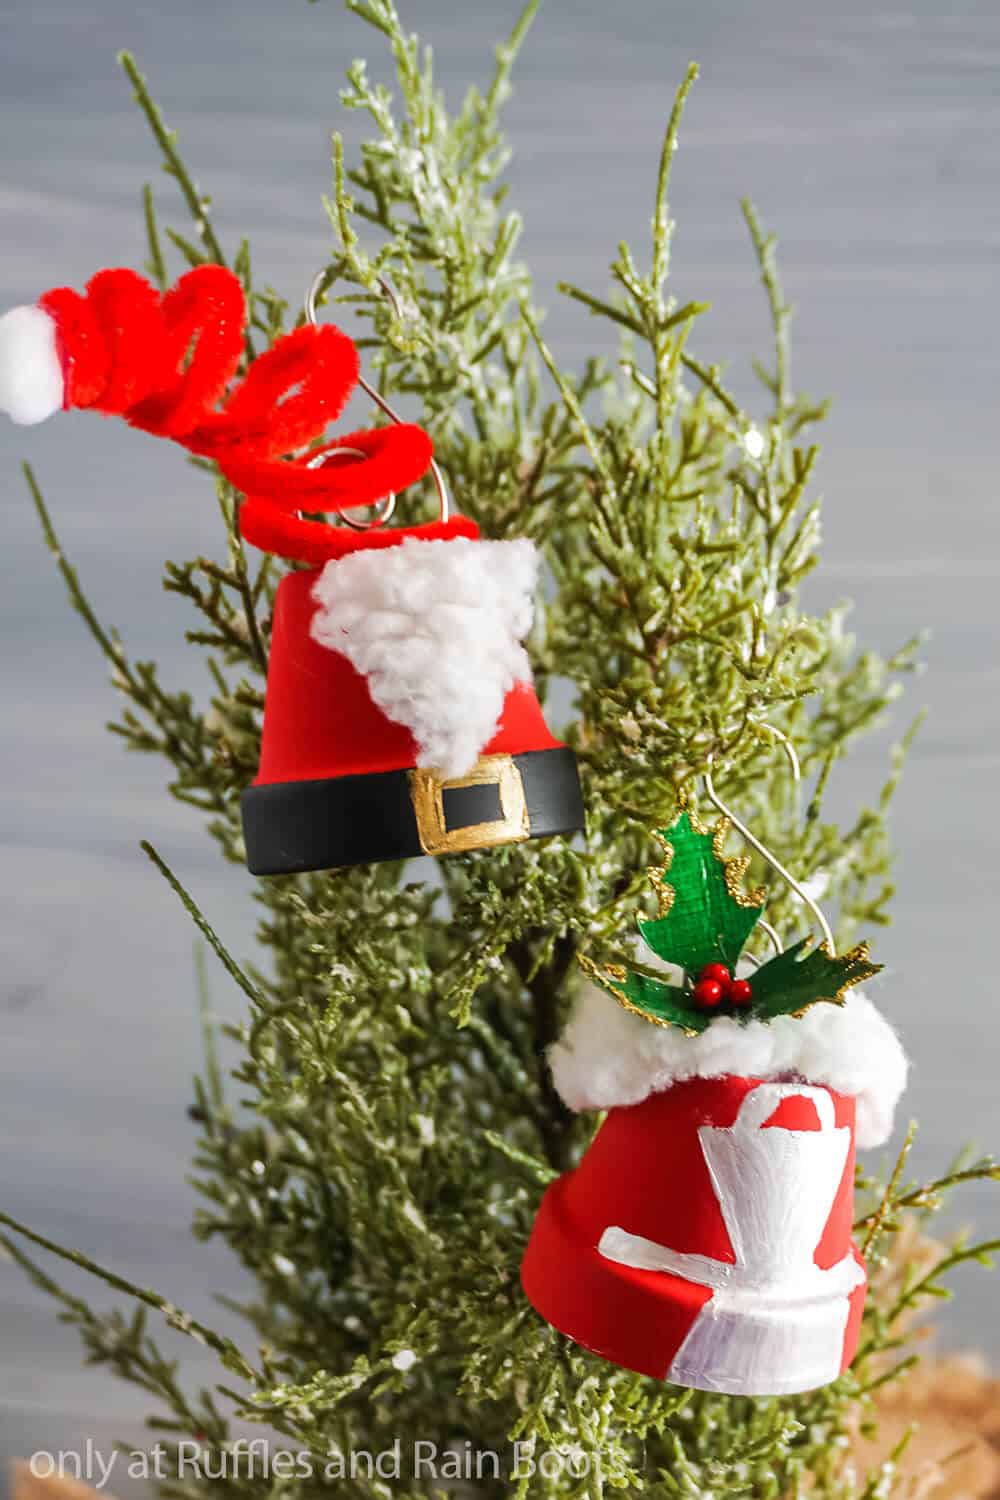
Santa and Mrs Claus Ornaments
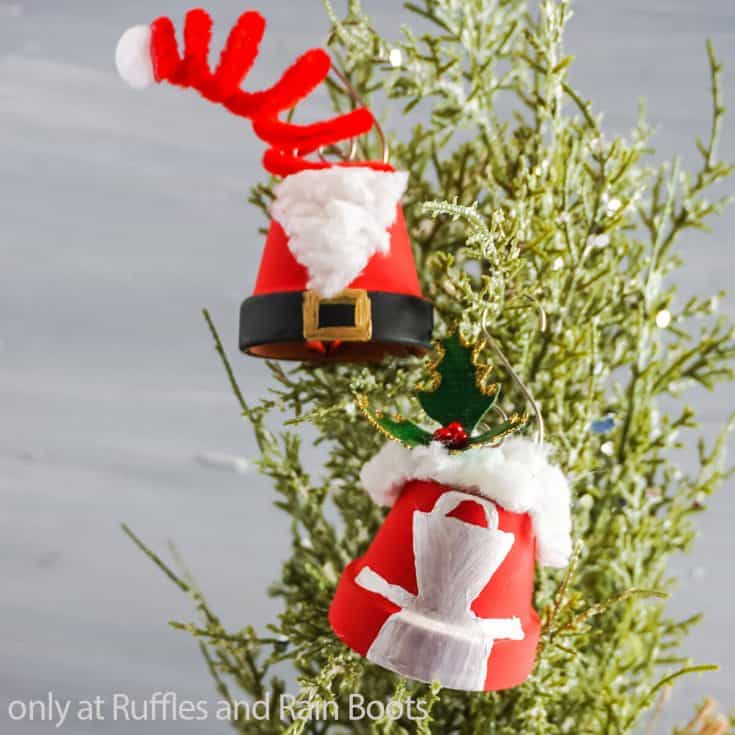
Making these easy kid-made ornaments is so fun, but the best part is that my kiddo got some fun Santa and Mrs Claus ornaments to put on our tree!
Materials
- 2 - 2-inch Terra Cotta Pots
- White Acrylic Paint
- Red Acrylic Paint
- Black Acrylic Paint
- Gold Acrylic Paint
- Scraps White Fluffy Fabric (I used sherpa fabric)
- 1 Red Chenille Wire
- 2 Tiny Red Bells
- White Embroidery Thread
- 2 Ornament Hangers
- 2-3 Christmas Baubles (I used a mini holly and tiny candy cane)
- Tiny White Pom Pom
Tools
- Painter’s Tape
- Pencil
- Paint Brush
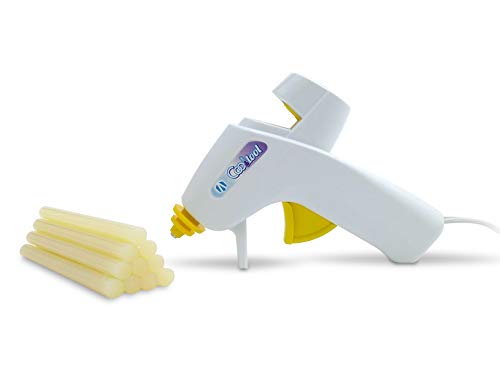
- Hot Glue Gun & Glue
- Scissors
Instructions
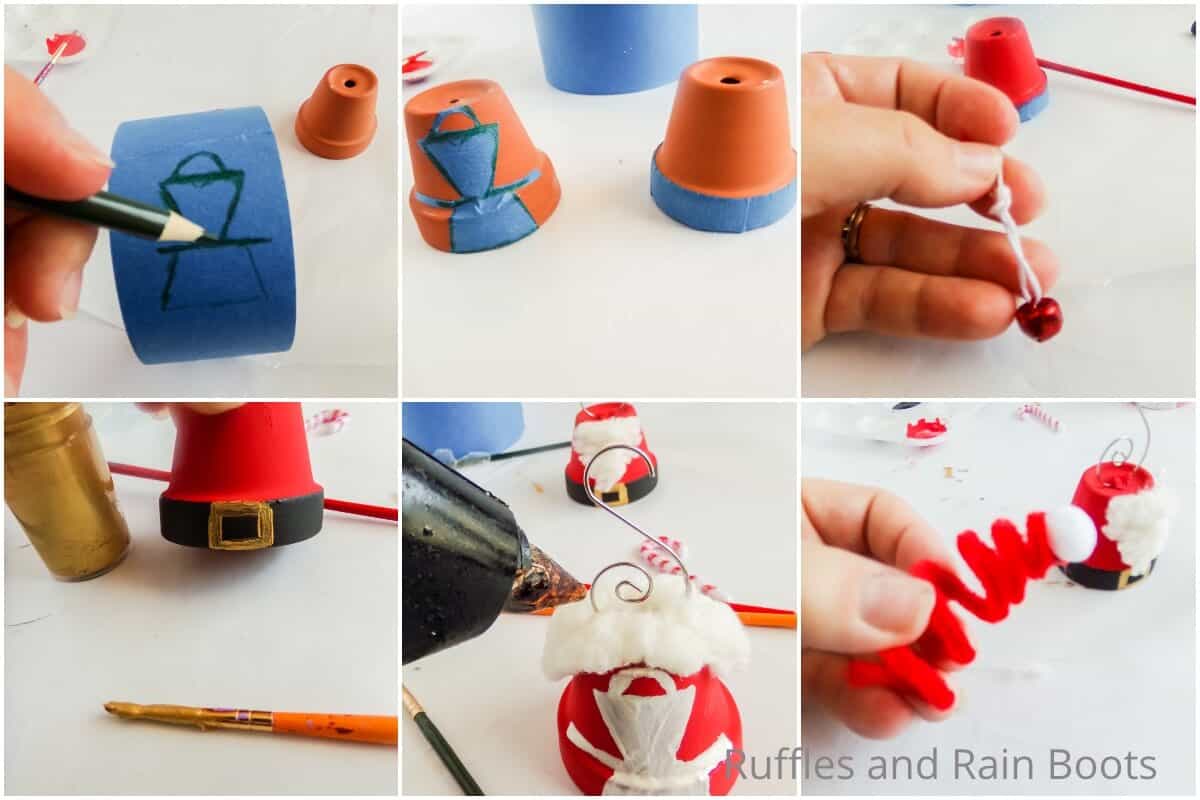
- Working while your tape is still on the roll, draw a little bitty apron onto your tape. Basic shapes like triangles and rectangles, nothing fancy. Cut the tape off the roll then cut out the apron shape. Place your tiny tape apron onto one of your pots.
- On the other terra cotta pot, tape off the rim. Paint all of the tape-free areas of both of the pots, then allow this coat of paint to dry completely.
- Remove the layer of tape and color-in the apron shape with white paint and paint the rim of second pot black. Allow this second coat of paint to dry completely as well.
- Paint a tiny gold rectangle buckle onto the black rim of the second pot, designating that as the front of that pot. Allow that paint to dry completely.
- Thread a tiny bell onto one end of your embroidery thread, then push both ends of the thread through the inside of the pot, exiting out the hole in the middle of the bottom of the pot. Tie both ends of this thread (capturing the bell in the loop created) to the ornament hanger, then hot glue the embroidery thread in place inside the pot, for added strength.
- Cut a tiny triangle about ¾ inches by ¾ inches for a beard using the fluffy fabric. Hot glue the rectangle to the front of the Santa pot, aligning the top of the beard with the bottom edge of the pot.
- Cut a tiny ¾ inches in diameter circle of the fluffy fabric for a bun. Hot glue the bun to the top of your Mrs. Santa pot. You may decide that you need to cut a slit into the bun to fit the circle around the ornament holder, depending on how your ornament holder is shaped.
- Twist your chenille wire into a tight spiral coil, about ¾ inches in diameter on the bottom to fit your pot's bottom, but getting more and more tight toward the other end.
- Hot glue the coiled chenille wire to the top of the Santa pot, then hot glue a tiny pom pom to the tip of the coil. Place your ornaments on the tree and enjoy!

Notes
For more fun holiday crafts, visit Ruffles and Rain Boots!
Recommended Products
As an Amazon Associate and member of other affiliate programs, I earn from qualifying purchases.


More DIY Ornaments You Might Like
- Felt Unicorn Ornament – I love how easy this ornament was to make – and the kiddo loves her unicorn Christmas ornament so much!
- Kid-Made Christmas Tree Ornament – We made these easy Christmas trees with paper straws and they turned out so adorable.
- Easy Cricut Joy Ornament – For a fast ornament that could also double as a gift tag, this fun Joy ornament is three shakes form being done!
Please Save This to Pinterest
Your shares are how this site grows and I am sincerely grateful. Know a friend who’d like this? Please share it on Facebook or save it to your favorite holiday crafts board on Pinterest.
Meet the Creator
Hi there, I’m Sarah Nenni-Daher. I’m a crafty gal and always have at least 14 projects going at once. I am a crafter, designer, DIYer, and pattern maker. I share my creations here and in the Ruffles and Rain Boots® Shop.
Here at Ruffles and Rain Boots®, you’ll find DIY gnomes, crafts, gifts, cupcakes, laser crafts, and so much more. I love sharing video tutorials over on YouTube and chatting with other crafters in my Facebook groups. We’d love to have you!