
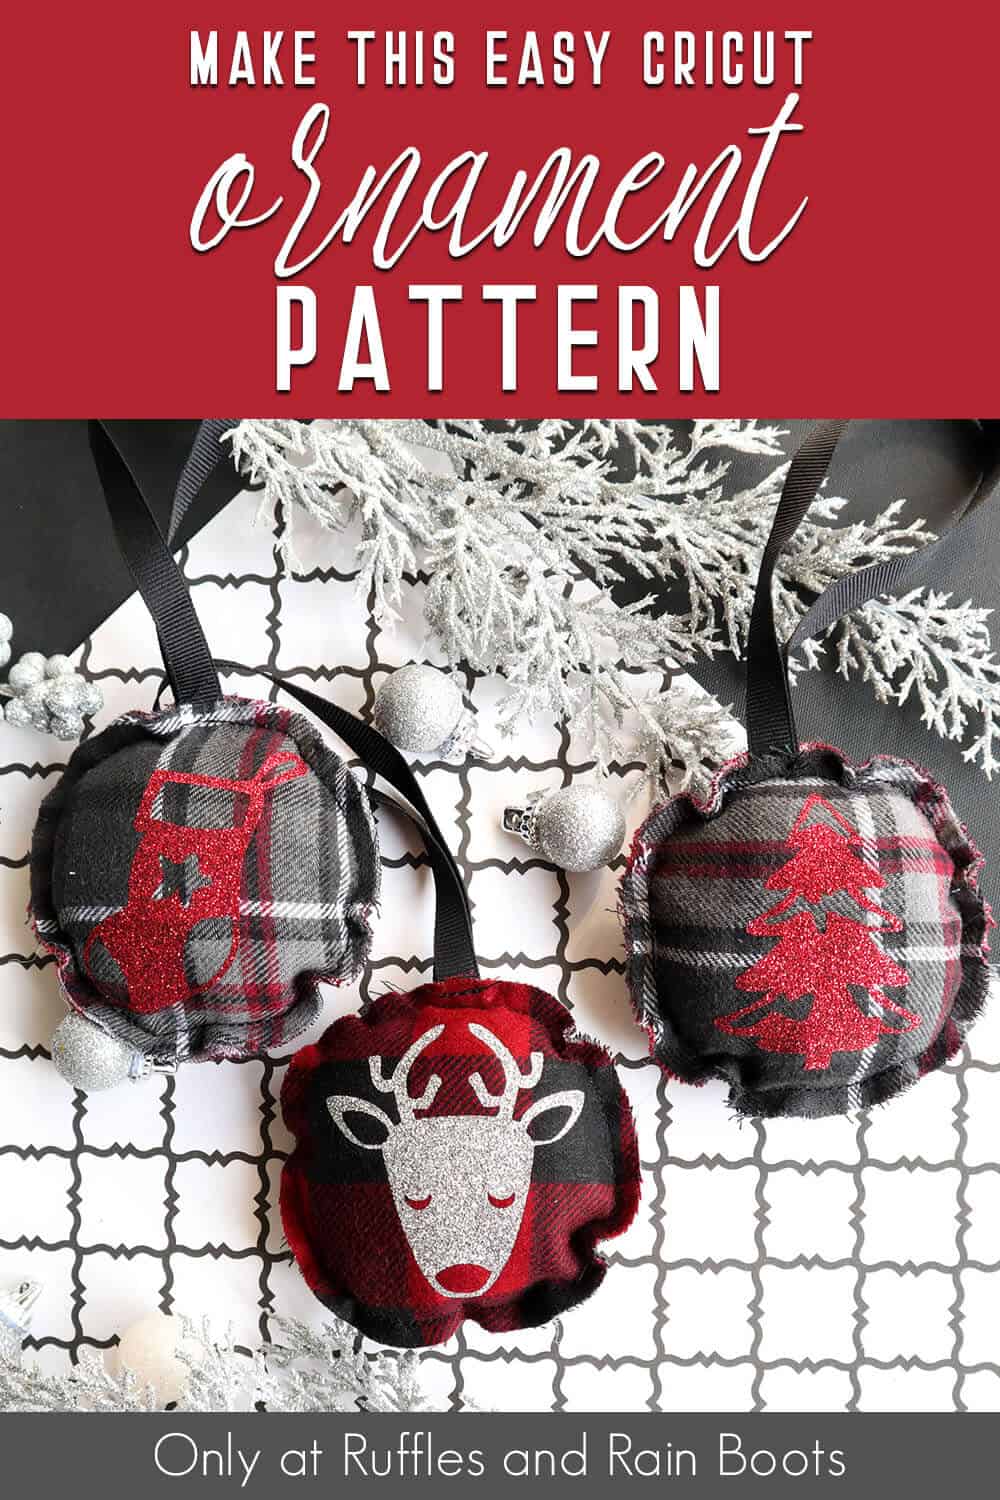
This Easy Plush Christmas Ornaments Cricut Craft is So Fast and Fun!
My Christmas crafting adventures are only getting warmed-up – this plush Christmas ornaments Cricut craft is proof I’m not stopping! LOL!
Plush Christmas Ornaments Cricut Craft
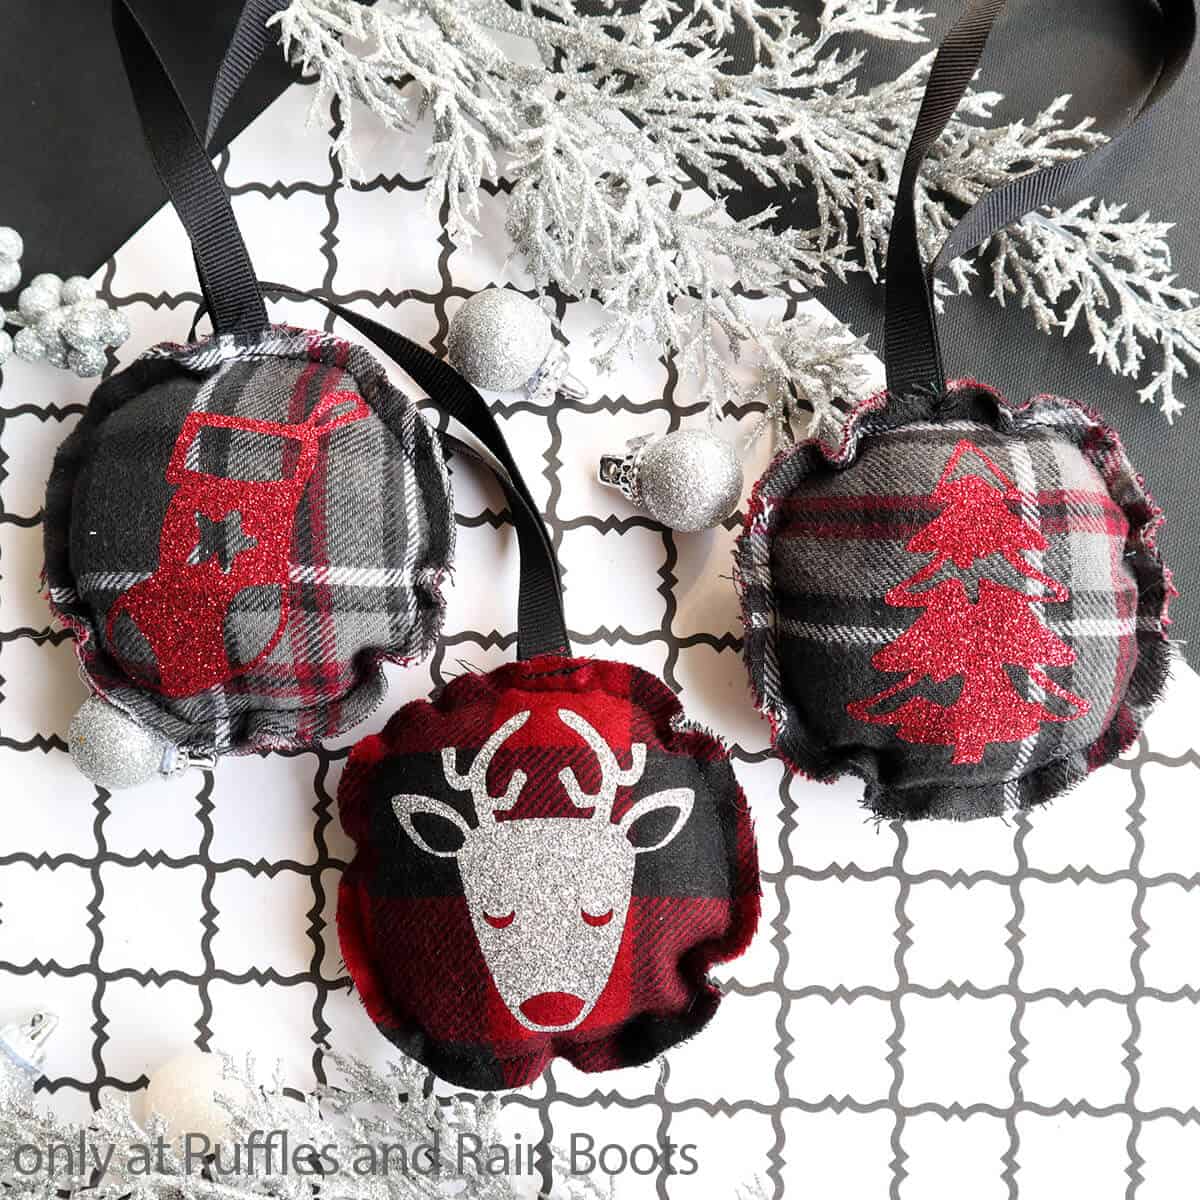
Here at Ruffles and Rain Boots, I have been on a tear! I found some “extra” time to squeeze in a few more craft projects and came up with this fun idea for plush Christmas ornaments. They’re fast, fun and really cute on the tree.
RELATED READING: THE BEST CRICUT CHRISTMAS ORNAMENTS EVER!
Plus, they’ll work for ornaments, gift tags and more. They’re super simple to make, so you can make a ton to give as gifts, even. So, grab your scrap flannel and let’s get started.

No Time to Make This Now? Pin it for Later
You’re busy, I get it. Pin this to your favorite Cricut crafts board on Pinterest and it’ll be here when you’re ready.
As an Amazon Associate, I can earn from qualifying purchases.
Tips to Make Cricut Ornaments
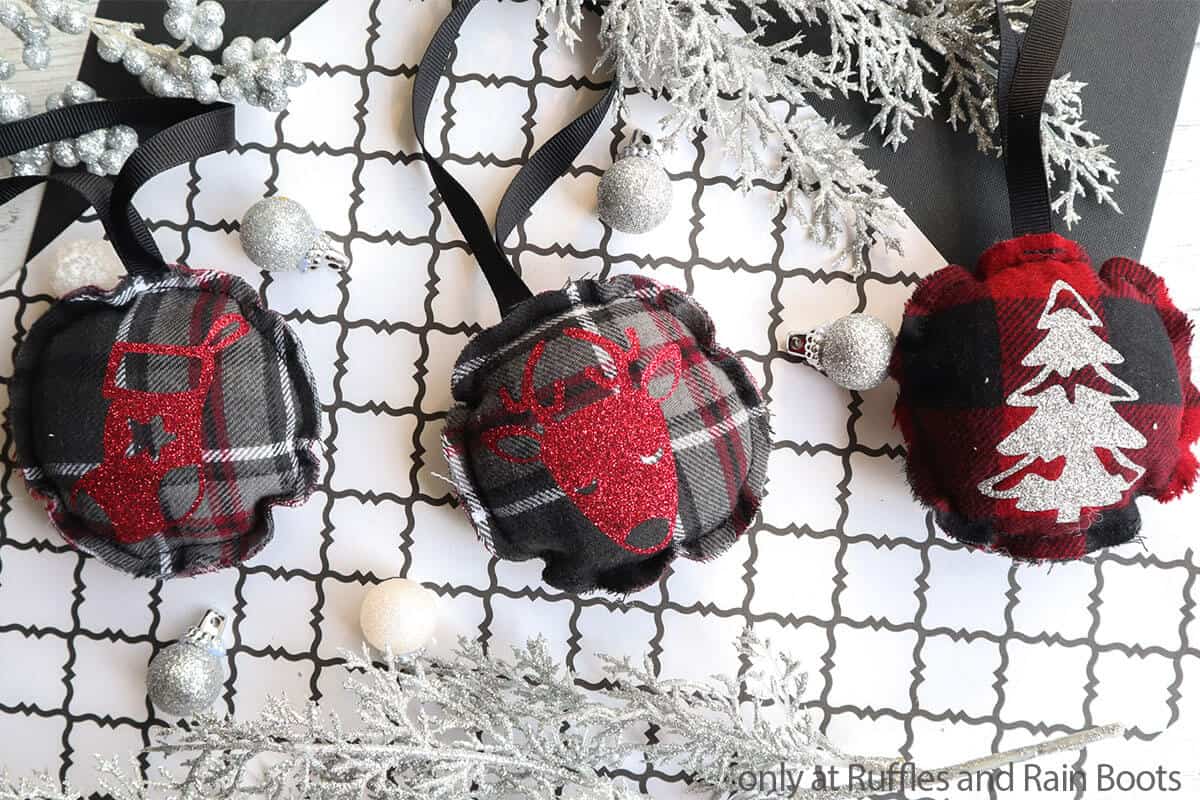
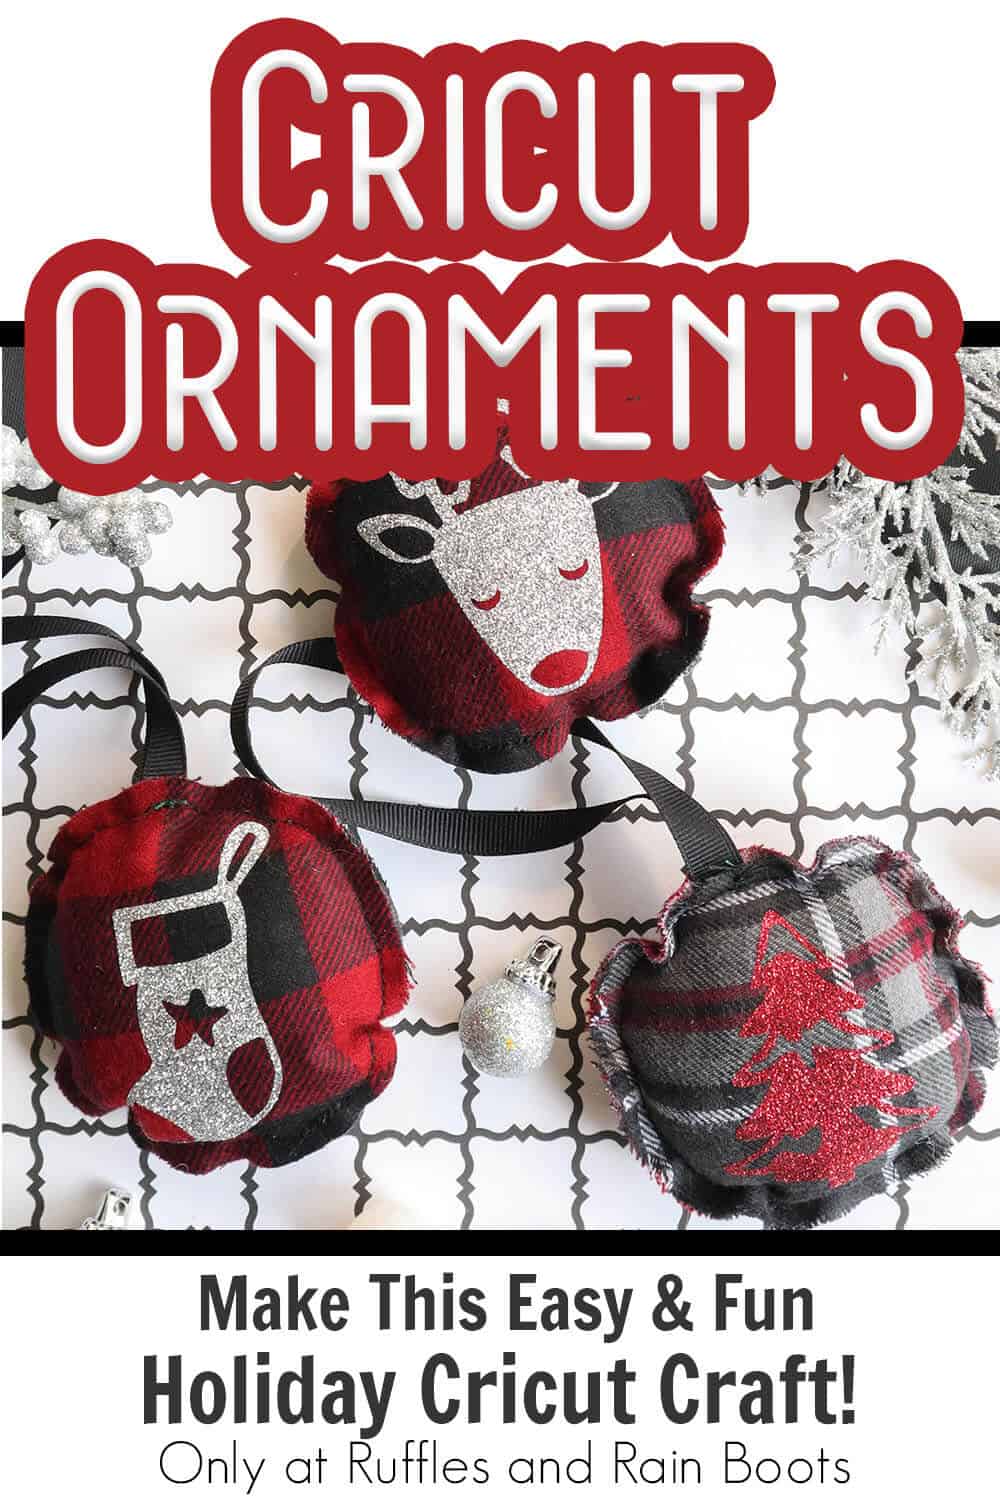
- Click here to get the fun cut file set to make this little ornament trio. You can certainly design your own, with other little items, but I just love these traditional elements of the tree, stocking and, of course, the reindeer.
- I really love these quick and easy sewing projects that use up small amounts of fabric. Seriously, I need a ton of scrap-buster ideas and this one is one of my favorites!
- If you like the glittery look, definitely use glitter vinyl, but if you don’t have any glitter on hand, these would look equally beautiful in a metallic finish vinyl or even a solid color.
How Do I Make this Plush Christmas Ornaments Cricut Craft?
I’m so glad you asked. Below is our written tutorial.
Plush Christmas Ornaments Cricut Craft

Such a quick and easy way to make a set of DIY Christmas ornaments, this plush Christmas ornaments Cricut craft can be used to make gift tags, ornaments and MORE!
Materials
- Heat Transfer Vinyl in Silver Glitter and/or Red Glitter
- 1/8 yd Flannel
- Small Amount of Poly Fill
- Ribbon in Complementing Color to Flannel Fabric
- Plush Ornament Cut File Set
Tools
- Cricut Explore 2 or Cricut Maker
- Pink and Green Grip Mats
- Fabric Rotary Blade
- Weeding Tool
- Cricut EasyPress or EasyPress Mini
- Scissors
- Sewing Machine, Needle & Thread
Instructions
- Download the SVG set into Design Space and size the ornaments to be whatever size you want your ornaments to be. Mine were roughly 4-inches in diameter, but I wasn't trying to be precise. Be sure to resize the design in it's entirety or you run the risk of the vinyl elements being too large for the fabric circles.
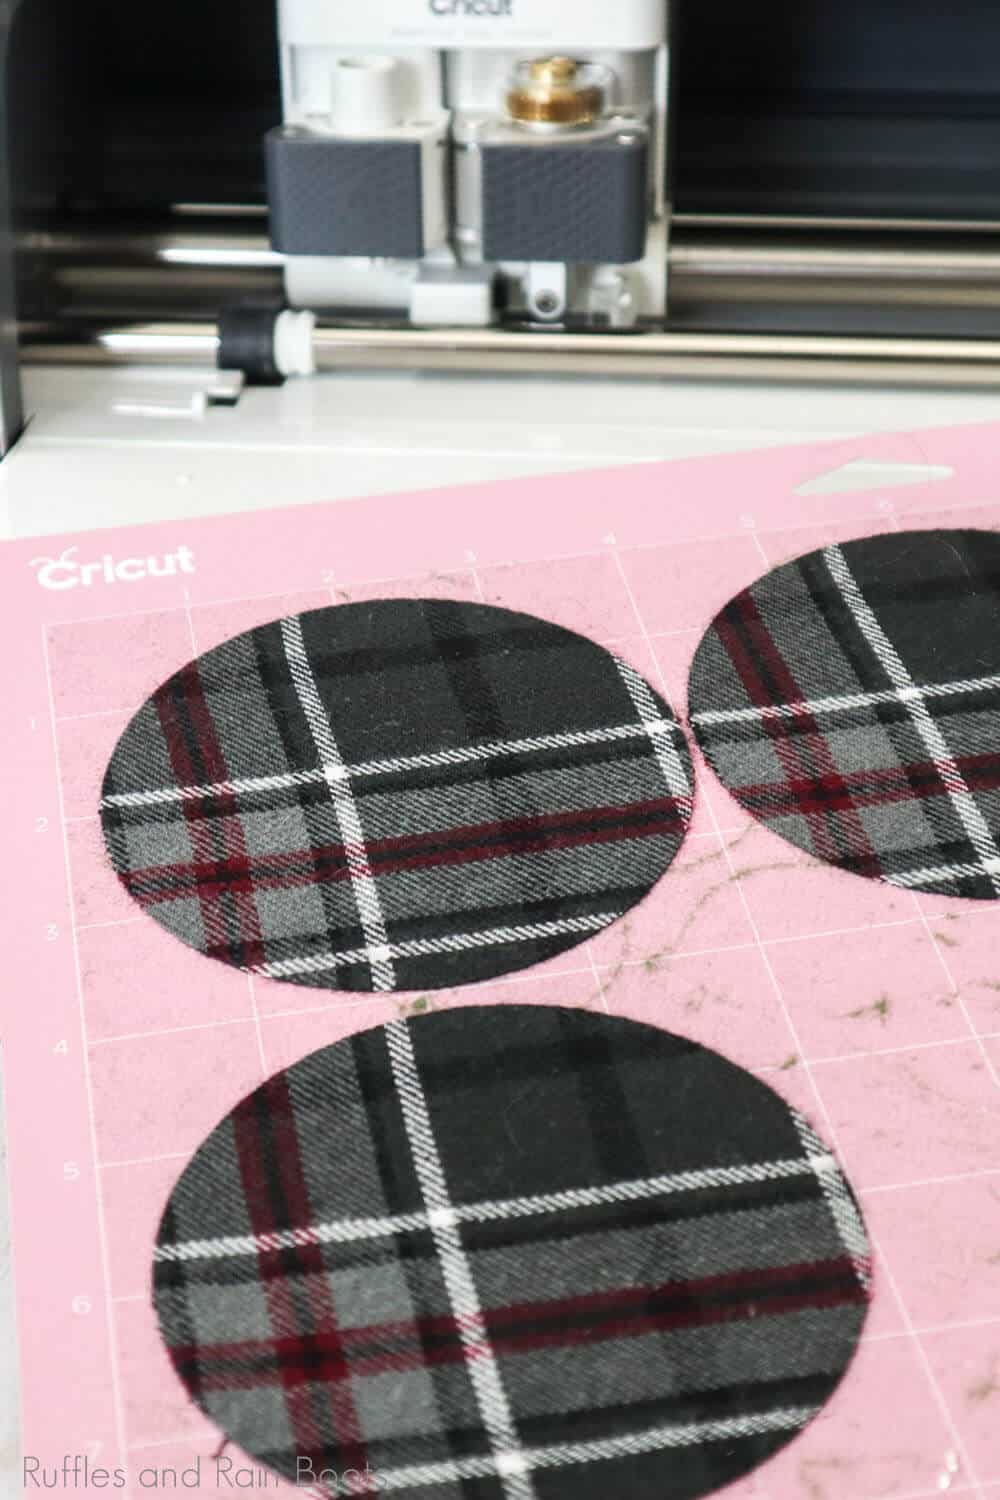
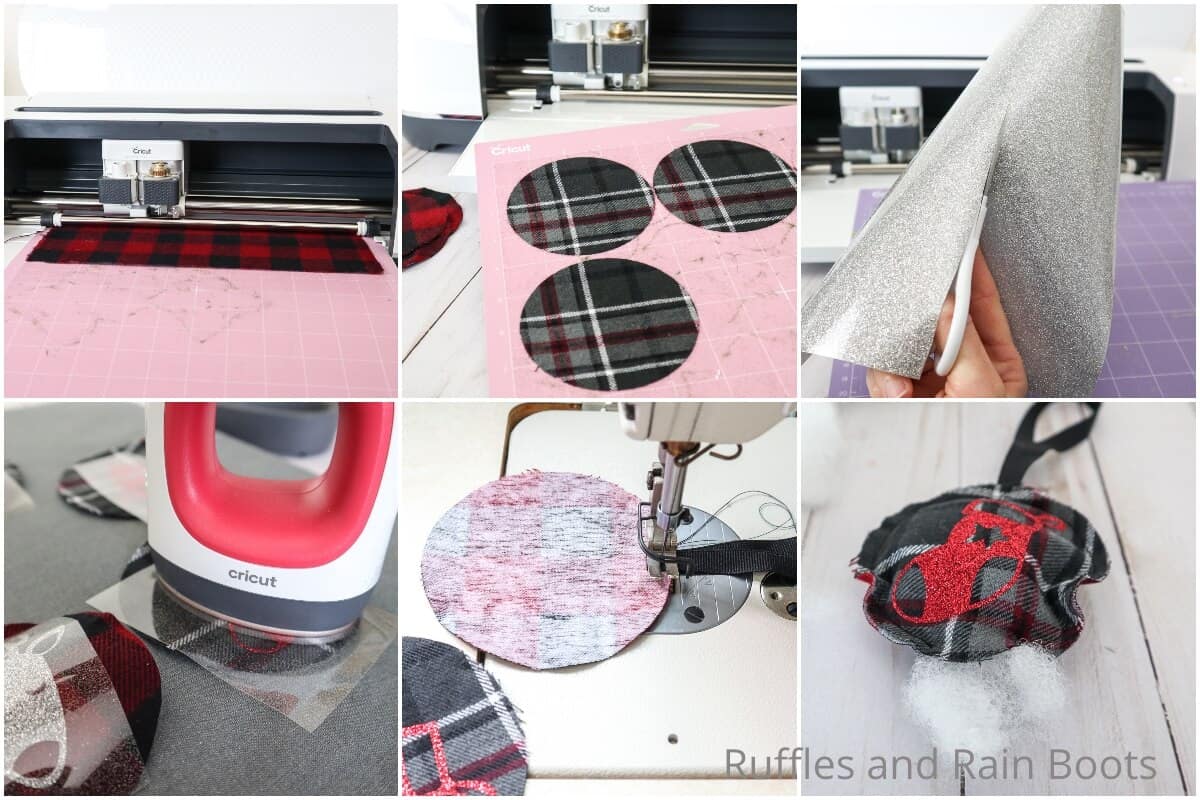
- Hit the "make it" button then the software will sort the design elements into 4 mats, note that the circles should be cut from the flannel on the pink cutting mat (fabric grip) and the vinyl should be cut on the green cutting mat (light grip).
- To cut the fabric circles, place the fabric (doesn't matter which side is showing up or facing down) onto the cutting mat and load the mat into the cutting machine. Adjust the material setting to fabric, load the rotary fabric knife and hit “go”.

- To cut the vinyl elements, place the vinyl, shiny side down, onto the cutting mat and load the mat into the cutting machine. Adjust the material setting to heat transfer vinyl, load the fine tip blade (your normal cutting blade) and hit “go”.
- Remove the negative fabric and vinyl from each of the design pieces and discard.
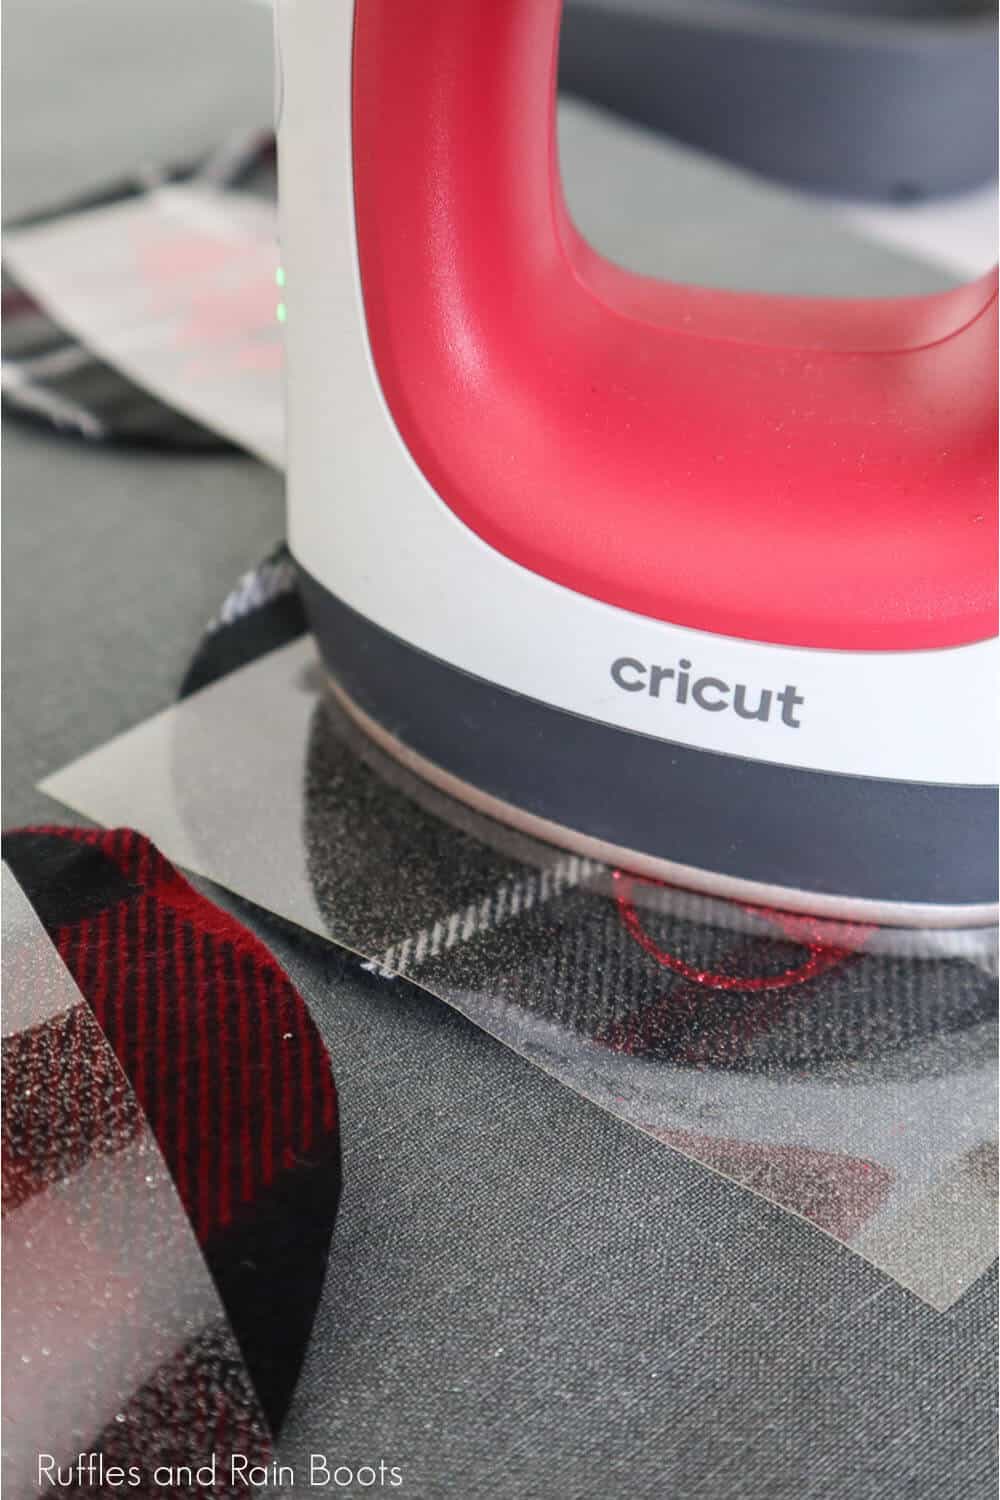
- Position one of the vinyl designs on the right side of a fabric circle. Take care to make sure it's centered. Once you are happy with the location of the design, gently press the design onto the fabric - it will not stick permanently, but the backing sheet will hold it in place for a moment.
- Gently press the EasyPress or EasyPress Mini on top of the design for 30-seconds. Make sure to cover the entire design to ensure that the whole piece of vinyl will be affixed to the fabric.
- Slowly peel the transfer paper away starting at a corner and very carefully rolling it up and away from the fabric. The vinyl will stay on the fabric. Repeat with the remaining designs and circles.
- Sew both ends of a 3-inch length of ribbon to the wrong-side of the top of 3 of the circles of fabric. Take care to go back and forth when you start and stop your seam so that the stitching won't unravel.
- Sew two of the circles together (one with a ribbon attached), with the vinyl designs facing the same way, wrong-side to wrong-side. Be sure to leave a 1-inch wide section open on the bottom or side so that you can stuff your ornaments. Take care to go back and forth when you start and stop your seam so that the stitching won't unravel.
- Fill each of the ornaments with a small amount of Poly Fill, then stitch it closed with the needle and thread.
- Hang your ornaments on the tree and enjoy!

Notes
For more fun holiday Cricut craft inspiration, visit Ruffles and Rain Boots!
Recommended Products
As an Amazon Associate and member of other affiliate programs, I earn from qualifying purchases.

More DIY Cricut Ornaments You Might Like
- Felt Hot Cocoa Mug Ornament – Easy mug ornament you can make super fast – especially if you have the Cricut cut out all the pieces for you!
- Farm Truck Plush Ornament – An adorable (and teeny) farm truck on a little winter scene, turned into an ornament anyone would love.
- Tile Grinch Ornament – This is just the easiest and fastest little ornament you can make – and the Grinch is such a classic, who doesn’t want him on the tree?!
Please Save This to Pinterest
Your shares are how this site grows and I am sincerely grateful. Know a friend who’d like this? Please share it on Facebook or save it to your favorite Christmas crafts board on Pinterest.
Meet the Creator
Hi there, I’m Sarah Nenni-Daher. I’m a crafty gal and always have at least 14 projects going at once. I am a crafter, designer, DIYer, and pattern maker. I share my creations here and in the Ruffles and Rain Boots® Shop.
Here at Ruffles and Rain Boots®, you’ll find DIY gnomes, crafts, gifts, cupcakes, laser crafts, and so much more. I love sharing video tutorials over on YouTube and chatting with other crafters in my Facebook groups. We’d love to have you!