
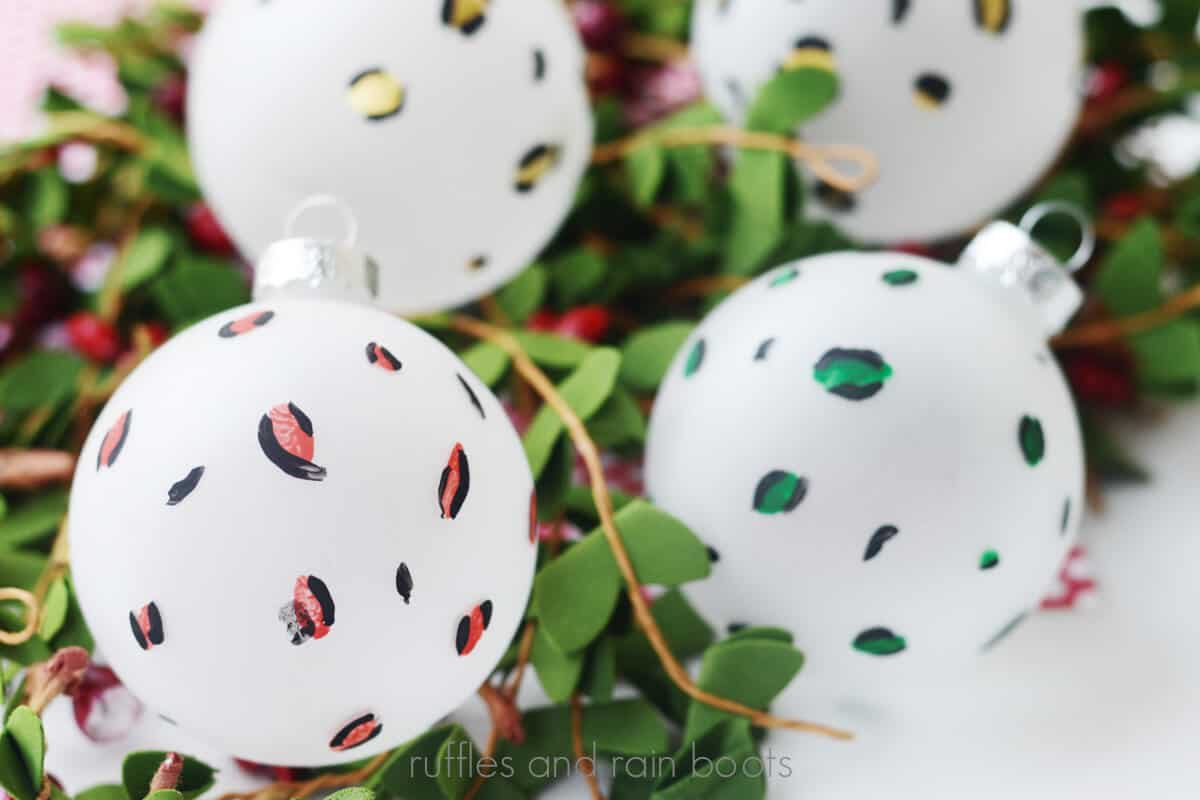
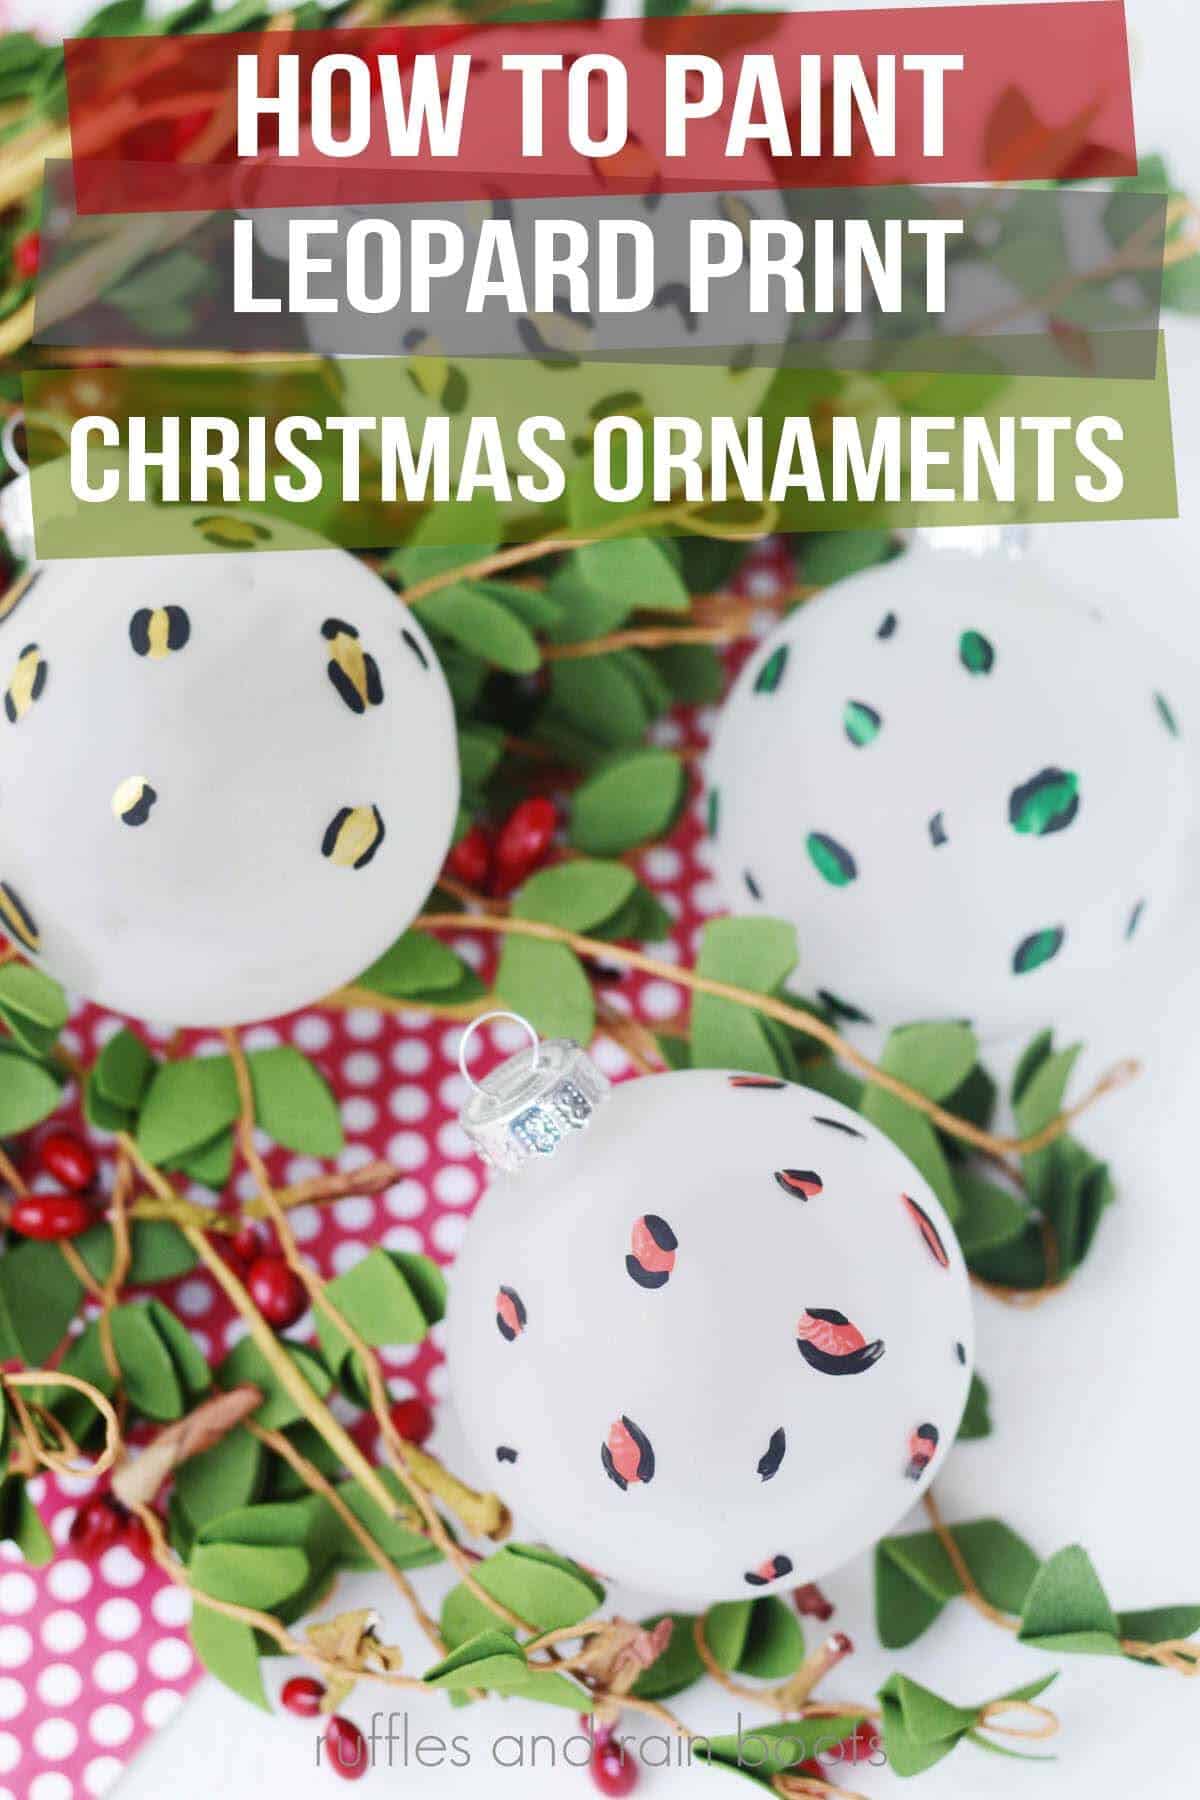
DIY Leopard Christmas Ornaments
These painted DIY leopard Christmas ornaments are such a fun craft for adults, teens, and tweens. Use traditional colors, metallics, or jazz it up with bright colors (Lisa Frank would be proud)!
RELATED READING: Elegant MERRY Shiplap Sign (So Pretty)
As an Amazon Associate, I could earn from qualifying purchases. There could be affiliate links within this article.
What You'll Find On This Page
Painted Leopard Print Christmas Ornaments
Here at Ruffles and Rain Boots, I’m a huge fan of easy crafts and easy painting crafts. This leopard print is something anyone – anyone of nearly all ages – can paint really well. You don’t have to be an expert to get this one right.
If you have some Christmas baubles that need a pick me up or you’re looking for a quick craft that has immediate payoff, try this fun animal print Christmas idea.
RELATED READING: DIY Modern Snowman Decor (Not Your Mother’s Snowman…)
Materials You Will Need
Below are what we used and picked up at the local craft store. If you want a frosted ornament but can only find clear, use this frosted glass paint, let dry, and then paint on the leopard print.
- Christmas ornaments (frosted, clear, or colors)
- acrylic paint (we used red, green, gold, and black)
- spray sealant, optional but recommended
We used small paint brushes with paint we had on hand, but paint pens will also work.
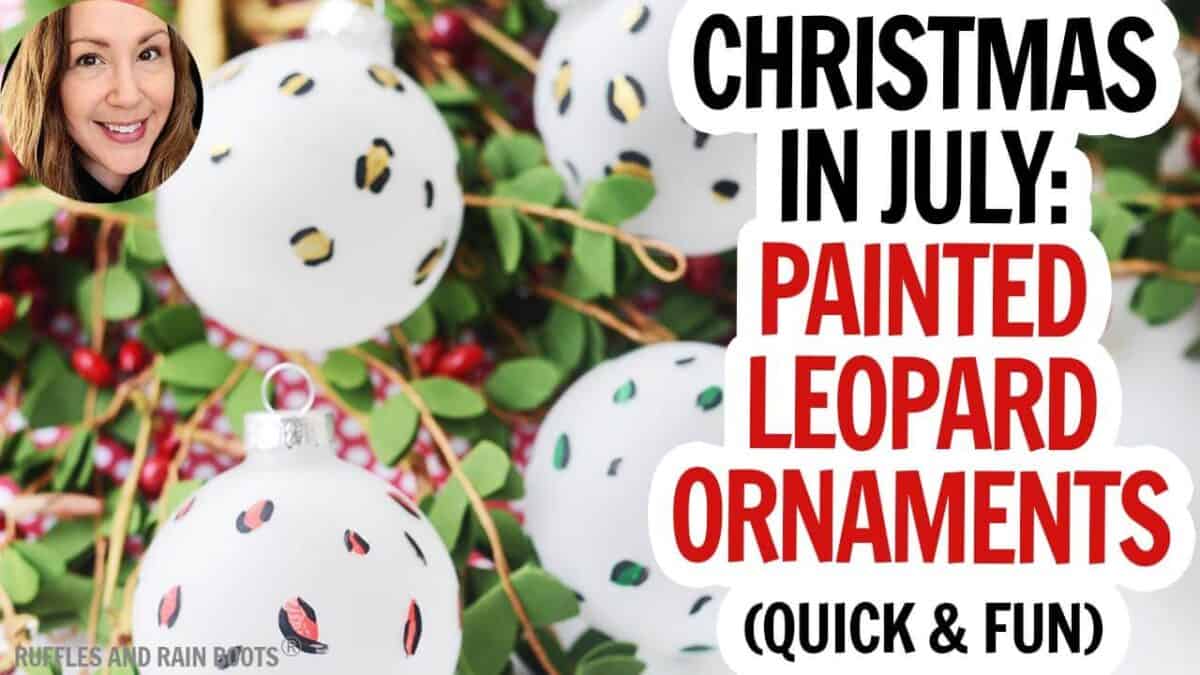
Leopard Christmas Ornaments DIY Video Tutorial
If you want to see how these come together or want to share it with a craft-night girlfriend, watch the DIY leopard Christmas ornaments video tutorial. While you’re there, subscribe – we have a lot of fun on the channel.
How to Make Painted Leopard Print Ornaments
If you have clear ornaments and want to make them semi-opaque, spray on this frosted glass. Let dry completely (about 10 minutes).

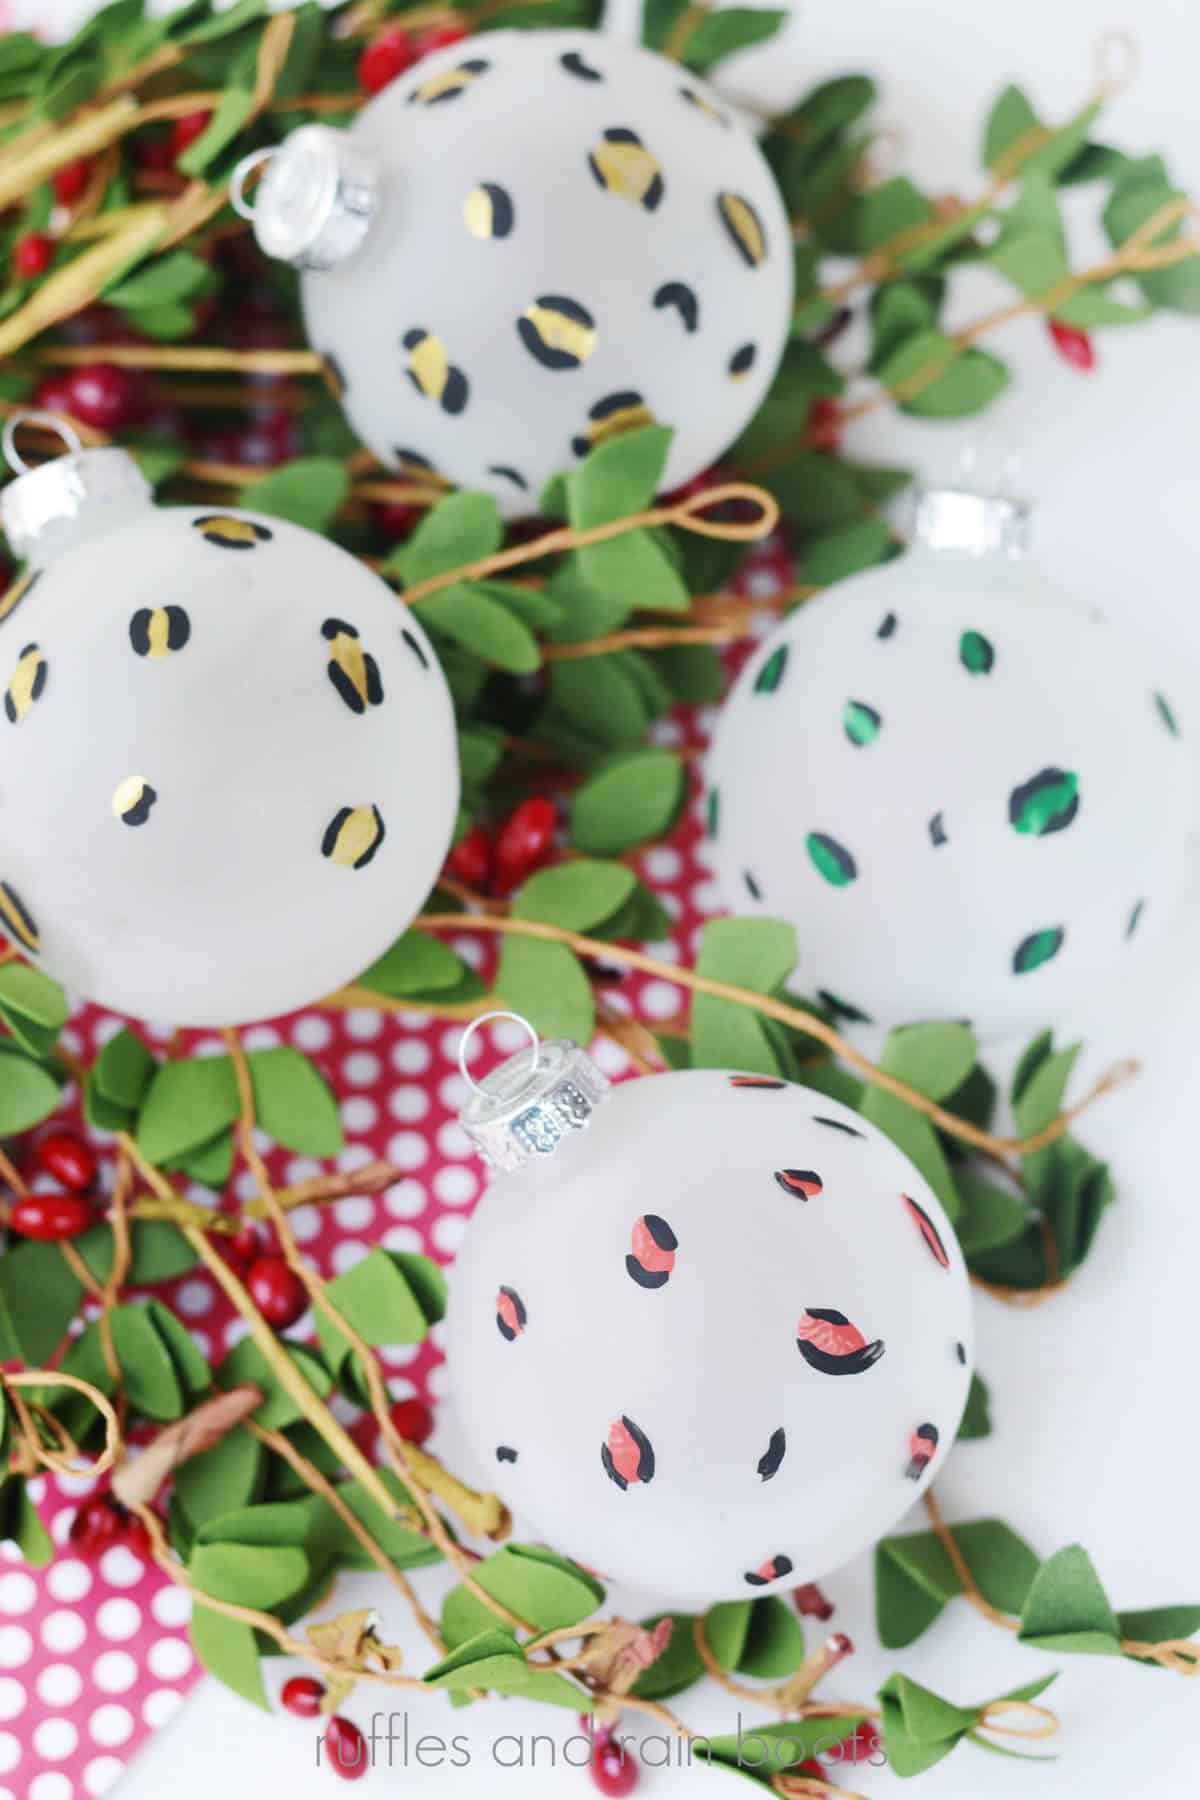
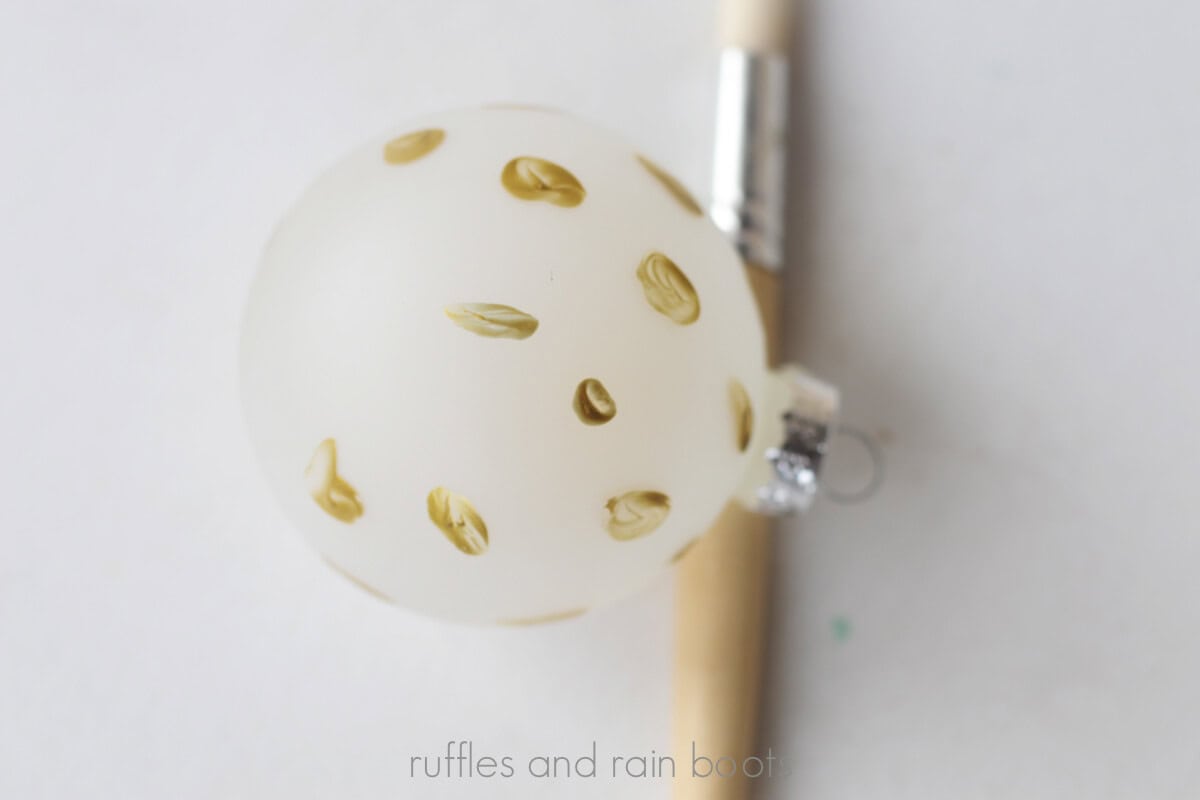
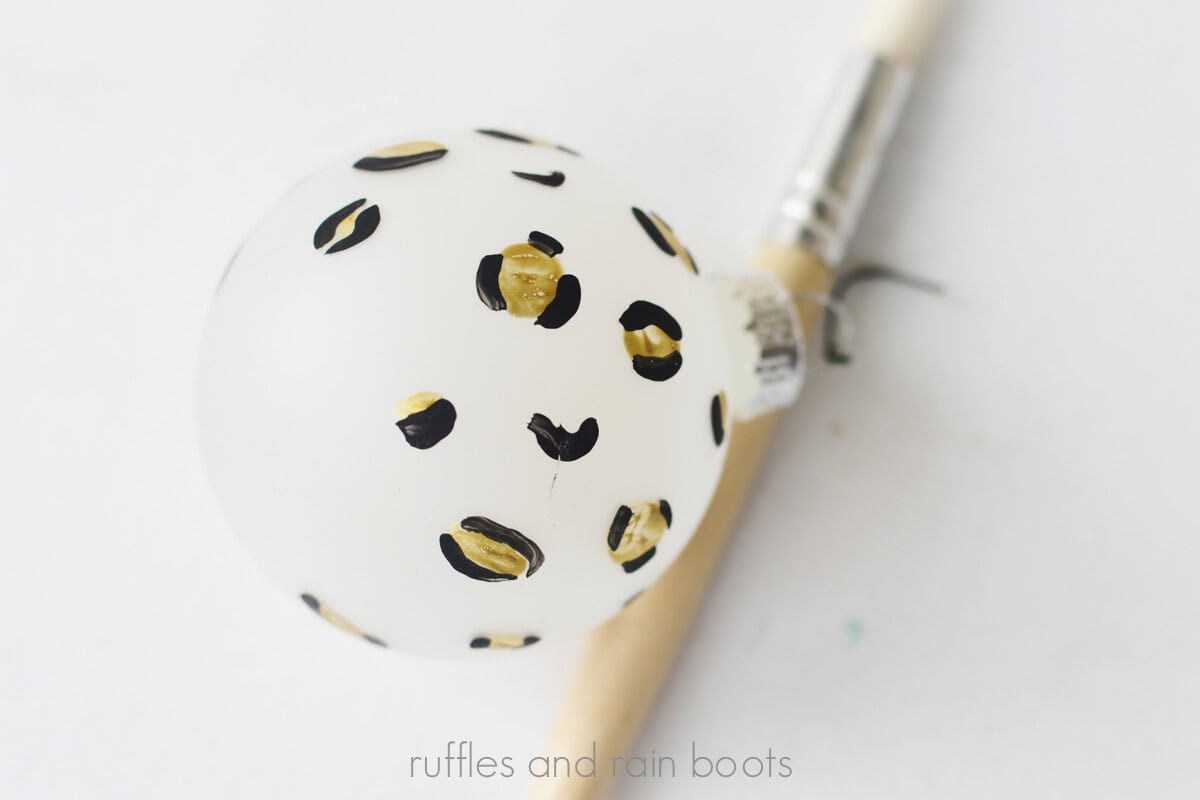
Next, use a single color and create a small oval (about 1/2 inch or less). Repeat with sizable spacing in between them. Let dry. You might need a second coat depending on the acrylic paint or color you’re using.
Once the colored paint has dried, paint on comma and reverse comma shapes on either side of the oval. Leave the top and bottom open.
On some of the ovals, we added three comma shapes and really liked the way it looked. We also added a few comma shapes or dots in between the leopard print on some to break up the “white” space.
Once the black paint has dried, use the spray sealant to protect your work. These DIY Christmas ornaments are now ready for hanging on the tree or giving as gifts!
More Crafts You Might Like
- Modern Christmas Nutcracker DIY – A little paint, ribbon, and a mini wreath and you’ve made a beautiful, updated nutcracker for your decor.
- Easy Frosted Painted Tumblers for Christmas – Use the paint you have out from this project to make this fun holiday DIY.
- Painted Mason Jars (Cricut Freebie) – I always have white paint and black vinyl. Paired with a red ribbon, you have instant decor and these.
- Free Modern Christmas Printables Set – If you have a frame and a printer, you have some elegant wall art.
Please Save or Share This Fun Christmas Ornament Idea
Your shares are how this site grows and I am sincerely grateful. Please share this with a friend or crafting group or save it to your favorite holiday craft ideas pin board.
Meet the Creator
Hi there, I’m Sarah Nenni-Daher. I’m a crafty gal and always have at least 14 projects going at once. I am a crafter, designer, DIYer, and pattern maker. I share my creations here and in the Ruffles and Rain Boots® Shop.
Here at Ruffles and Rain Boots®, you’ll find DIY gnomes, crafts, gifts, cupcakes, laser crafts, and so much more. I love sharing video tutorials over on YouTube and chatting with other crafters in my Facebook groups. We’d love to have you!