
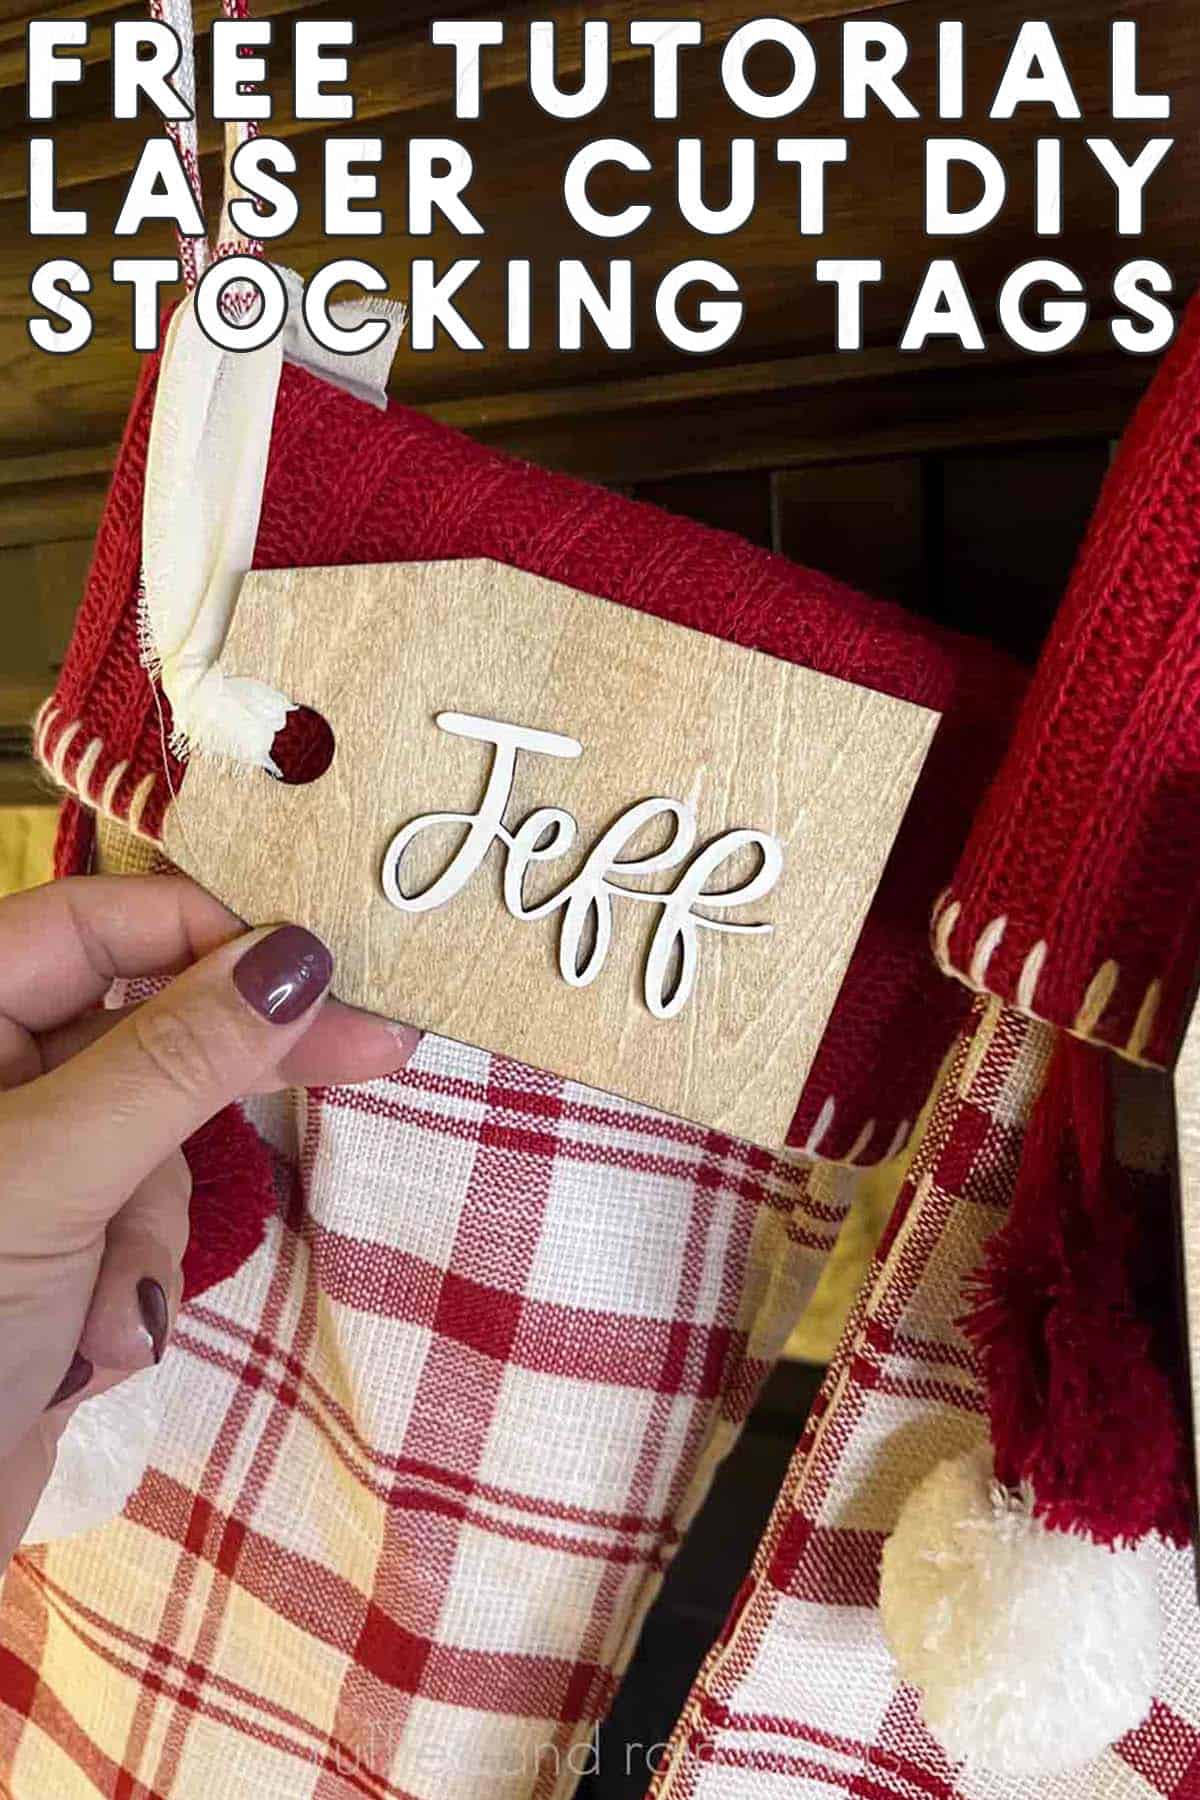
Easy DIY Laser Cut Stocking Tags
If you are looking for a beginner project, these easy laser cut stocking tags are a fun project for a rainy afternoon. You can make and sell this laser idea or just make them for your own family.
For this Christmas laser craft, you will wood, stain, paint, sealant and a ribbon. Also included are a few font suggestions to help you get started with this easy laser cutting project idea.
RELATED READING: xTool S1 Laser Review – Why It Makes Sense To Buy
What You'll Find On This Page
How to Make Wood Stocking Tags with a Laser
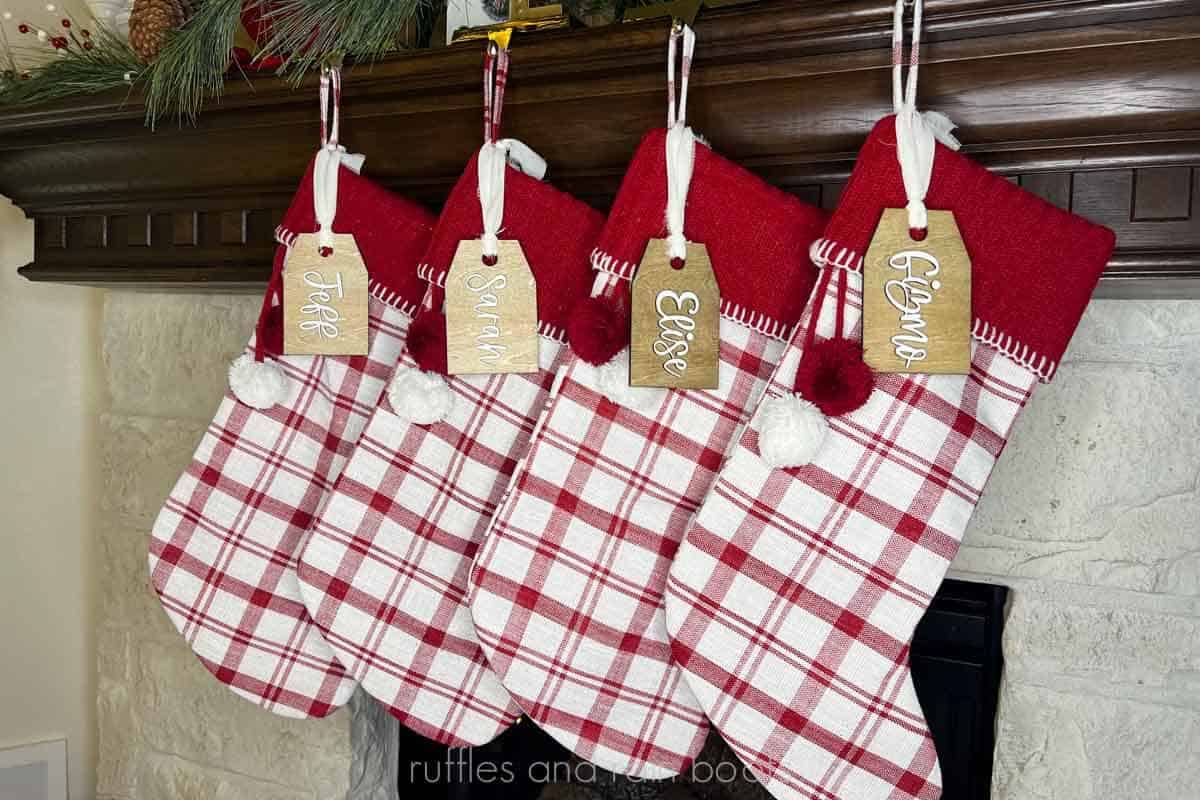
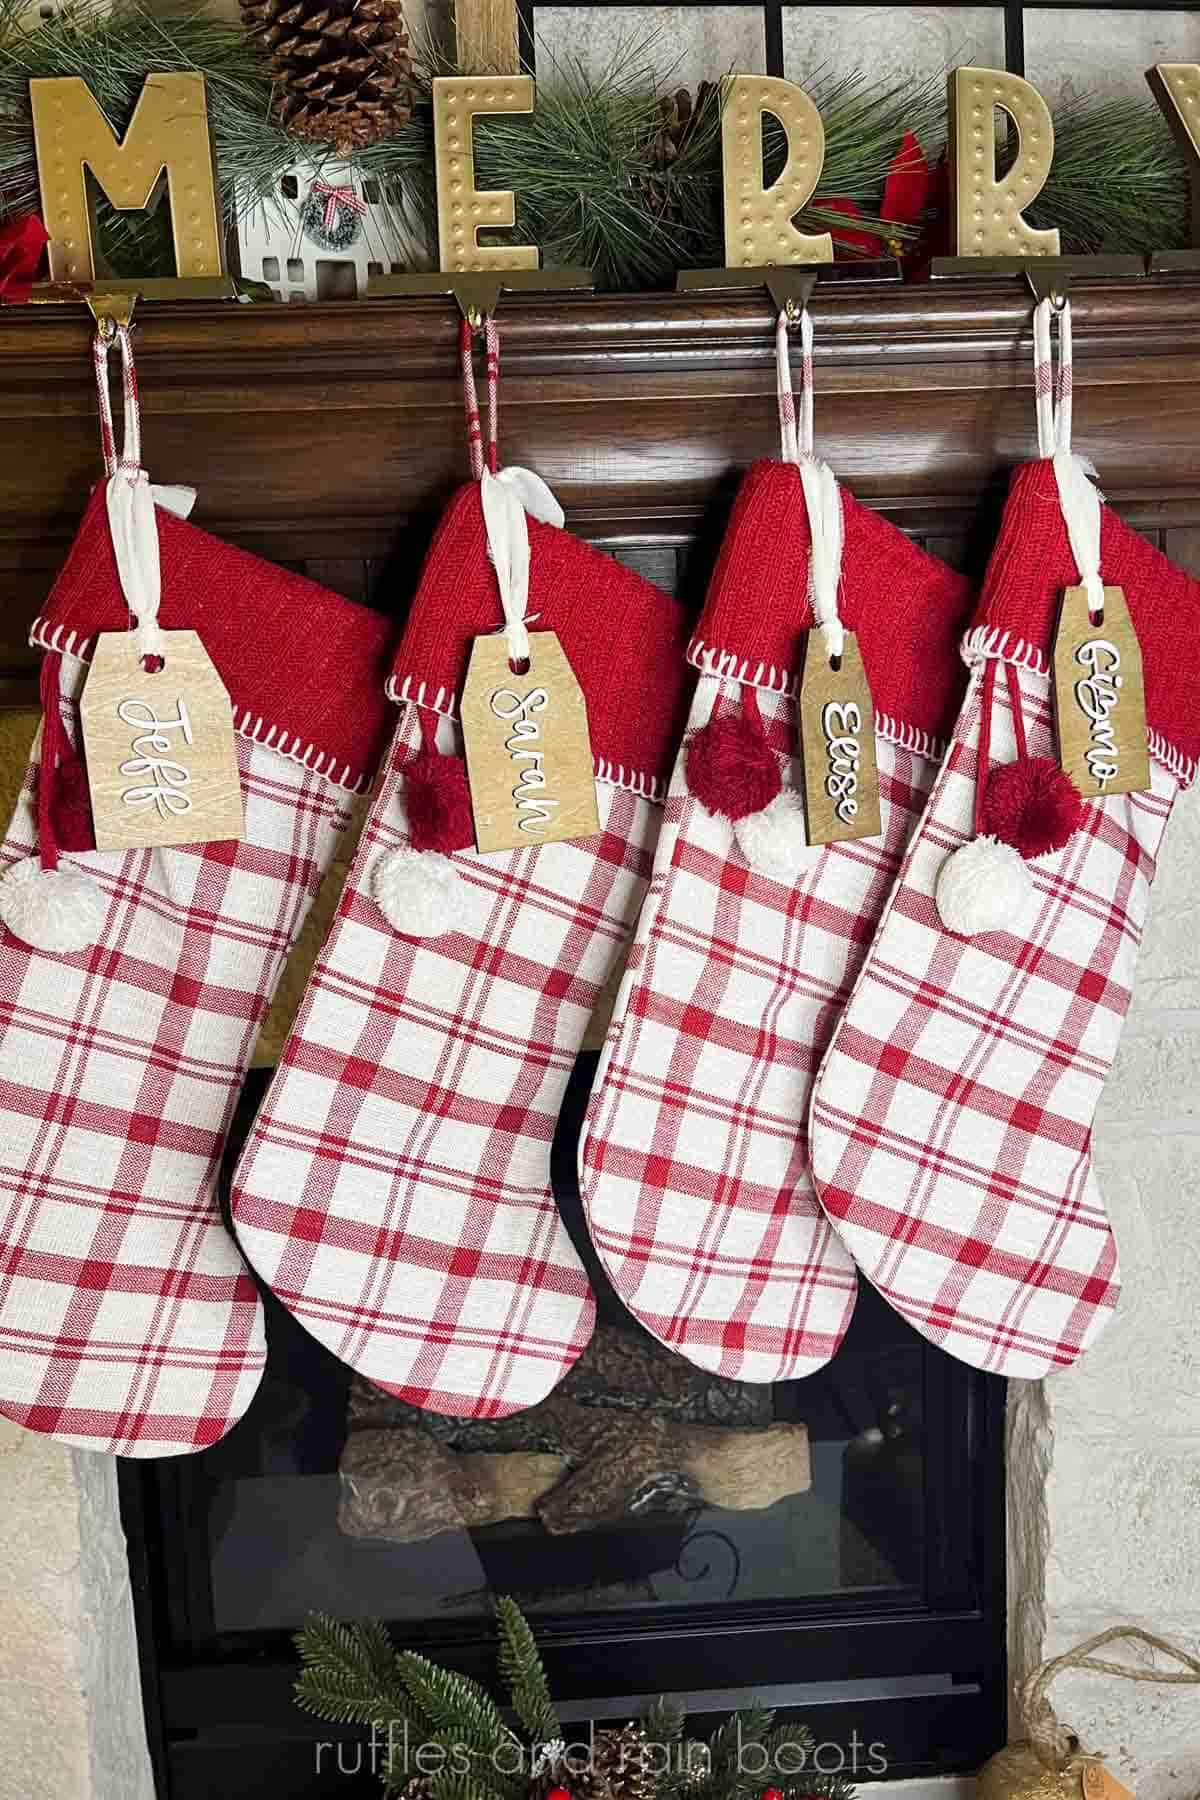
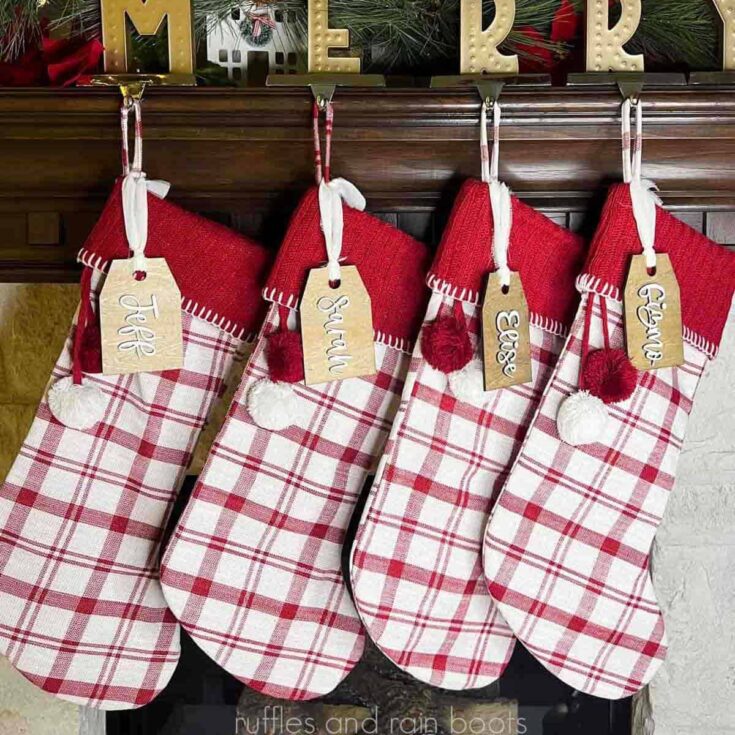
Here at Ruffles and Rain Boots, I’ve been crafting up a storm with my lasers. If you’re new here, I have four lasers from xTool. Today, I wanted to finish up the stockings hung on the mantle with some custom wood stocking tags.
Have you joined the Laser Group on Facebook yet? It’s a welcoming, friendly, and open space to get ideas, ask questions, and learn from our peers.
If you love this beginner laser project idea but can’t get started now, save this to a laser crafts pin board or share it to Facebook. Either way will make it easy to find when you’re ready to begin this easy laser craft idea for beginners.
As an Amazon Associate, I could earn from qualifying purchases. There could be affiliate links within this article.
RELATED READING: DIY Laser Cut Wooden Bookmarks (Great for Beginners)
Still Deciding on What Laser to Buy?
I own three types of lasers right now: CO2, diode, and fiber (infrared). Below are summaries of each and suggestions on materials. If you have questions, please ask! Not all lasers are right for those looking to start a business or side hustle. If that’s you, choose the P2 or the S1.
- xTool P Series – A fully-enclosed CO2 laser, perfect for cutting acrylic and wood. This is an unrestricted laser when it comes to acrylic, wood, slate, etc. and it’s my top choice.
- xTool S1 – The option I have is a 40 watt diode laser which cuts some acrylic, wood and does amazing engravings. This laser has some acrylic restrictions (no clear, mirror, translucent; primarily opaque) but powers through wood.
- xTool M1 ULTRA – The updated version of the ground-breaking xTool M1 shows up to the party with a printer (can print on wood), a laser, a set of blades, foil, and embossing, as well as a pen tool. Great for crafters!
- xTool F2 – This dual laser is portable! It’s the best-selling, landmark setting laser that contains a diode and an infrared laser. It’s perfect to take to shows, markets, and events.
- WeCreat Vista – This is a fun tool to have if you’d like to work primarily with tumblers or wood. The patented FlipLaser design turns the laser head 90 degrees, allowing you a great tumbler engraving experience.
Laser Cut Wood Stocking Name Tags Video Tutorial
If you’re a visual learner, welcome to the club – I really love watching things come together! I have put together a step by step laser cutting stocking name tag project video tutorial.
While you’re watching that, be sure to subscribe! We have a lot of fun on the channel and I’ll be sharing so many fun laser crafting projects.

Font Suggestions for This Project
If you’re new, choose a chunky, connected script font. I’m using a thinner script font for mine (I am using the Mismade font here) but not all of the letters are connected and I had to create shapes to join them, as shown in the tutorial.
I am using the xTool S1 laser for this which has a very small dot with 40 watts of power behind it. Please note that if you’re using a less-powerful laser, you might have to do two passes.
That said, here are a list of fonts that work well for this wood gift tag project:
- Amastery Script This is a chunky, connected font that works well.
- Limon Script This is expensive (as fonts go) but this font family is so versatile and great for intricate design work.
- Gantry If you like the vintage look, this is a staple.
The right font choice matters. If you are using a connected script font, the placement will be easier. You can use a sans serif, non-script font but it’s best to use a ruler or laser sight to keep the letters even when being placed.
RELATED READING: Laser Cut Wine Charms Project
Materials to Make Customized Stocking Name Plates
Below are the materials I used for this quick project. If you want to keep these as raw wood, you will not need the stain or paint.
- xTool S1 (this can also be done on any diode or CO2 laser)
- 12×12 Basswood Plywood (or other natural wood like birch plywood or walnut)
- Stain (I used Espresso Satin)
- White Chalk Paint
- Spray Sealant (I used Matte)
- Chiffon Ribbon (or Other)
- Optional, 3M Adhesive *See Note Below
- Glue (I used a Super Glue Pen
I was in a hurry setting this project up before a meeting, and would have done one thing differently. Before processing, I would have added the 3M adhesive to the back of a separate piece of wood (or just one side of the 12×12 I was using) and skipped gluing on the names manually.

How to Design in XCS (Using Buildable Shapes and Fonts)
Below is the detailed, step by step tutorial for creating these 3D wood stocking tags. If you want a printable version without the images, scroll to the end of this post and print (or print to save).
First, have a shape for your tag in mind. I wanted an old-fashioned tag, but consider a heart, a snowman shape, or anything which fits your theme.
In order to create my tag, I added a trapezoid to the top of a rectangle and it worked perfectly. Once I had the two shapes aligned, I went to the Combine > Unite function. My final stocking tag 3 inches wide by 4.5 inches high.

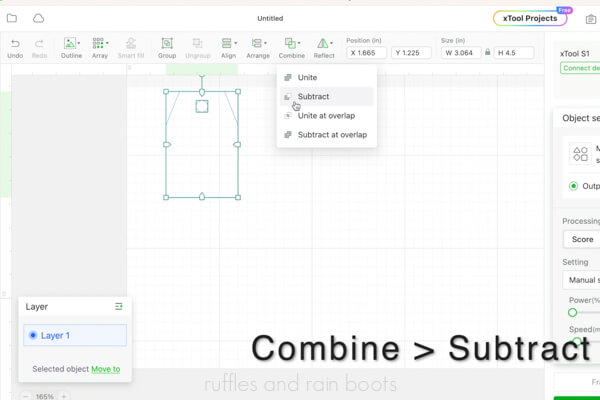
Cut out a hole for the ribbon (I used a larger circle because I was using wide, chiffon ribbon). To do this, create a 0.5 inch circle, center it within the shape you created, and select Combine > Subtract.
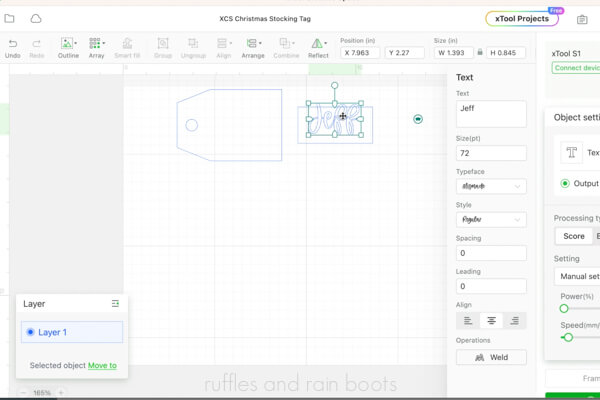
Design the names or generic titles for each of the stockings. I created a shape to fit all of them into so they would resemble each other and look cohesive. Note: be sure to delete or ignore the shape so the laser doesn’t process it.
Weld the fonts (or unite and weld, depending on how you built them).
How to Make Christmas Stocking Tags
Load the wood into the S1 on the honeycomb panel and secure with pins. ‘Load the wood into the S1 on the honeycomb panel and secure with pins.
Auto-measure the distance by pulling the gantry and laser head over the material and selecting the function within the software.
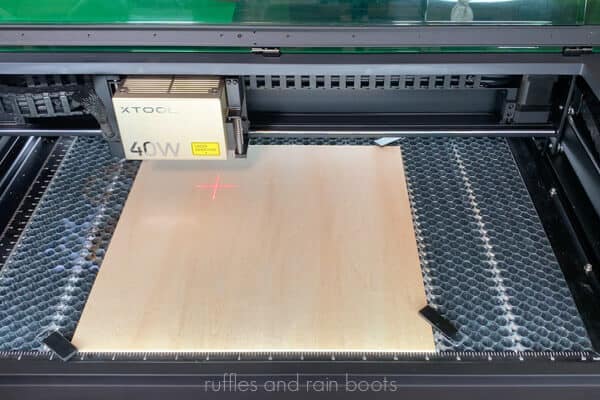
Mark the processing area using the software then move your designs into the bounding box (green box). You might have to move things around to fit them all, however, note that nothing can overlap because these are all being cut.

Set all of the items to cut and enter the settings. Note: all materials should have a test grid run on them, but my settings are below as a general guide. Power 90, Speed 10, Pass 1
Frame the items, paying close attention to the edges and turn on the smoke purifier, if using. Process the cuts.
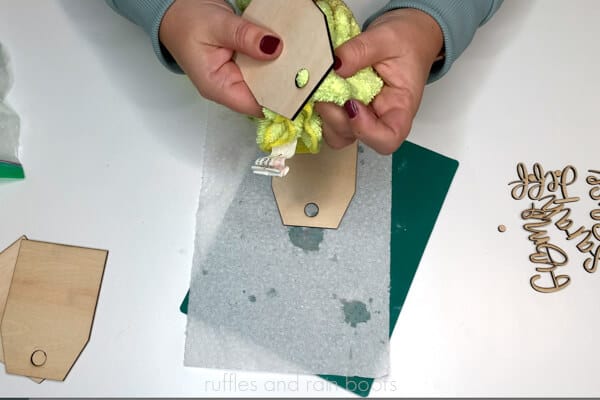
Remove the tags and names and wipe the edges (and the hole for the ribbon) with a dry rag to remove the soot. If not staining or painting, spray with a matte sealant.
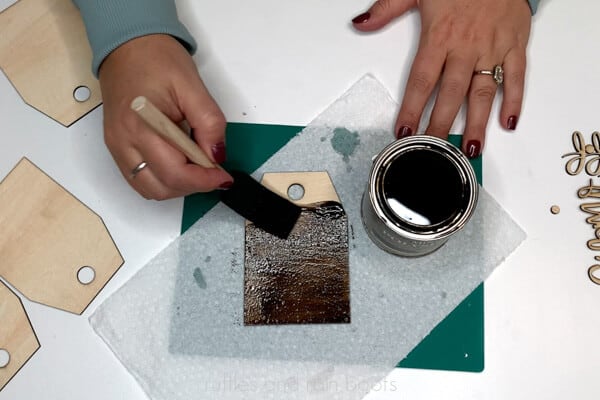
If staining or painting, use the sponge brush to apply stain to the tags (front and back), following the instructions on the container. I did two coats.
Paint the names or titles using the small paintbrush and white chalk paint. Let dry. I protected the paint and stain by spraying a clear, matte sealant over all the pieces.
Final Assembly
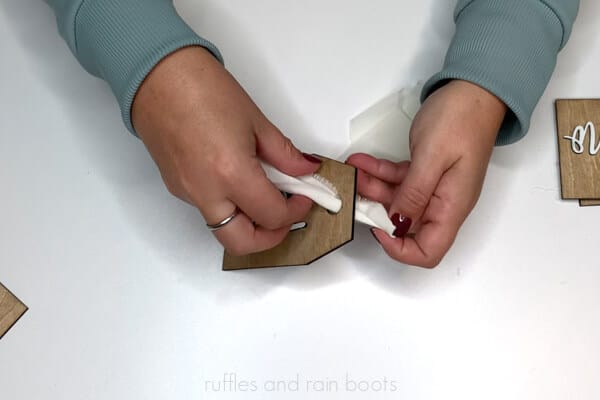
Use the super glue pen to adhere the names to the tags and let dry. Note: I used small clamps with cardboard protecting the pieces from dents.

Cut 12 inches of chiffon ribbon, put the ends together, and thread the looped end through the back of the ornament. Bring the ends through the loop, and pull tight. Attach to the stockings or, if selling, leave the ends unknotted so they can be attached.
More Christmas Laser Crafts to Make and Sell
- Christmas Laser Crafts to Make and Sell – This list is a great starting point if you want to create or expand a laser cutting business.
- Easy Acrylic and Wood Overlay Ornaments – These laser cut Christmas ornaments went INSANE when I shared them because they’re so elegant.
- DIY Highland Cow Door Sign – Use any laser (or Cricut) to create this adorable sign or ornament.
Please Save or Share This Beginner Laser Craft Idea
Have you joined the Laser Group on Facebook yet? It’s a welcoming, friendly, and open space to get ideas, ask questions, and learn from our peers.
Your shares are how this site grows and I am sincerely grateful. Please send it to a friend, save it to a laser ideas pin board, or share it with a crafty laser Facebook group.
Laser Cut Wood Stocking Tags
Materials
- 12x12 Basswood Plywood
- Stain (I used Espresso Satin)
- White Chalk Paint
- Spray Sealant (I used Matte)
- Chiffon Ribbon (or Other)
- Optional, 3M Adhesive *See Note Below
- Glue (I used a Super Glue Pen)
Tools
- S1 40W Laser
- Honeycomb Panel and Pins
- Smart Air Assist
- Smoke Purifier, Optional
- Dry Cloth for Soot Removal
- Foam Brush and Paintbrush
- Scissors
Instructions
- Add a trapezoid to the top of a rectangle to create a gift tag shape. Once I had the two shapes aligned, I went to the Combine > Unite function.
- Remove a .5 inch circle from the center top of the ornament for the ribbon. Once centered, select Combine > Subtract function.
- Design names for the stockings, weld, and size.
- Load the wood onto the honeycomb panel and auto-measure the distance with the xTool S1 (or manually measure for your laser).
- Mark the processing area, bring the tags and names into it, and select settings. Frame and process the cuts.
- Clean soot from edges and stain or paint the pieces. Seal with your desired method (I prefer spray for these).
- Use a combination of super glue and wood glue to attach the names to the tags. Optional: clamp for a few minutes.
- Fold and thread the looped end of 12 inches of chiffon ribbon through the gift tag hole and thread the open ends through to secure the ribbon. Leave untied for hanging options.
Notes
Settings for the 40W S1, Basswood Plywood 1/8th Inch
- Power 90
- Speed 10
- Pass 1
Meet the Creator
Hi there, I’m Sarah Nenni-Daher. I’m a crafty gal and always have at least 14 projects going at once. I am a crafter, designer, DIYer, and pattern maker. I share my creations here and in the Ruffles and Rain Boots® Shop.
Here at Ruffles and Rain Boots®, you’ll find DIY gnomes, crafts, gifts, cupcakes, laser crafts, and so much more. I love sharing video tutorials over on YouTube and chatting with other crafters in my Facebook groups. We’d love to have you!