
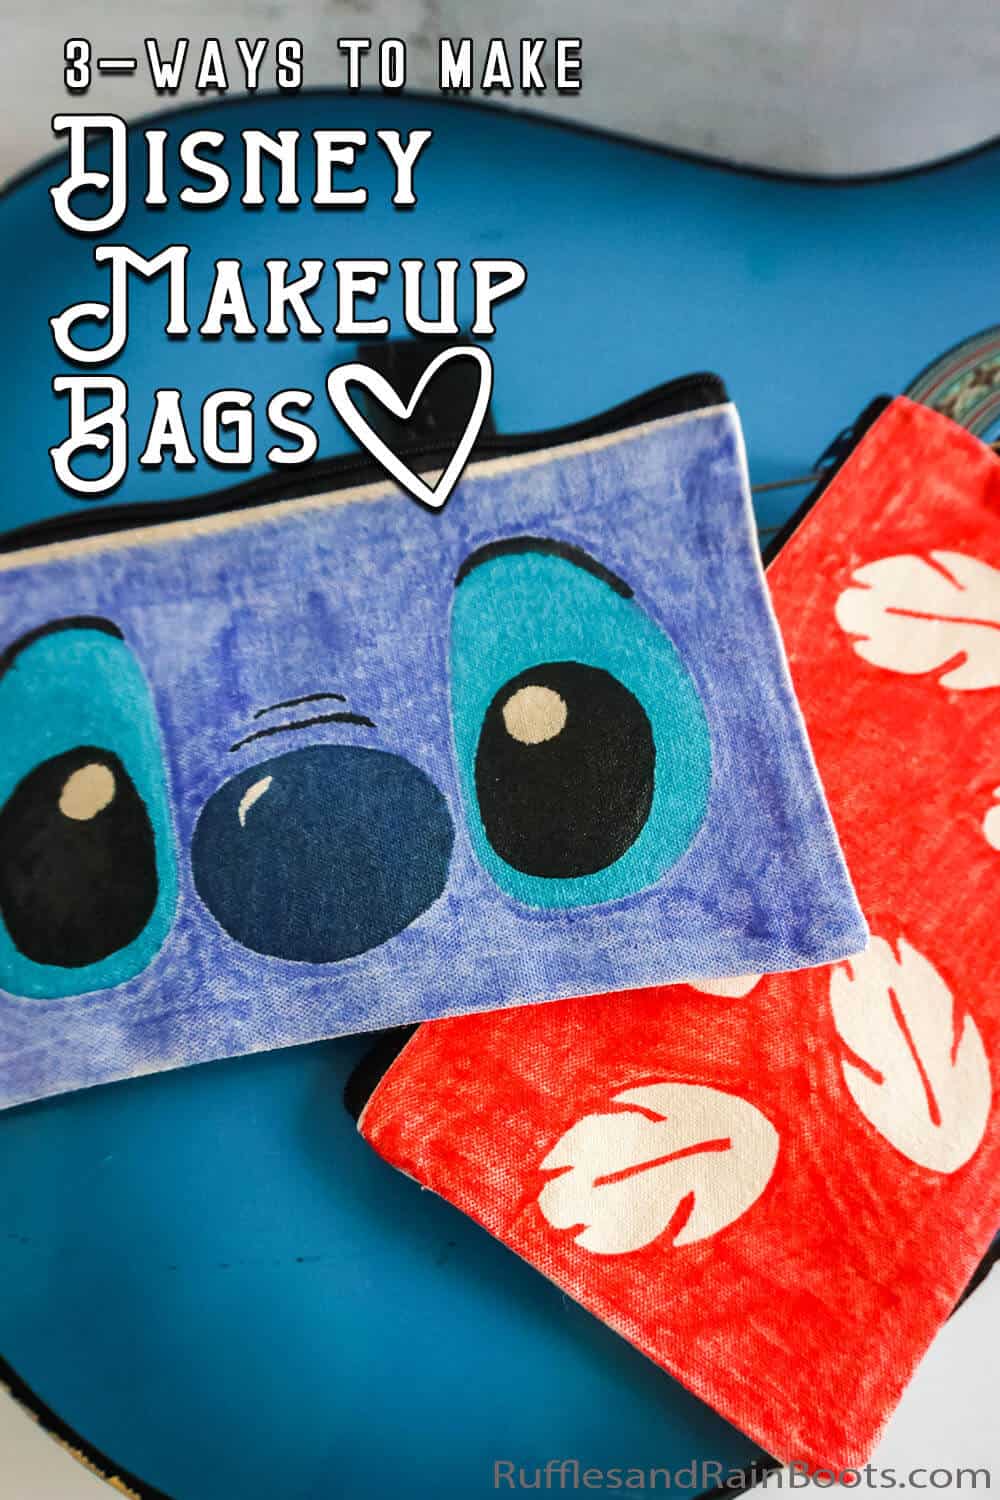
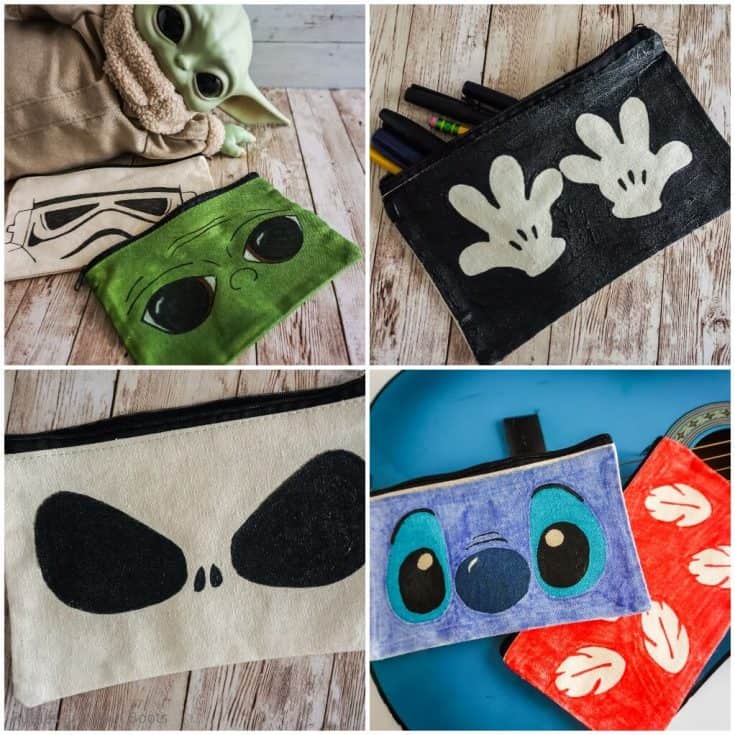
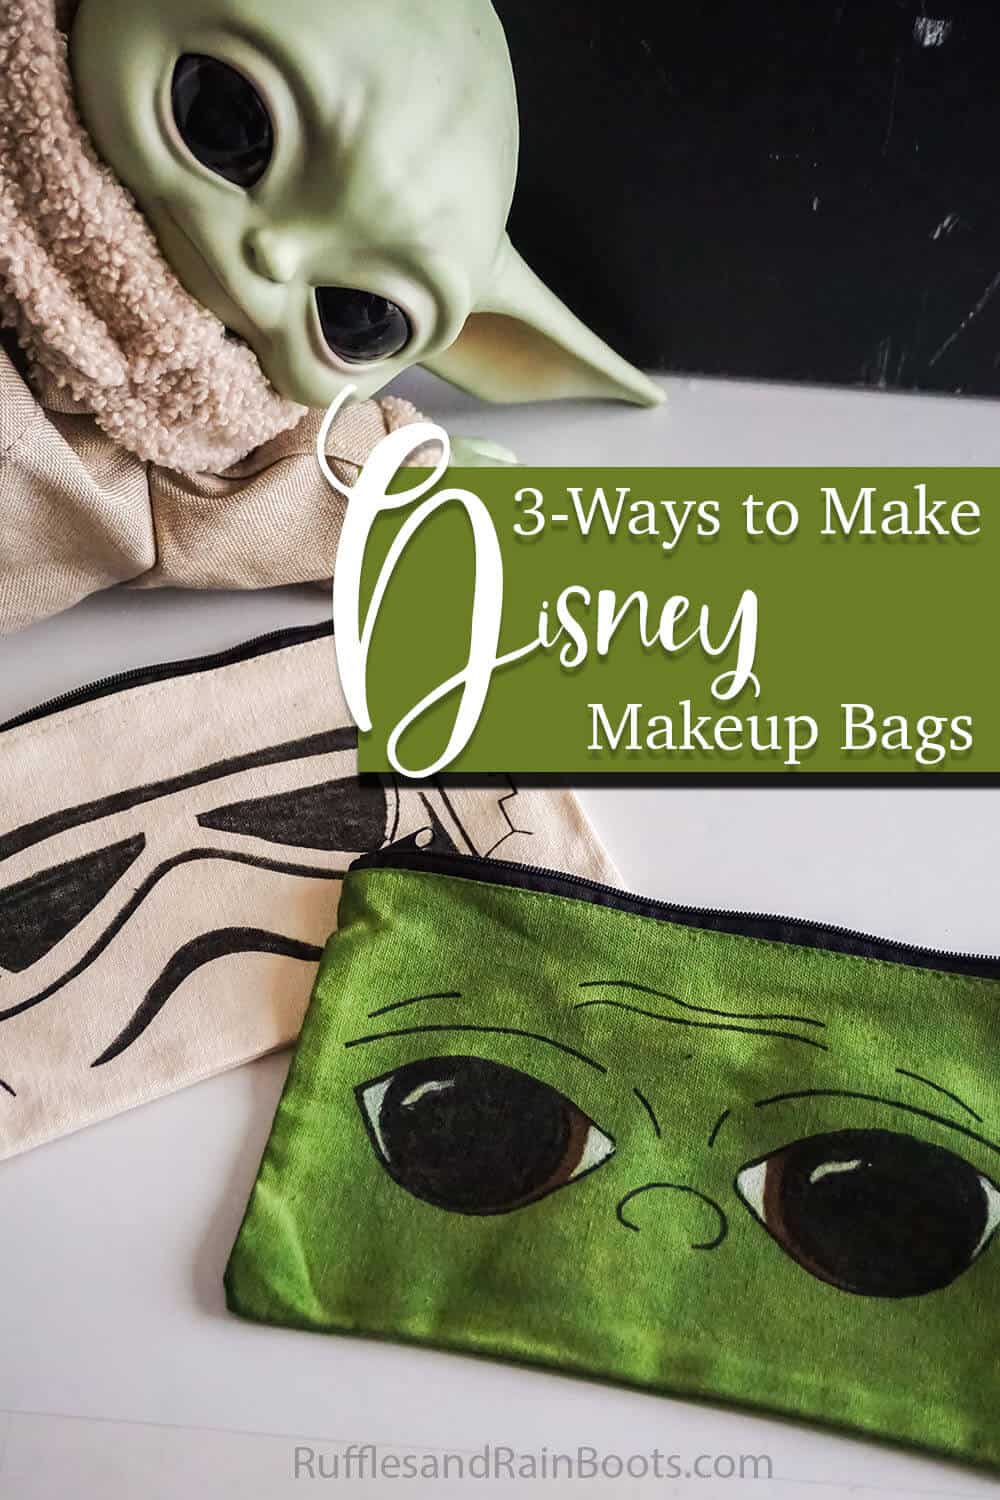
Make Easy DIY Disney Makeup Bags 3 Ways!
In my long effort to make fun Disney crafts for Disney Cruise fish extender gift ideas, I made these awesome DIY Disney makeup bags — 3 different ways!
DIY Disney Makeup Bags 3 Ways!
Here at Ruffles and Rain Boots, we made plans for a Disney Cruise before all the, you know, stuff. But the good news is that it’s scheduled a loooong way out and I can still move it. In the meantime, though, I’m moving ahead with making a ton of fun Disney Cruise fish extender gifts. And my latest is a batch of DIY Disney makeup bags that are so fun.
RELATED READING: DIY DISNEY LANYARDS (EASY FISH EXTENDER GIFTS)
The fact that you can make these Disney cosmetic bags in three different ways makes these awesome Disney crafts super flexible and definitely doable for any skill level. You can even get the kids involved! If you’re ready to make some awesome Disney character makeup bags, let’s get started.
No Time to Make This Now? Pin it for Later
You’re busy, I get it. Pin this to your favorite Disney crafts board on Pinterest and it’ll be here for when you’re ready.
As an Amazon Associate, I can earn from qualifying purchases.
Tips to Make a DIY Disney Cosmetic Bag
- Start by getting the makeup bag blanks together. I found these heavy-duty cosmetic bags that I really liked.
- Select whichever Disney cut file you want to make your bag with. Here’s what I have on hand:
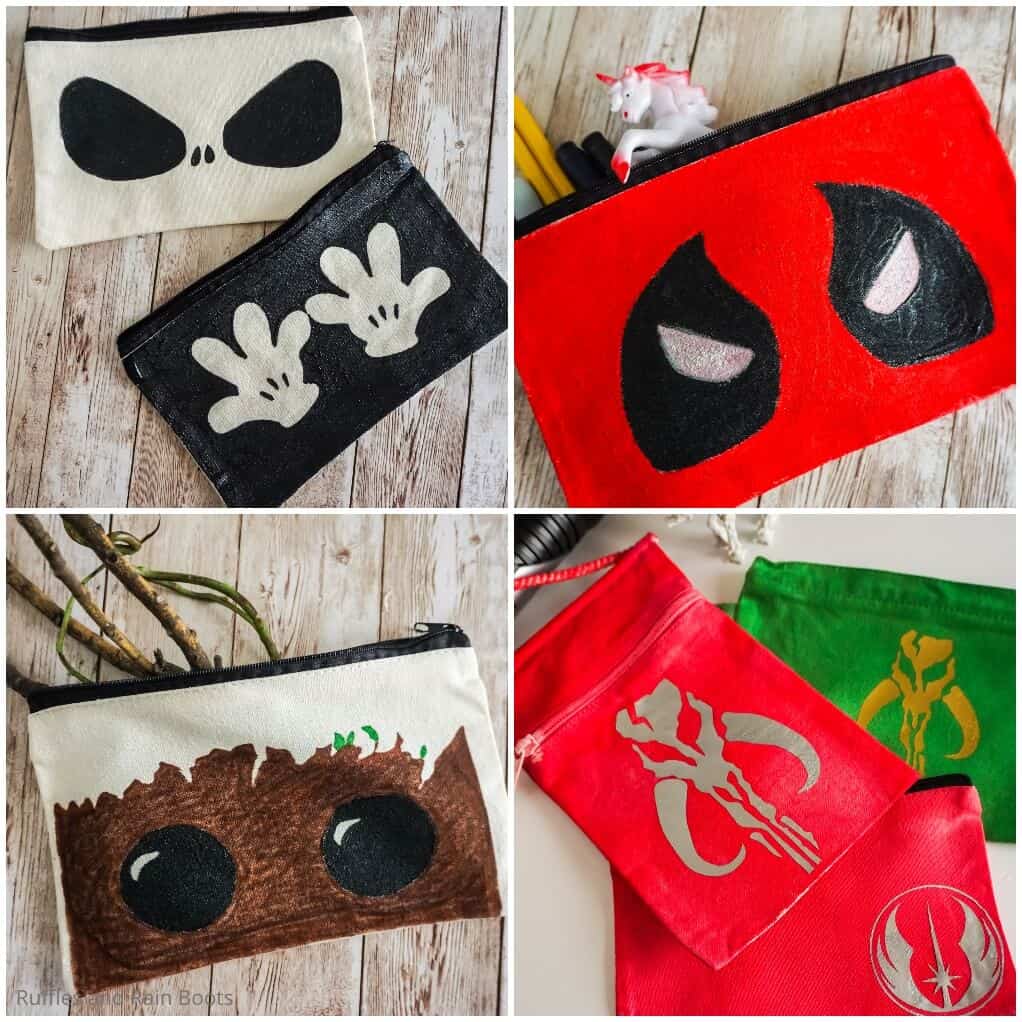
- To make a Deadpool makeup bag, grab the awesome Deadpool sleep mask SVG here. I know, I know, it’s a sleep mask, but seriously, you can use the elements on a makeup bag and make it in just minutes.
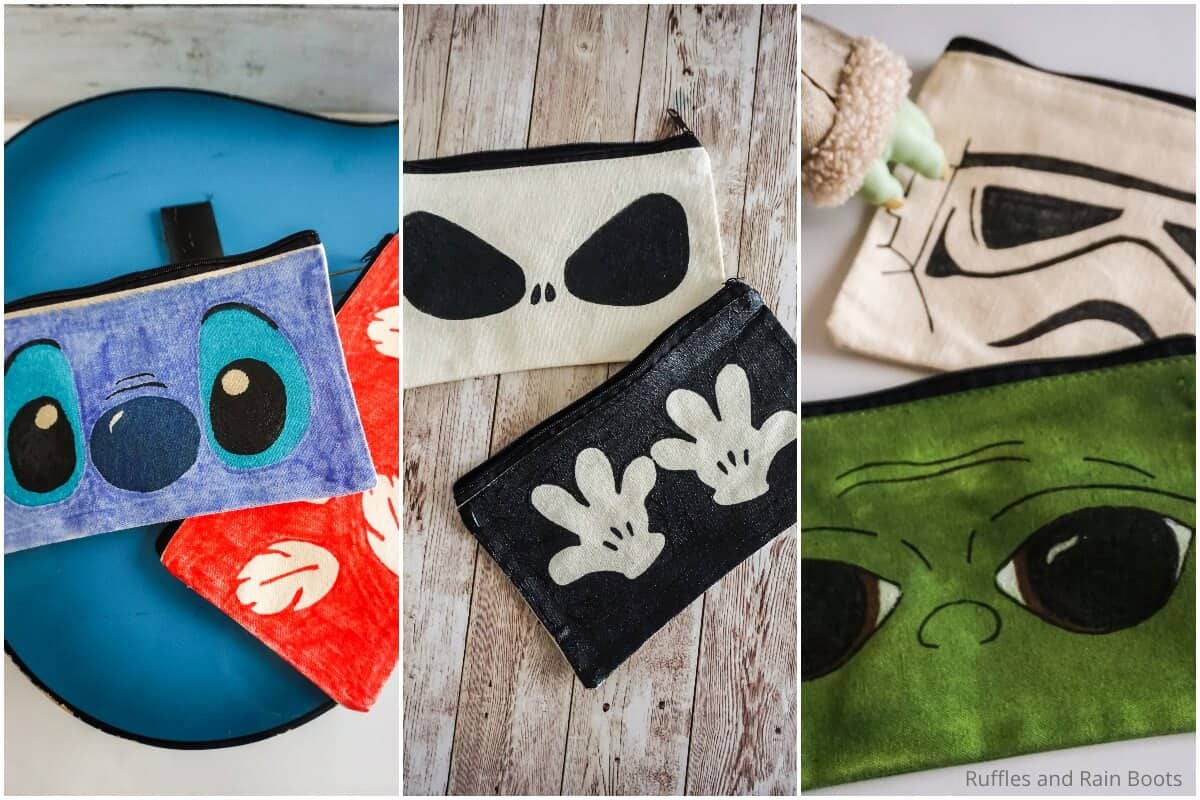
- If you’re looking for more of a sweet Lilo and Stitch makeup bag, grab the Lilo SVG here and the Stitch SVG here.
- You can make the Star Wars Mandalorian skull emblem with this awesome mythosaur cut file.
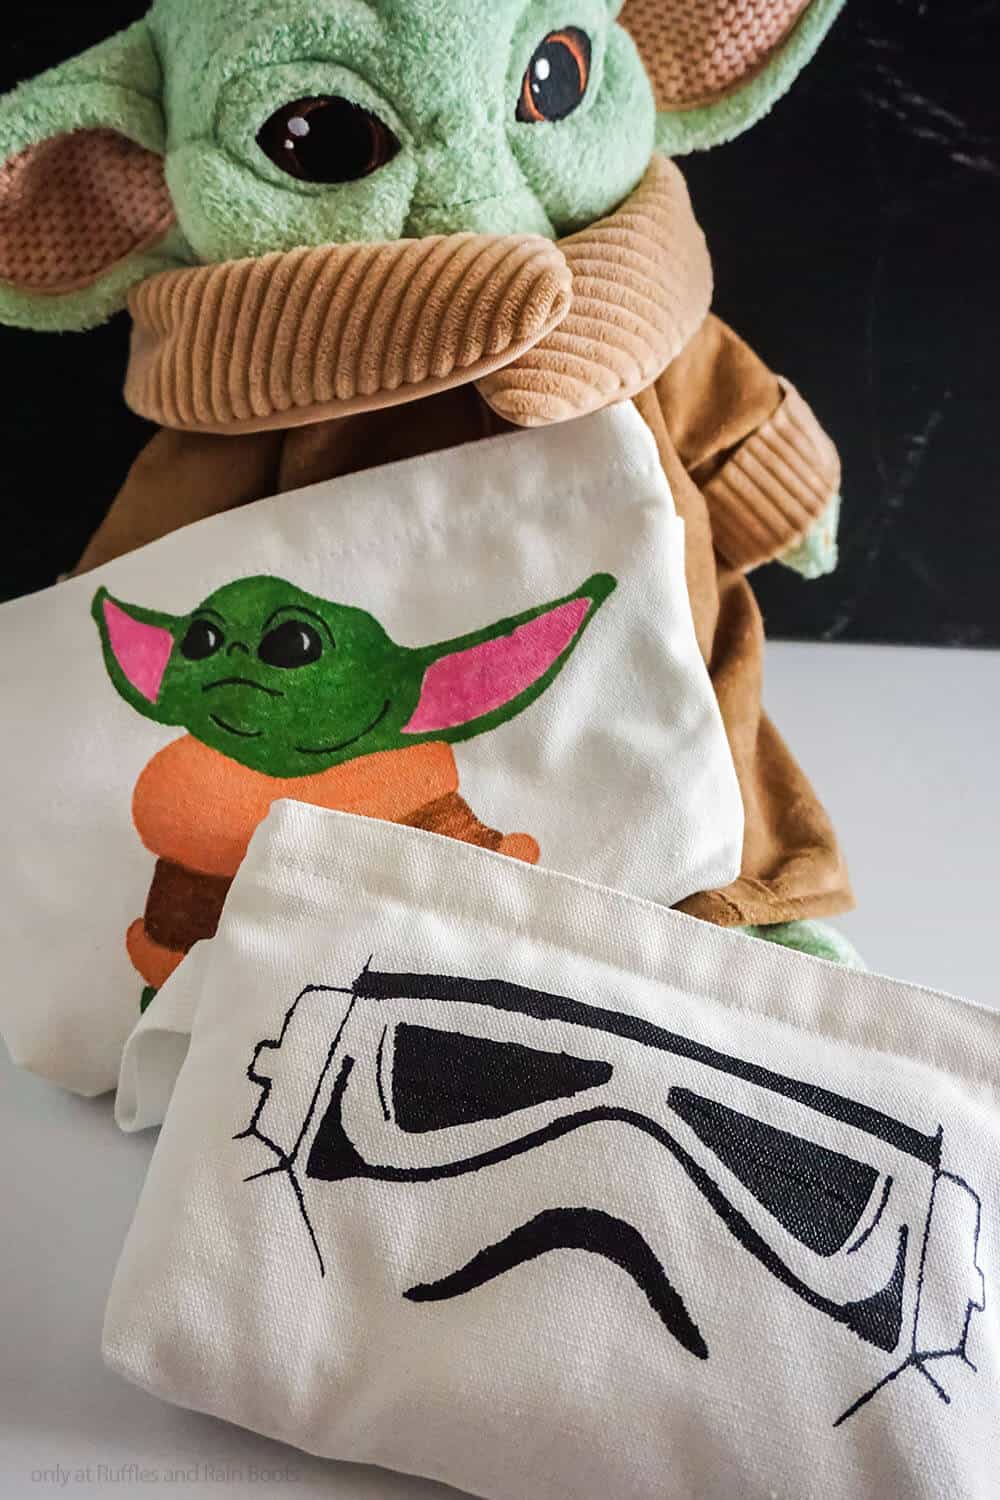
- For the Baby Yoda bag, you’ll want this fun Baby Yoda SVG to use as your base.
- Baby Groot has his own Baby Groot cut file set that you can use to make that little Baby Groot pencil case.
- Digging the Stormtrooper makeup bag? Grab the Stormtrooper mask cut file set here.
- I love the Mickey hands makeup bag–not only was this one super easy, but the end result is super cute. Grab the simple Mickey hands cut file set here.
- My favorite one (today at least) is the Jack Skellington makeup bag using this Jack Skellington cut file set.
- Decide which method you want to make your bag with. The options are:
How Do I Make Easy DIY Disney Makeup Bags 3 Ways!?
I’m so glad you asked. Below is our written tutorial.
DIY Disney Makeup Bags
Making these easy DIY Disney makeup bags is so simple, no matter which of the three methods you choose to make them!
Materials
- Makeup Bag Blanks
- Fabric Paint
- Fabric Markers
- Fabric Dye
- Chosen SVG or Cut File
- Removable Vinyl
- Heat Transfer Vinyl
Tools
- Cricut Easy Press Mini
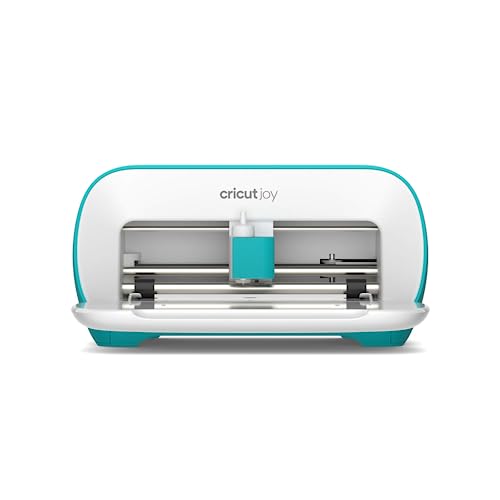
- Cricut Explore Air 2, Cricut Joy or Cricut Maker
- Paintbrushes
- Pan
- Gloves
- Iron
Instructions
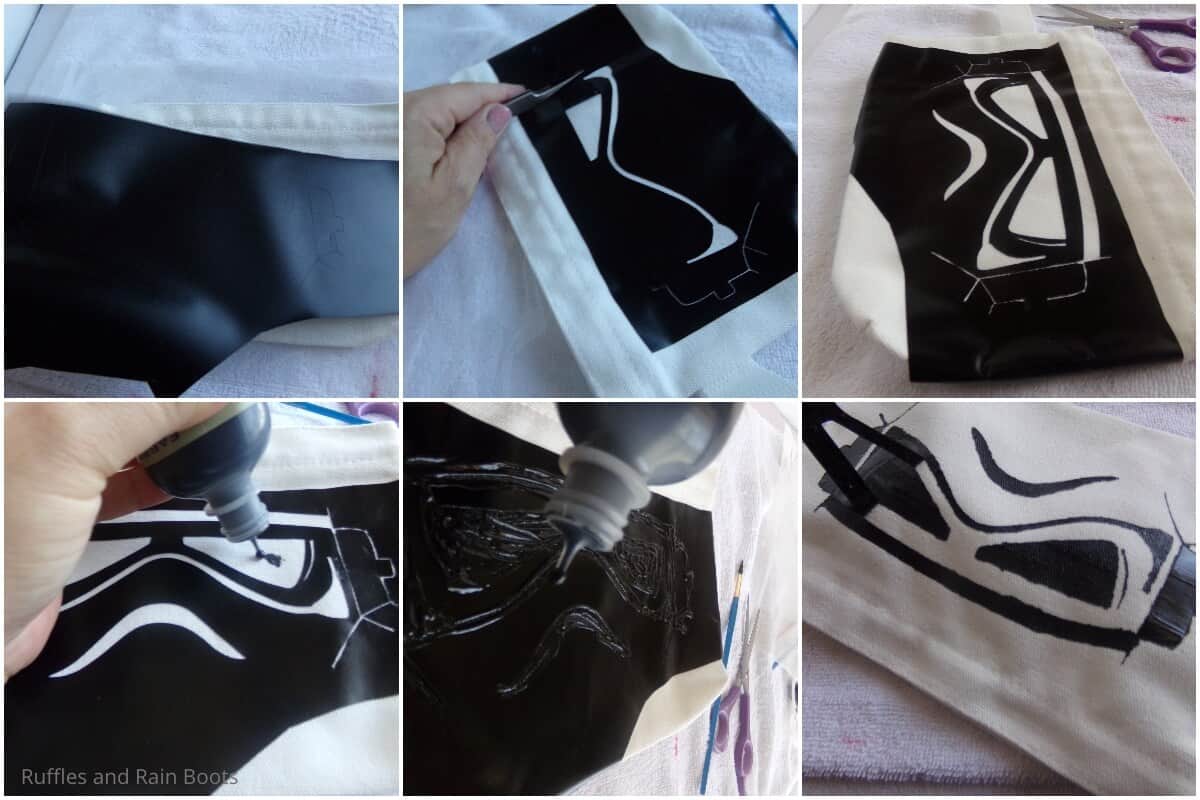
Fabric Paint Method
- Download and cut out your design from the removable vinyl.
- Weed the NEGATIVE of your vinyl design (meaning discard the pieces of vinyl that are the area you want painted), creating a stencil.
- Place the weeded design on the makeup bag blank. Gently press the vinyl down to make a good seal.
- Use the fabric paint to fill in the negative design.
- Allow the paint to dry for about 30 minutes, then gently remove the the vinyl. The paint may still be tacky, so be very careful. Allow the paint to dry fully.
- Touch-up any of the paint that went under the edges of the stencil. Allow this last bit of paint to dry completely and enjoy!

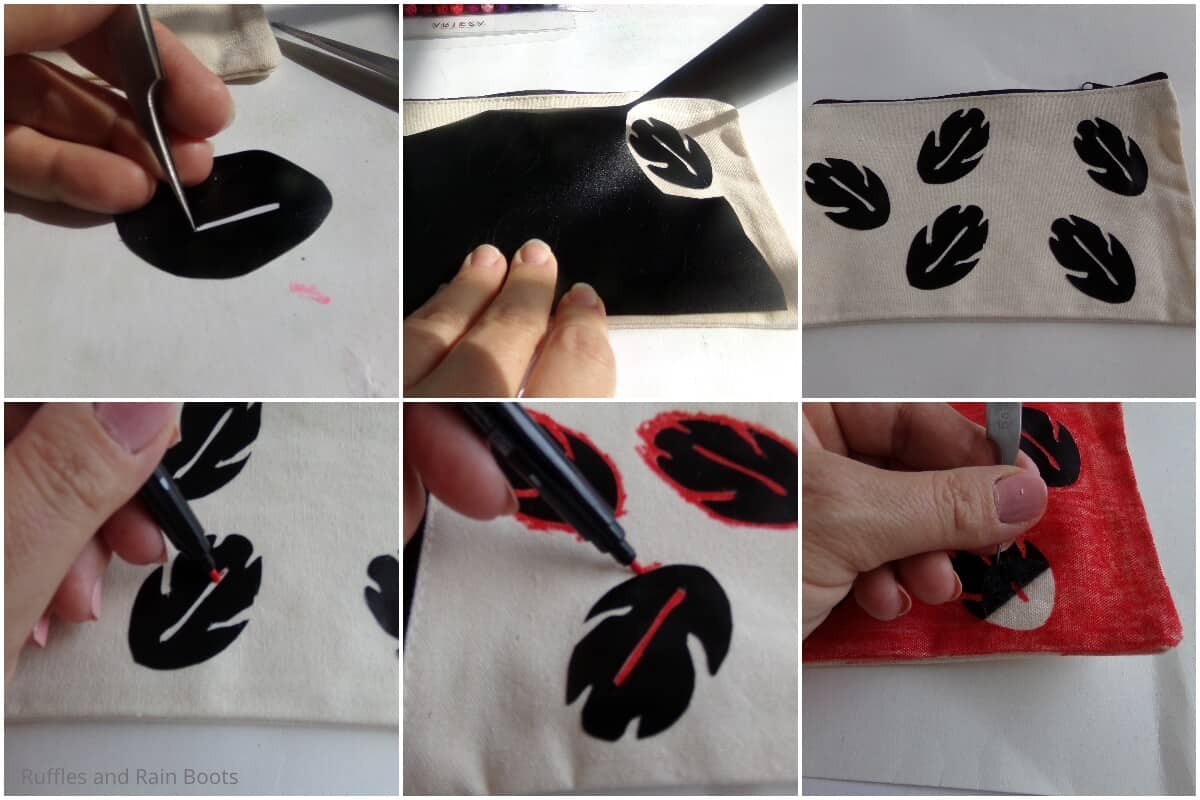
Fabric Marker Method
- Download and cut out your design from the removable vinyl.
- Weed the NEGATIVE of your vinyl design (meaning discard the pieces of vinyl that are the area you want painted), creating a stencil.
- Place the weeded design on the makeup bag blank. Gently press the vinyl down to make a good seal.
- Use the fabric marker to fill in the negative design.
- Allow the fabric marker to dry completely and remove the vinyl.
- Touch up any of the marker ink that got under the stencil edges and allow that layer of marker to dry completely then enjoy!
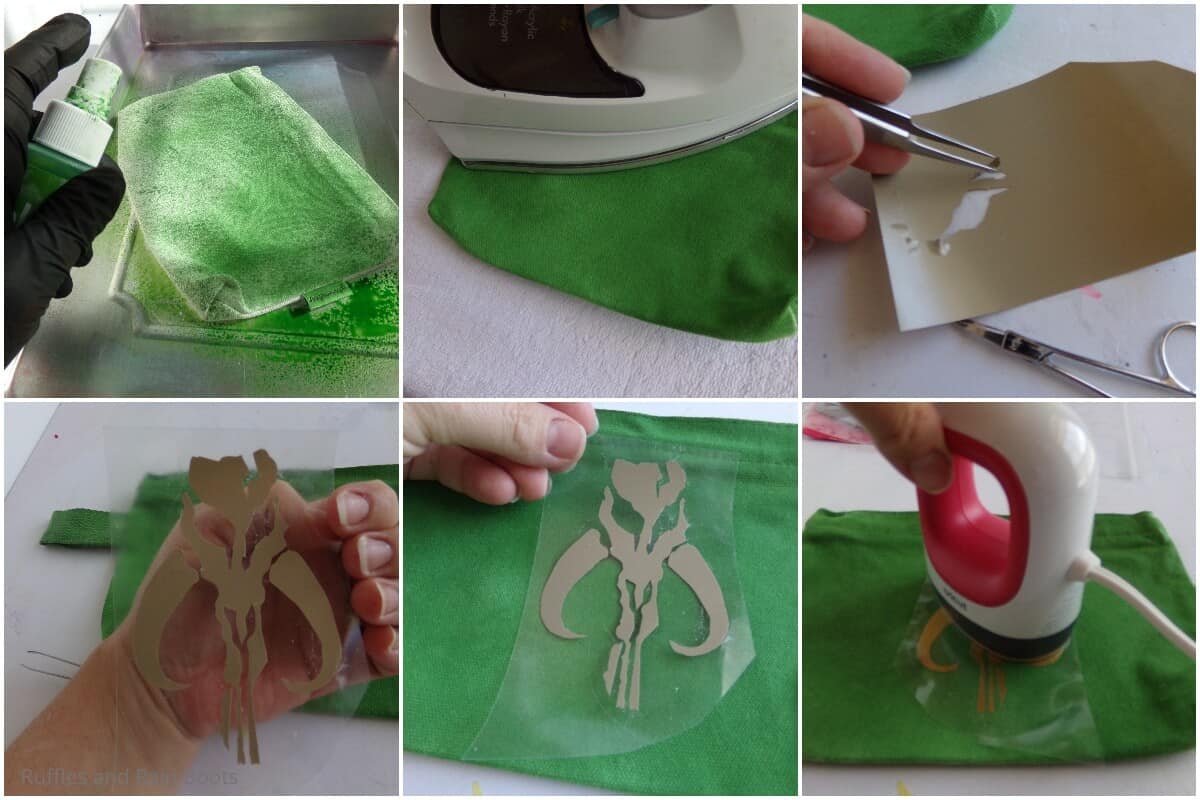
Fabric Dye Method
- Place your makeup bag into a pan and don your gloves.
- Spray the makeup bag completely with the fabric dye. Flip it over and dye the back side as well. Allow the dye to dry completely.
- Iron the dried makeup bag to set the color.
- Download and cut out your design from the heat transfer vinyl.
- Weed your design, NOT in the negative.
- Place the design onto the makeup bag and, using the EasyPress Mini, heat press the vinyl onto the makeup bag.
- Allow the vinyl to cool completely before enjoying!
Notes
For more fun Disney craft ideas, visit Ruffles and Rain Boots!
Recommended Products
As an Amazon Associate and member of other affiliate programs, I earn from qualifying purchases.


More Disney DIY Ideas You Might Like
- DIY Lady and the Tramp Ornaments – These fun and quick ornaments are so simple, they make a great kids’ activity if you want them to make a few fish extender gifts, too!
- Disney Sleep Masks You Can Make – I can’t tell you how excited I am to have my sleep masks on the Alaskan Disney Cruise we have booked–sleep will not elude me!
- How to Make Baby Yoda Mickey Ears – Even if you’re not headed to Disney anytime soon, making these Mandalorian Mickey ears is so simple and wicked fun!
Please Save This to Pinterest
Your shares are how this site grows and I am sincerely grateful. Know a friend who’d like this? Please share it on Facebook or save it to your favorite easy Disney DIYs board on Pinterest.
Meet the Creator
Hi there, I’m Sarah Nenni-Daher. I’m a crafty gal and always have at least 14 projects going at once. I am a crafter, designer, DIYer, and pattern maker. I share my creations here and in the Ruffles and Rain Boots® Shop.
Here at Ruffles and Rain Boots®, you’ll find DIY gnomes, crafts, gifts, cupcakes, laser crafts, and so much more. I love sharing video tutorials over on YouTube and chatting with other crafters in my Facebook groups. We’d love to have you!