
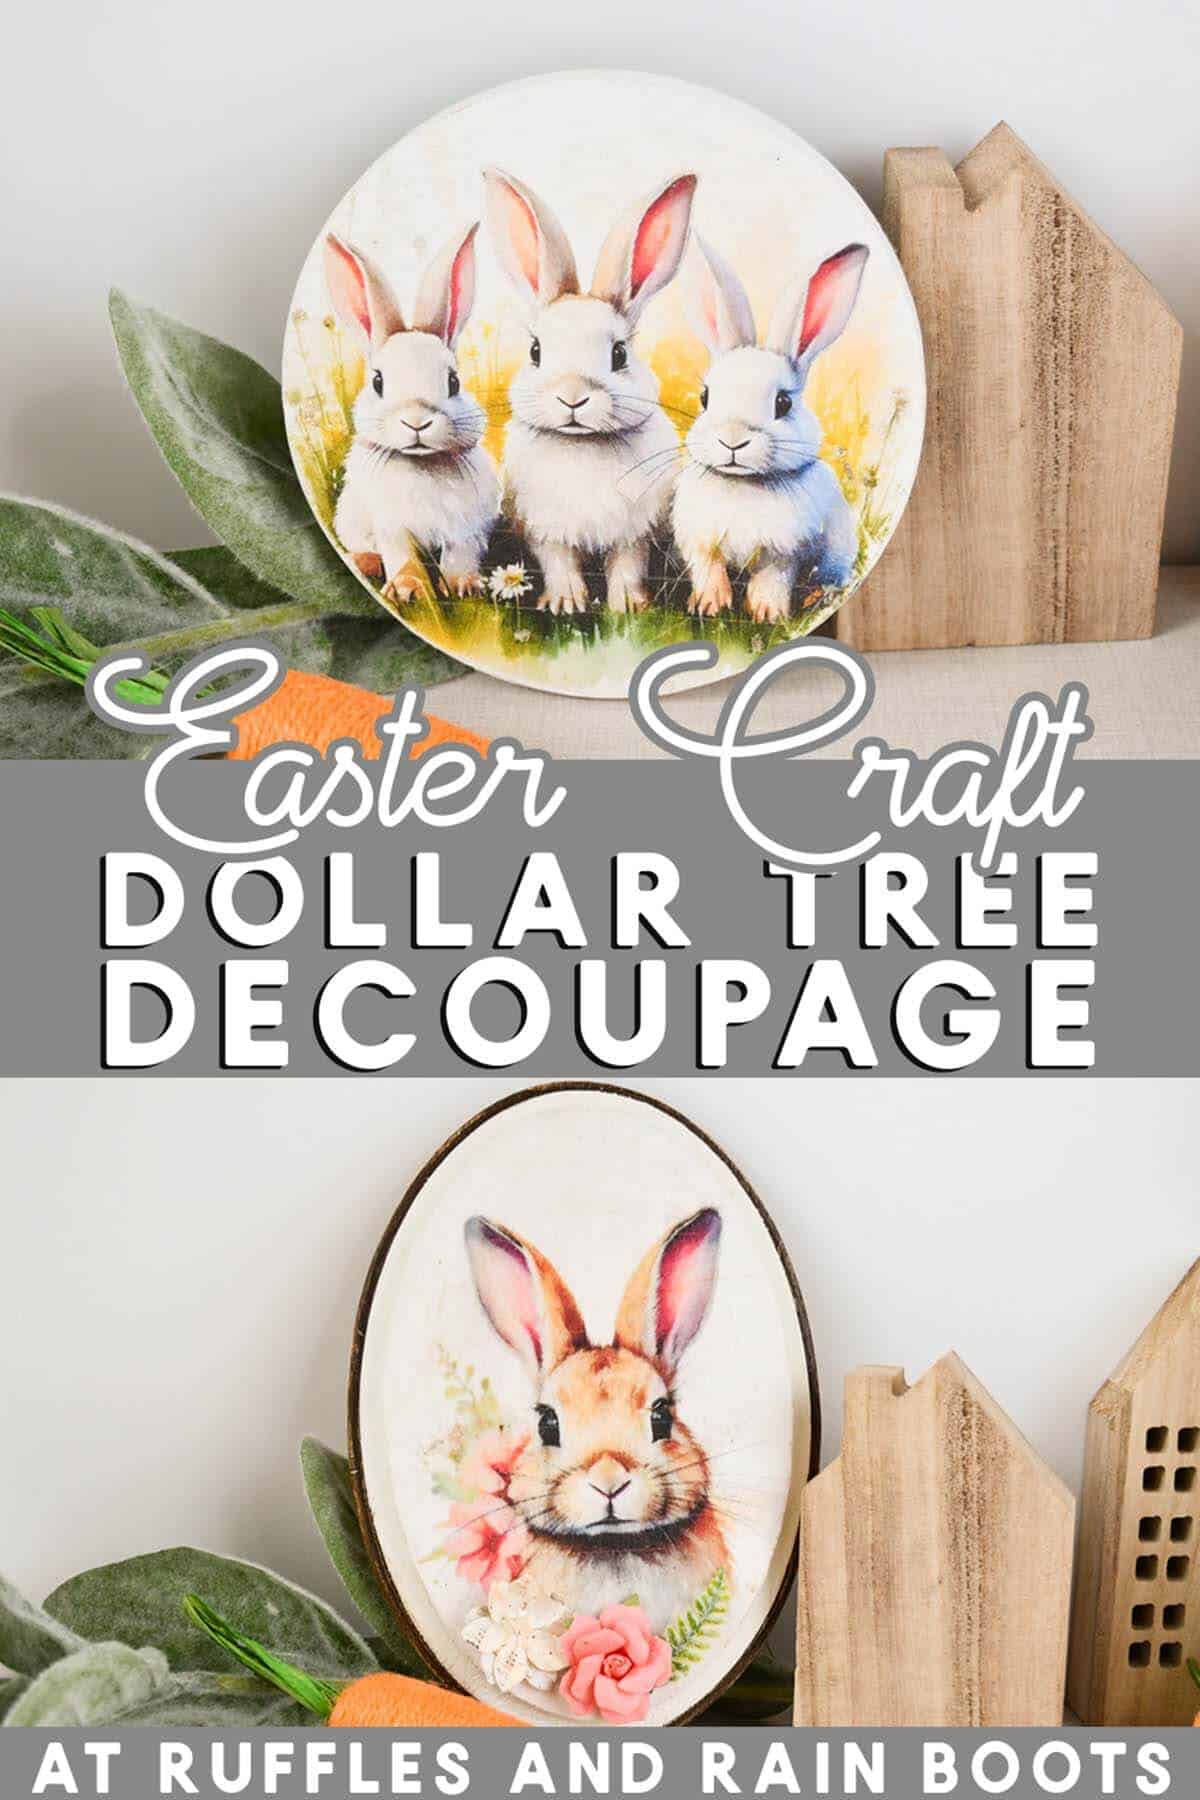
Decoupage with Mulberry Paper
Today I’m sharing my tips and tricks for printing on mulberry paper and decoupage project ideas. This versatile craft supply is great for custom work and can be used for so many different decoupage techniques.
RELATED REAING: Dollar Tree Twine Wrapped Easter Eggs
What You'll Find On This Page
How to Use Mulberry Paper for Decoupage
Here at Ruffles and Rain Boots, I’ve been working with a lot of pre-printed images or using tissue paper for decoupage. Today, however, I’m sharing a craft room secret: mulberry paper.
Mulberry paper is a way to print whatever you want at home and get to use it just like preprinted tissue paper or napkins. It’s inexpensive and remains soft and pliable after printing or stamping.
RELATED READING: DIY Easter Basket Tags (Shaped Name Tags)
Ways to Use Mulberry Paper for Decoupage
You’re a crafty person, but I want to jump start that creativity by noting a few ways to use mulberry paper. Today’s tutorial will focus on the first, printing custom images, but here are a few ideas to get you thinking:
- print custom images, photos, or AI-generated art for decoupage
- stamp mulberry paper for unique designs or patterns
- paint directly onto mulberry paper
- stiffen and use as printed, stamped, or painted tags
As an Amazon Associate, I could earn from qualifying purchases. There could be affiliate links within this article.
Tips to Print on Mulberry Paper
To create our custom images for decoupage, mulberry paper can handle SO much. Here are the biggest takeaways:
- Use an inkjet or laser printer.
- I used this size of mulberry paper so it could fit directly into a printer.
- You do not have to attach mulberry paper to copy paper for it to print.
- Insert a single sheet of mulberry paper into the tray or paper feeder.
- Print 24 hours in advance to crafting OR spray after adhering before decoupaging on top, as the image can smudge.
- Use images with a light background or remove the background entirely using remove.bg or other free tools.
- Any word processing program or online image program can be used to size images for projects. Microsoft Word, Apple Pages, Canva, Adobe Photoshop – all will work.
- Prints can be as small or as large as your printer or the paper can accommodate.
- You do not have to select “best” image quality; it’s a waste of ink.
Easter Decoupage Tutorial on Printed Mulberry Paper
Below is my written tutorial for this Easter decoupage idea. For a printed version, scroll to the end of this article.
If you’re a visual learner, watch the Easter decoupage with mulberry paper video tutorial. While you’re there, subscribe to the channel – we have a lot of fun.

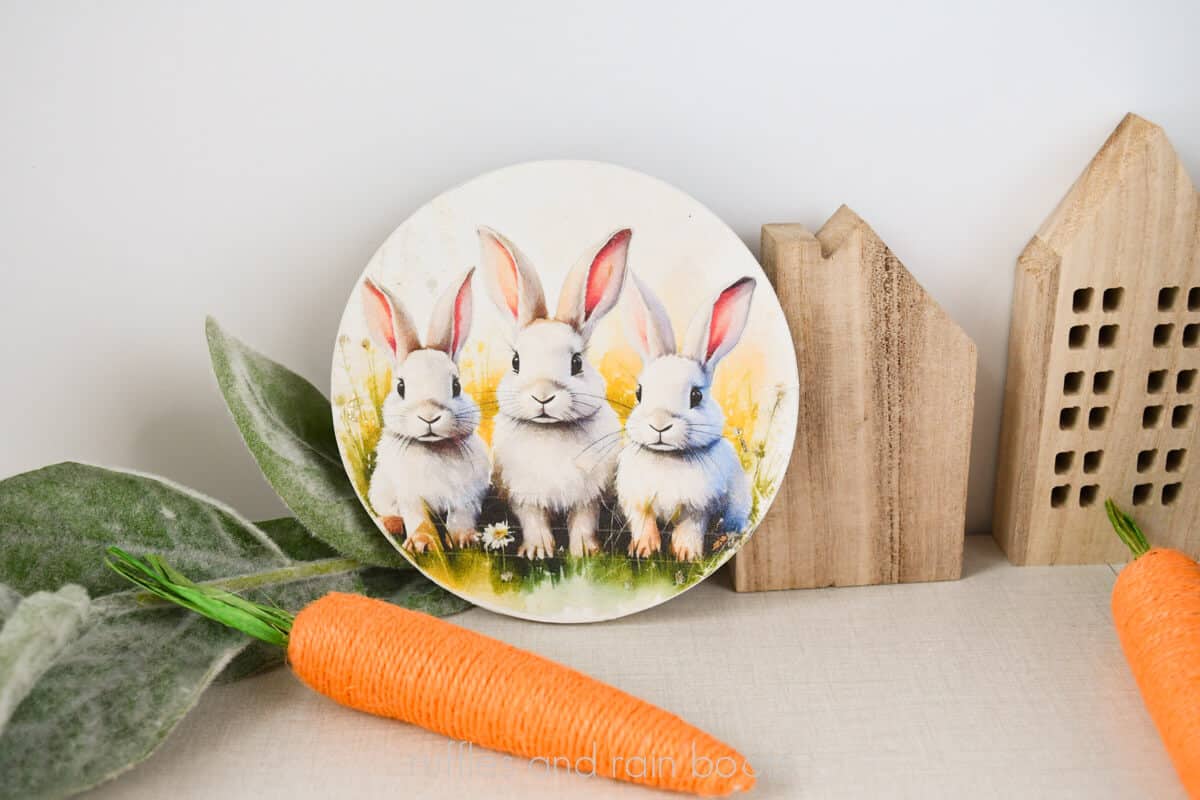
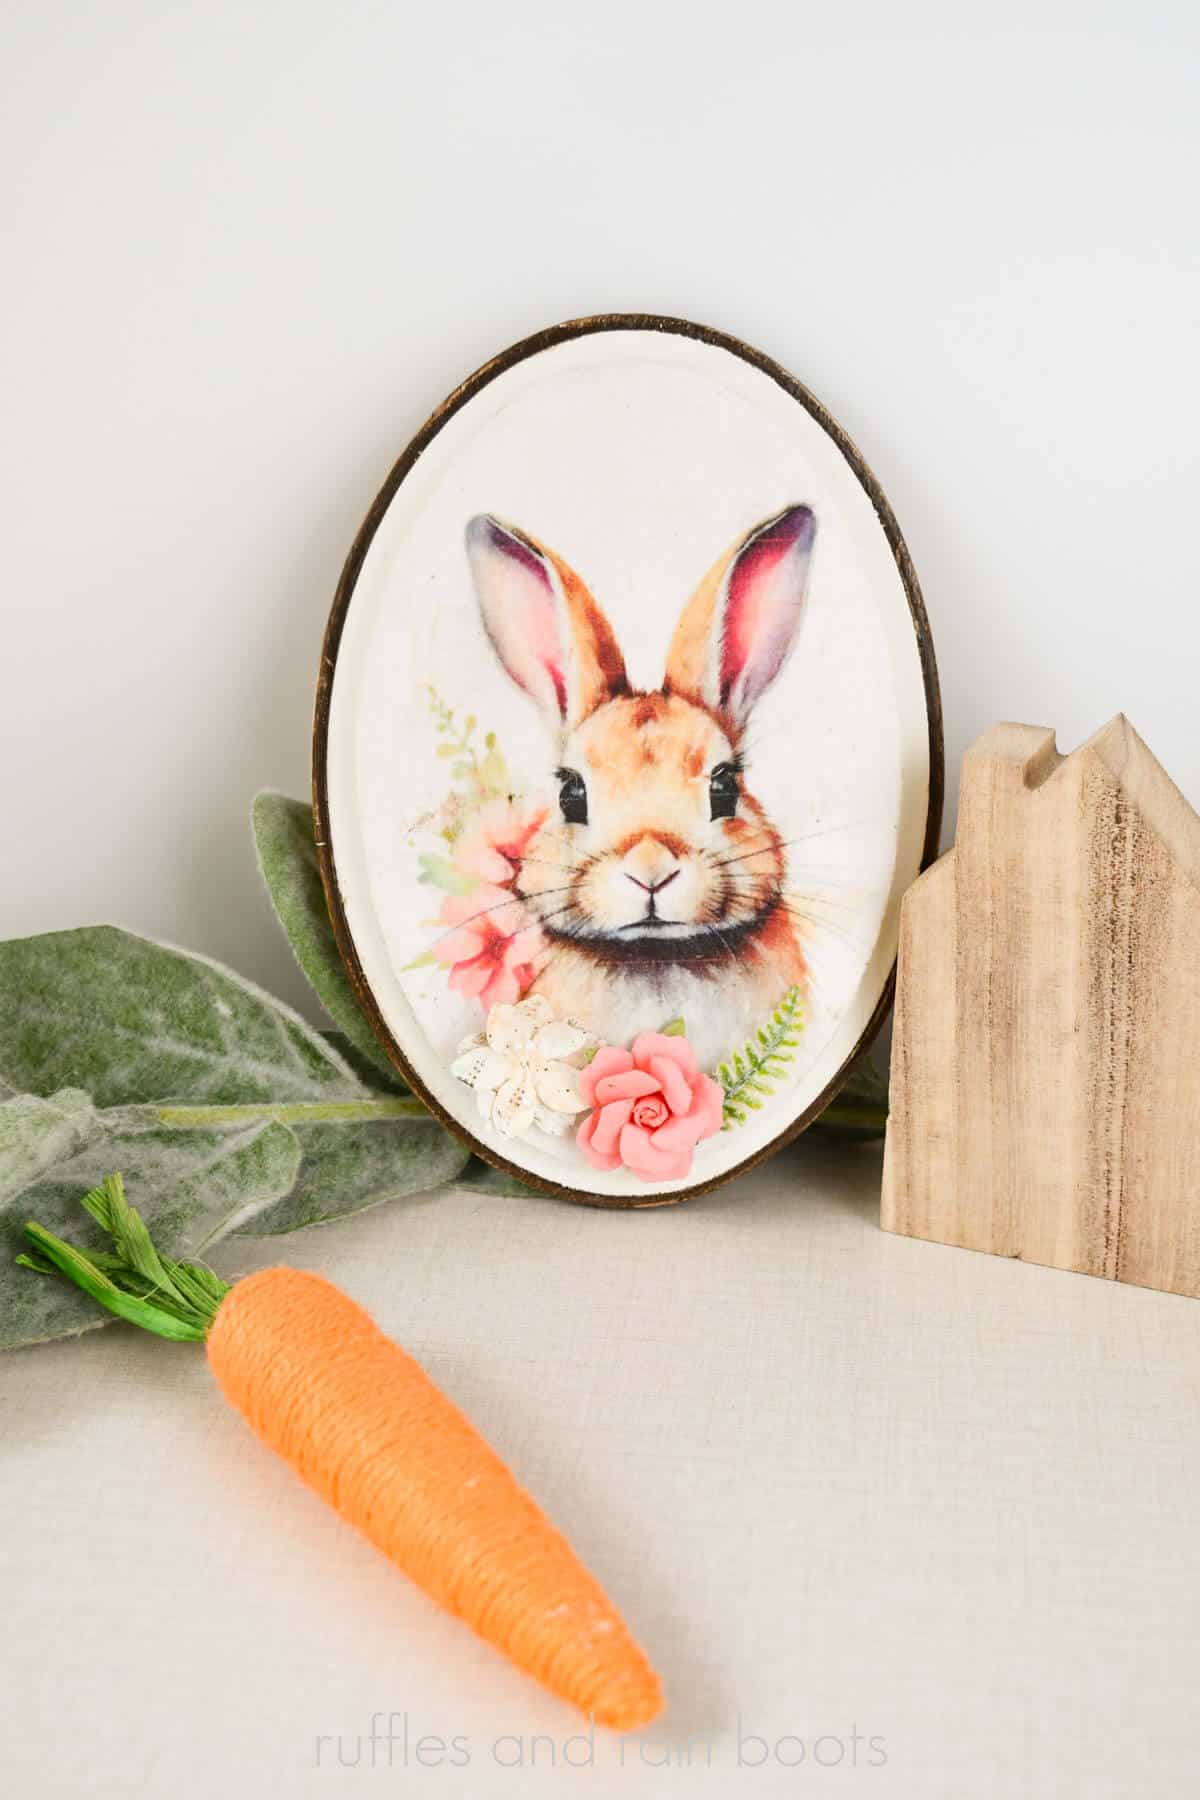
Open and save the free images for a trio of bunnies and/or a bunny with a flower accent. Use any word processing software (Microsoft, Apple, or online) to create an 8.5 x 11 inch (ish) document.
Measure your items to adjust the size of the images. Print them directly onto the mulberry paper.
Sand each plaque smooth and coat with two coats of white gesso (or other acrylic paint). Add a coat of ModPodge to the painted surface. Let dry.
Place the mulberry paper printed image onto the plaque and press down the edges to ensure it stays in place. Cover the image with parchment paper and, using medium heat, use the mini press to gently heat the image until secure.
Once the image has cooled, use the sand paper or sponge to remove the excess from the edges. Apply a coat of ModPodge (or spray sealant) atop the image. Let dry.
Apply any accessories like paper flowers to the plaque with hot glue. Optional: cut a piece of felt traced to the plaque size and adhere to the back with the staple gun or hot glue.
More Crafts and Easter Fun You Might Like
- Easy DIY Easter Gnomes – You can make the cutest trend using a hot glue gun!
- Cute Easter Hot Cocoa Bombs – These are an easy treat for the holiday.
- Dollar Tree Stacked Easter Egg Tree – This is great tucked into a holiday display.
Please Save or Share This Decoupage Technique
Your shares are how this site grows and I am sincerely grateful. Please save this decoupage idea for Easter to a crafting pin board or share this to a crafty Facebook group.
How to Decoupage with Mulberry Paper

Learn how to print on mulberry paper to create beautiful Dollar Tree Easter decoupage creations. Use the free Easter images or print your own.
Materials
- Free Images (bunny trio or bunny with flowers)
- Mulberry Paper
- Plaque or Shape (Dollar Tree or Michaels)
- ModPodge
- White Paint (I used this gesso)
- Accessories or Extras (paper flowers)
- Optional, Felt for Backing
- Optional, Other Paint Colors to Match Project
Tools
- Printer
- Sand Paper or Sanding Sponge
- Paintbrushes
- Hot Glue Gun and Glue Sticks
- Optional, Staple Gun (for optional felt backing)
- Parchment Paper and a Mini Heat Press or Iron
Instructions
- Open and save the free images I provide for a trio of bunnies and/or a bunny with a flower accent. Use any word processing software (Microsoft, Apple, or online) to create an 8.5 x 11 inch (ish) document.
- Measure your items to adjust the size of the images. Print onto mulberry paper.
- Sand each plaque smooth and coat with two coats of white gesso (or other acrylic paint). Let dry.
- Add a coat of ModPodge to the painted surface. Let dry.
- Place the mulberry paper printed image onto the plaque and press down the edges to ensure it stays in place.
- Cover the image with parchment paper and, using medium heat, use the mini press to gently heat the image until secure.
- Once the image has cooled, use the sand paper or sponge to remove the excess from the edges.
- Add a coat of ModPodge (or spray sealant) atop the image. Let dry.
- Apply any accessories like paper flowers to the plaque with hot glue.
- Optional: cut a piece of felt traced to the plaque size and adhere to the back with the staple gun or hot glue.
Notes
Tips for Printing on Mulberry Paper:
Meet the Creator
Hi there, I’m Sarah Nenni-Daher. I’m a crafty gal and always have at least 14 projects going at once. I am a crafter, designer, DIYer, and pattern maker. I share my creations here and in the Ruffles and Rain Boots® Shop.
Here at Ruffles and Rain Boots®, you’ll find DIY gnomes, crafts, gifts, cupcakes, laser crafts, and so much more. I love sharing video tutorials over on YouTube and chatting with other crafters in my Facebook groups. We’d love to have you!