
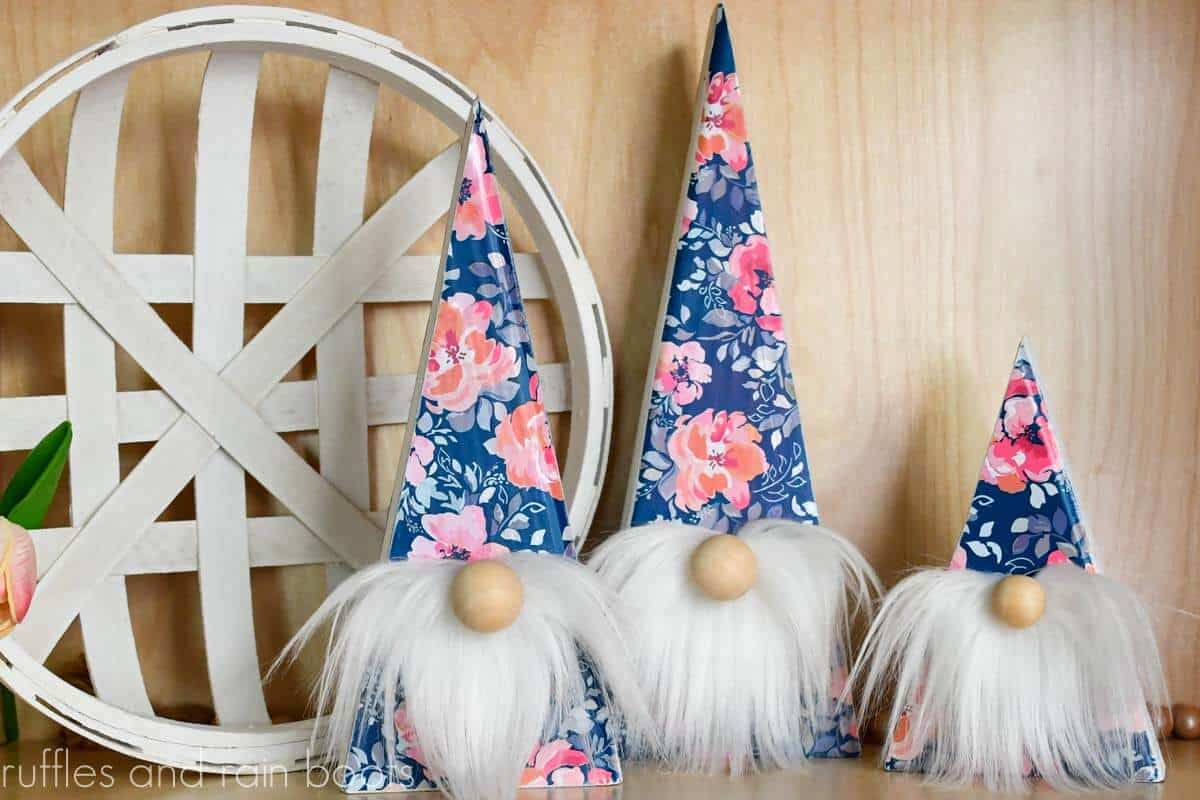
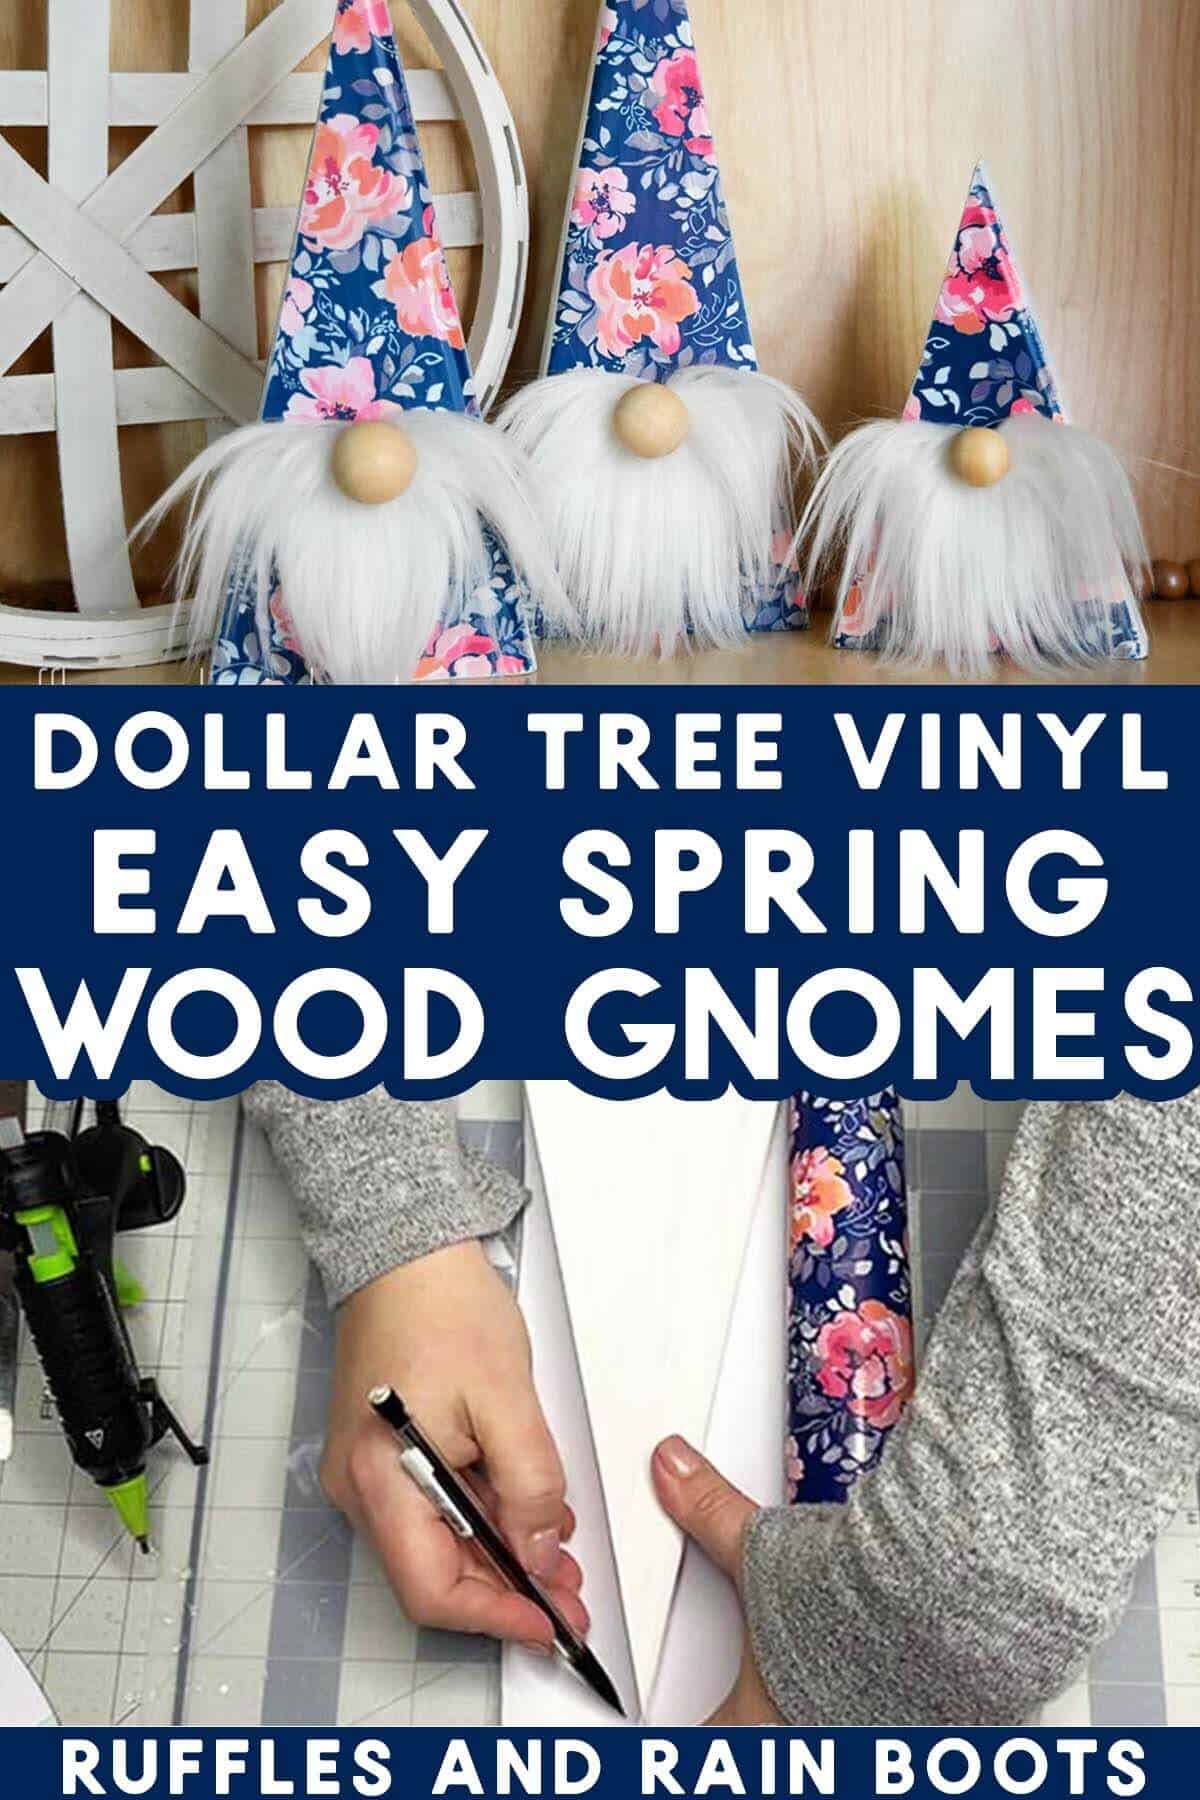
Spring Wood Gnome DIY Using Dollar Tree Vinyl
These Spring wood gnomes are so elegant and beyond easy. Use a Dollar Tree craft supply to make these in a fun floral, a Buffalo check, glitter, rainbow, and other styles and colors!
There is not much hands on time for this easy DIY Spring decor idea, however, you will need to let the paint dry. Keep reading for the full printable and video tutorial and a lot of tips and tricks I learned along the way.
What You'll Find On This Page
Spring Wood Block Gnomes
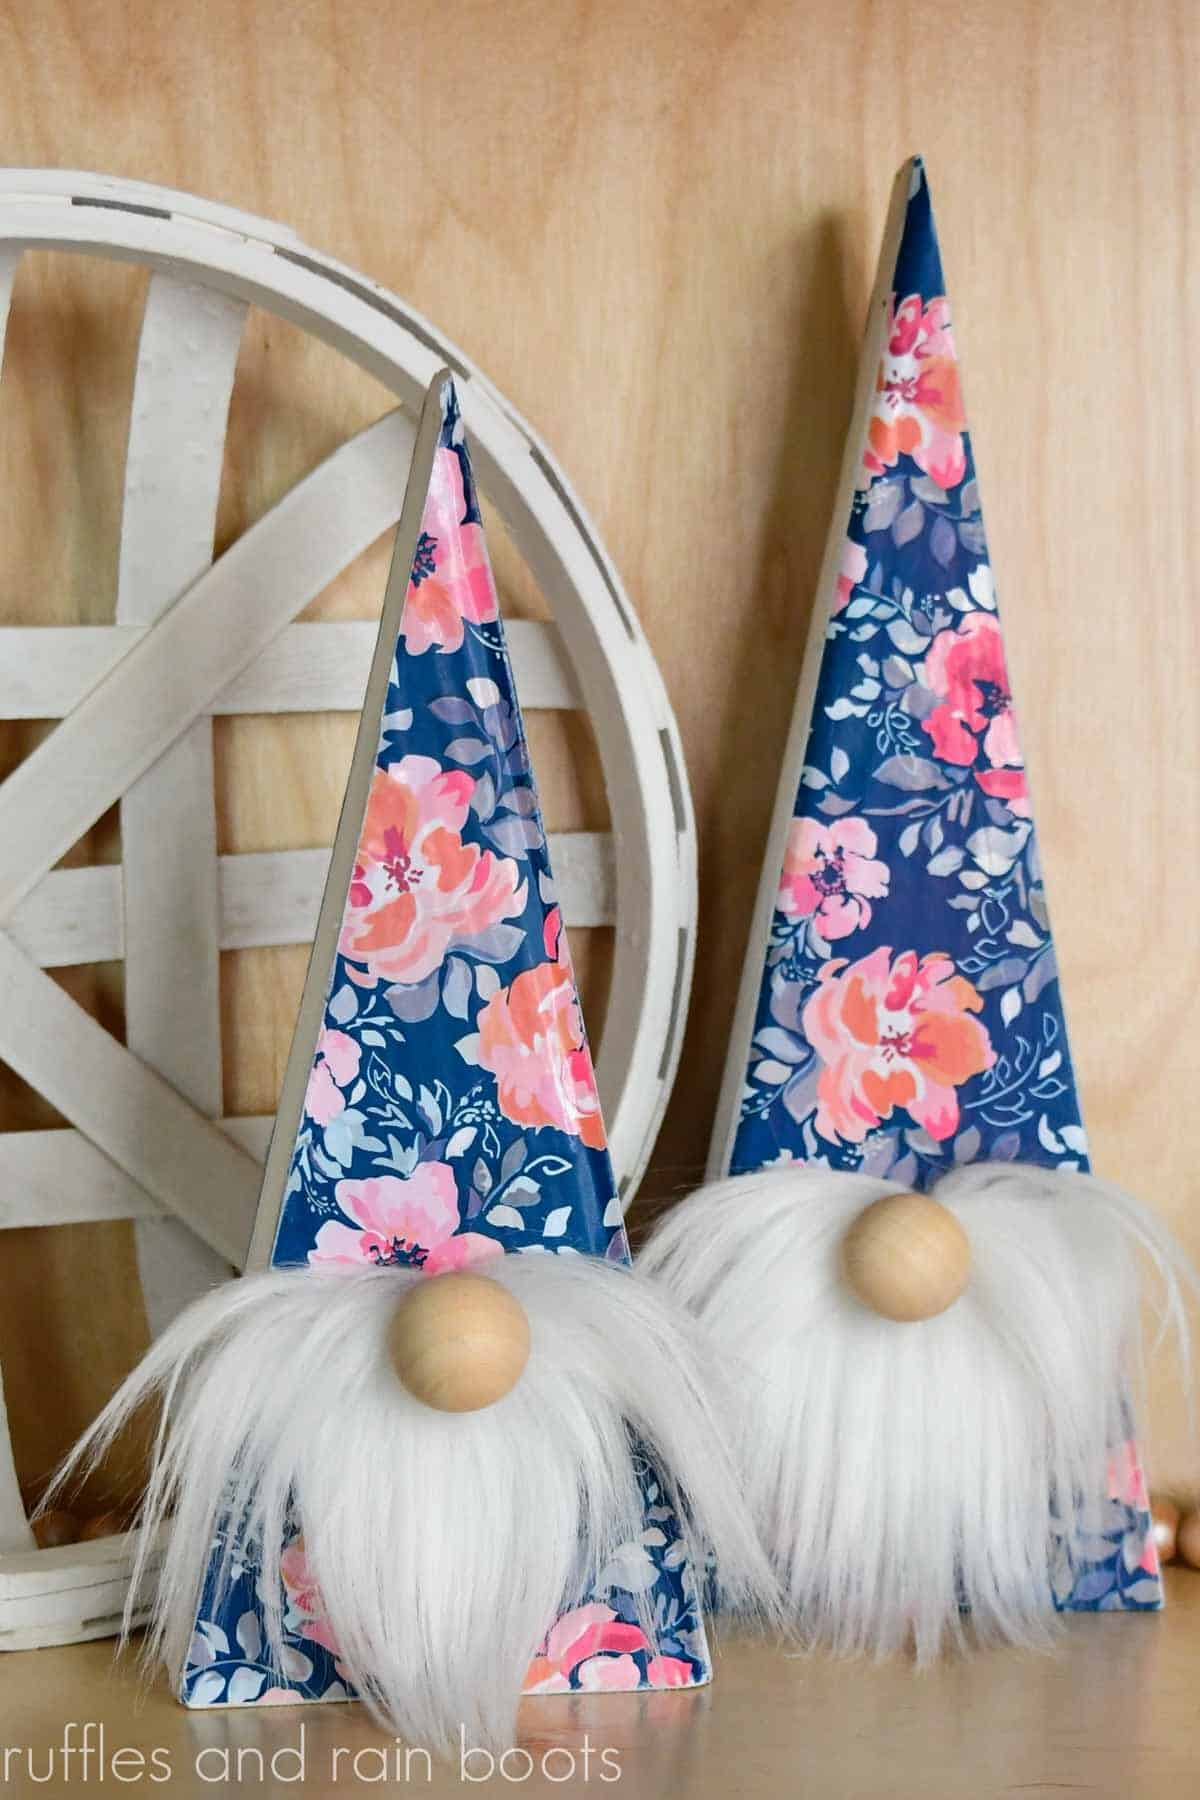
Here at Ruffles and Rain Boots, I know a good thing when I see it and am always thinking up new ways to make DIY gnomes. When I stumbled upon this gorgeous floral permanent vinyl at the Dollar Tree, I grabbed it without knowing what I was going to use it for at all.
And then I stumbled over one of these wood triangles in my craft room and the idea smacked me in the head (I almost smacked my head on the cabinet, too). Anyway, I had previously cut these but you can buy precut triangles, so do not let that stop you.
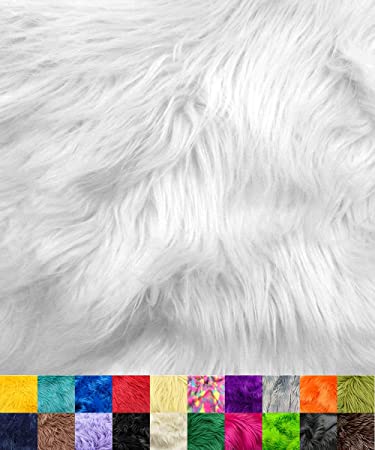
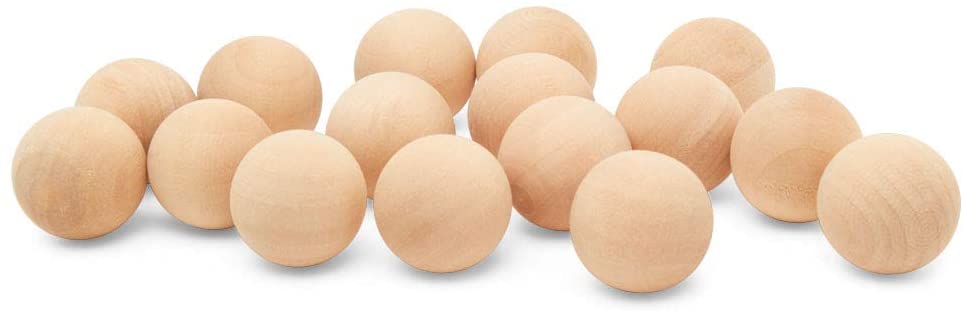
If you want to make these with me, gather up permanent vinyl, paint, faux fur, and wood balls. Friends, this is a fun Spring craft and I hope to see your creations!
No Time to Make This Now?
If you need to run to your local dollar store to find some pretty vinyl, I get it. Save this to a Spring pin board or share it on Facebook so you can easily find it later.
More Wood Gnomes You Might Like
- Wood Block Gnomes – The original wood gnomes are here on Ruffles and Rain Boots. See the ones who started it all – and were featured by Better Homes and Gardens in their exclusive Holiday Crafts issue!
- Easy Wood Nordic Gnomes – These winter gnomes are beautiful in their simplicity. The hat and the beard are minimal and stunning.

Tips for Making This Spring Gnome DIY
- Do not skip the painting step when creating these wood gnomes because it really makes a difference! I put the vinyl on a piece of scrap wood and it was a good bit duller than the painted blocks.
- Whether you cut the pieces yourself, use pre-cut wood triangles from Etsy, or use those triangle shelves from the Dollar Tree, please sand them first. I use the sanding blocks from Harbor Freight but the Dollar Tree often has them, too.
- Take care to cut the vinyl just outside of your trace line. This will allow the edges to be pressed down and sanded into place. The vinyl does not need to be sealed, so I think this step really helps to keep that stuff in place.
- The gnome beards can be any craft supply you have on hand. A few ideas are yarn, cotton mop heads, raffia, and moss.
- You can use any vinyl for this project! I just happened upon this navy and pink number and whew, I fell in love. That said, there are so many patterns available, you’re probably going to see another set of these in a Buffalo check for the holidays (Dollar Tree has it in white, green, and red).

DIY Spring Wood Gnome Tutorial
Below is the full written and printable tutorial for this DIY wood craft, complete with helpful images. If you are a visual learner, I recommend watching the full length Spring wood gnomes video tutorial on YouTube. Be sure to subscribe – we have a lot of fun over there.
Spring Wood Gnomes with Vinyl

These elegant Spring wood gnomes are made using precut wood triangles, Dollar Tree permanent pattern vinyl, and a bit of faux fur. These DIY no sew gnomes are a gorgeous addition to your decor.
Materials
- Wood Triangles (get them here on Etsy)
- Dollar Tree vinyl (or other permanent vinyl)
- Mongolian Fur (I used white)
- 1 inch wood balls
- White chalk or acrylic paint
Tools
- Sanding Block or Paper
- Paintbrush
- Scissors
- Hot Glue Gun and Glue Sticks
- Pencil or Pen for Tracing
- Optional, Water and Towel (Wipe off Wood Dust)
- Optional, Card or Scraper to Press Vinyl
Instructions
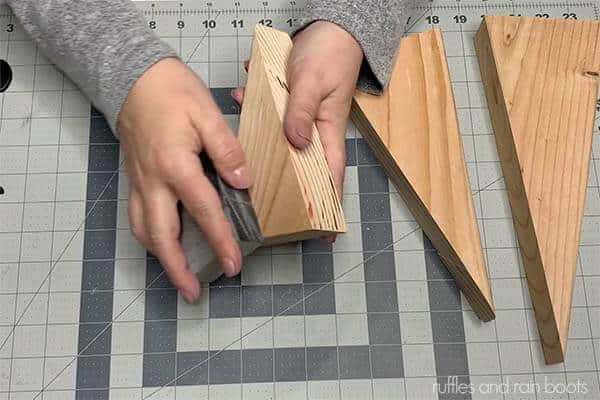
- Cut and sand the wood blocks. See how to cut in the notes section if you are cutting your own.

- Paint all blocks white or seal if leaving natural. I did two coats of white gesso.
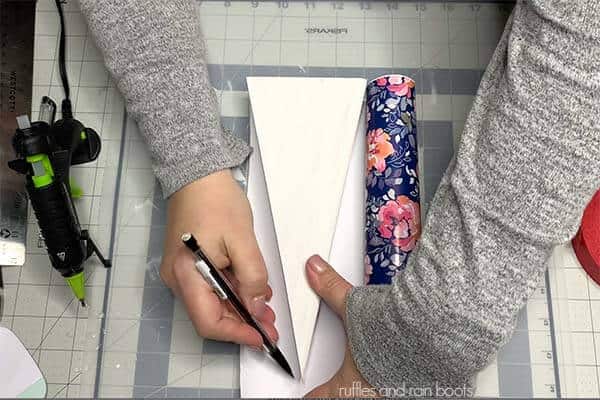
- Trace the blocks onto the back of the Dollar Tree vinyl. Note: I did all of the fronts and then all of the backs to keep things straight in case my cuts were slightly off.
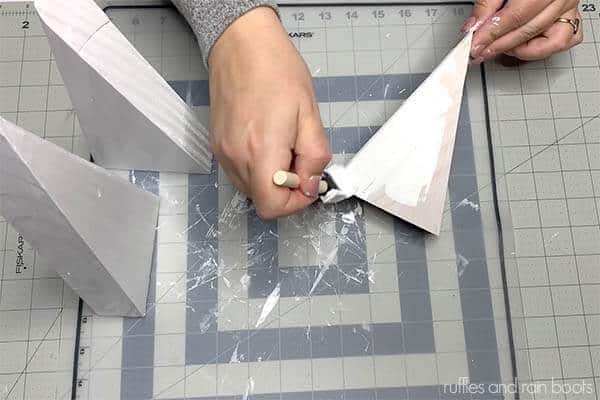
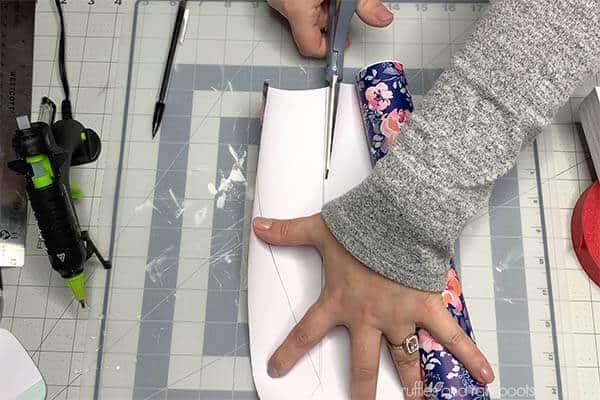
- Cut the vinyl out, leaving a very small allowance beyond the trace line (1/16th of an inch is plenty).
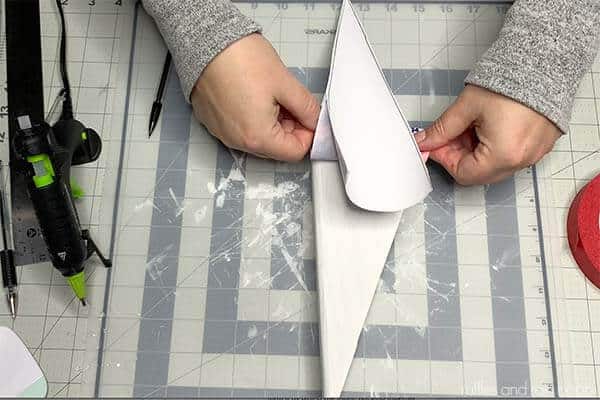
- Lift up the bottom edge vinyl paper backing, line up the vinyl with the bottom edge at the centers, and adhere the exposed sticky backing to the painted wood. Pull up the paper while pressing down the vinyl. Repeat for all fronts and backs, if doing.
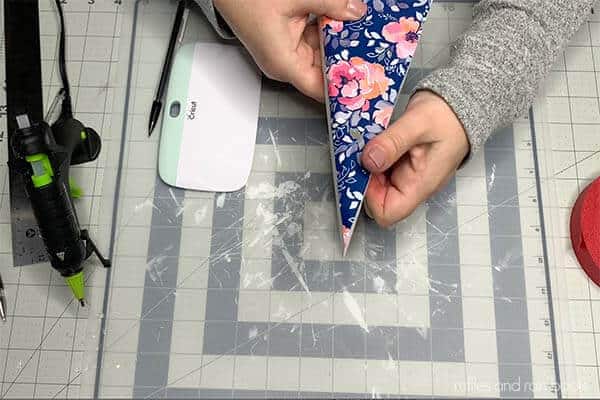
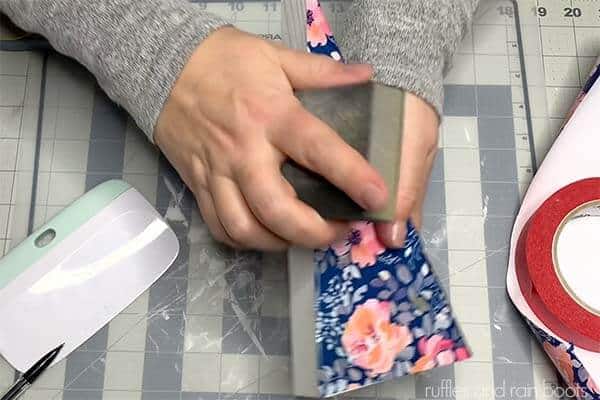
- Roll the edges of the vinyl overhang down over the edges of the wood block (only press in a downward motion).
- Use the sanding block in a downward motion to adhere the edge of the vinyl on the long sides and bottom of the wood block.
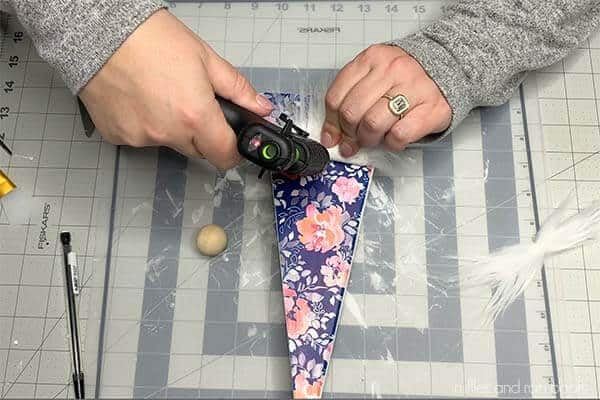
- Measure and cut the beard from the Mongolian fur to your desired width and height. Optional, cut a mustache (rectangle the same width as the beard by 1/2 inch) and form it by gluing the fabric backing together. For reference, my beards started at 3” W x 2” high for the tallest.
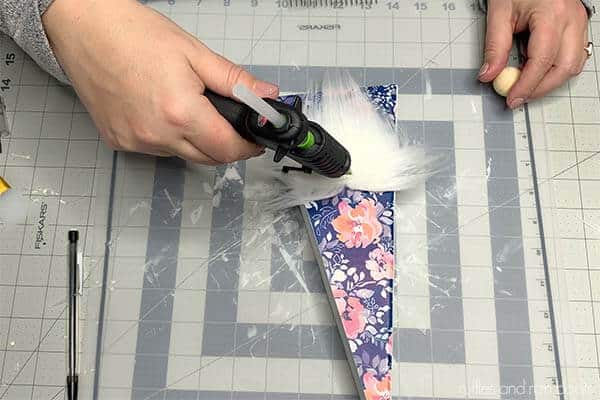
- Adhere the beard and mustache to the front of the gnome with hot glue.
- Split the fur at the mustache’s center all the way to the fabric, add glue, and press in the wood ball nose.
Notes
If you do not have the ability to cut wood, you can buy pre-made triangles from Etsy.
You can use any permanent vinyl brand, not just the Dollar Tree vinyl.
Painting the wood first really helps the colors in the vinyl to pop and I recommend not skipping this step.
Recommended Products
As an Amazon Associate and member of other affiliate programs, I earn from qualifying purchases.
More Spring Gnome Crafts and DIY Ideas
- Easter Bunny Gnome – Use hot glue or a sewing machine to make this absolutely adorable Spring gnome.
- Gardening Gnome – This chunky cutie is sure to bring the smiles; check out that gorgeous hat (it’s done in just minutes)!
- Spring Clay Pot Gnome – If you ever have those random clay pots lying around in your craft room (who doesn’t?), make this. That flower crown is absolutely stunning.
Please Save or Share This
Did you like this fun gnome DIY? Your shares are how this site grows and I am sincerely grateful. Please save it to a fun pin board or share it with a crafting group on Facebook.
Meet the Creator
Hi there, I’m Sarah Nenni-Daher. I’m a crafty gal and always have at least 14 projects going at once. I am a crafter, designer, DIYer, and pattern maker. I share my creations here and in the Ruffles and Rain Boots® Shop.
Here at Ruffles and Rain Boots®, you’ll find DIY gnomes, crafts, gifts, cupcakes, laser crafts, and so much more. I love sharing video tutorials over on YouTube and chatting with other crafters in my Facebook groups. We’d love to have you!