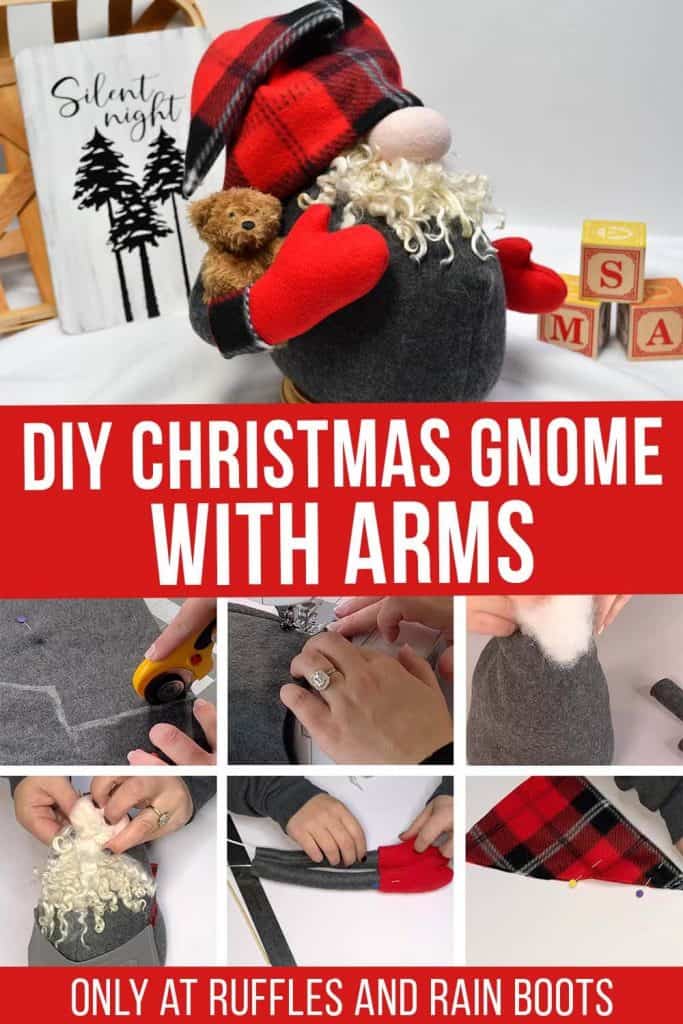
Large Christmas Gnome with Arms
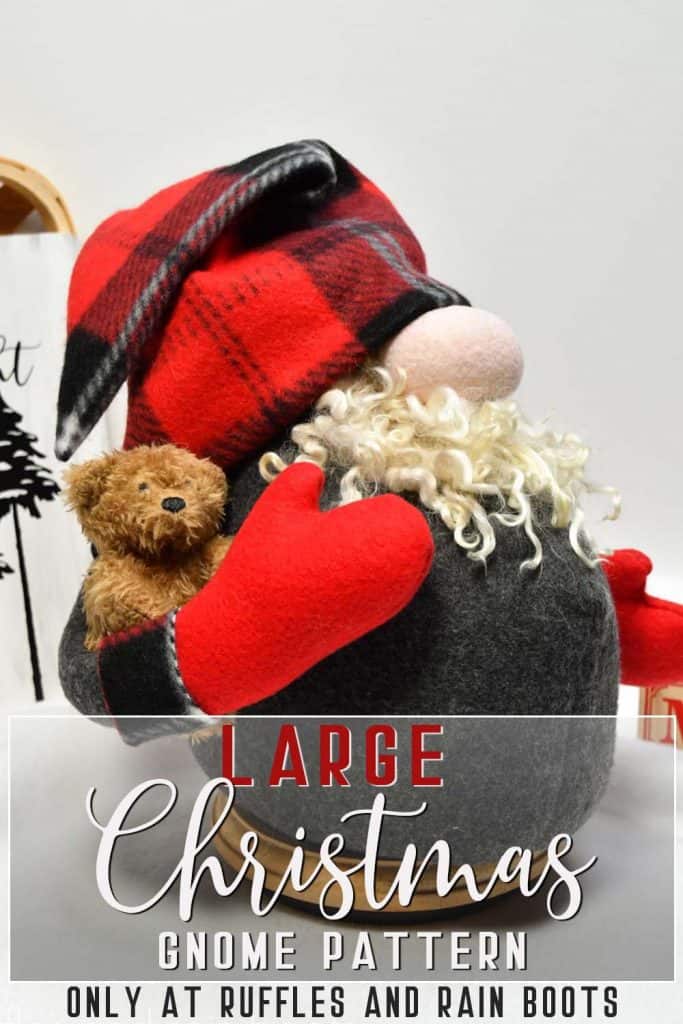
Make this fun, big belly Christmas gnome with arms using the Chonky gnome pattern and full tutorial. You can pose the arms and change up the hats to get exactly the look you want for a cozy Christmas gnome.
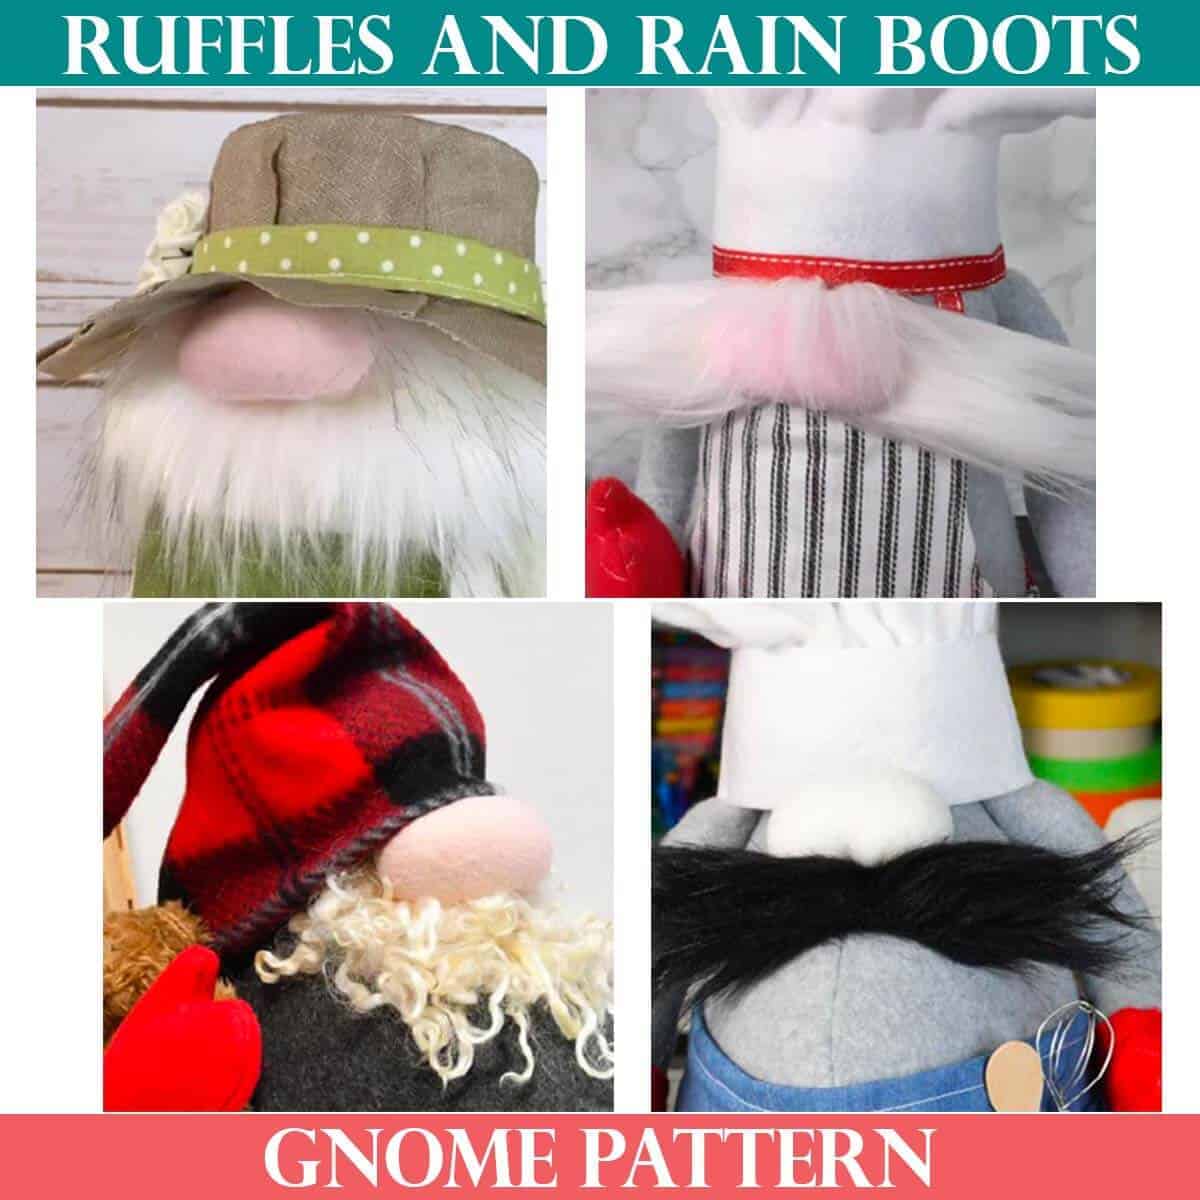
RELATED READING: LARGE CHEF GNOME WITH POSABLE ARMS
What You'll Find On This Page
Make an Heirloom Christmas Gnome
Here at Ruffles and Rain Boots, I keep challenging myself to come up with new designs and fresh looks. The gnome trend has been going strong in decor and crafts for years now and I want to keep pushing myself.
I designed this gnome pattern over the course of a year, taking time to include SO many extras. This pattern includes two body sizes AND two body styles, 3 slouchy hats, 2 other gnome hats, 2 mitten sizes, 2 apron styles, and more. A lot, right? Let’s get started.
Get Secret Gnomes, Tips, & Freebies Delivered!
What is the best pattern to use when you don’t want to sew? Do you know the secrets to a properly-proportioned gnome? Do you know where to get the best-priced fur?
Get all of this (and exclusive content just for you) delivered right to your inbox with the gnome-making series, free of charge. Sign up to get the once-weekly newsletter (and a jaw-dropping special offer)!

No Time to Make This Big Guy Now?
If you’re gathering up supplies, save this for later by saving to a pin board or sharing to your favorite Facebook crafting group.
As an Amazon Associate, I could earn from qualifying purchases. There could be affiliate links in this article for which I could earn compensation.
Tips for Making a Large Gnome with Arms
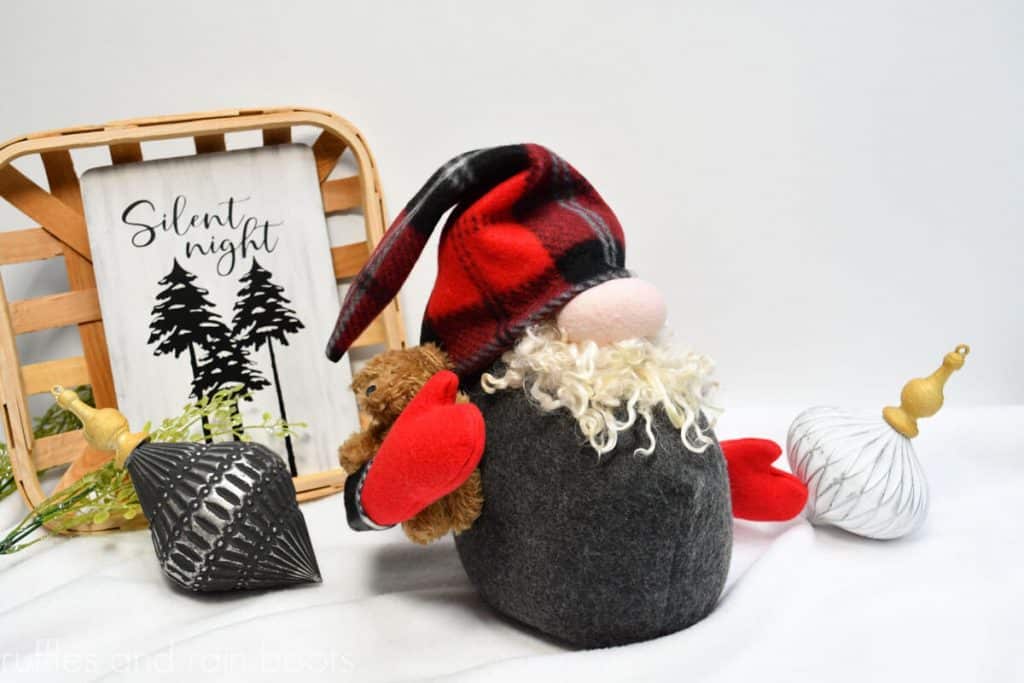
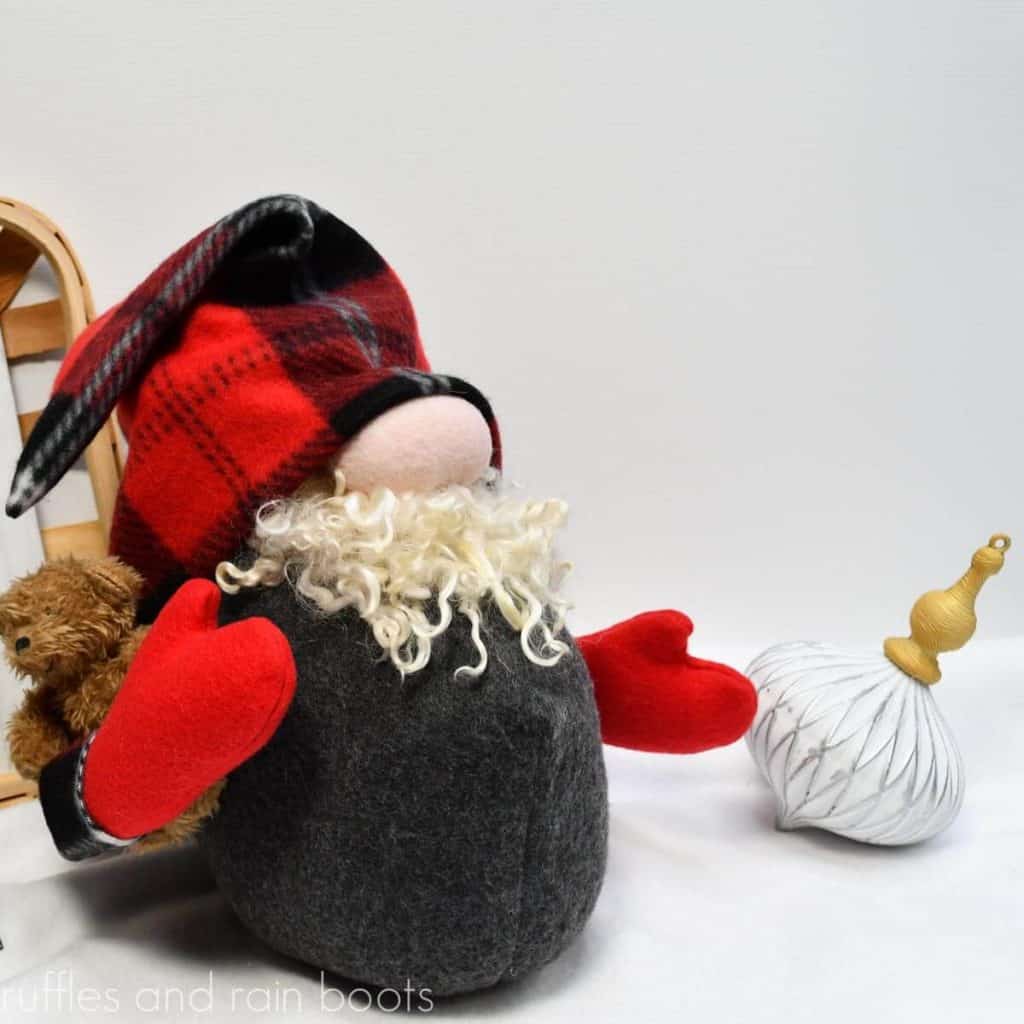
Friends, this guy may only be 12-14 inches tall, but he’s hefty! This big belly cutie’s construction tips are below.
- Get the Chonky gnome pattern here. Cut out the body, base, arms, and mittens (there are two, I used the larger ones).
- Decide which of the three slouchy hat sizes you like best. He’s shown here with the over-sized slouchy hat.
- Fleece is the optimal fabric if you’re a beginner, as this guy gets STUFFED very, very well Poly-Fill and a good bit of weight with the Poly-Beads.
- Be sure to figure out what you’d like your gnome to hold. For this large chef gnome, I put a mini book in one and a rolling pin made from clay in the other. For this guy, I used a teddy bear for an 18″ doll.
- Definitely get the 14 gauge wire for the posable arms. Doing so will allow your handmade gnome to hold any manner of items you buy or make. Wouldn’t this guy be cute delivered with an ornament for the holidays?
Christmas Gnome Pattern and Instructions
To learn the overall steps for this Christmas gnome, read on below. If you’d like a more detailed tutorial, get the Chonky gnome pattern here and follow along with the full large Christmas gnome video tutorial on YouTube here.
Chonky Slouchy Hat Gnome

This large gnome with arms is a crowd-pleasing, big fella. I chose to use the largest of the three slouchy hat patterns for him and I would love to see how you make him your own.
Materials
- Chonky Chef Gnome Pattern
- Fleece Fabric in Color 1 (for Body and Arms)
- Fleece Fabric in Color 2 (for hat)
- Fleece Fabric in Color 3 (for mittens)
- 3 Cups Poly Beads
- Poly Fill
- Floral Wire (14 Gauge)
- Wool Locks
Tools
- Medium Felting Needle
- Sewing Machine and Coordinating Thread
- Scissors or Rotary Cutter, Wire Cutter
- Embroidery Needle and Coordinating Thread
- Hot Glue Gun and Glue Sticks
Instructions
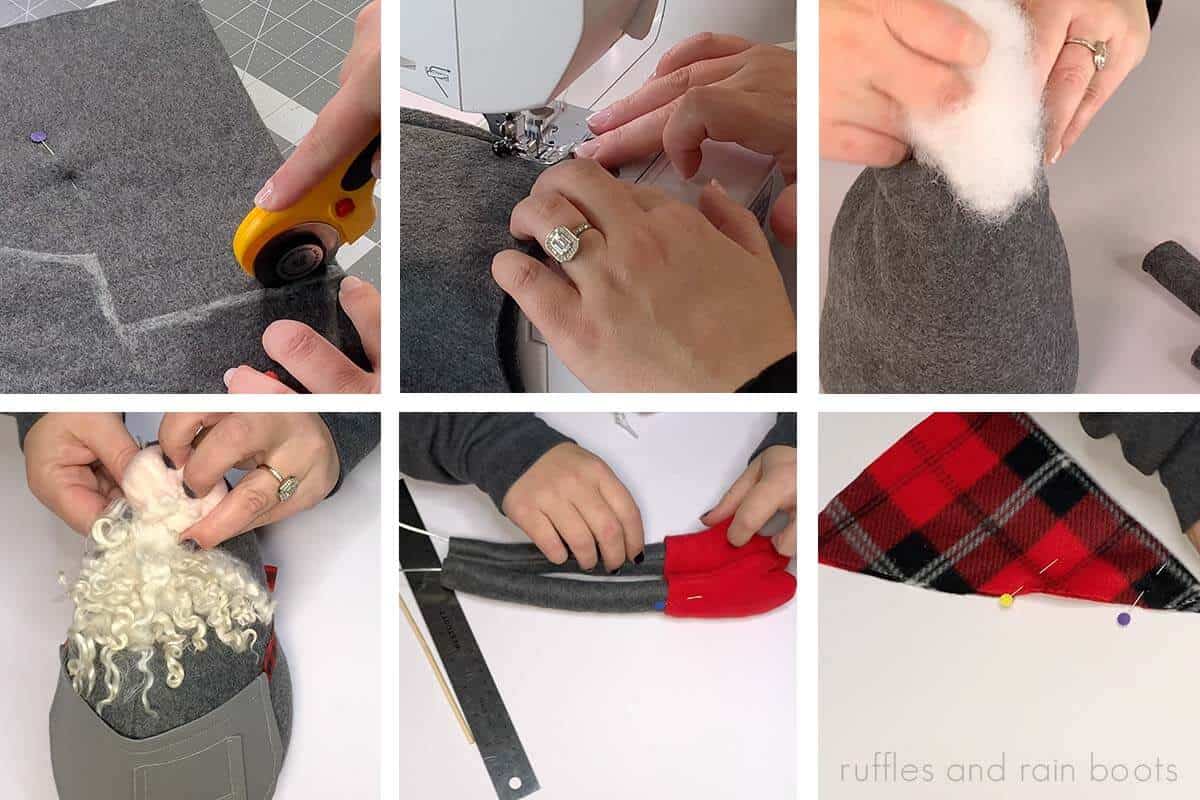
- Download the Chonky Gnome Pattern. Cut the body, base, arms, and large mittens. Choose and cut the desired slouchy hat. Please note: much more detailed instructions are included in the pattern.
- Pin and sew the body, arms, hat, and mittens. Watch this detailed tutorial on how to make chef oven mitts. Turn right-sides out, fill with weight, and stuff.
- Make the nose by following the pattern instructions and stuff very, very well with Poly Fill. Set aside.
- Separate the wool locks by size and felt the locks into the body where where the curve happens at the neck. Sew on the gnome nose and and add locks to the bottom for a seamless look.
- Bend over the wire at both ends, stuff the mitten, and insert the wire into mitten all the way in. Stuff the arm and slide about three-quarters of an inch into the mitten. Sew the mitten to the arm or secure with glue.
- Attach arms to body with the embroidery needle and thread. Do not glue.
- Slide on the hat, securing in place and your large gnome with arms is ready for display!
Notes
The Chonky gnome is a large gnome with arms sewing pattern. This is not a pattern designed to be hot glued. If you are seeking a versatile hot glue pattern, use the Scandinavian Sweeties pattern here.
Recommended Products
As an Amazon Associate and member of other affiliate programs, I earn from qualifying purchases.
More Holiday Gnomes with Arms You Might Like
- Nordic No-Sew Christmas Gnome Pattern – These Nordic cuties are made with a glue gun and just a few minutes of your time.
- Scandinavian Sweetie Christmas Gnome – This gnome is made using a hot glue gun or a sewing machine; the pattern is SO versatile.
- One-Sock Holiday Gnome – If you’re short on time, grab a single sock to make this stand-out cutie.
Please Save or Share
Your shares are how this site grows and I am sincerely grateful. Please consider sharing to Facebook or sending to a friend who loves gnomes.
