
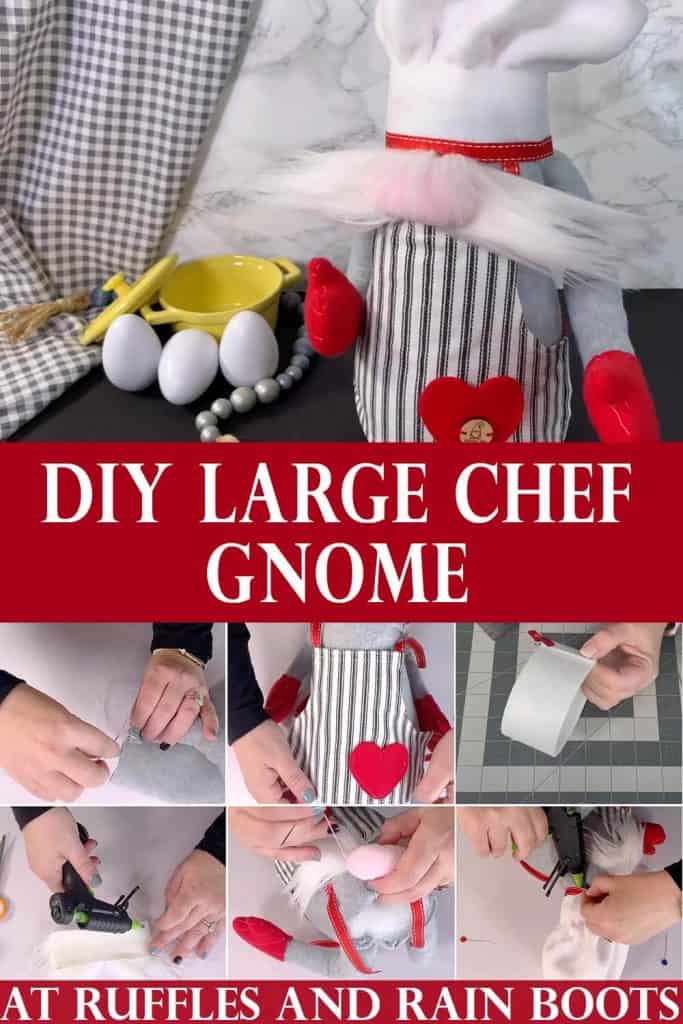
Chonky Chef Gnome Pattern
After a year, the large chef gnome pattern is ready and it is FULL of extras and bonuses! You can make the most adorable chef, garden, or Santa gnomes.
What You'll Find On This Page
Large Chef Gnome Pattern
Here at Ruffles and Rain Boots, I have been sharing DIY gnomes for years. Christmas gnomes, farmhouse gnomes, gnome sewing patterns, no-sew gnomes – there are literally hundreds of gnome tutorials here.
But none have taken me as long to develop as this guy. If you want to make an heirloom-quality piece, this is the gnome pattern for you.
RELATED READING: Make a Small Chef Gnome from a Sock!
No Time to Make This Now? Share for Later
If you need to gather up some supplies, download the chef gnome pattern here and save this to your Facebook feed or Pinterest board for later.

Tips for Making This Gnome Pattern
Okay friends, this is going to be a bit of a bummer but I can’t share the entire pattern here. Something which has taken this long and this many resources has to be provided in a premium pattern.
That said, here are some tips I think you should have in order to decide whether you should get the pattern and what materials you should consider.
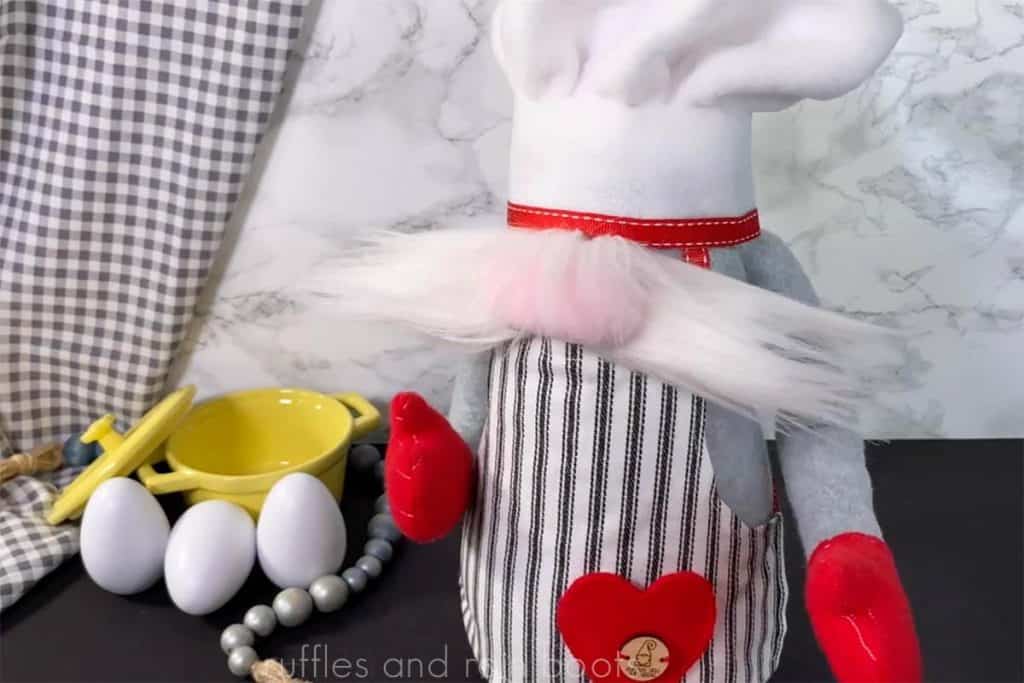
- This is a 12-14″ tall gnome with a VERY large presence.
- This gnome pattern can be made with a booty or a belly and two sizes (mainly to encompass your choice of hats).
- Fleece is used for the body because we want to get that belly or booty stuffed to the brim and need a little bit of stretch.
Included in the Chef Gnome Pattern
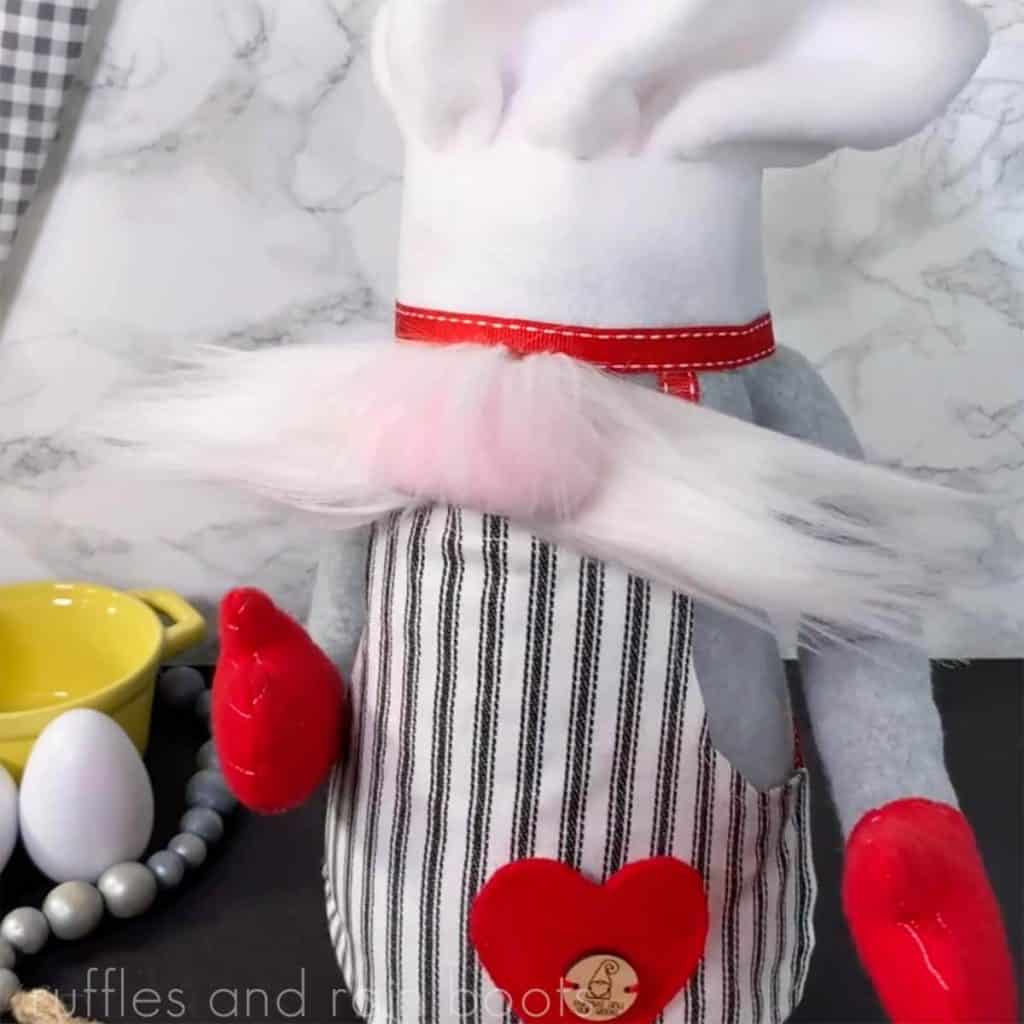
This guy is SO stinking cute, friends, but more importantly, the pattern comes with a lot of fun extras and variations. I’ve already made 6 of these in various styles.
- 2 body styles (gnome with a belly or a booty)
- 2 body sizes (about 2 inches difference in the finished gnome)
- 2 mitten styles
- 2 apron styles with 3 pocket styles (bistro apron and a full body apron)
- 5 hat styles and sizes for various looks (chef, garden, and 3 slouchy hat styles)
How Do I Make This Chef Gnome?
I’m so glad you asked, friends. Below is a summary of the steps included in the pattern and you can see the full chef gnome tutorial here.
First, download the Chonky Chef Gnome Pattern. Cut out pattern pieces from desired fabrics.
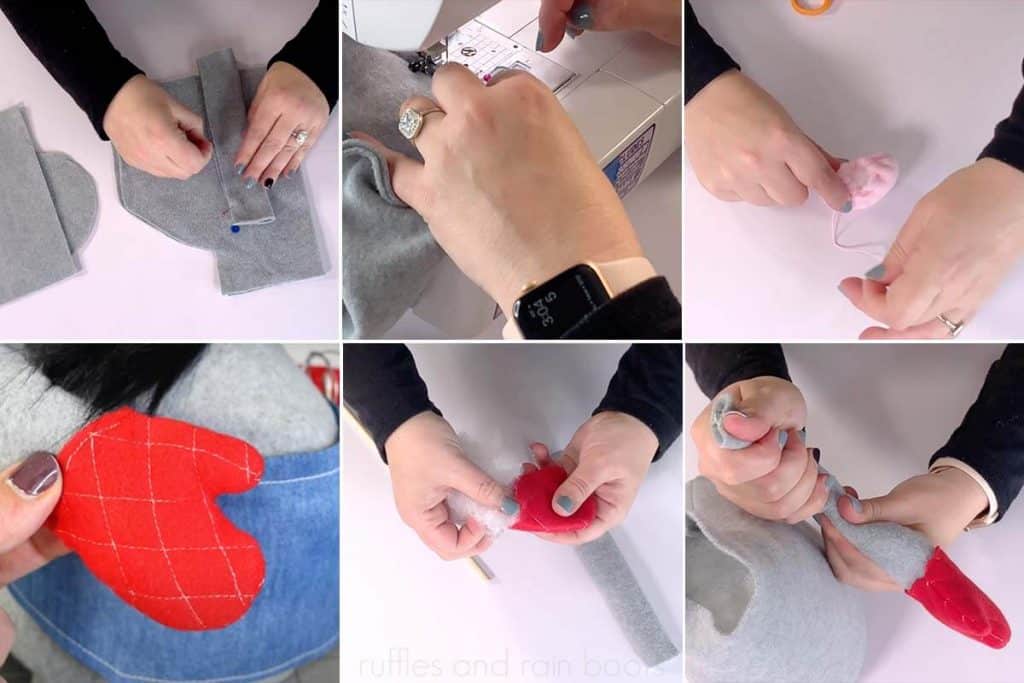
Much more detailed instructions are located in the pattern, but to get an idea…Pin and sew the body, arms, and mittens. Watch the detailed tutorial on how to make chef oven mitts. Turn right-sides out and stuff.
For the arms, bend over the wire at both ends and insert into the mitten and arms before stuffing.
Make the nose by following the pattern instructions and stuff very, very well with Poly Fill.
Make the hat – watch this detailed tutorial on how to make one of three different styles of chef hats.
Make the apron (two styles included in the pattern) and tie it onto the gnome body before moving on.
For a full body apron, watch this full tutorial.
For a half bistro apron, watch this tutorial.
Cut fur into beard or mustache and apply to the body column. Attach the nose just above the beard or mustache.
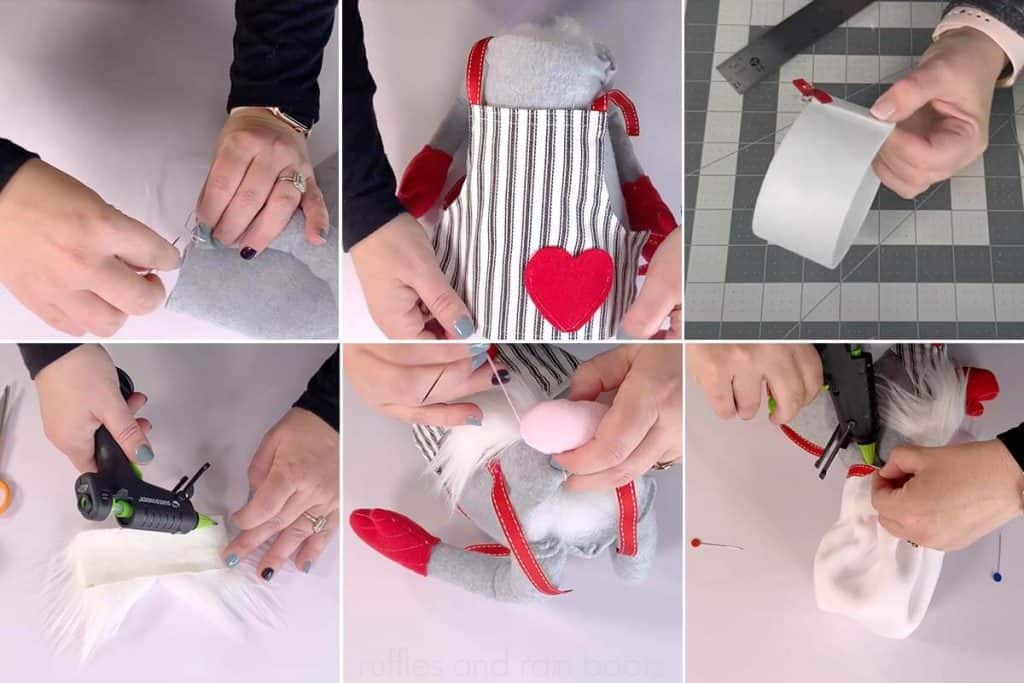
Slip on and secure the chef hat. It’s time to display your chef gnome!
Other Gnomes You Might Like
- Scandinavian Sweetie Gnome – This is the best-selling gnome pattern for a reason: it is so versatile, includes arms, legs, and more variations, and well, it’s just adorable!
- No Sew Farmhouse Gnome – If you are looking for a sock gnome with a lot of personality (and a super-sized hat), this is a great gnome to whip up.
- Rustic Woodland Gnome – Have a Dollar Tree nearby? Gather up the supplies for this rustic woodland fella.
Please Save or Share
Your shares are how this site grows and I am sincerely grateful. Please consider sharing this to your favorite Facebook crafting group.
Large Chef Gnome DIY

This pattern is chockfull of goodness and this chef gnome is going to blow you away! Download the pattern and get started because you'll LOVE HIM when he's finished.
Materials
- Chonky Chef Gnome Pattern
- 1/3 yard Fleece Fabric in Color 1 (for Body and Arms)
- 1/8 yard or Less (Scraps) Fleece Fabric in Color 2 and 3
- 1/3 yard or Fat Quarter of Fabric in Color 4 (for Apron) + Pocket fab
- Hat Material (depends on chef hat, garden hat, or floppy hat)
- 3 Cups Poly Beads
- Poly Fill
- Floral Wire (14 Gauge)
- Mongolian Faux Fur
Tools
- Sewing Machine and Coordinating Thread
- Scissors, Rotary Cutter, Wire Cutter
- Embroidery Needle and Thread
- Hot Glue Gun and Glue Sticks
Instructions
- Download the Chonky Chef Gnome Pattern. Cut out pattern pieces from desired fabrics. Much more detailed instructions are located in the pattern, but to get an idea...
- Pin and sew the body, arms, and mittens. Watch this detailed tutorial on how to make chef oven mitts. Turn right-sides out and stuff.
- For the arms, bend over the wire at both ends and insert into mitten and arms before stuffing.
- Make the nose by following the pattern instructions and stuff very, very well with Poly Fill.
- Make the hat - watch this detailed tutorial on how to make one of three different styles of chef hats.
- Make the apron (two styles included in the pattern) and tie onto the gnome body before moving on. For a full body apron, watch this full tutorial. For a half bistro apron, watch this tutorial.
- Cut fur into beard or mustache and apply to the body column. Attach the nose just above the beard or mustache.
- Slip on and secure the chef hat. It's time to display your chef gnome!
Notes
For the detailed pattern which includes the following, visit: https://shop.rufflesandrainboots.com/product/chonky-gnome-pattern/
- 2 body styles and sizes
- 2 mitten styles
- 2 apron styles (with three pocket options)
- 5 hat options (chef, garden, and 3 sizes of slouchy gnome hats)
Meet the Creator
Hi there, I’m Sarah Nenni-Daher. I’m a crafty gal and always have at least 14 projects going at once. I am a crafter, designer, DIYer, and pattern maker. I share my creations here and in the Ruffles and Rain Boots® Shop.
Here at Ruffles and Rain Boots®, you’ll find DIY gnomes, crafts, gifts, cupcakes, laser crafts, and so much more. I love sharing video tutorials over on YouTube and chatting with other crafters in my Facebook groups. We’d love to have you!