DIY Faux Fur Trees – 5-Minute Craft Made 3 Ways!
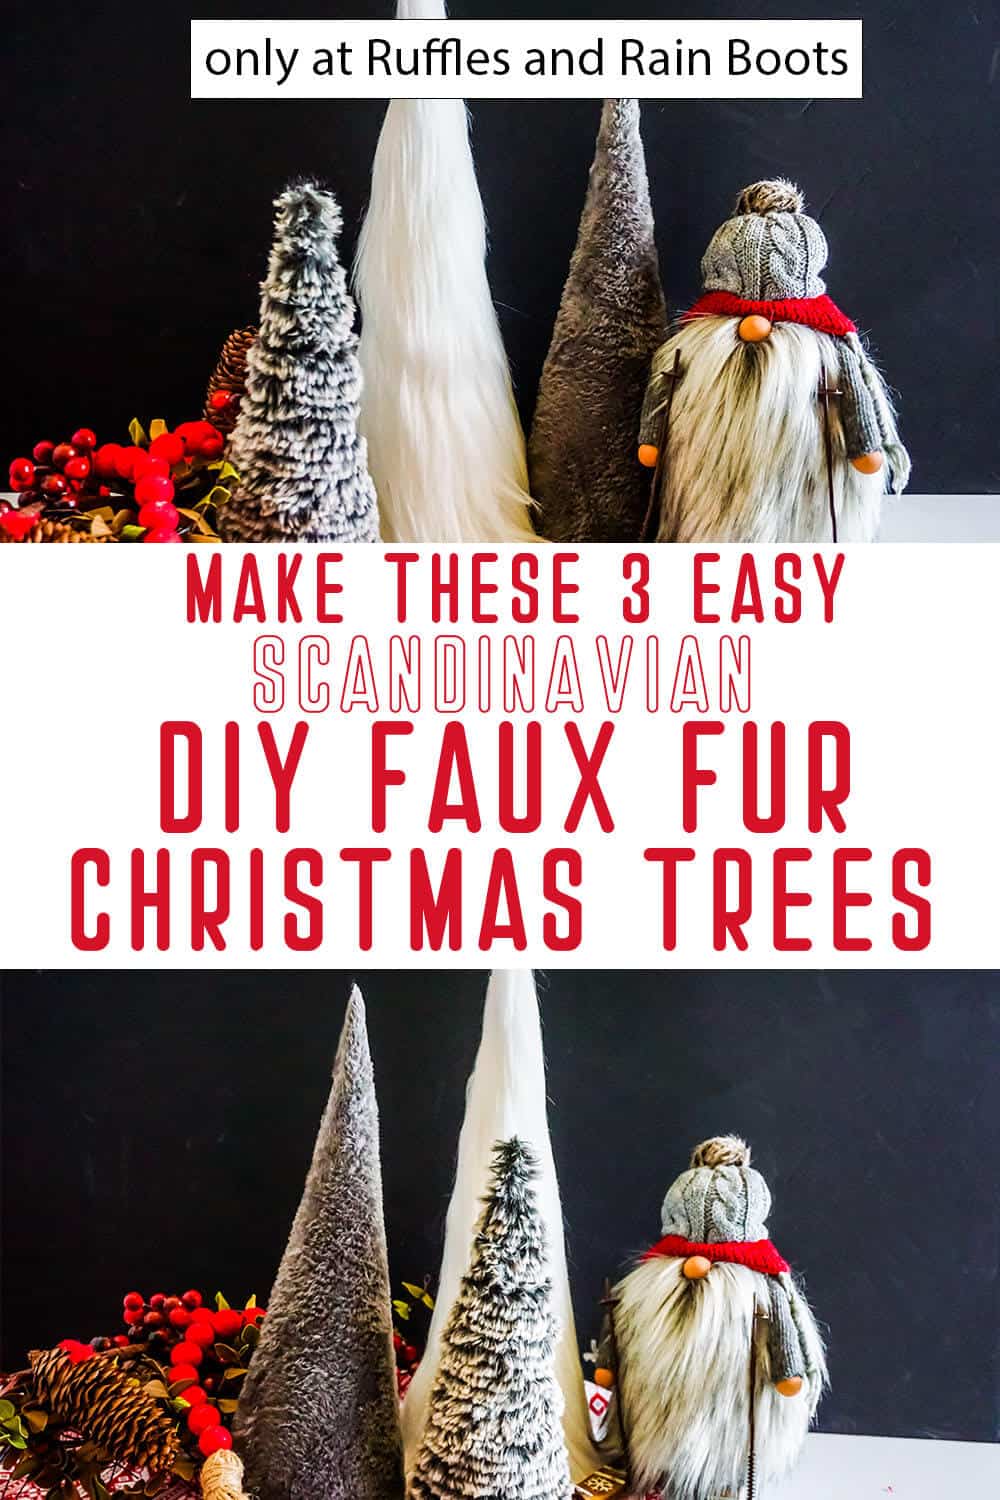
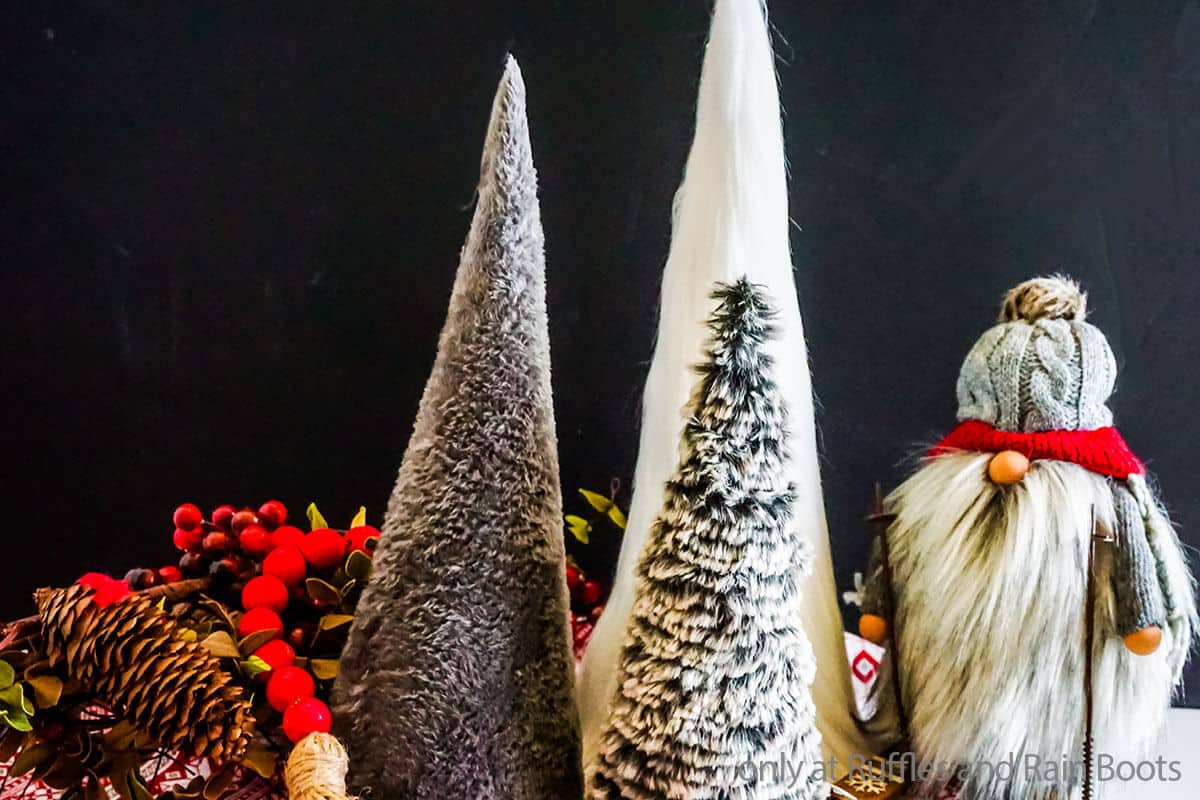
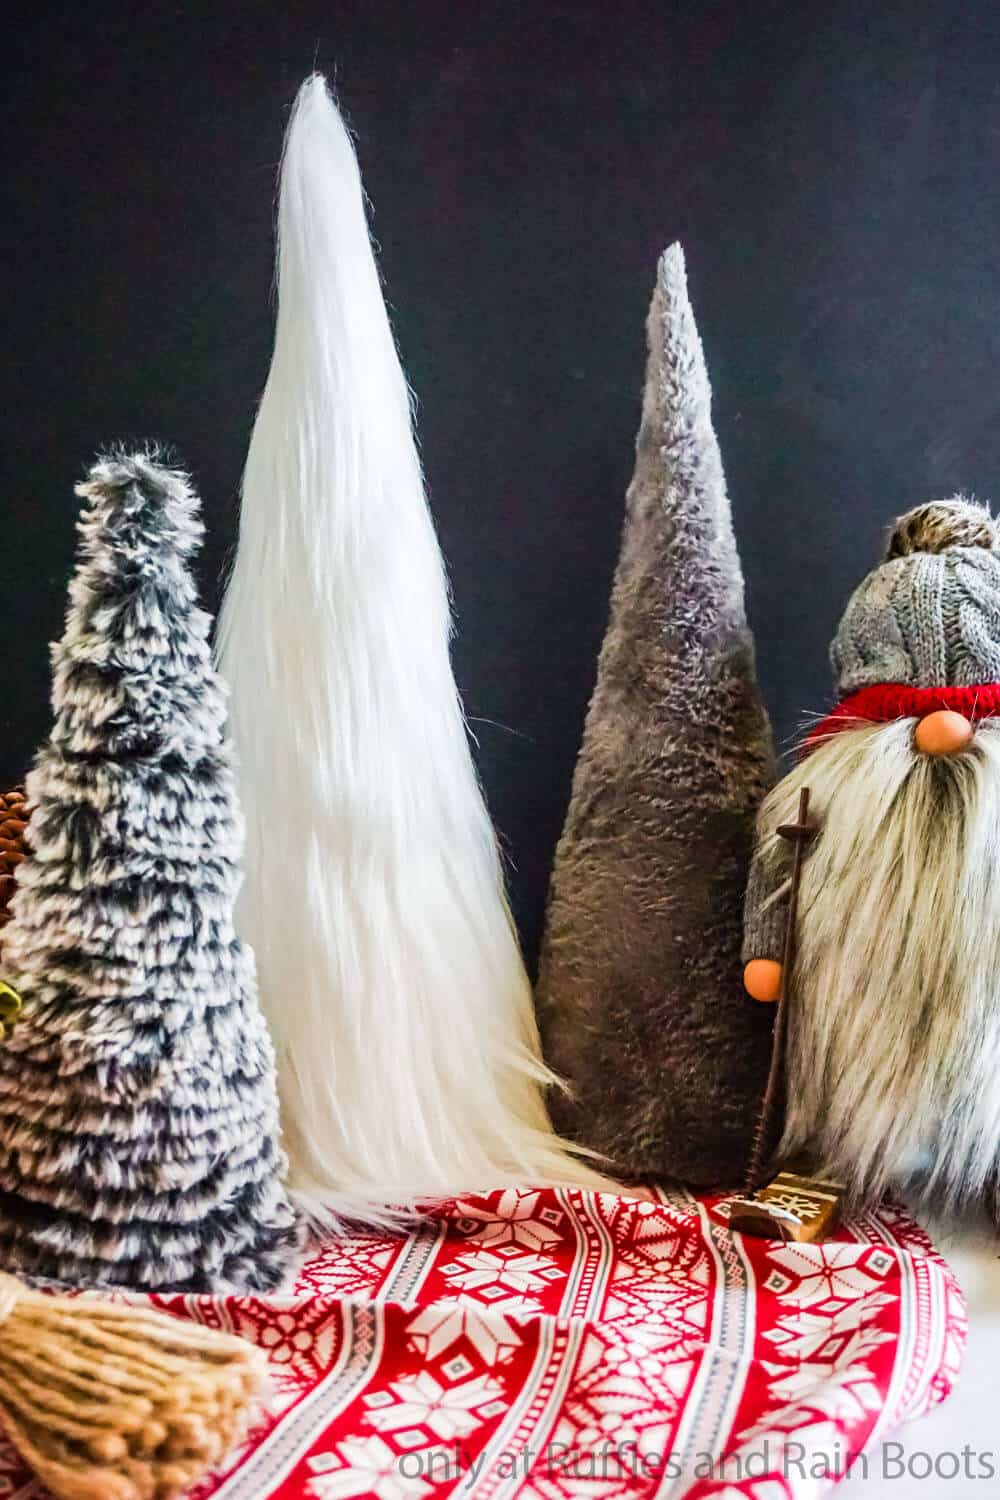
If you have 5 minutes, you have more than enough time to make these DIY faux fur trees that are the perfect fur Christmas trees this holiday season!
DIY Faux Fur Trees
Here at Ruffles and Rain Boots, we are really enjoying the kind of “early” holiday spirit around here and I’ve decided to just jump right into making my DIY holiday decor. Honestly, I don’t know what was holding me back, or if anything really was, but making a set of Scandinavian Christmas trees from felt and then making these awesomely lush DIY faux fur Christmas trees? Now I feel like Christmas is coming on.
RELATED READING: CHRISTMAS TREE FARMHOUSE CENTERPIECE
It’s more than just that, though. The weather is finally turning and my DIY holiday decor is really coming together, so it’s just all these things. Christmas time is here. Ha! If you’re ready to bring a touch of Christmas to your house with some DIY faux fur trees, let’s get started.
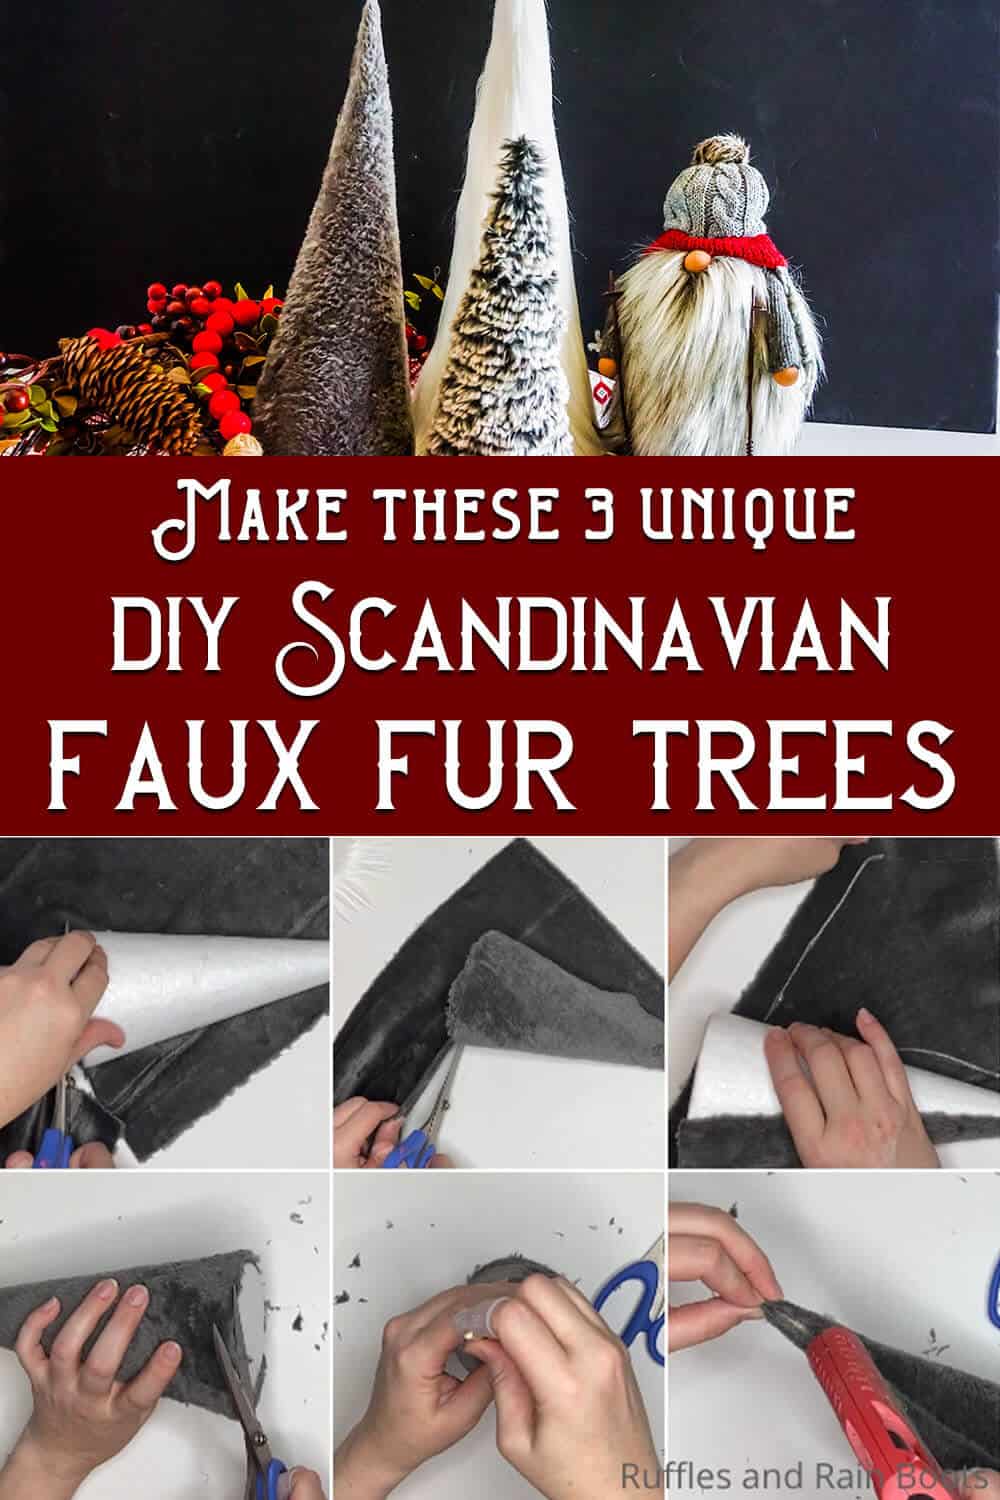
No Time to Make This Now? Pin it for Later
You’re busy, I get it. Pin this to your favorite DIY holiday decor board on Pinterest and it’ll be here for when you’re ready.
As an Amazon Associate, I can earn from qualifying purchases.
Tips to Make DIY Fur Trees
- With all 3 methods to make DIY faux fur trees, you want to have a nice cone base for the tree. I prefer styrofoam cones for this because you can add a little height with a tiny dowel and really get that tip pointy. But also, they have a nice weight, but aren’t heavy. So, start by grabbing a little variety pack of cones here and make all 3 trees with different sizes!
- When you’re making the long-pile fabric backed faux fur Christmas tree, be sure to take just a few minutes to learn how to properly cut faux fur here. It’s a short video and this method works so much better than trying to part it and cut with scissors.
- If you wanted to really amp-up your presentation of these fun DIY faux fur Christmas trees that I JUST thought of (can’t believe I didn’t think of it before) is to add a dowel on the bottom, then place that dowel into a wood round. It would add a few inches, sure, but it’s going to add a nice touch, depending on your decor.
How Do I Make this DIY Faux Fur Trees?
I’m so glad you asked. Below is our written tutorial.
DIY Faux Fur Trees
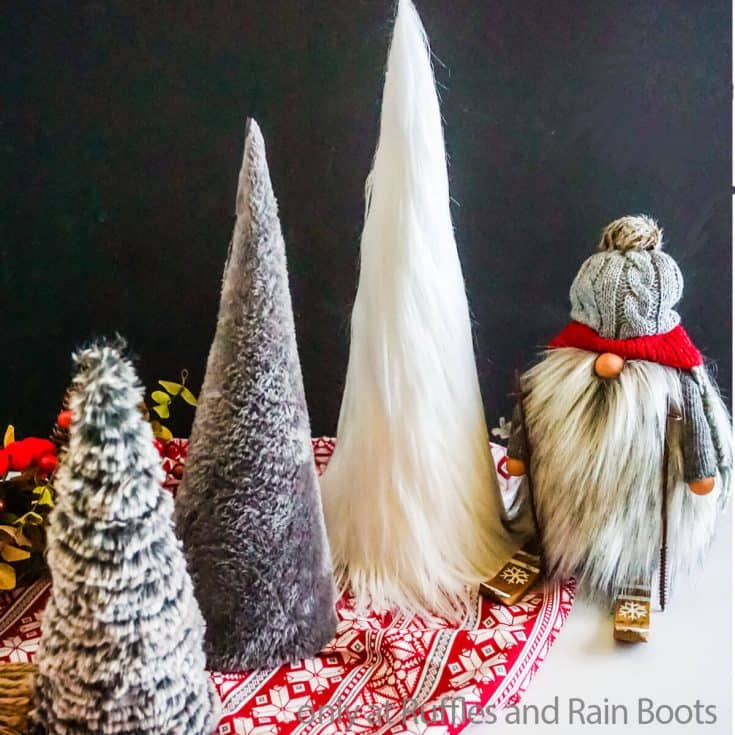
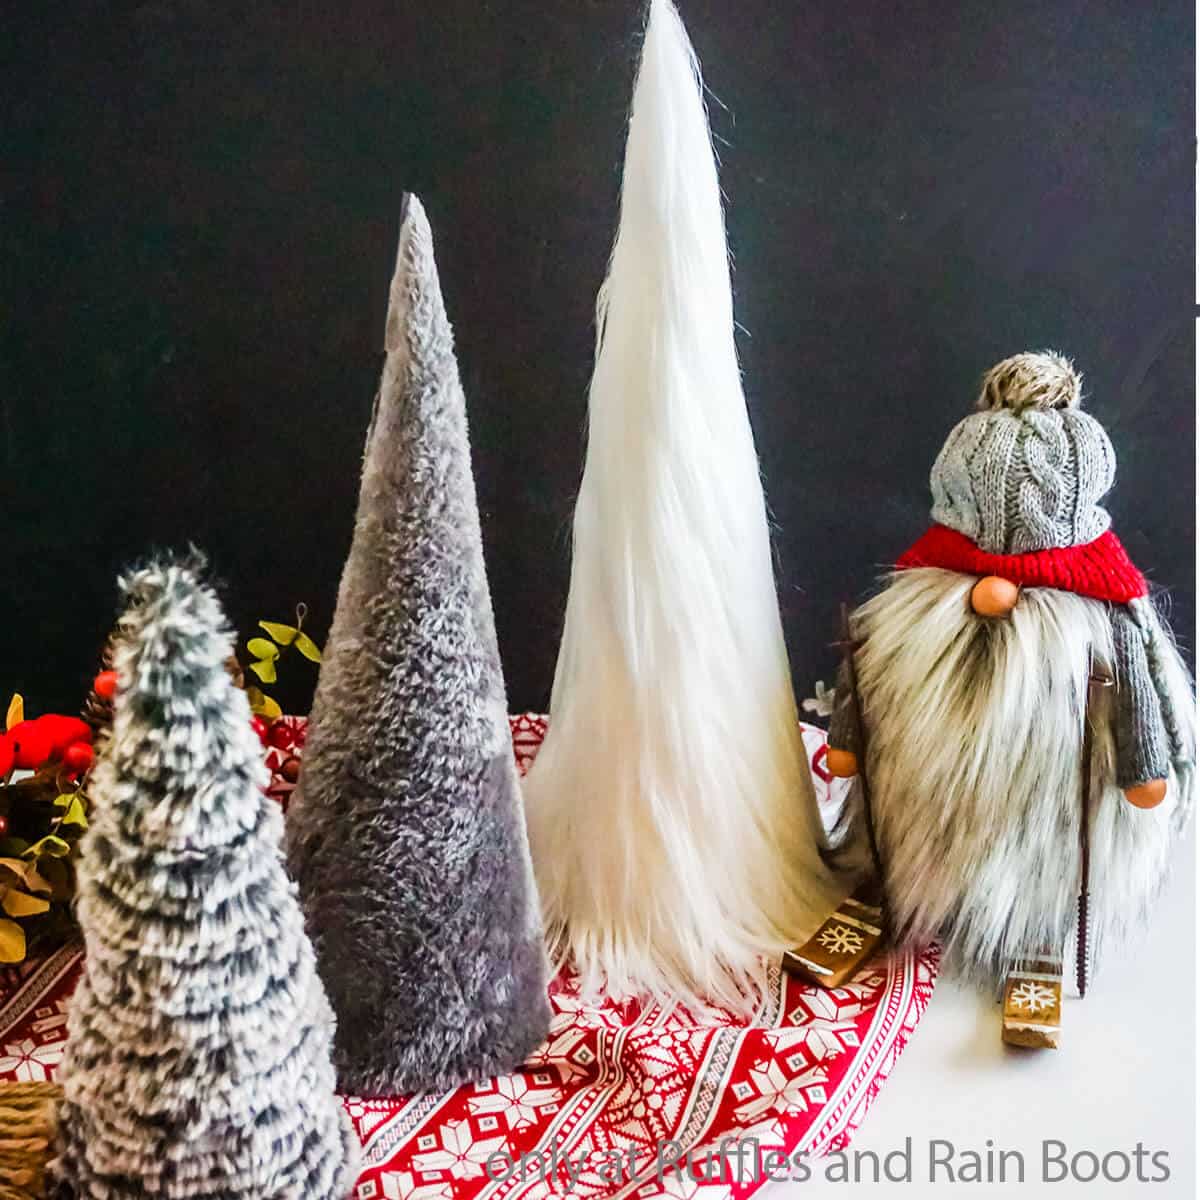
You can make a fun and easy set of DIY faux fur trees in just a few minutes. Then you'll have the cutest fur Christmas trees to add to your DIY holiday decor!
Materials
- 1 - 12-inch Styrofoam Cone
- 1 - 9-inch Styrofoam Cone
- 1 - 7-inch Styrofoam Cone
- 1/4 yd White Faux Fur
- 1/4 yd Plush Minky Fabric
- 1/4 skein Eyelash Yarn
- 1 1/4-inch Dowel
Tools
- Scissors
- Razor Blade or Craft Knife
- Hot Glue Gun & Glue
- Marker, optional
Instructions
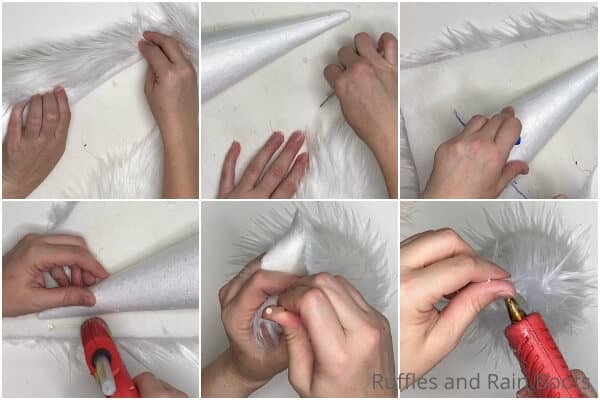
- To make the white long-pile faux fur tree, flip the faux fur fur-side down and place the 12-inch cone along one side of the fur edge, making sure to align the drape of the fur flows down along the tree's cone shape from top to bottom. Roll the fabric around the cone, marking where the cone lands on the opposing side to cover the cone completely. Using your razor blade or craft knife and cutting only the fabric backing, cut the opposing side of the fabric, then pull away from the extra fabric, leaving the fur intact. Mark where the base of the cone lands, leaving about 2-inches of excess fabric at the top. Cut the faux fur along the line of the base of the cone. Hot glue the faux fur to the cone, starting on one side, then rolling the cone in the fabric and securing it. Cut a 3-inch piece of dowel, then press it into the top of the cone, about 1-inch deep, hot gluing it in place. Wrap the excess faux fur around the dowel and hot glue it in place, wrapping it snugly around the dowel. Stand your tree up and enjoy!
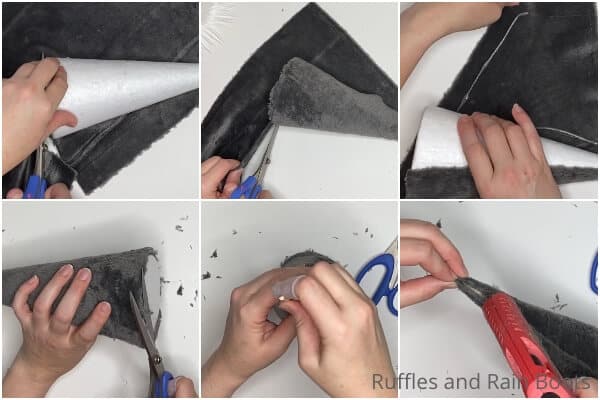
- To make the minky fabric tree, place the 12-inch cone along one side of the fabric edge. Roll the fabric around the cone, marking where the cone lands on the opposing side to cover the cone completely. Using your scissors, cut the opposing side of the fabric. Mark where the base of the cone lands, leaving about 1 3/4-inches of excess fabric at the top. Cut the fabric along the line of the base of the cone. Hot glue the fabric to the cone, starting on one side, then rolling the cone in the fabric and securing it. Trim any excess minky fabric and discard. Cut a 2 1/2-inch piece of dowel, then press it into the top of the cone, about 1-inch deep, hot gluing it in place. Wrap the excess fabric around the dowel and hot glue it in place, wrapping it snugly around the dowel. Stand your tree up and enjoy!
- To make the eyelash yarn tree, hot glue one end of the eyelash yarn on the bottom edge of the cone, working all the way around the cone along the edge, hot gluing as you go. Keep hot gluing the yarn in place as you turn the cone in your hand. Continue until the entire cone is covered, with the exception of the top 1/2 inch of cone. Cut a 2-inch piece of dowel, then press it into the top of the cone, about 1-inch deep, hot gluing it in place. Wrap the yarn around the dowel, wrapping it snugly while you hot glue it in place. Trim the end of the yarn off, stand your tree up and enjoy!
Notes
For more fun DIY Christmas crafts, visit Ruffles and Rain Boots!
Recommended Products
As an Amazon Associate and member of other affiliate programs, I earn from qualifying purchases.
More DIY CHristmas Trees You Might Like
- Scandinavian Felt Christmas Trees – I love how easy it was to make these fun felt trees with my Cricut and a little bit of felt!
- Upcycled Christmas Tree Gnome – If you’ve got an old tree laying around and want a gnome for your covered porch, this tutorial shows you how to bring it all together and make it a reality!
- How to Make Yarn Christmas Trees – Making fluffy yarn Christmas trees is so much fun and you can have a whole forest of them ready to go in just a few minutes!
Please Save This to Pinterest
Your shares are how this site grows and I am sincerely grateful. Know a friend who’d like this? Please share it on Facebook or save it to your favorite easy Christmas crafts board on Pinterest.
