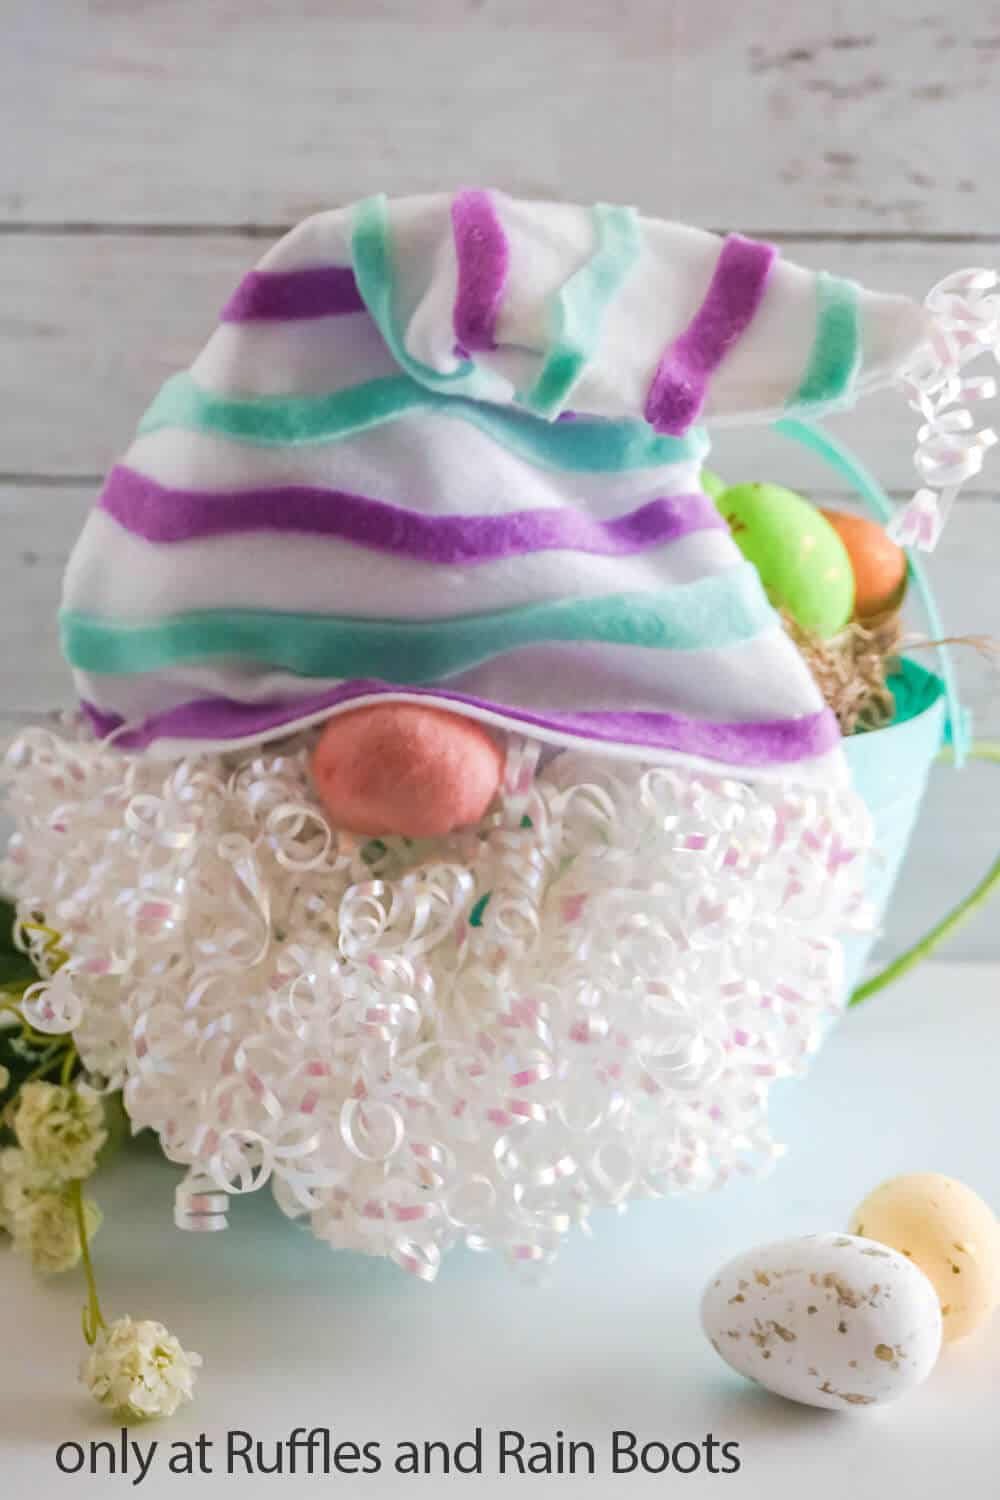
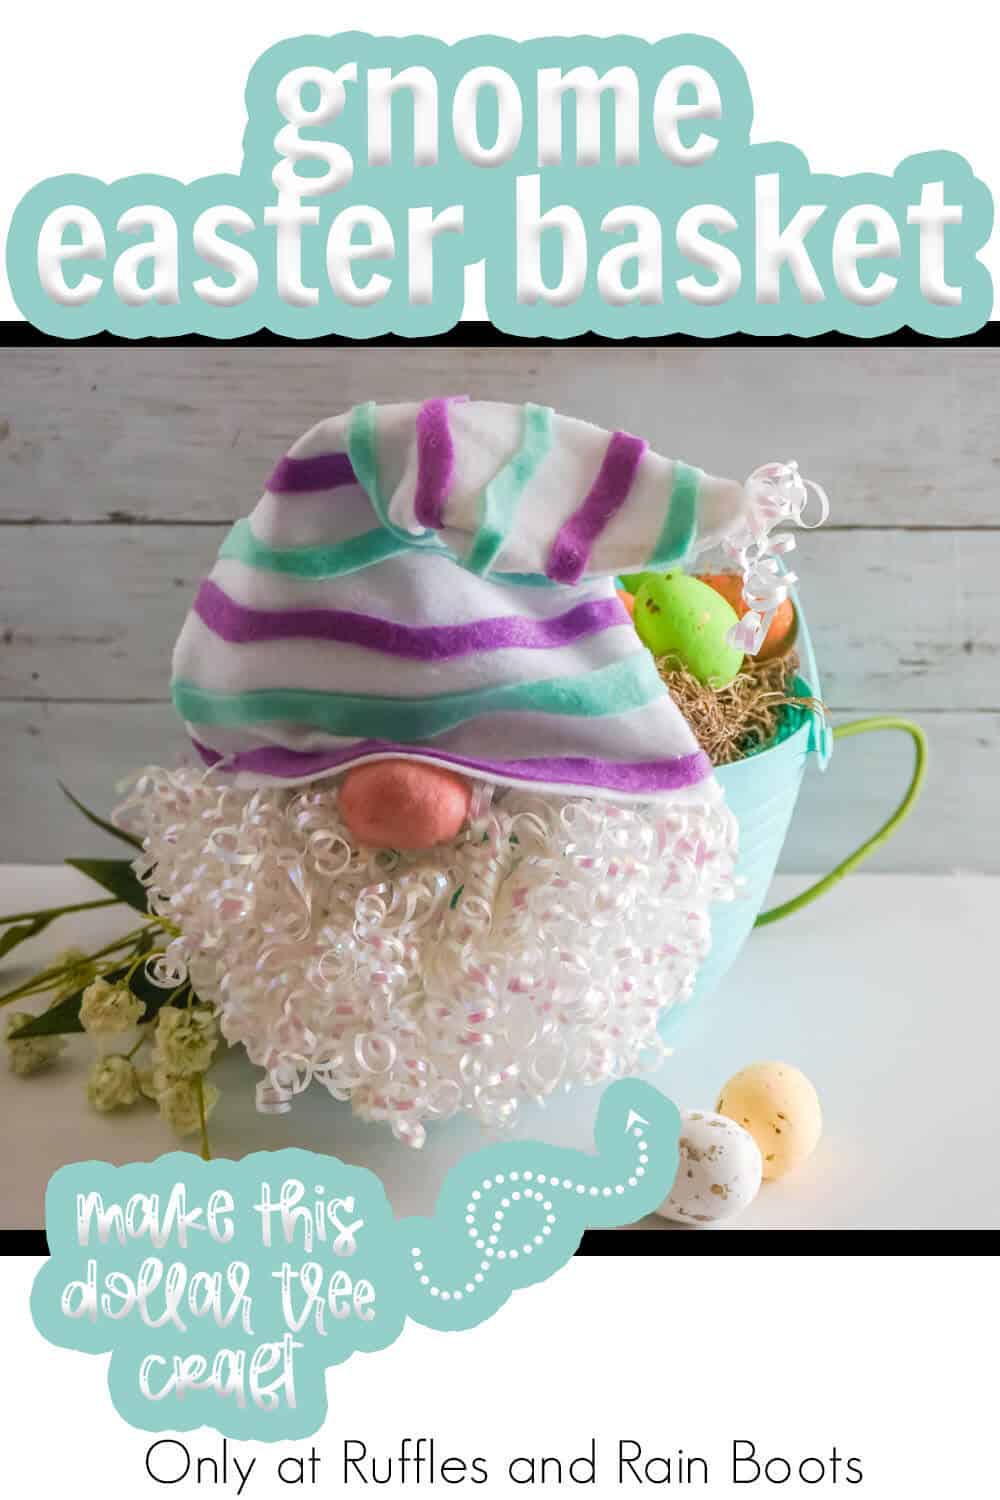
Make This Super Quick & Fun Gnome Easter Basket Dollar Tree Craft!
Making this gnome Easter basket is such a quick and fun craft, it’s perfect for an Easter-day craft. Plus it’s a Dollar Tree craft, so it’s inexpensive, too!

Gnome Easter Basket
Here at Ruffles and Rain Boots, we are all about making fun and easy crafts for the house – but when the kiddo asks, I step-up and deliver. So, when the request came down for a gnome Easter basket, I got to work with inexpensive supplies from Dollar Tree and made my little bunny squeal!
RELATED READING: EASY EASTER GNOME GARLAND
It’s a quick craft you can make in minutes – and the colors are fully customizable based on availability of materials and what your kiddo prefers. So, if you’re ready to make a DIY gnome Easter basket, let’s get started.

No Time to Make This Now? Pin it for Later
You’re busy, I get it. Pin this to your favorite easy Easter crafts board on Pinterest and it’ll be here when you’re ready.

As an Amazon Associate, I can earn from qualifying purchases.
Tips to Make an Easter Basket Gnome
- I got all of my supplies, including the Easter egg bucket, at the Dollar Tree. But you do not have to be restricted to what I could find. If you want to use one of the more traditional woven reed baskets or even a canvas bucket, go for it – this tutorial would work for any of them!
- To make this a very functional Easter egg basket, I decided I did not want to use faux fur on the beard. Too much grass and leaves – all the dirty that could get in that and really just look bad before we even got our Easter egg hunt done. So, I went with a fun twist: curled ribbon!
- Let’s chat about that nose. I normally use a wood ball or polymer clay bead for my gnome noses. In this instance, though, I wanted something softer – and larger than any wood ball I had laying around. So, I whipped-up a quick nose using felt. But you can absolutely use a wood ball, if you have one that you feel is sized right.

How Do I Make this Gnome Easter Basket?
I’m so glad you asked. Below is our written tutorial.
Gnome Easter Basket

You're going to love how easy and fast it is to make this gnome Easter basket. You could even make this while the kids are dyeing eggs and it would be ready to use before the eggs are dry!
Materials
- 1 Blue Easter Basket
- Moss
- 8x10 Sheets of Craft Felt in White (2), Blue (1) and Purple (1)
- 1 Floral Wire
- 6-8 Pre-Made Bunches White Curling Ribbon
- Very Small Portion of Poly-Fill
Tools
- Hot Glue Gun & Glue
- Needle & Thread
- Scissors
- Blush & Applicator Brush
- Wire Cutters/Pliers
Instructions
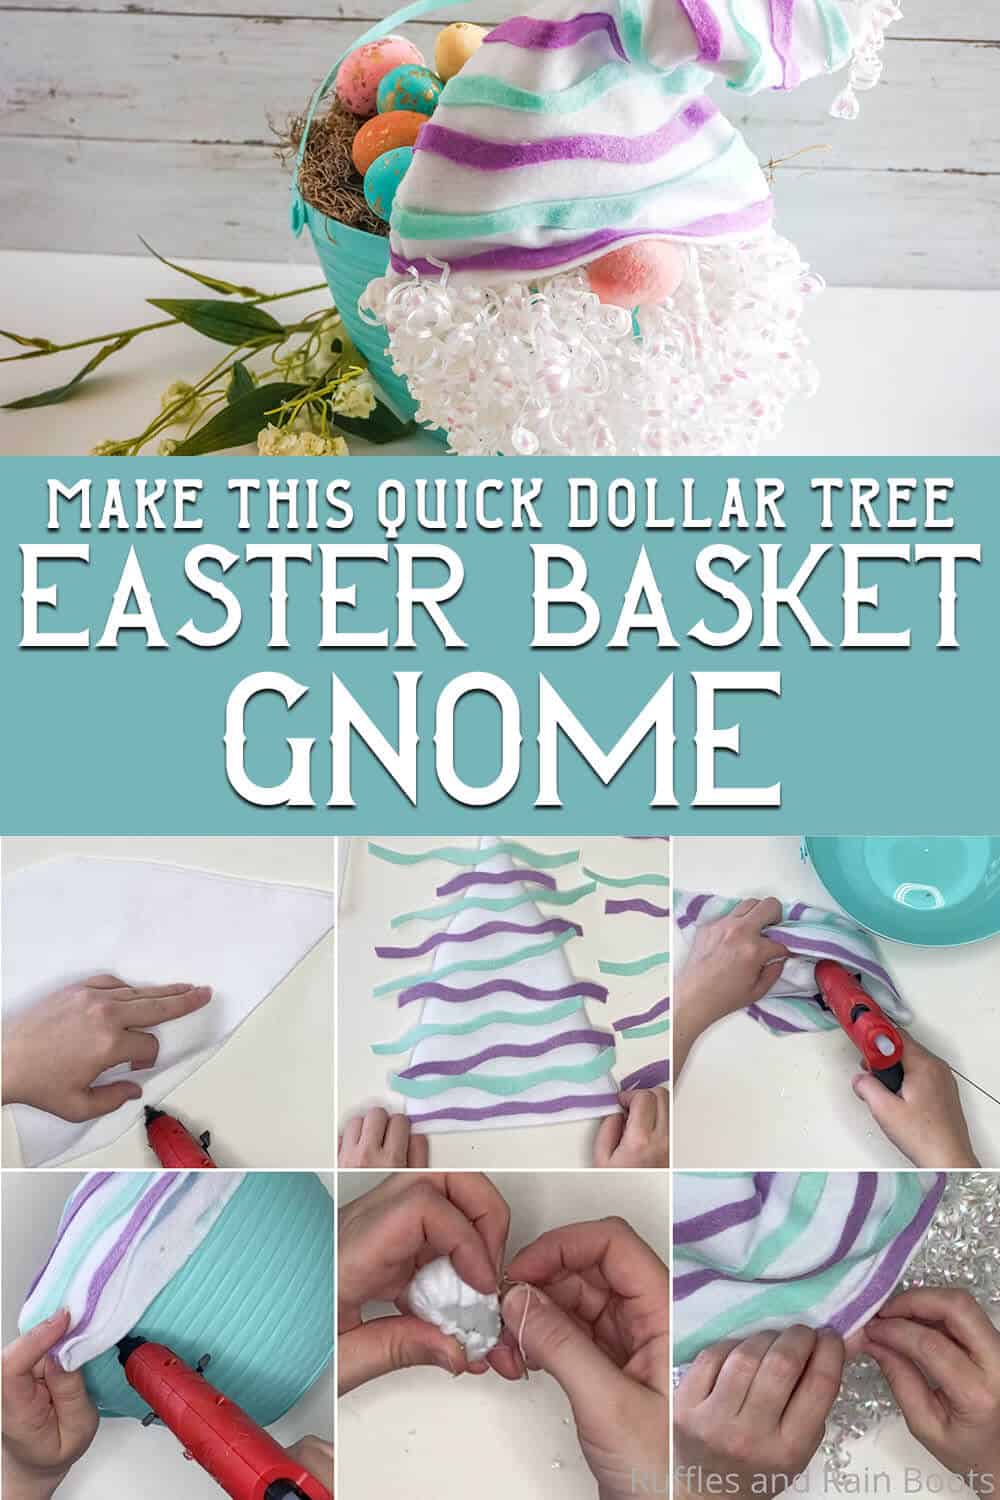
- Lay the two sheets of white craft felt on top of each other, then cut the two sheets into a triangle with the base on an 8-inch wide side of the fabric. Hot glue the two sides of the triangle together to create the hat, leaving the bottom open. Allow the hot glue to cool completely, then turn the hat right side out.
- Cut the blue and purple felt pieces into wavy, unique strips about 1/2-inch wide. These are intended to mirror the look of colorful stripes on a decorated egg, so make the waves deep and exaggerated.
- Place the strips of purple and blue felt on top of the hat, alternating the colors and separating them by about 1-inch. Make sure you have enough strips to match the front and back of the hat. Hot glue the strips in place onto the hat, wrapping the ends over onto each other. Trim any excess.
- Using the wire cutters/pliers, bend one end of the floral wire into a loop and place this inside the hat. Hot glue the wire in place along one of the side seams. Trim the wire to fit inside the hat, then turn the exposed end with the pliers to create a loop and hot glue this to the seam of the hat to hold the wire in place.
- Place the back of the hat on the brim of the front of the basket. Hot glue the hat in place, gluing down only the back of the hat to the front of the basket. Make sure to pull the hat snug as the tension around the outer wall of the basket will help the hat to stay upright.
- Make the nose by cutting a large rounded-corner rectangle of white felt about 4-inches long by 2-inches wide. Ball up the small amount of Poly-Fill into the center of the rectangle of felt. With the needle and thread, sew a running stitch around the edge of the felt rectangle, pulling it tight around the Poly-Fill. Tie the thread into a knot and trim. Use the blush applied directly to the felt ball to color the nose.
- Hot glue the nose to the center of the inside back of the hat just above the bottom of the hat, forcing the front of the hat to wrinkle above the nose.
- Trim any paper backing attached to the curling ribbon, then hot glue the center of the curling ribbon bunches to the inside back of the hat, tucking the edge of the center of the curling ribbon inside the hat. Repeat attaching the curling ribbon, covering the front of the basket. Trim the ends of the curling ribbon as desired.
- Add a little of your trimmed ends of the curling ribbon to the tip of the hat, if desired.
- Fill the basket with the moss and start hunting eggs!
Notes
For more fun Easter crafts, visit Ruffles and Rain Boots!
More Easter Gnome Crafts You Might Like
- Easy Bunny Gnome Sewing Pattern – If you love an easy sewing pattern for gnomes, this simple DIY is perfect for fluffy, squishy ears and adorable wiggly toes!
- No-Sew Bunny Gnome Pattern – Use this pattern to make an adorable, squishy gnome without a stitch to add to your Easter farmhouse decor.
- Fast and Quick Easter Gnome Yard Flag – Literally one of the quickest and easiest DIY crafts I’ve done in an while, this sublimation yard flag is fun and simple!
Please Save This to Pinterest
Your shares are how this site grows and I am sincerely grateful. Know a friend who’d like this? Please share it on Facebook or save it to your favorite easy Easter crafts board on Pinterest.


