
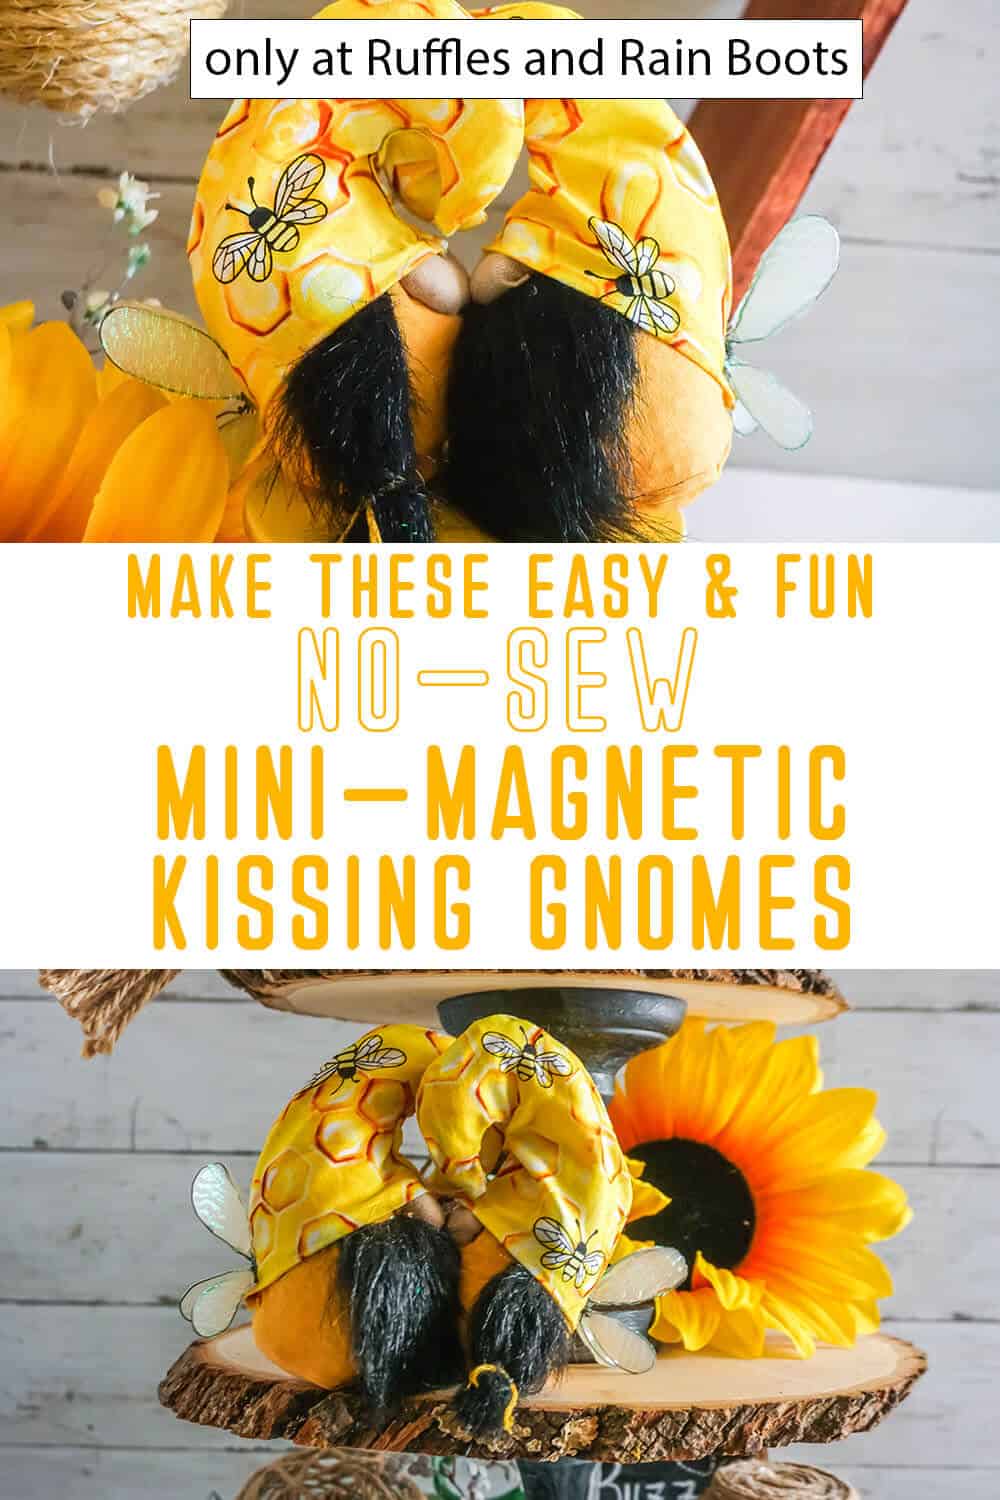
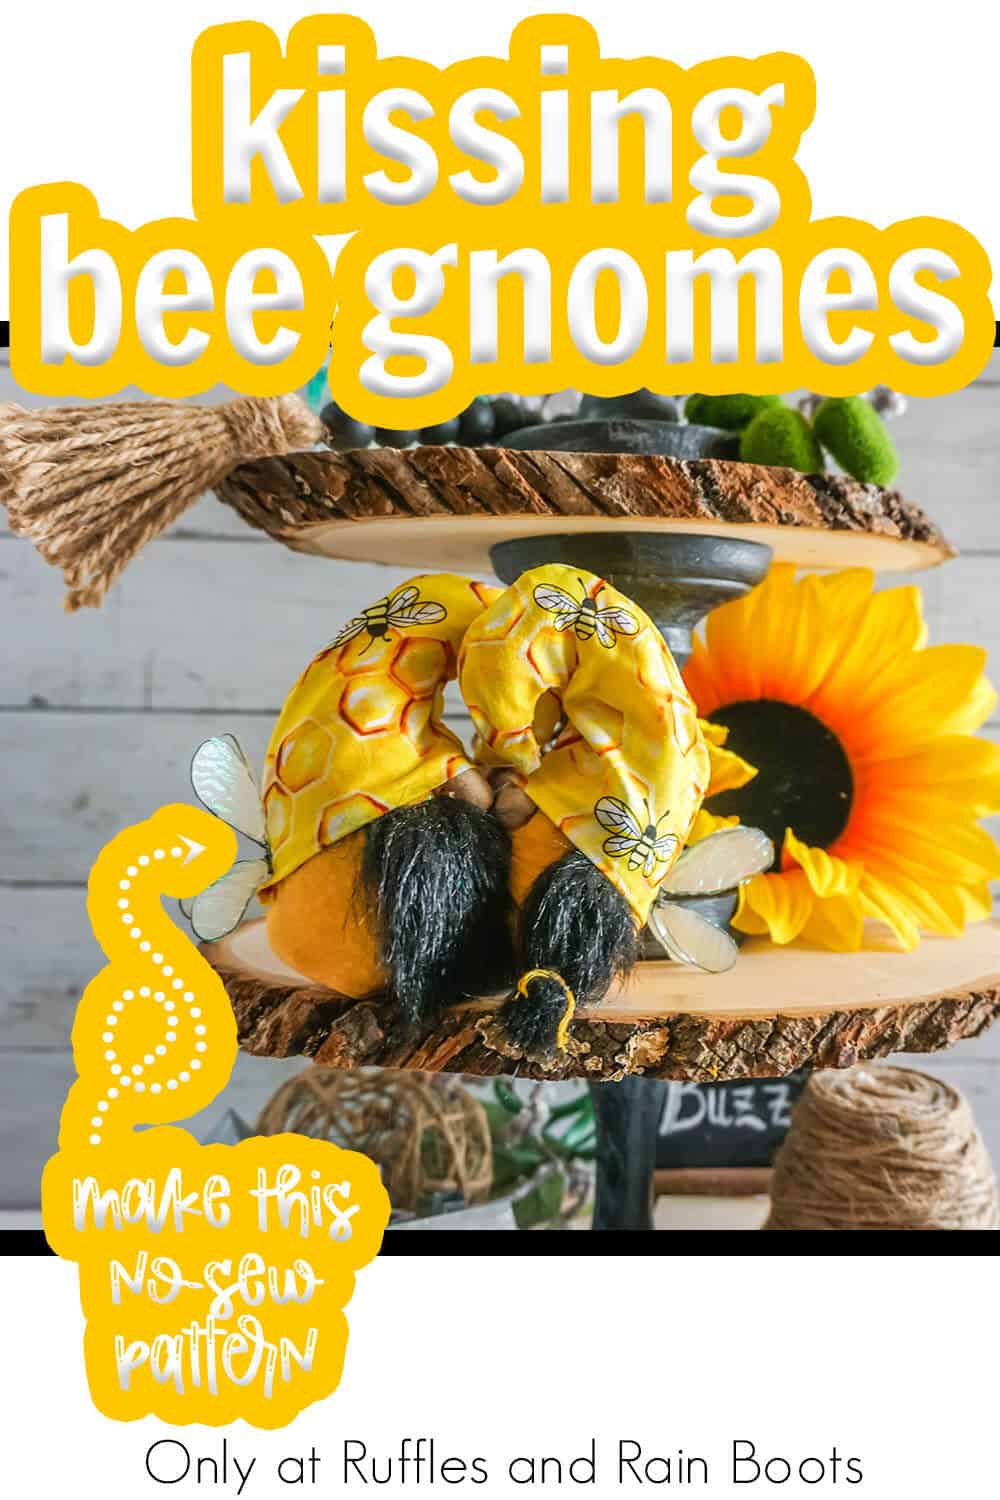
Use This Mini Magnetic Gnome Pattern to Make Bee Kissing Gnomes!
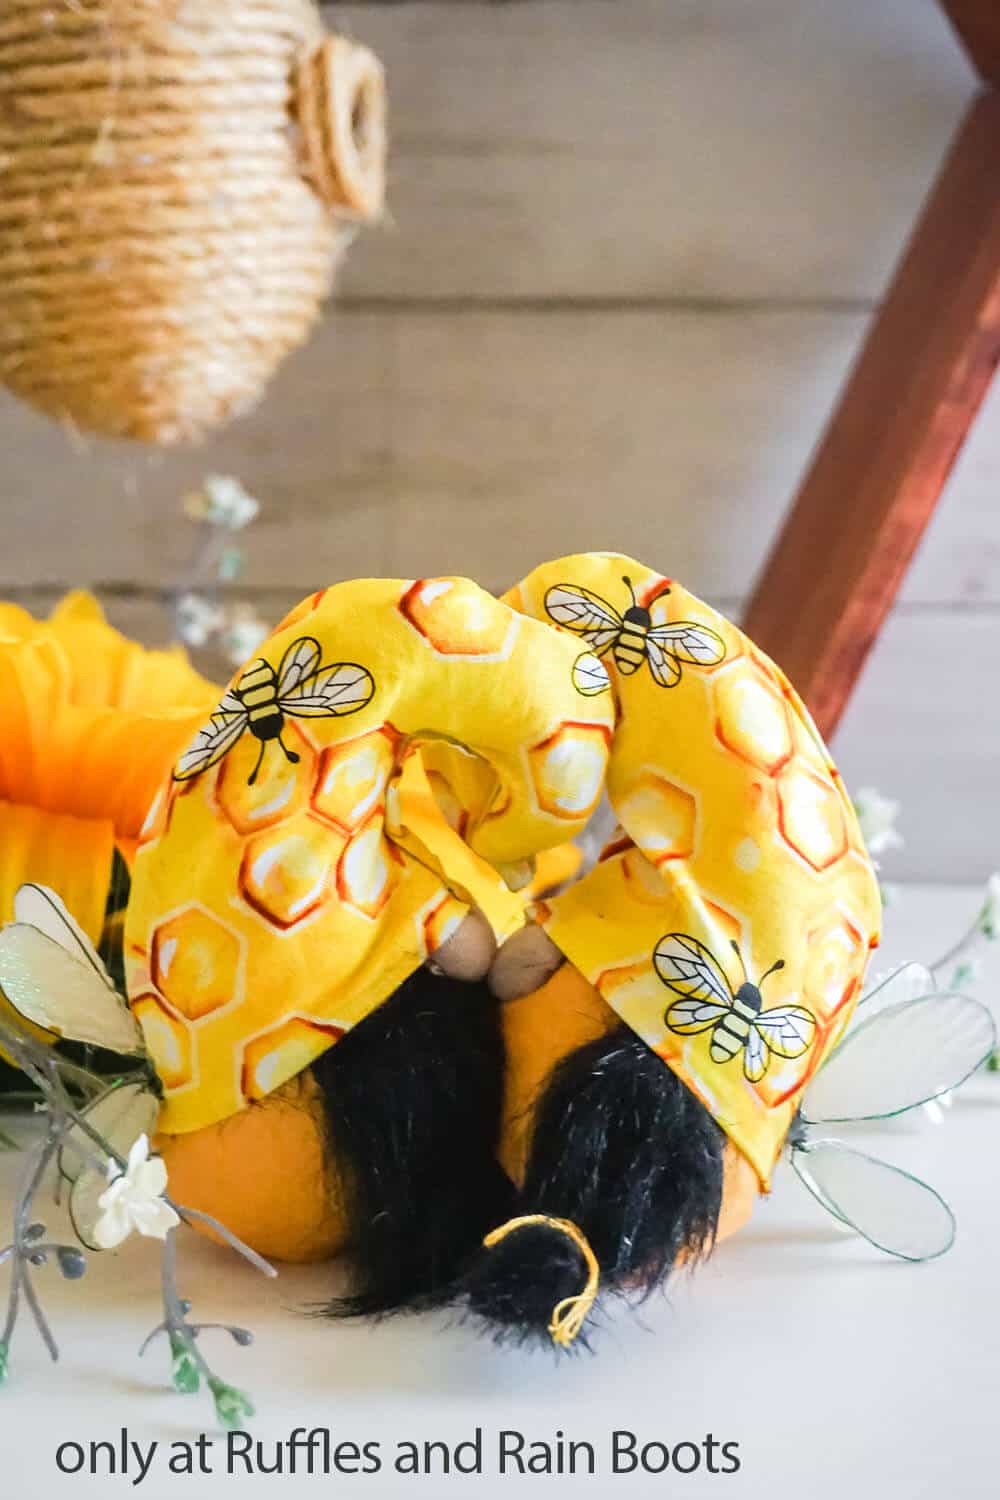
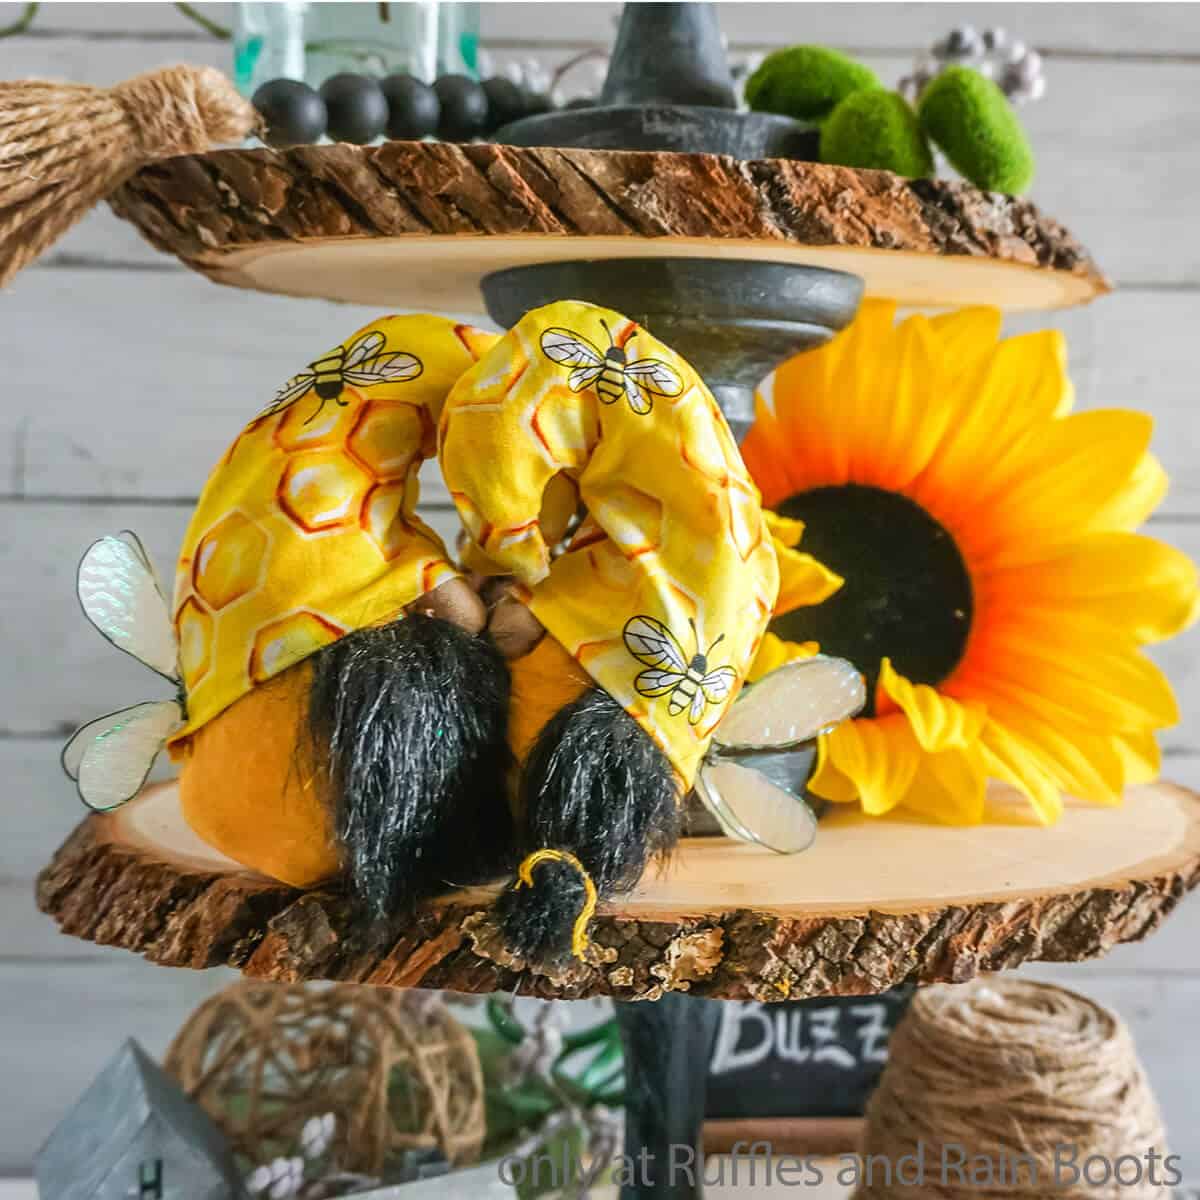
I can’t tell you how adorable this mini magnetic gnome pattern is when use to make bee kissing gnomes. They’re just so sweet – like honey!
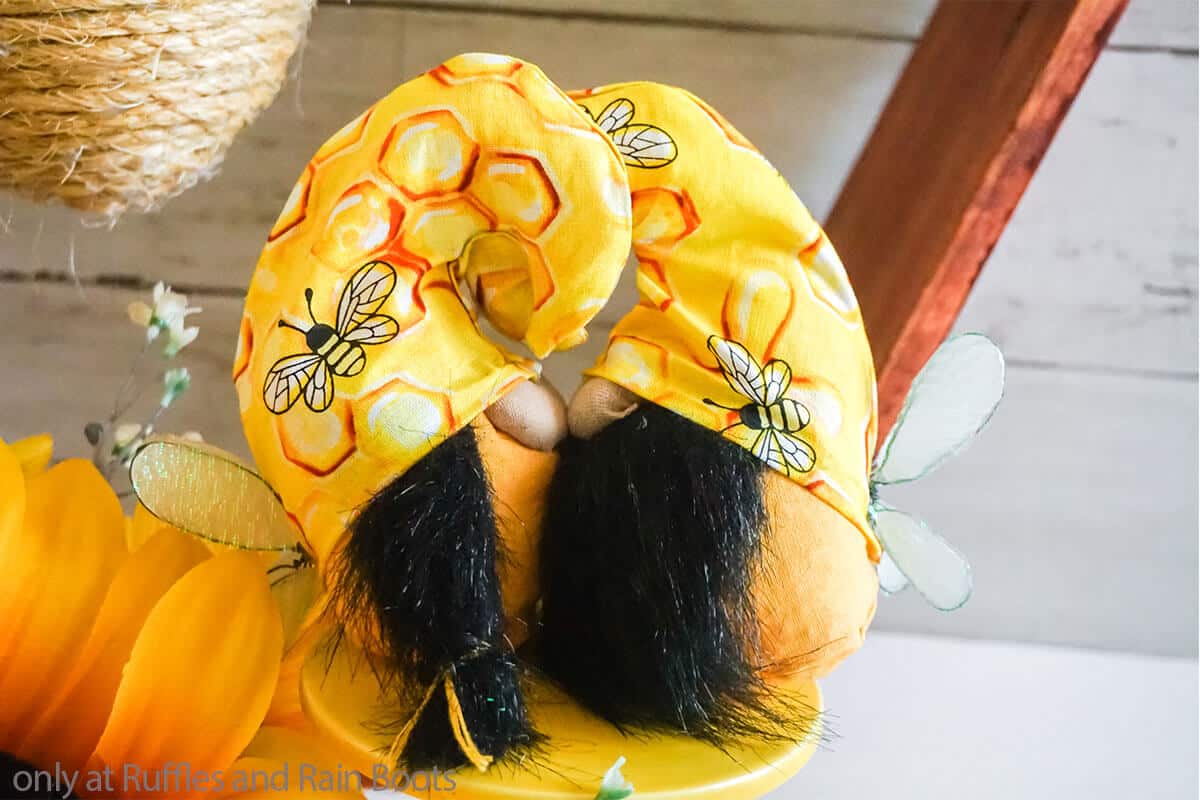
Bee Kissing Gnomes
Here at Ruffles and Rain Boots, we are all about the bees this year. I have a tutorial coming for a bees-keep, I have made a ton of new bee cut files for Cricut or Silhouette, and don’t be surprised if you see a handful of bee gnome tutorials coming out soon. And you know what inspired me? Making this mini magnetic gnome pattern into bee kissing gnomes!
RELATED READING: MINI KISSING GNOME PATTERN VALENTINES GNOMES
It’s such a simple pattern and once I figured out how to make easy bee wings for gnomes, well, it just triggered something inside me. So, if you’re ready to make an adorable kissing bee gnome set, let’s get started.
No Time to Make This Now? Pin it for Later
You’re busy, I get it. Pin this to your favorite gnome patterns board on Pinterest and it’ll be here when you’re ready.
As an Amazon Associate, I can earn from qualifying purchases.
Tips to Make This Mini Magnetic Gnome Pattern
- The easiest way to make this bee gnome couple is to start by snagging the Mini Magnetic Gnomes Pattern here. There’s an in-depth, step-by-step tutorial along with the actual pattern pieces you need to cut to make these mini magnetic gnomes in both no-sew or sewn methods. So, whatever you’re most comfortable with, you can make these gnomes that way.
- If you prefer to use a cutting machine like a Cricut or Silhouette to cut out the little pieces to make your gnomes, you can grab the Mini Magnetic Gnome Pattern AND SVG cut file set here. It might make this an easier gnome set to make, honestly, if you are batching-out the process of making multiple gnomes at one time.
- Although I obviously made these kissing mini gnomes with a bee theme, you can use this pattern to make any theme you’d like. I wanted a bee-themed farmhouse tray, so of course I needed some bee gnomes, plus, I found a fat quarter of fabric that I just really loved, so I couldn’t resist. But you can make Scandinavian gnomes, farmhouse gnomes, Valentine gnomes, or even rustic gnomes!

Get the Gnome Pattern
Click below to add this fun pattern to your cart. So many gnomes can be made with this!
How Do I Make Bee Kissing Gnomes?
I’m so glad you asked. Below is our written tutorial.
Bee Kissing Gnomes Pattern

I love how easy it was to make these adorable bee gnomes using the mini magnetic gnome pattern. These gnomes were no-sew but the pattern also includes pattern and instructions for a sewing gnome pattern!
Materials
Gnomes
- Mini Magnetic Gnomes Pattern
- Mini Magnetic Gnomes Pattern SVGs, optional
- 1/8 yard Solid Yellow Cotton Fabric (for body)
- 1/8 yard Patterned Honeycomb Cotton Fabric (for hat) (I found mine at Joanne's craft store)
- Mongolian Faux Fur (I used some black fur I got from the craft store)
- Small Amount of Poly-Fill
- 1 cup Poly-Beads
- 2 Round 3/4-inch Magnets
- 1 Pantyhose Footie
- Yellow Embroidery Thread
- 1 Chenille Wire
Bee Wings
- 2 - 22 Gauge Floral Wires (per gnome)
- 1/8 yard Shimmer Transparent Fabric
Tools
- Hot Glue Gun & Glue
- Scissors
- Razor Blade or Craft Knife
- Funnel
- Wire Cutters
- Sewing Machine, optional
- Parchment Paper
Instructions
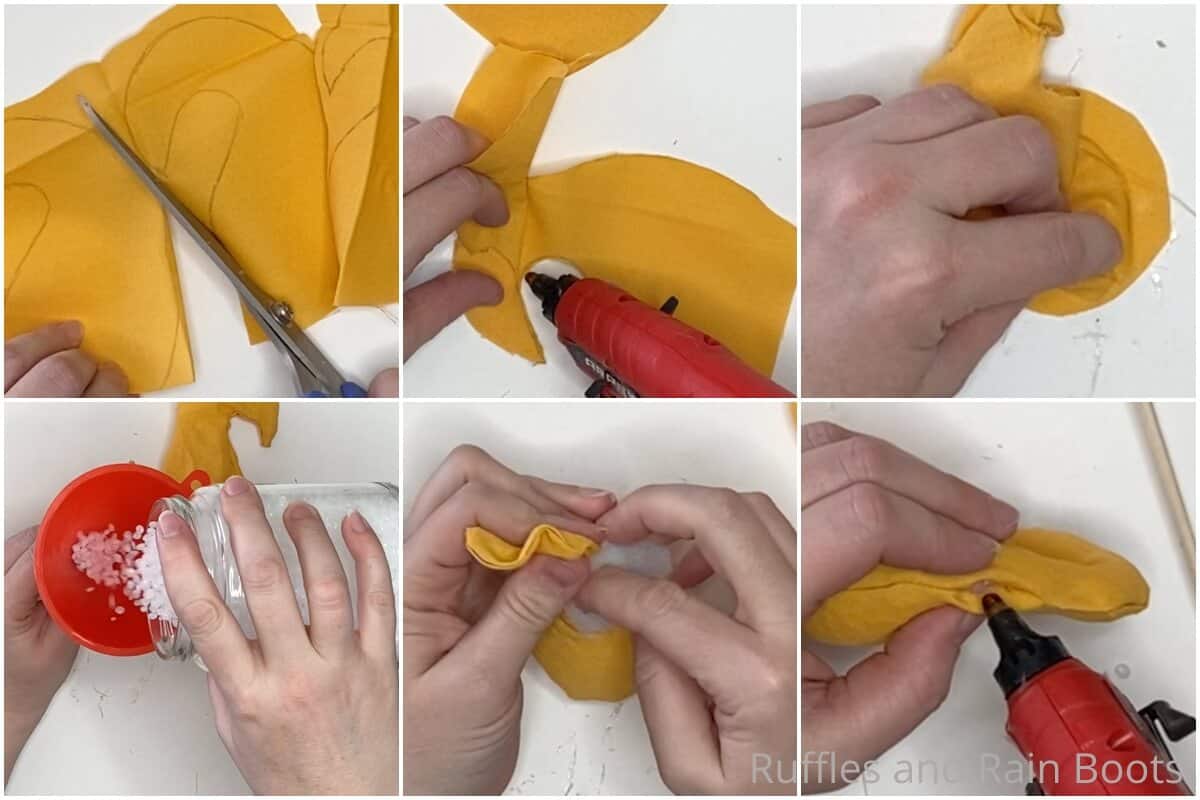
- Cut two body shapes from the solid yellow fabric, place them right-side-to-right-side then hot glue hem the curved tip part of the body, stopping well before the body straightens.
- Flip the loose body pieces right-side-out, fold the pointy tip of the body down and then fold the two loose sides of the body back around the tip, right-side to right-side. Finish hot gluing the two sides together leaving a 1-2 inch section un-glued on the top on one side.
- Cut one circle base shape from the solid yellow fabric and affix it to the bottom of the body shape with hot glue, then turn the entire body shape right-side out.
- Fill the gnome body with poly-beads followed by poly-fill. Fit half of a chenille wire into the pointy part of the body shape to help it hold it's curve, then hot glue hem the remaining opening in the body closed.

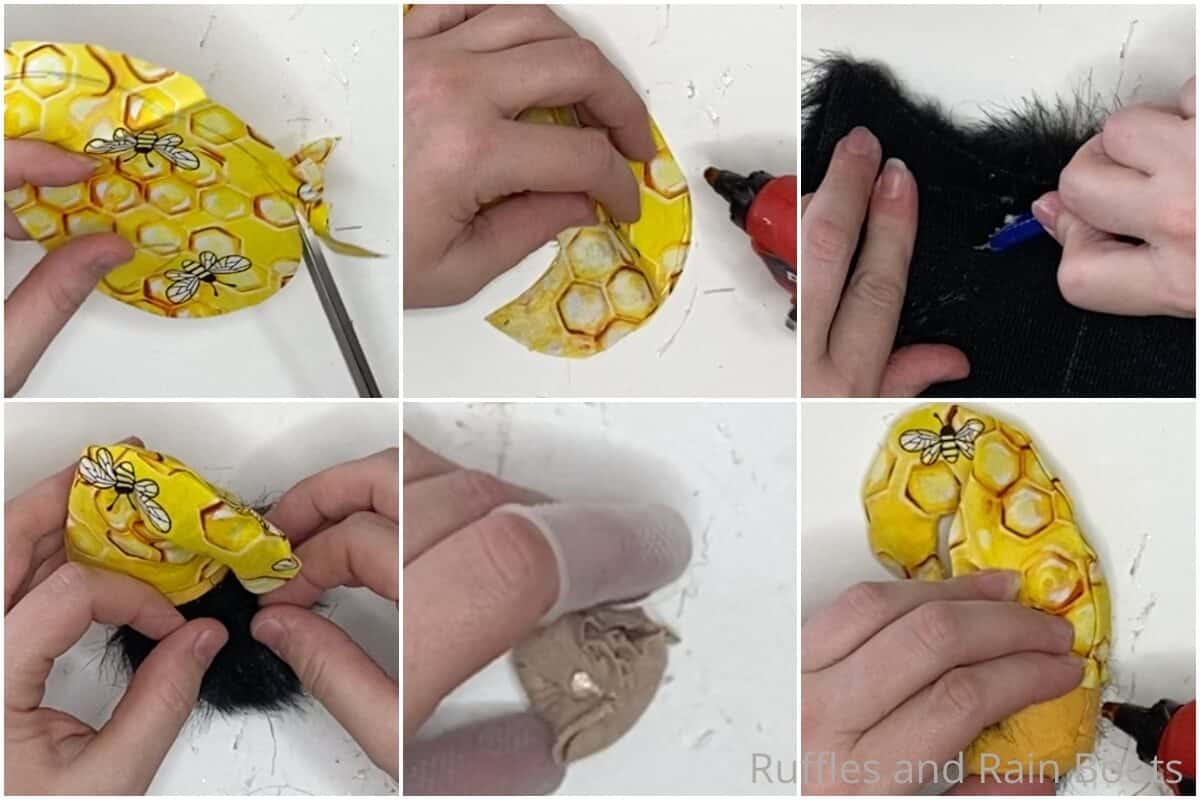
- Cut two hat shapes form the honeycomb patterned fabric, place them right-side to right-side then hot glue hem the curved pointy tip part of the hat, stopping well before the hat straightens.
- Flip the loose pieces of the hat right-side-out, fold the pointy tip of the hat down and then fold the two loose sides of the hat back around the tip, right-side to right-side. Finish hot gluing the two sides of the hat together.
- Hot glue hem the hat's edge with a thin hem, then pull the hat over the tip of the body shape.
- Add a very small amount of poly-fill and one of the magnets to the center of a 2-inch square cut from pantyhose. Wrap the hose piece snugly around the poly-fill and magnet then hot glue it in place on the back side of the magnet.
- Cut the beard shape from the Mongolian fur. using a craft knife on the back side only of the fur, cutting only the fabric backing Hot glue the beard to the front of the gnome, then hot glue the nose to the beard, where marked on the pattern.
- Tuck the hat down over the nose about halfway and hot glue it in place. Additionally, add a dab of hot glue to the back of the gnome, pulling the hat down low on the gnome's back to open up the face a little.
- Make a second gnome but, instead of a beard, make two little ponytails (very little) and attach them on either side of the gnome body. When you bring the two gnomes close to one another, the magnets will bring them together for a smooch!
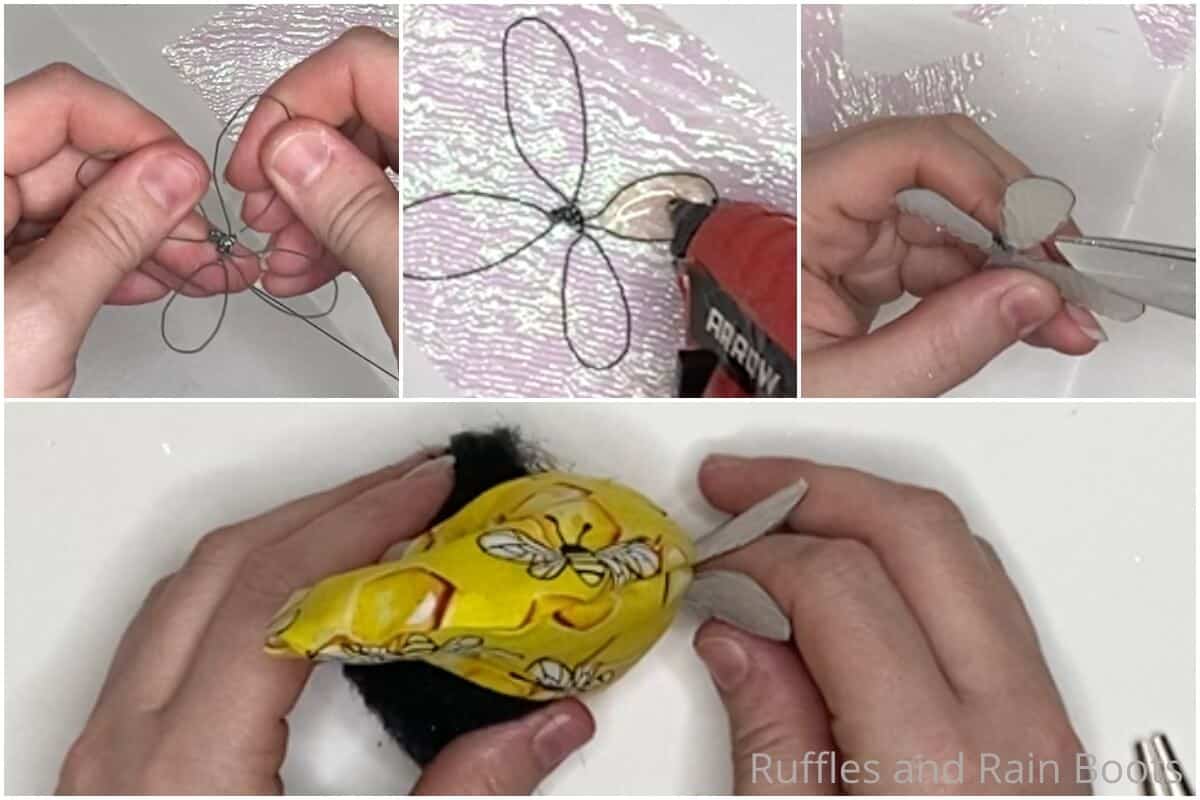
- To make the bee wings, fold a floral wire into a 1 1/2-inch long oval, twisting the wire onto itself to make the large wing on one side, then fold the excess wire into a 1-inch long oval, twisting the remaining wire over 3-4 times. Trim excess wire off if necessary. Repeat to make a second wing set, but rather than trimming the excess wire, wrap this around the wrapped portion of wire on the first set of wings, aligning the two larger wings together and the two smaller wings together.
- On top of parchment paper, press the joined wire wing forms flat on top of a piece of the shimmer transparent fabric that is wide enough and long enough to cover the whole wing span. With the hot glue, fill in the wire wing form with hot glue, pressing the wire into the glue. Allow the glue to cool completely.
- Peel the parchment paper away from the wings, leaving the transparent shimmery fabric attached to the wire wing form with the hot glue. Trim away any excess fabric or hot glue outside the wire wing form.
- Bend the wings inward, exposing the fabric-covered sides, then hot glue the center of the wings, where the wires are wound together to the back of the gnome just below where the hat is attached along the back seam. Repeat to make a second set of wings for the other gnome and enjoy!
Notes
These mini magnetic gnomes stand 4 1/2 inches tall, whether sewn or no-sew methods are used to construct them.
For more fun gnome patterns, visit Ruffles and Rain Boots!
Recommended Products
As an Amazon Associate and member of other affiliate programs, I earn from qualifying purchases.


More No-Sew Gnome Patterns You Might Like
- Basic No-Sew Gnome Pattern for a Quick Gnome – I love this simple gnome pattern – I use it all the time to make gifts and add a little tomte to my farmhouse decor. Customizable and easy to make – its so fast, you’ll love it.
- No-Sew Curved Hat Gnome Pattern – If you like a gnome with a curved hat, you can absolutely make this one either sewn or no-sew using the pattern, and with legs or without!
- No-Sew Ghost Gnome and Mummy Gnome Pattern Set – Such a cute way to bring a bit of gnome-whimsy to that Halloween display in your entryway this year!
Please Save This to Pinterest
Your shares are how this site grows and I am sincerely grateful. Know a friend who’d like this? Please share it on Facebook or save it to your favorite easy DIY gnomes board on Pinterest.
Meet the Creator
Hi there, I’m Sarah Nenni-Daher. I’m a crafty gal and always have at least 14 projects going at once. I am a crafter, designer, DIYer, and pattern maker. I share my creations here and in the Ruffles and Rain Boots® Shop.
Here at Ruffles and Rain Boots®, you’ll find DIY gnomes, crafts, gifts, cupcakes, laser crafts, and so much more. I love sharing video tutorials over on YouTube and chatting with other crafters in my Facebook groups. We’d love to have you!