
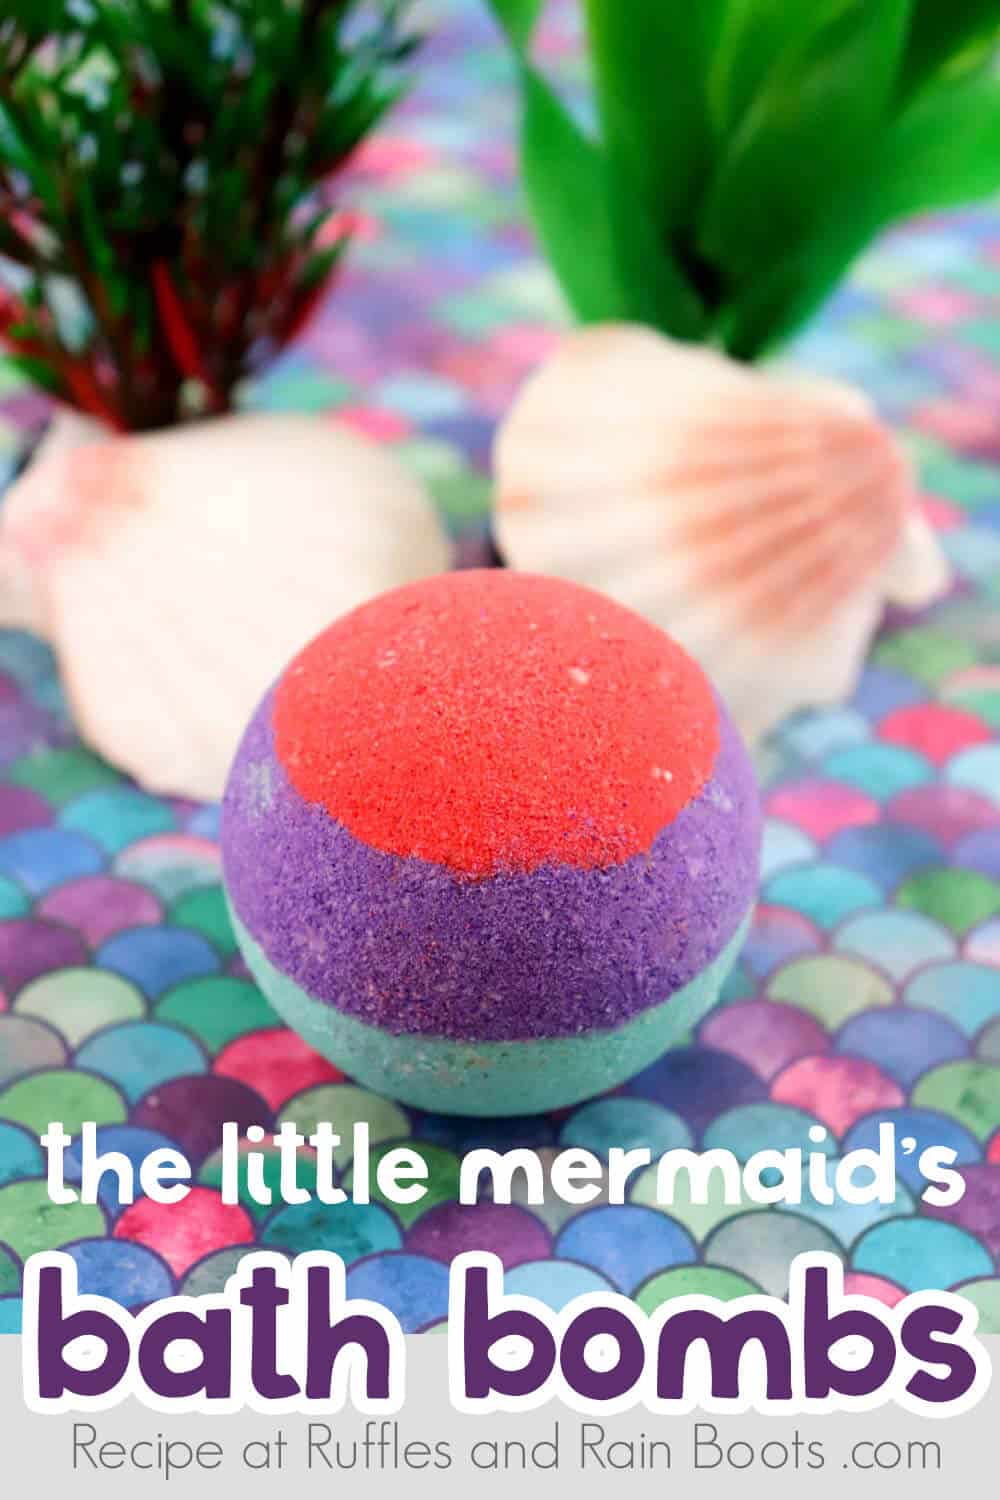
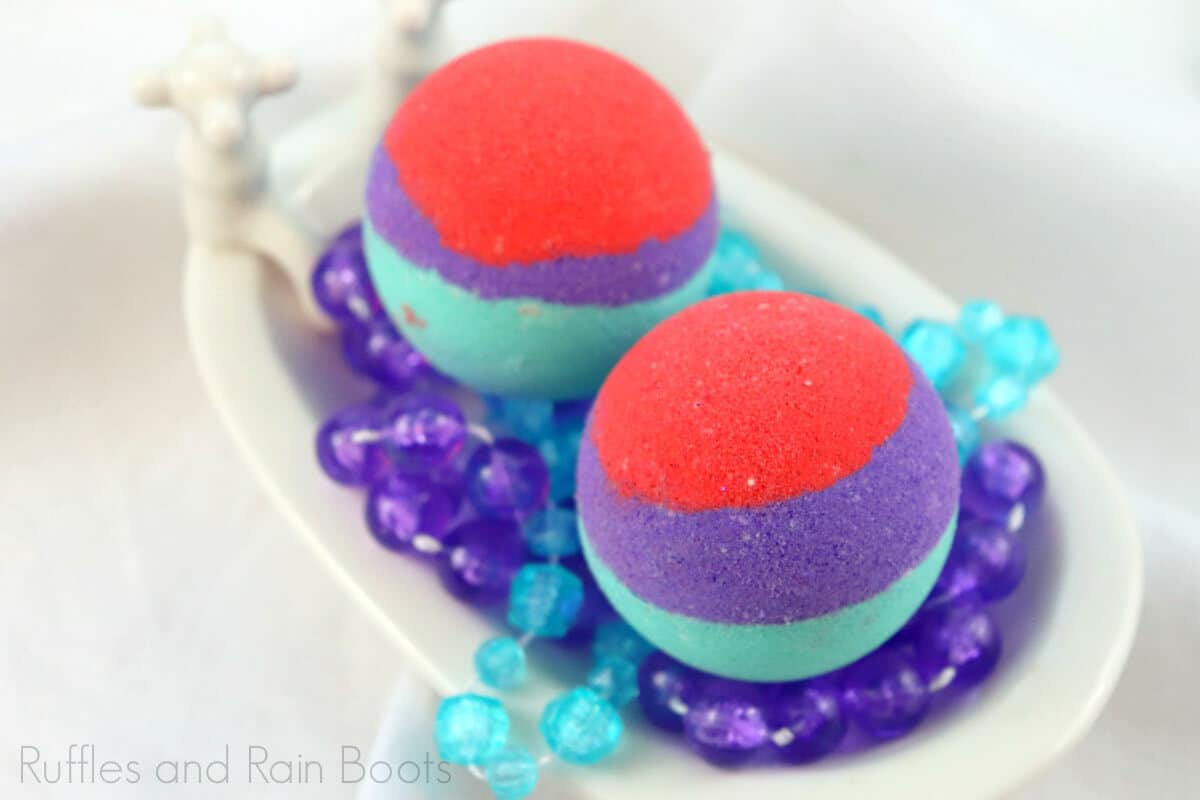
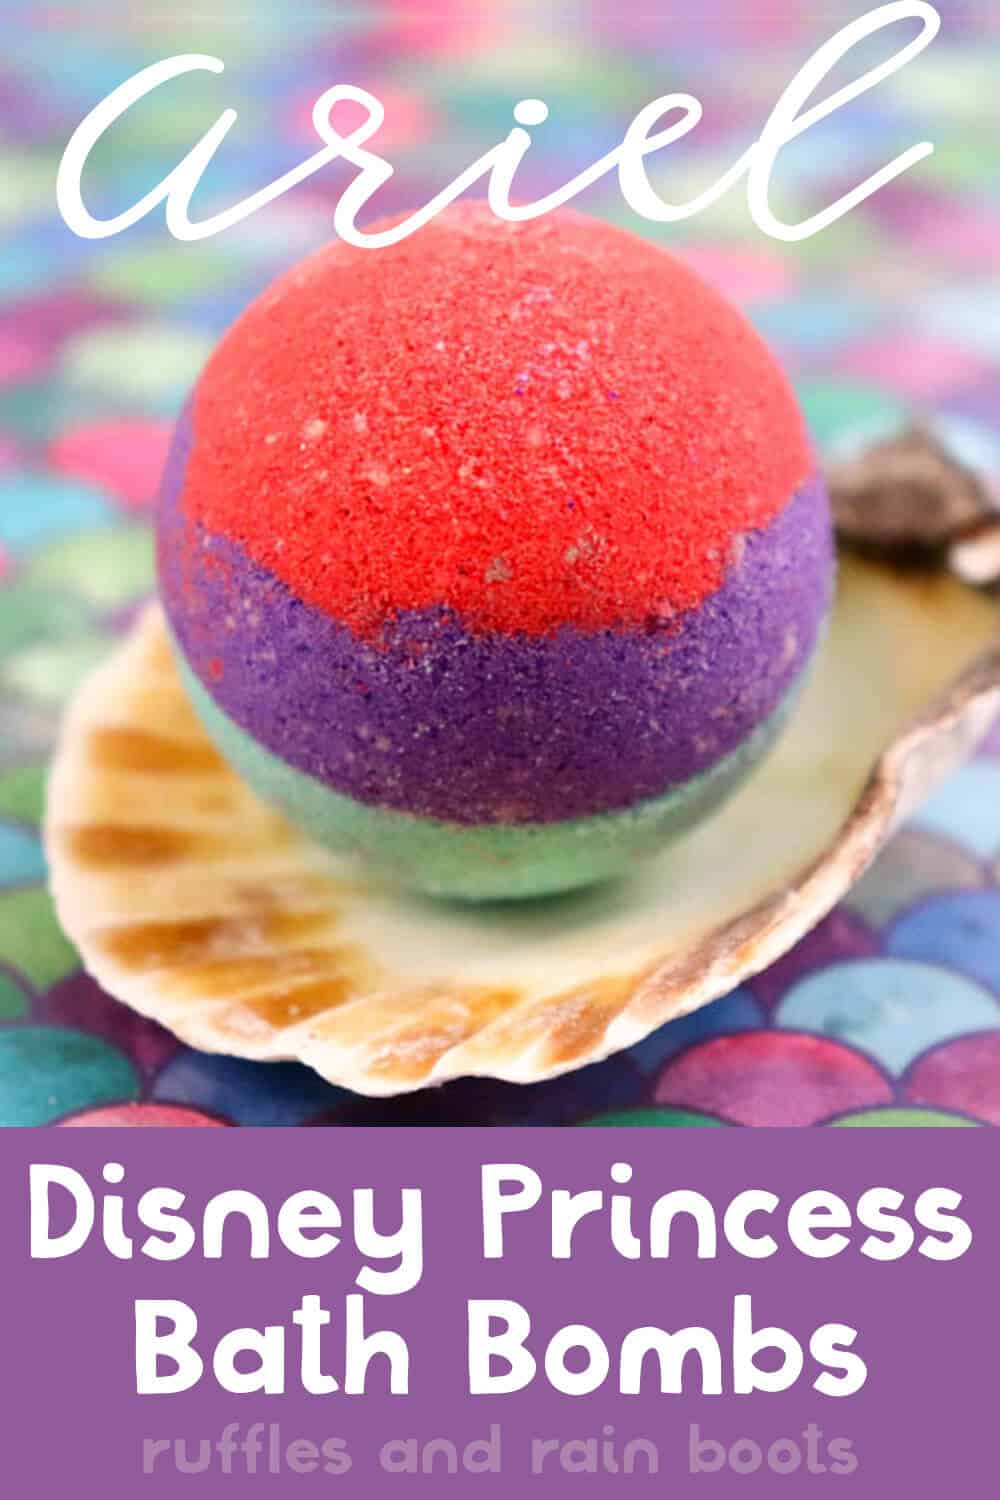
Princess Ariel Bath Bombs for the Little Mermaid Fan in Your Life
These adorable Princess Ariel bath bombs for the Little Mermaid fan in your life. They are safe for all skin types and make a perfect mermaid party favor for all ages.
What You'll Find On This Page
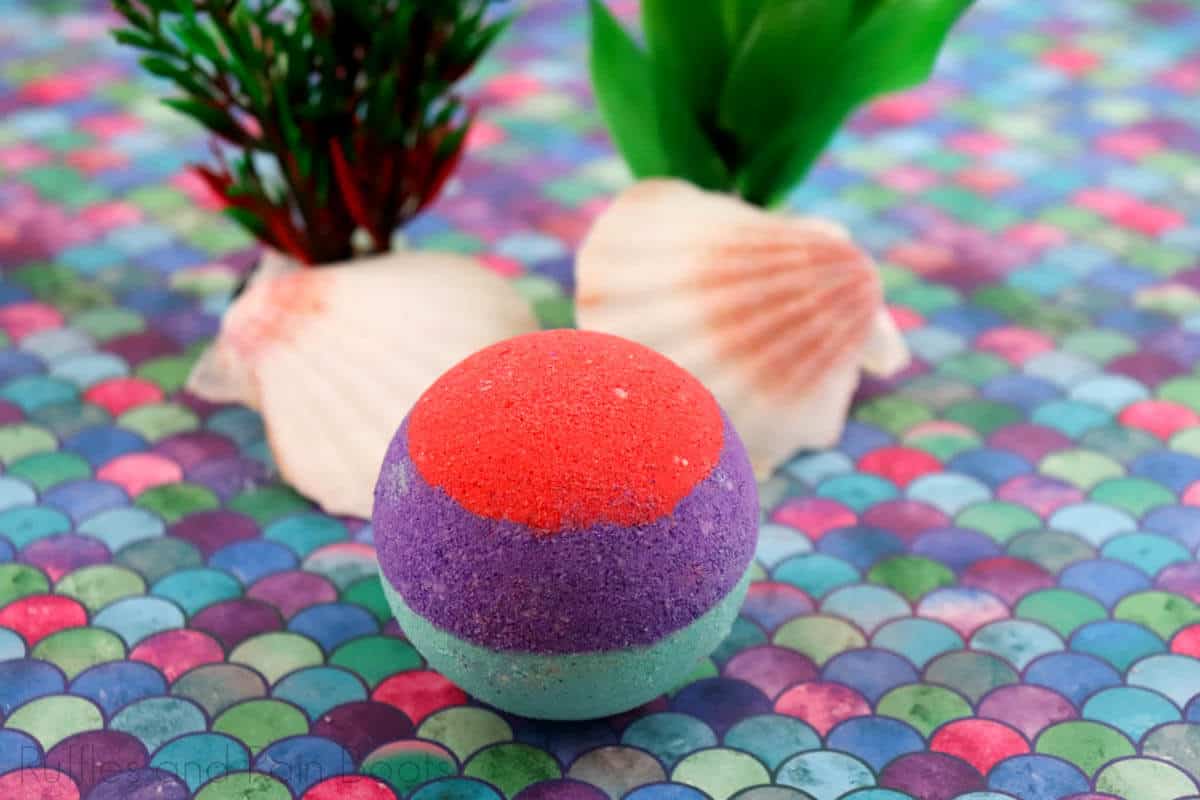
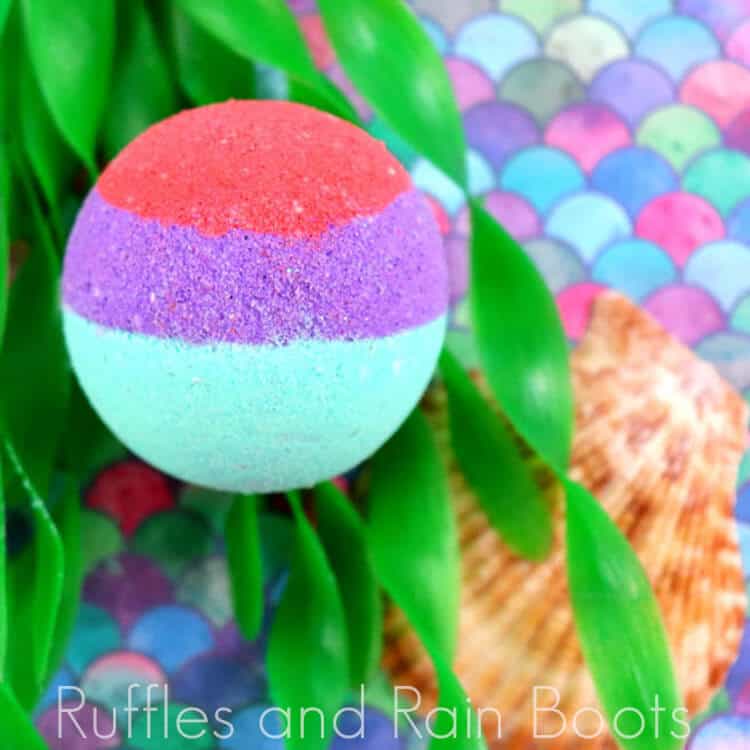
Ariel Bath Bombs
Here at Ruffles and Rain Boots, my daughter and I are having so much fun coming up with Disney Princess bath bombs for a Disney vacation countdown. We’ve made so many already and have even given some away as gifts.
One of my daughter’s favorite Disney princesses is the Ariel, The Little Mermaid. These Princess Ariel bath bombs are colorful, fizzy, and fun. We didn’t put anything inside like our Moana bath bombs, but if you are making these for a party, slip a little favor in the mold and really WOW them. Let’s get started.
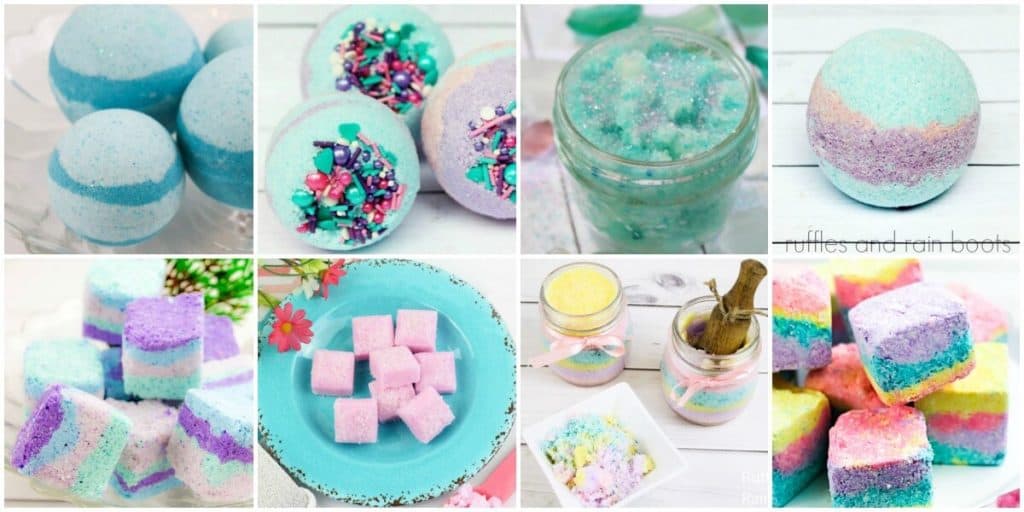
All Mermaid Bath Bombs and Shower Fizzies
Before we get started, you might want to check out all of my mermaid bath bombs and sugar scrubs here.
No Time to Make This Now? Pin it for Later
Planning to make these with the kids? Pin this to your favorite easy crafts board on Pinterest and it’ll be here when you’re ready.
Tips to Make this Favor for your The Little Mermaid Party
- Do not use food coloring for your Princess Ariel bath bombs. It will make your bath bombs bright but it could stain your tub.
- Do you prefer showers? Mold this recipe in any flat-backed design so they will be safe for use as shower fizzies.
- Use any scents you want and any brand of oils.
- If your bombs crumble, see this article on trouble-shooting bath bombs and shower fizzies to find out your options to remake them.
- There is an ingredient which is optional, Polysorbate 80. The purpose of this emulsifier is to limit the oils and butters from pooling at the top of the water, as well as to reduce mica from adhering to the walls of the tub.
- If you want to use your Ariel bath bombs immediately, great, go for it. But the fizz isn’t going to be as awesome as it could be. Let the Disney princess bath bombs dry for at least 24 hours to get the most fizz for your bath. Plus, if there’s a little mix-up in your mix, a dry bath bomb will usually work that out.
- Keep your bath bombs at top-peak-fizzy-potential, by storing them in an air-tight container.
How Do I Make these Ariel DIY Bath Bombs?
I’m so glad you asked. Below is our written tutorial. If you’re making a The Little Mermaid Party playlist on YouTube, here is our Ariel bath bombs video tutorial.
Princess Ariel Bath Bombs

If you're thinking about doing the Little Mermaid Party, like we are, you have to have these adorable Princess Ariel bath bombs for the Little Mermaid fan in your life.
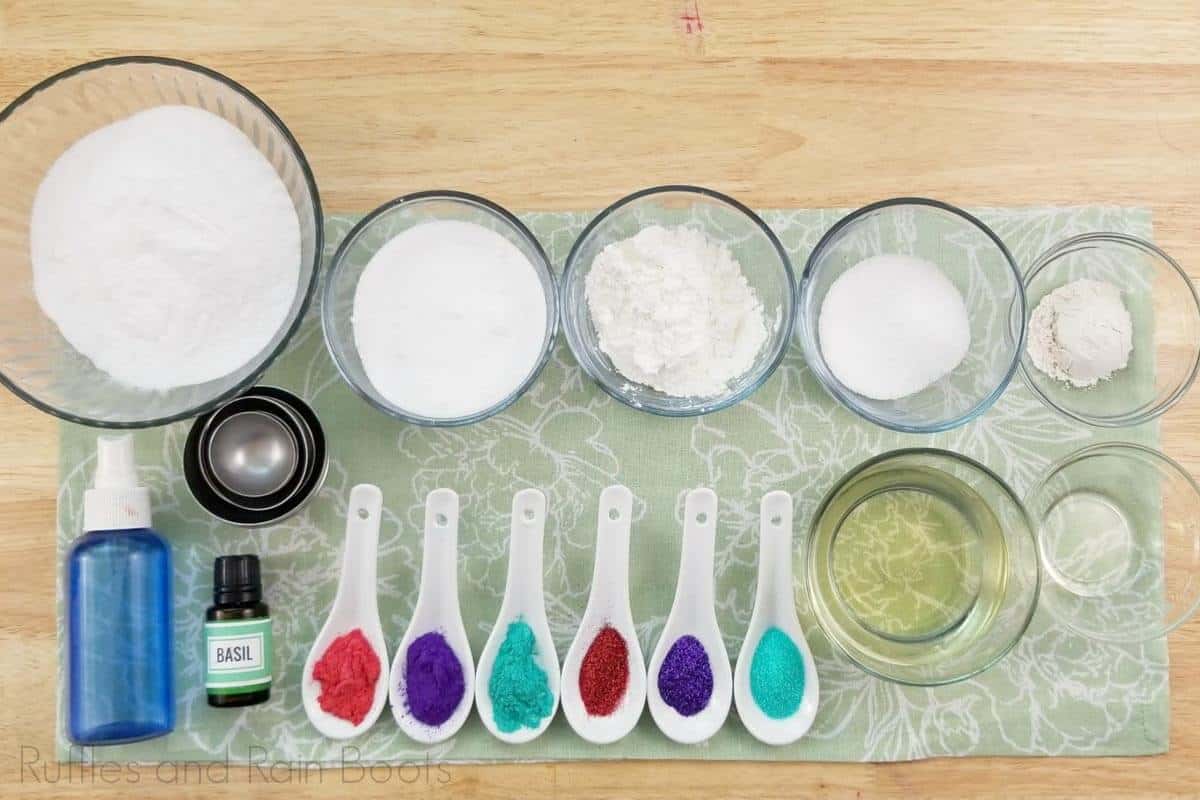
Materials
- 2 cups baking soda
- 1/2 cup citric acid
- 1/4 cup cornstarch
- 1/4 cup Epsom salts, fine grain works best
- 1/4 cup white kaolin clay (optional)
- 1/3 cup coconut oil
- 1 tablespoon polysorbate 80, optional
- 10-20 drops of basil essential oil
- Red mica powder
- Purple mica powder
- Teal mica powder
- Red cosmetic glitter
- Purple cosmetic glitter
- Teal cosmetic glitter
Tools
- Stainless steel bath bomb molds
- Spray bottle filled with rubbing alcohol
- 1 large mixing bowl
- 3 small bowls
Instructions
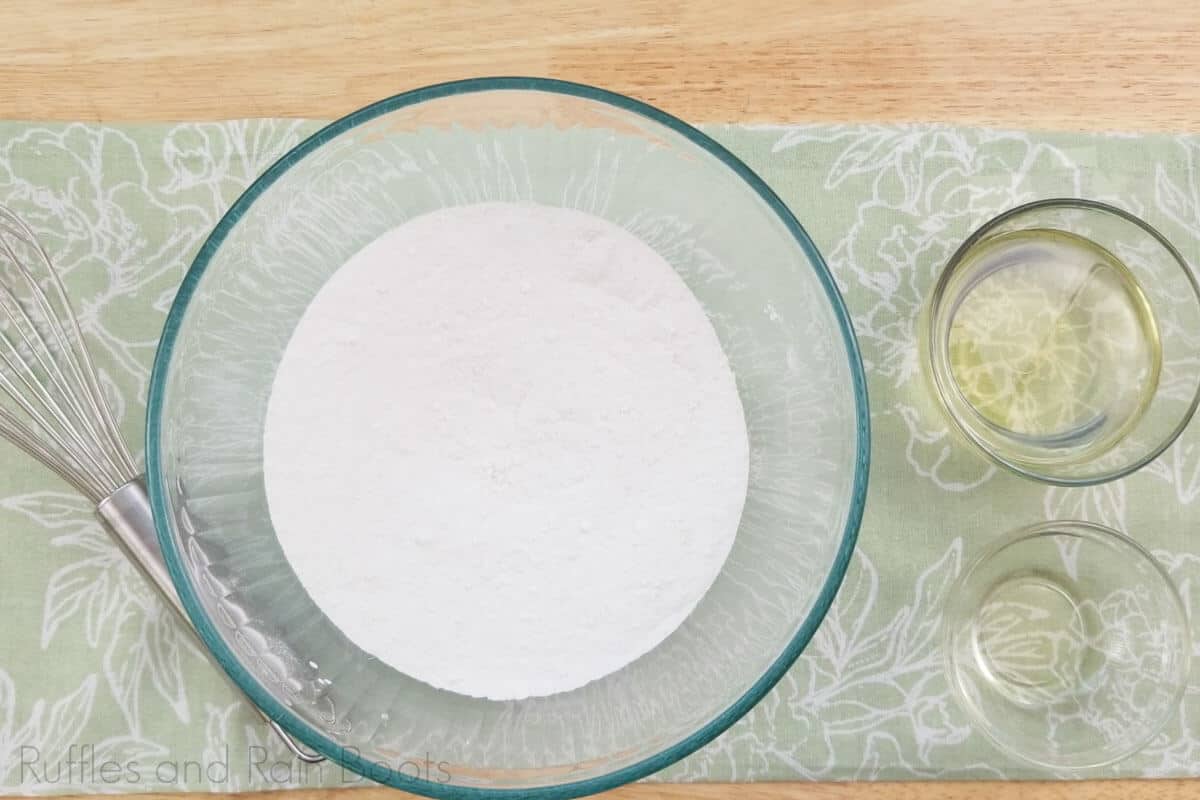
- In a large mixing bowl, add the baking soda, citric acid, Epsom salts, white kaolin clay and cornstarch.

- Whisk dry ingredients together.
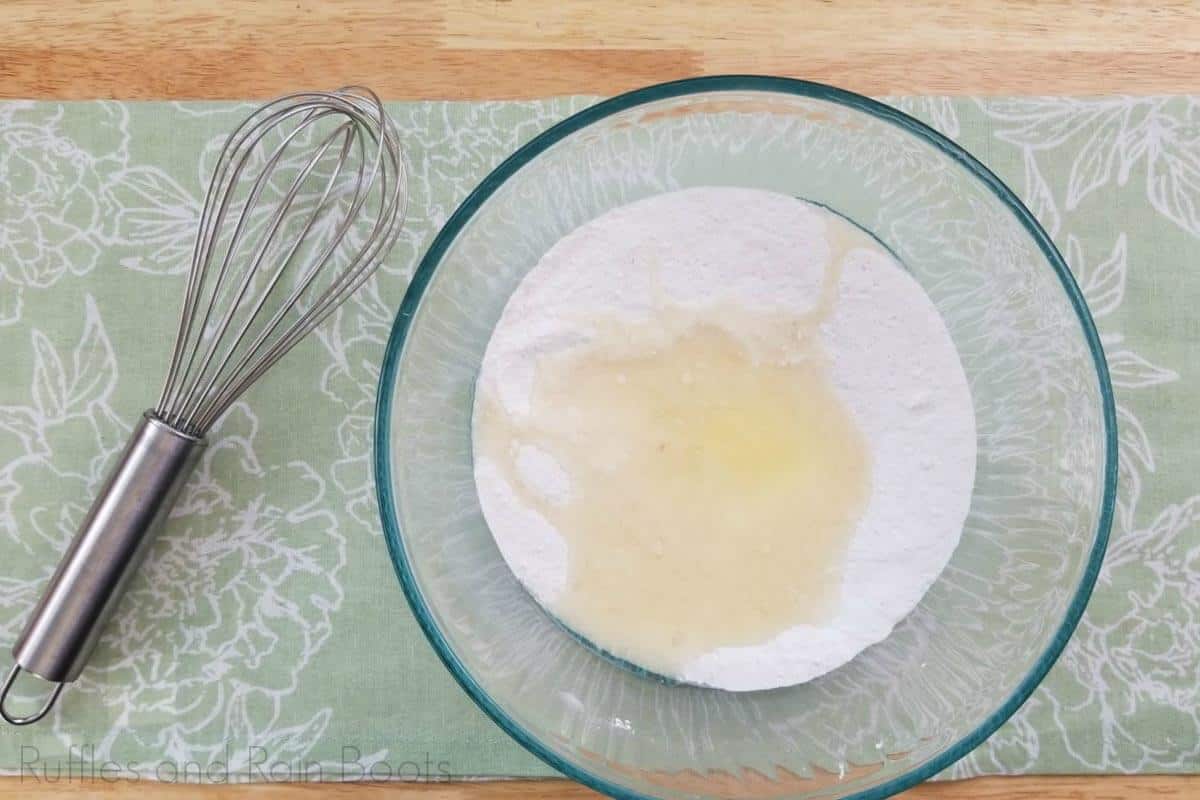
- Add the basil essential oil to the coconut oil.
- Add the coconut oil to the dry ingredients. This binds all the ingredients together, so you bath bombs don’t crumble when you touch them!
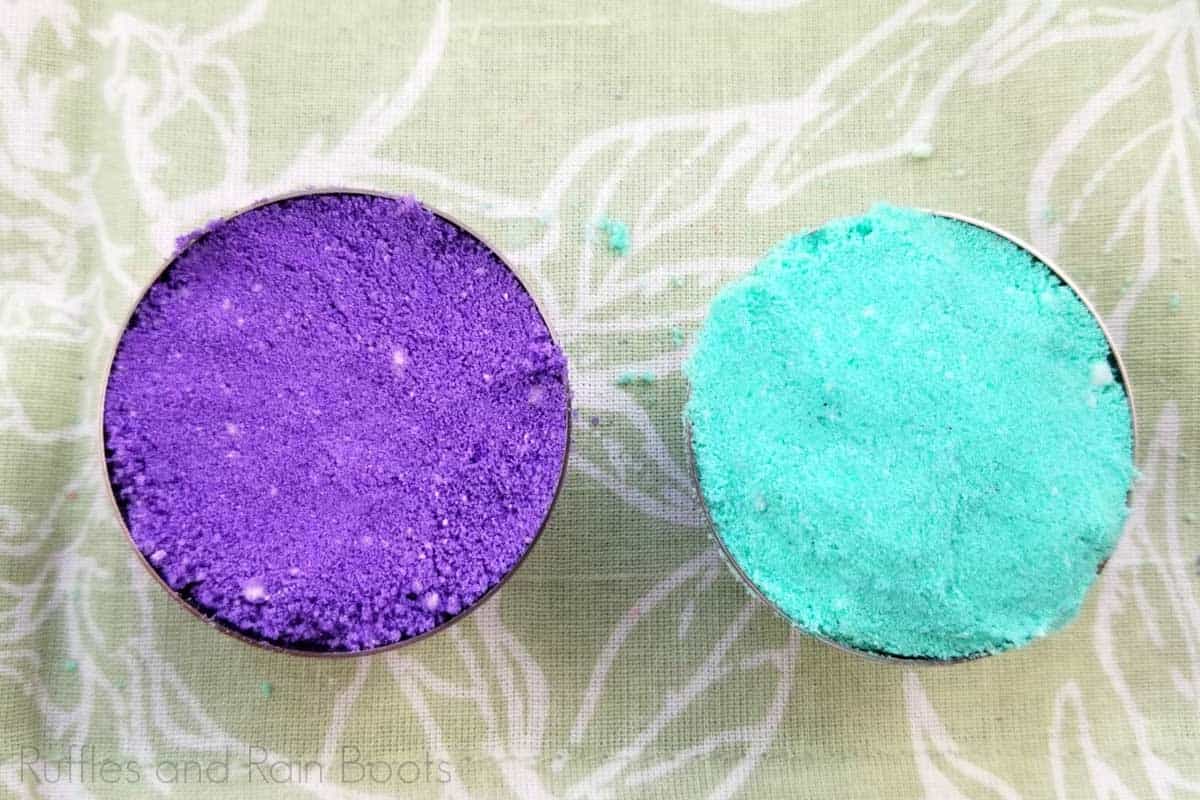
- Add the polysorbate 80. This helps the coconut oil disperse more evenly in your bath water and prevents the mica from sticking to the side of the tub. Mix the ingredients together. I use my hands to break down any lumps and make sure everything is really mixed in there. The mixture is perfect when it holds together when you press it into your hands and feels like wet sand. Separate mixture into 3 small bowls, one with a bit more in it (this is the teal bowl for me).
- Add 1 tablespoon of the red mica and red cosmetic glitter into one of the small bowls. Add a bit more color if the mixture is too light. Continue to add a bit and mix until you get the color you want. Repeat with the teal and purple mixtures. Mix each bowl until color is well blended into the bath bomb mixture.

- Add a small amount of red mixture into one side of the mold. Do the same with the purple and then fill the remainder with the teal. Fill the other side with the teal. Press both sides of the mold together firmly, grinding together to get rid of the excess mixture.
- Tap both sides of the mold and gently release the bomb. Allow to dry a minimum of 24 hours. If your climate is wet or cold, allow an additional 24 hours. My rule of thumb is that when it is hard to the touch, they are ready for the tub! Store in an airtight container until ready for use.

Notes
For more amazing The Little Mermaid Party ideas, visit RufflesandRainboots.com
More Disney Bath Bombs You Might Like
- Ultimate List of Disney Princess Bath Bombs – If you love Disney bath bombs, this is the perfect set of Disney Princess bath bombs you will ever find!
- Snow White Bath Bombs – A little surprise inside? Why yes, please–because we all love surprises.
- Rapunzel Bath Bombs – She’s the most underrated, amazing princess ever. And all that hair…
Please Save This to Pinterest
Your shares are how this site grows and I am sincerely grateful. Know a friend who’d like this? Please share it on Facebook or save it to your favorite Disney crafts board on Pinterest.
Meet the Creator
Hi there, I’m Sarah Nenni-Daher. I’m a crafty gal and always have at least 14 projects going at once. I am a crafter, designer, DIYer, and pattern maker. I share my creations here and in the Ruffles and Rain Boots® Shop.
Here at Ruffles and Rain Boots®, you’ll find DIY gnomes, crafts, gifts, cupcakes, laser crafts, and so much more. I love sharing video tutorials over on YouTube and chatting with other crafters in my Facebook groups. We’d love to have you!