Princess Belle Bath Bombs for Beauty and the Beast Fans
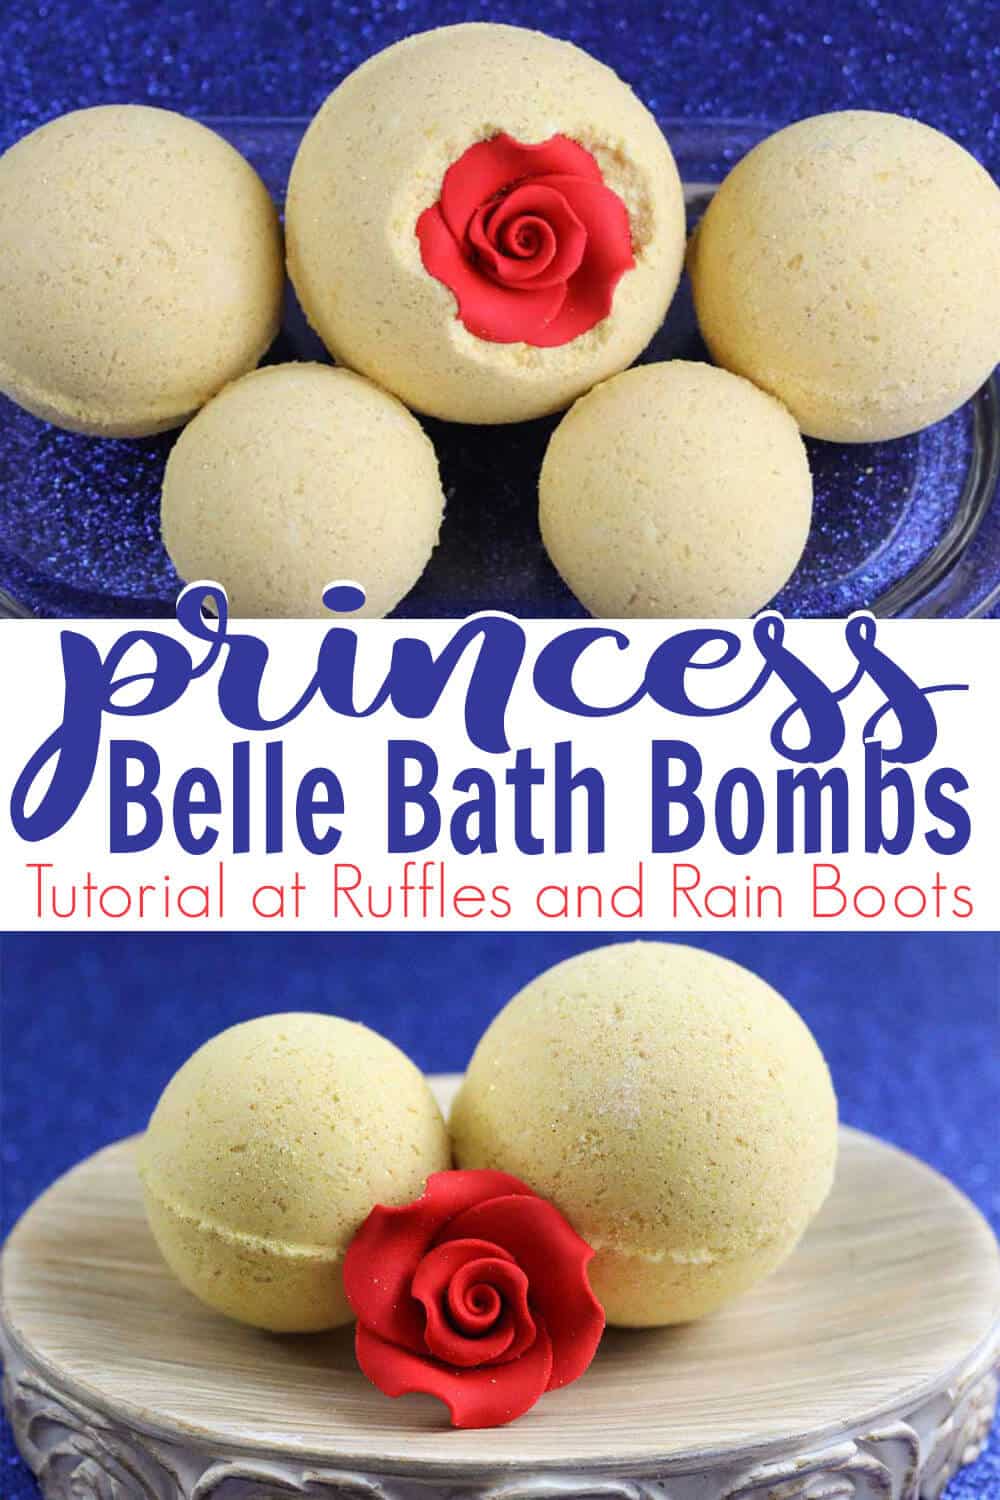
These Princess Belle bath bombs are perfect for any fan of Disney’s Beauty and the Beast. This skin-safe DIY bath bomb recipe is perfect for all ages and everyone just loves the fizz!
Princess Belle Bath Bombs
Here at Ruffles and Rain Boots, we have a soft spot in our heart for the Beast. My daughter loves that story and Belle is her favorite of the Disney Princesses. And what’s not to love about that soundtrack, right?
As part of our Disney Princess bath bomb series, I decided to make some sparkly Princess Belle bath bombs. They turned out more beautiful than I expected with a muted, glittery yellow. Let’s get started.
No Time to Make This Now? Pin it for Later
Too busy to make this now? Pin this to your favorite Disney crafts board on Pinterest and it’ll be here for when you’re ready.
Tips to Make this, the Best of Disney Princess Gift Ideas
- It’s not a great idea to use food coloring for your Princess Belle bath bombs. It will make your bath bombs yellow but it could stain your tub.
- You can mold this recipe in any flat-backed design so they will be safe for use as Princess Belle shower fizzies, too.
- If this is your first set of bath bombs, be sure to let them sit the full time – a dry bath bomb fixes a lot of mix errors.
- You can use any scents you want and any brand of oils. You can use any colors – there’s no limit.
- If your bombs crumble, see this article on trouble-shooting bath bombs and shower fizzies to find out your options to remake them.
How Do I Make these Princess Belle Bath Bombs?
I’m so glad you asked. Below is our written tutorial. If you’re making a Disney bath bombs playlist on YouTube, here is our Princess Belle bath bombs video tutorial.
Belle Bath Bombs

These Princess Belle bath bombs are perfect for any fan of Disney's Beauty and the Beast. This skin-safe DIY bath bomb recipe is perfect for all ages and everyone just loves the fizz!
Materials
- 3 ounces of clear melt and pour soap base
- 2-3 drops red soap coloring
- 1 teaspoon red cosmetic glitter
- Silicone roses mold
- 2 cups baking soda
- 1 cup citric acid
- 1/4 cup cornstarch
- 1/4 cup Epsom salts
- 1/2 cup coconut oil
- 1 tablespoon polysorbate 80, optional
- 3 tablespoons rubbing alcohol
- 1 teaspoon lilac scented oil
- Yellow-gold soap colorant
- Gold cosmetic glitter
- Stainless steel bath bomb molds
- Wilton sugar roses
Tools
- Spray bottle filled with rubbing alcohol
- 1 large mixing bowl
- 1 small cup
Instructions
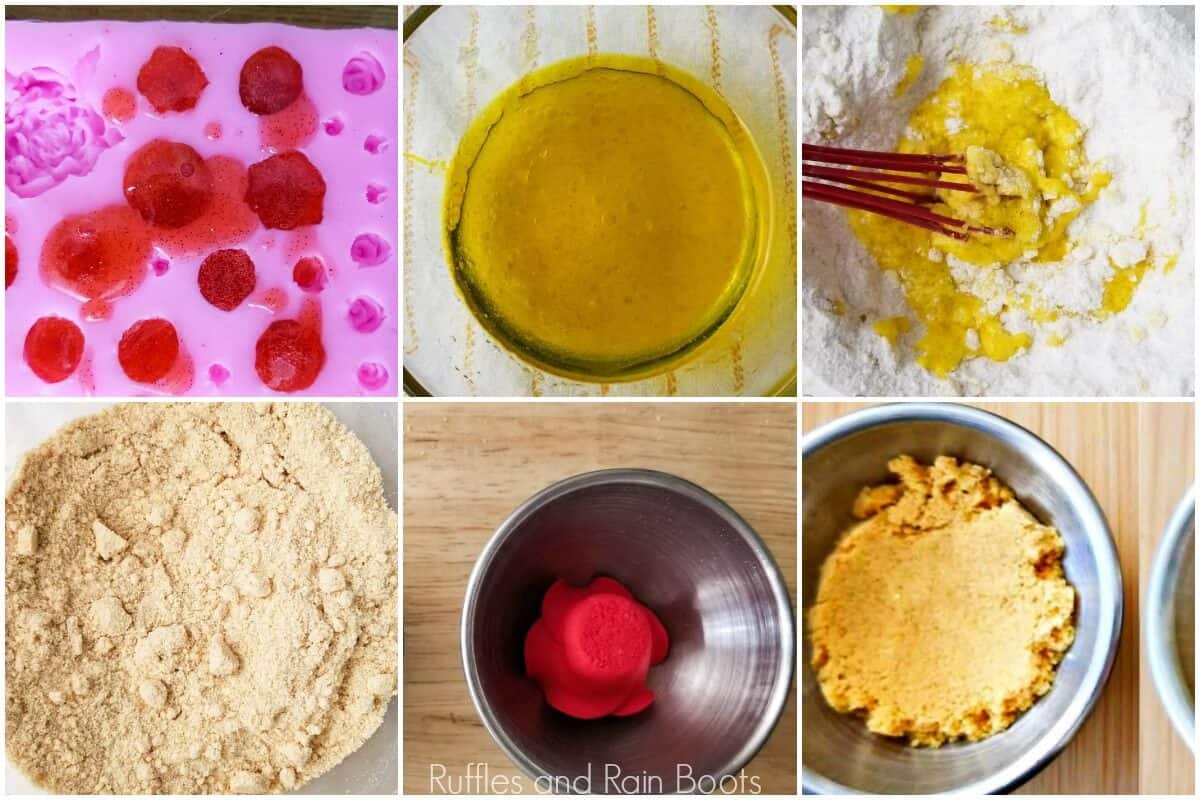
- Place 3 cubes of the soap base in a measuring cup and melt in your microwave for 30 seconds. If soap is not completely melted, melt in 15--20 second bursts until melted all the way.
- Add 2-3 drops of red soap coloring and red cosmetic glitter and mix thoroughly.
- Pour soap into mold and spray with rubbing alcohol to avoid bubbles. Allow to harden about 30 minutes and pop soaps out of the mold.
- In a large mixing bowl, add the baking soda, citric acid, Epsom salts and cornstarch. Whisk dry ingredients together.
- In a small container, add the coconut oil. This binds all the ingredients together, so you bath bombs don’t crumble when you touch them!
- Add the polysorbate 80. This helps the coconut oil disperse more evenly in your bath water, makes the bath bombs bubbly and prevents the mica from sticking to the side of the tub.
- Add alcohol and lilac scented oil.
- Add 1 drop of soap colorant. Mix liquid ingredients together thoroughly. Continue to add 1 drop of color until desired color is achieved.
- Add a small amount of the liquid mixture to the dry ingredients. Whisk together and repeat until all ingredients are incorporated.
- Mix in the gold cosmetic glitter. Use your hands to break down any lumps and make sure everything is really mixed in there. The mixture is perfect when it holds together when you press it into your hands and feels like wet sand.
- Place one of your soap roses upside down into one mold. If you prefer, you can substitute the Wilton sugar rose for the soap roses. Carefully fill the mold with your bath bomb mixture. Continue until the mixture is overflowing. Press molds together and grind to remove excess mixture. Gently tap each side of the mold to release the bombs.
- Allow to dry a minimum of 24 hours. If your climate is wet or cold, allow an additional 24 hours. My rule of thumb is that when it is hard to the touch, they are ready for the tub! Store in an airtight container until ready for use.
Notes
For more awesome Disney Princess gift ideas, visit RufflesandRainBoots.com
More Disney Bath Bombs You Might Like
- Rapunzel Bath Bombs – For a fun tangled-time in the tub, I like to make a batch of these Rapunzel bath bombs–because it’s fun!
- Snow White Bath Bombs – The original Disney princess bath bomb that’s sure to please any Disney fan!
- Princess Anna Bath Bombs – These two-colored bath fizzies are a favorite around here.
Please Save This to Pinterest
Your shares are how this site grows and I am sincerely grateful. Know a friend who’d like this? Please share it on Facebook or save it to your favorite Disney crafts board on Pinterest.


